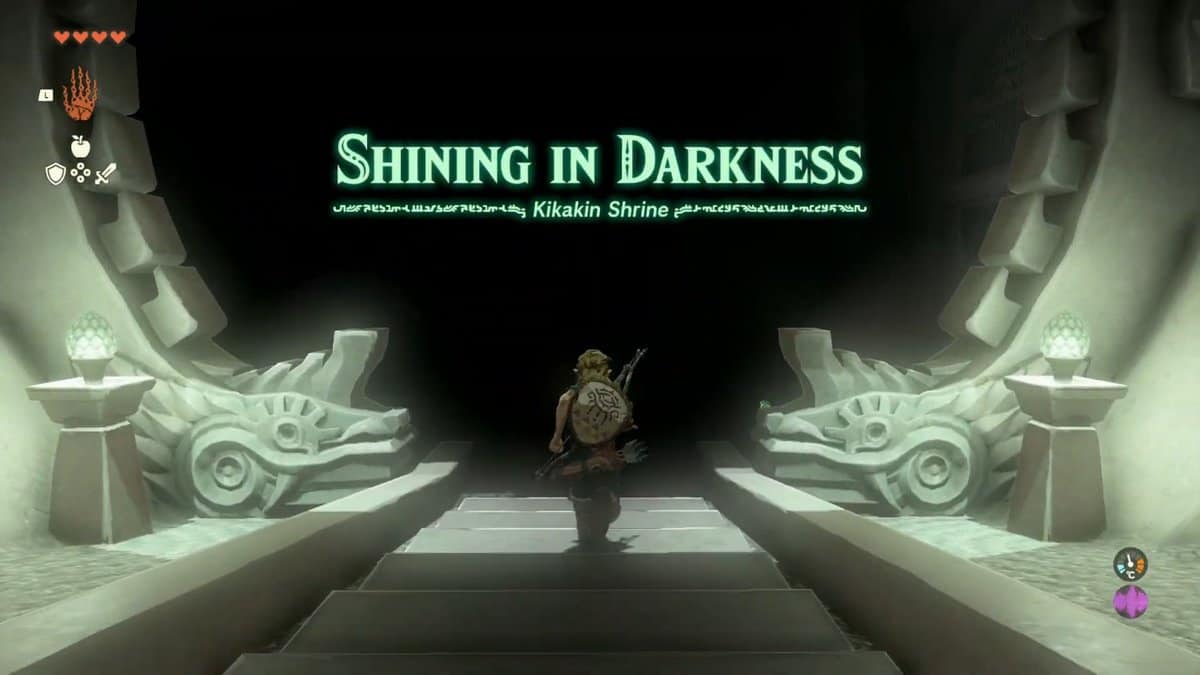
Kikakin Shrine in Zelda: Tears of the Kingdom tests your ability to overcome an obstacle by using multiple solutions. While devoid of any enemies, this shrine offers its fair share of traps that can seriously hurt Link if you are not careful.
While swallowed by infinite darkness, just like the Depths, you can be the ray of light it is hoping for. From Fire Torches to Shiny Elixir, Kikakin Shrine in Zelda: Tears of the Kingdom is your playground to explore and conquer.
Kikakin Shrine Location in Zelda: TotK

Kikakin Shrine is in the Northern region of Hyrule map, west of Korok Forest. The closest fast travel point to this shrine is Thyphlo Ruins Skyview tower, which is located Northeast.
Its exact coordinates are (-0387, 2734, 0287).
Kikakin Shrine Walkthrough
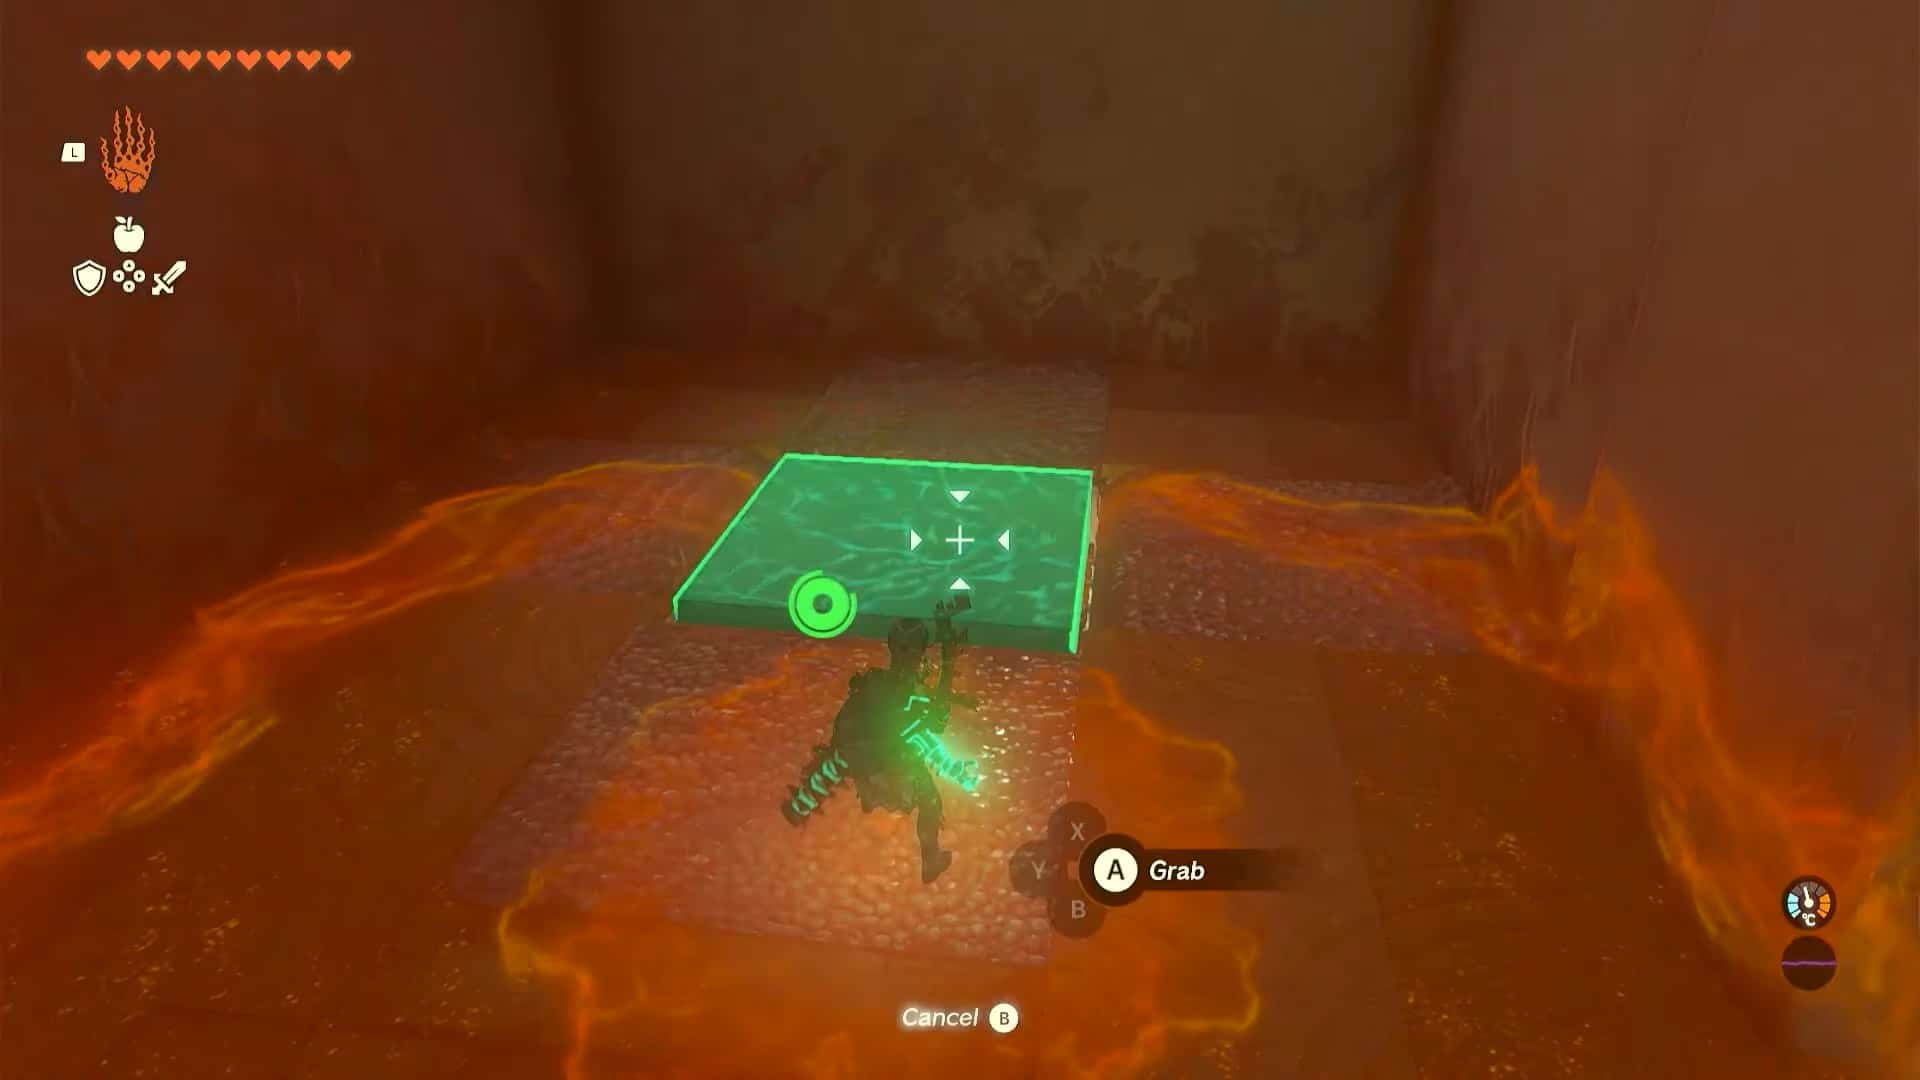
The Puzzle of the Kikakin shrine is called the Shining in Darkness. The purpose of this trial is to use a light bulb to explore a dark dungeon and find a key to the altar room. There are three additional treasure chests in the area that you can loot for additional goodies.
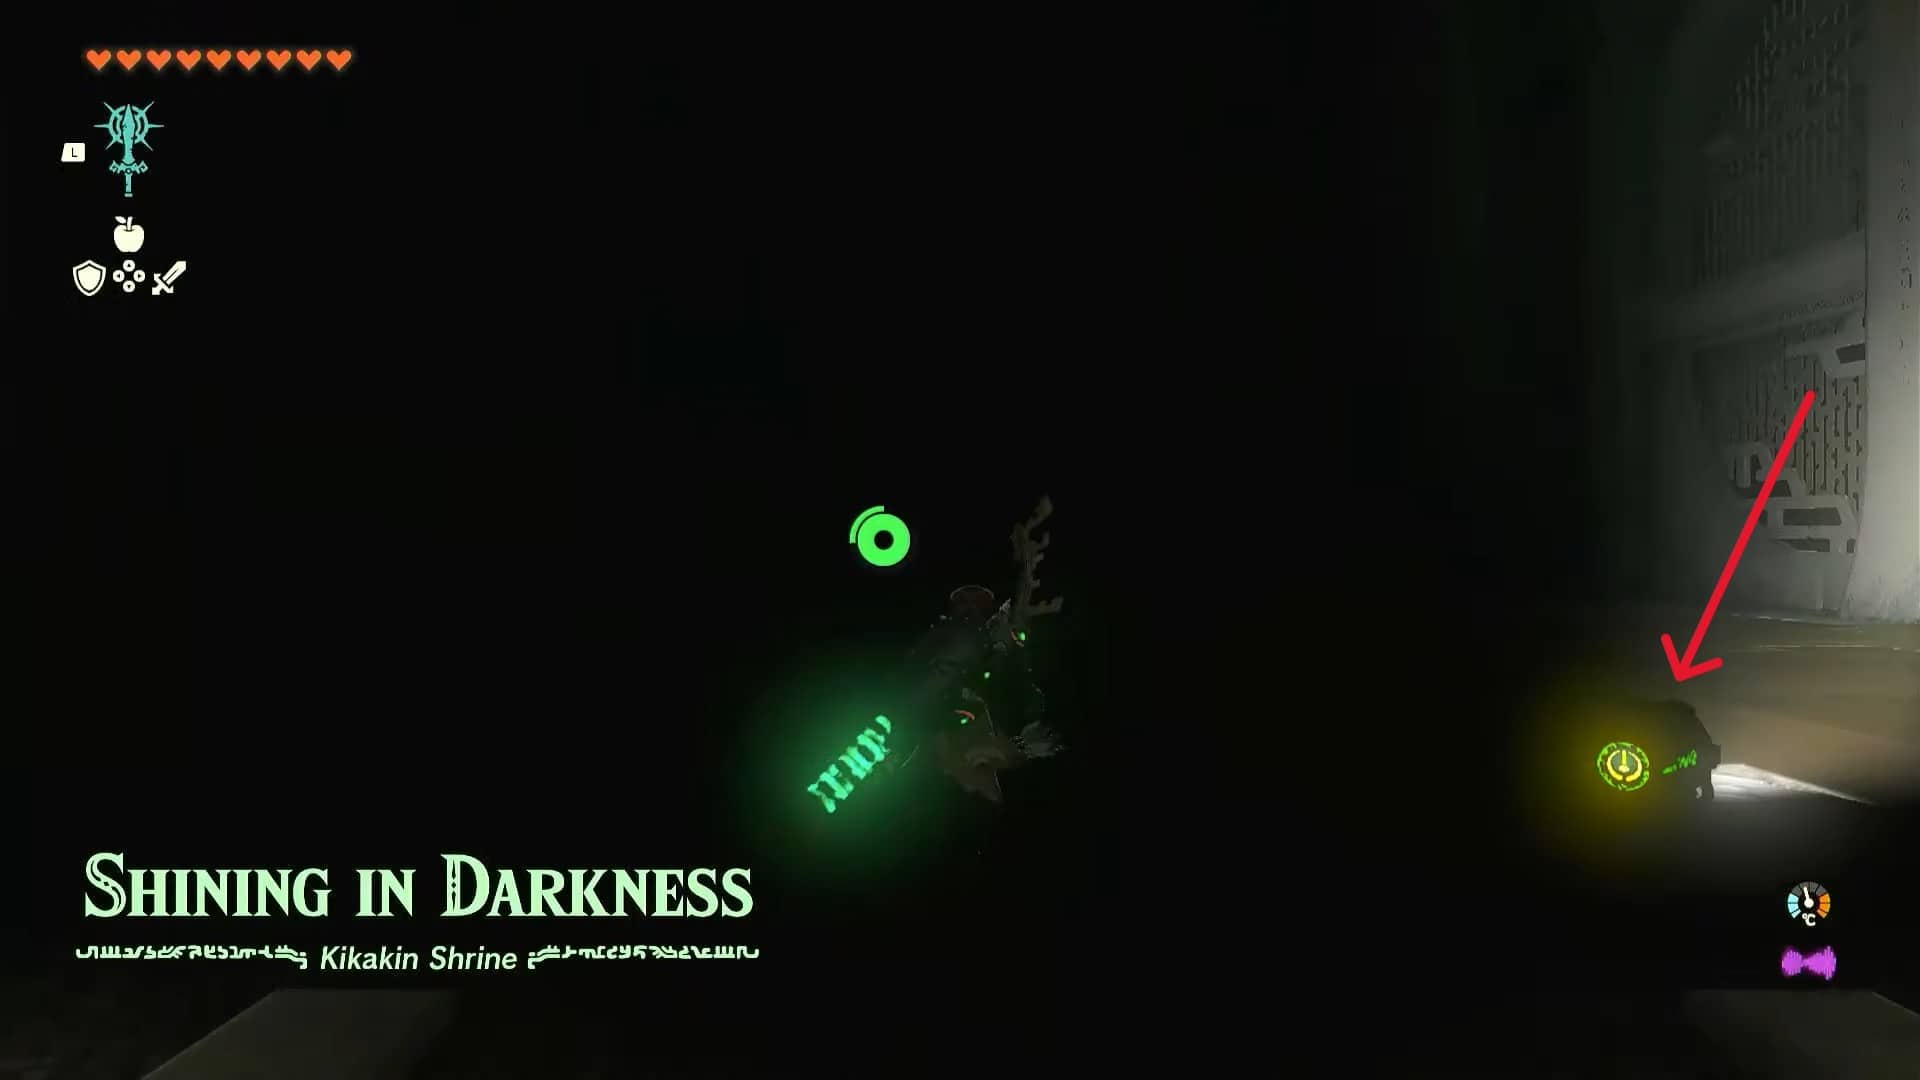
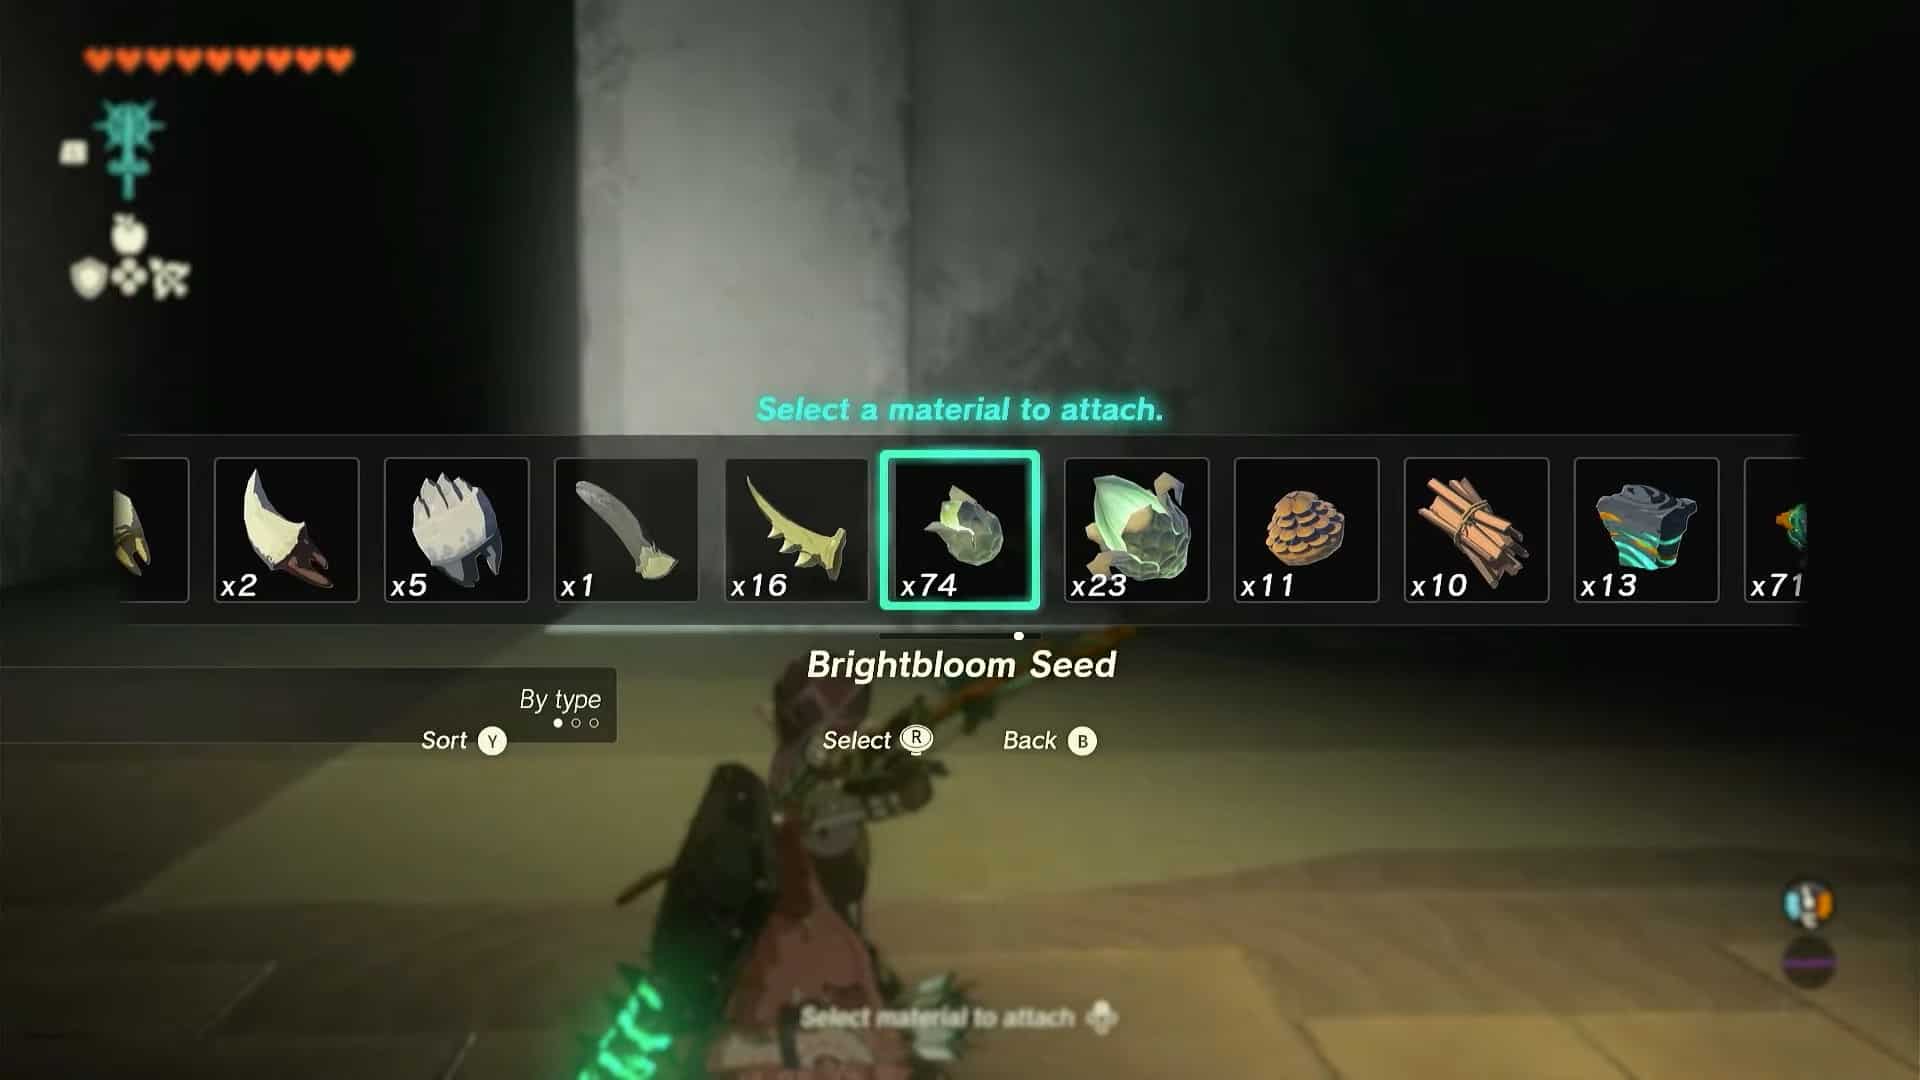
1. Pick up the light bulb (with hands or by using Ultrahand ability). However, our preferred method is to use Brightbloom seeds. Just like lighting the depths, you can use these seeds with arrows to illuminate an area.
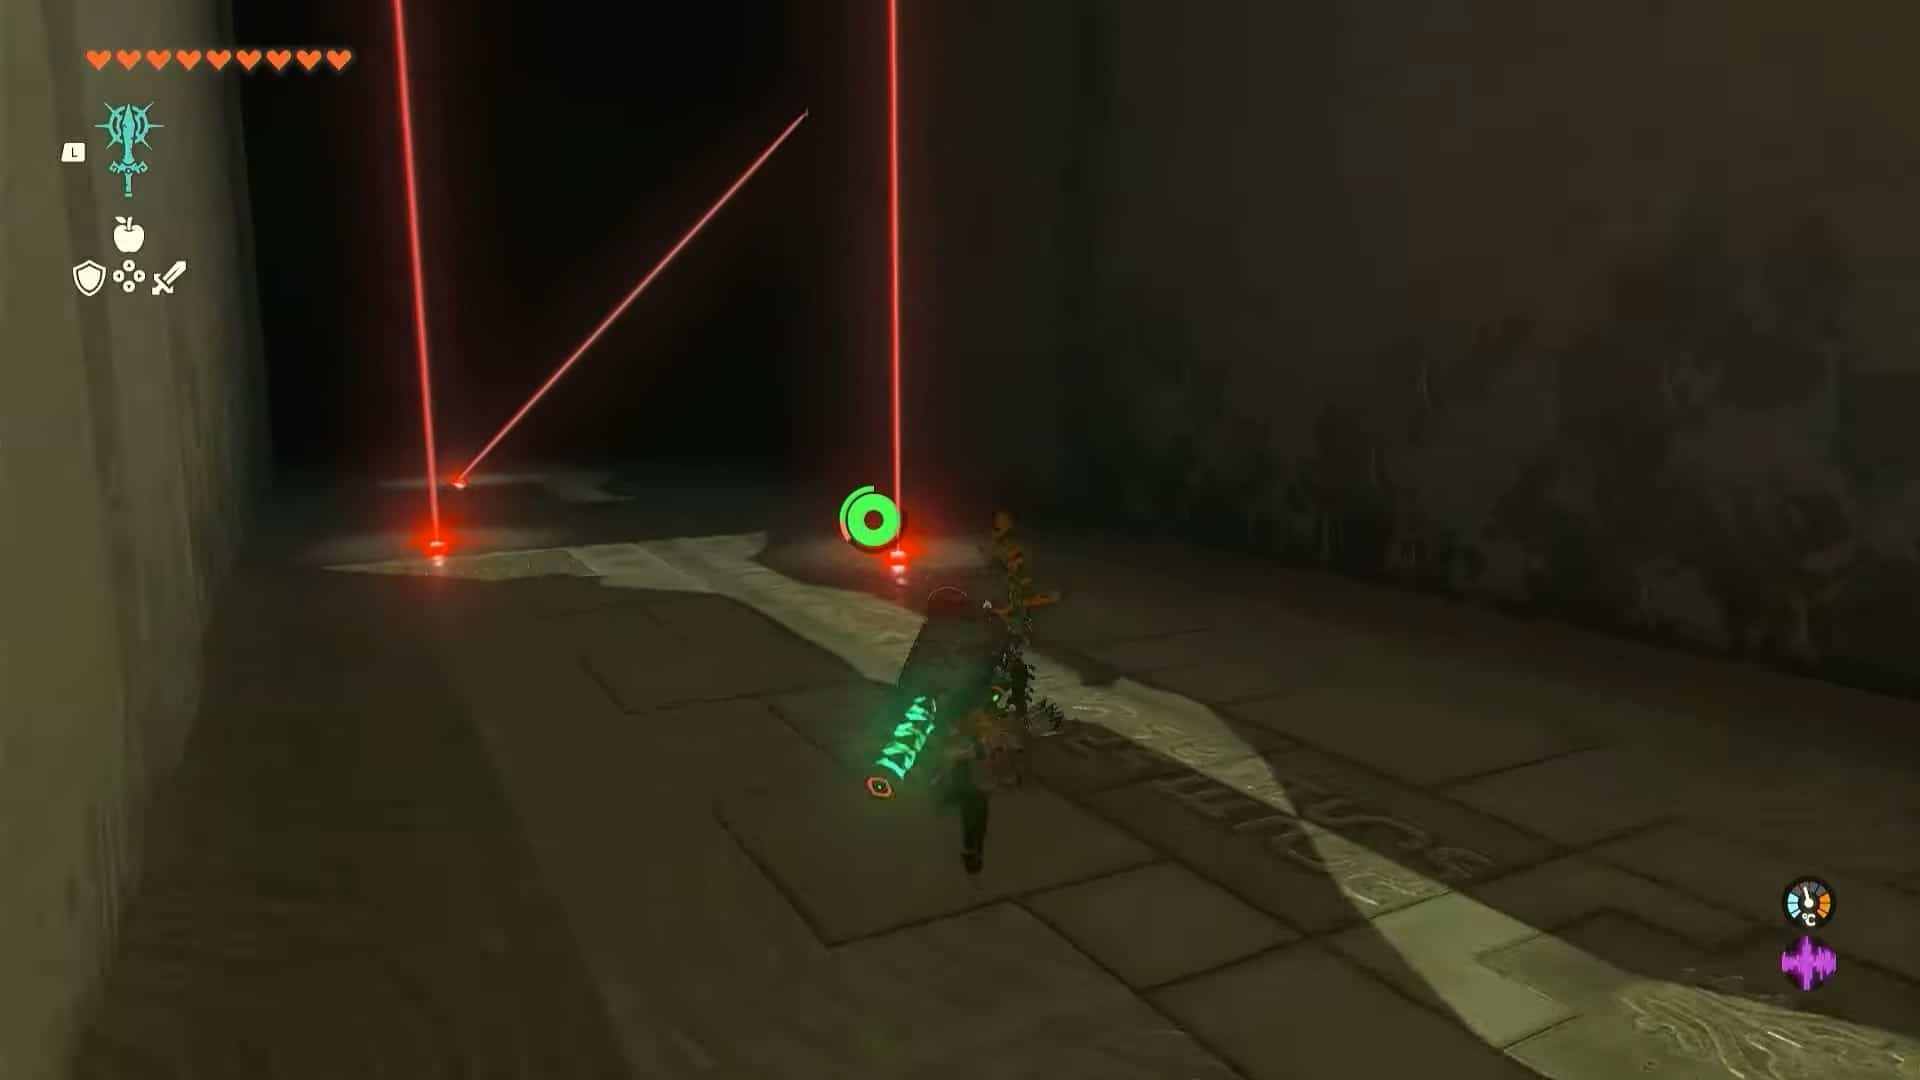
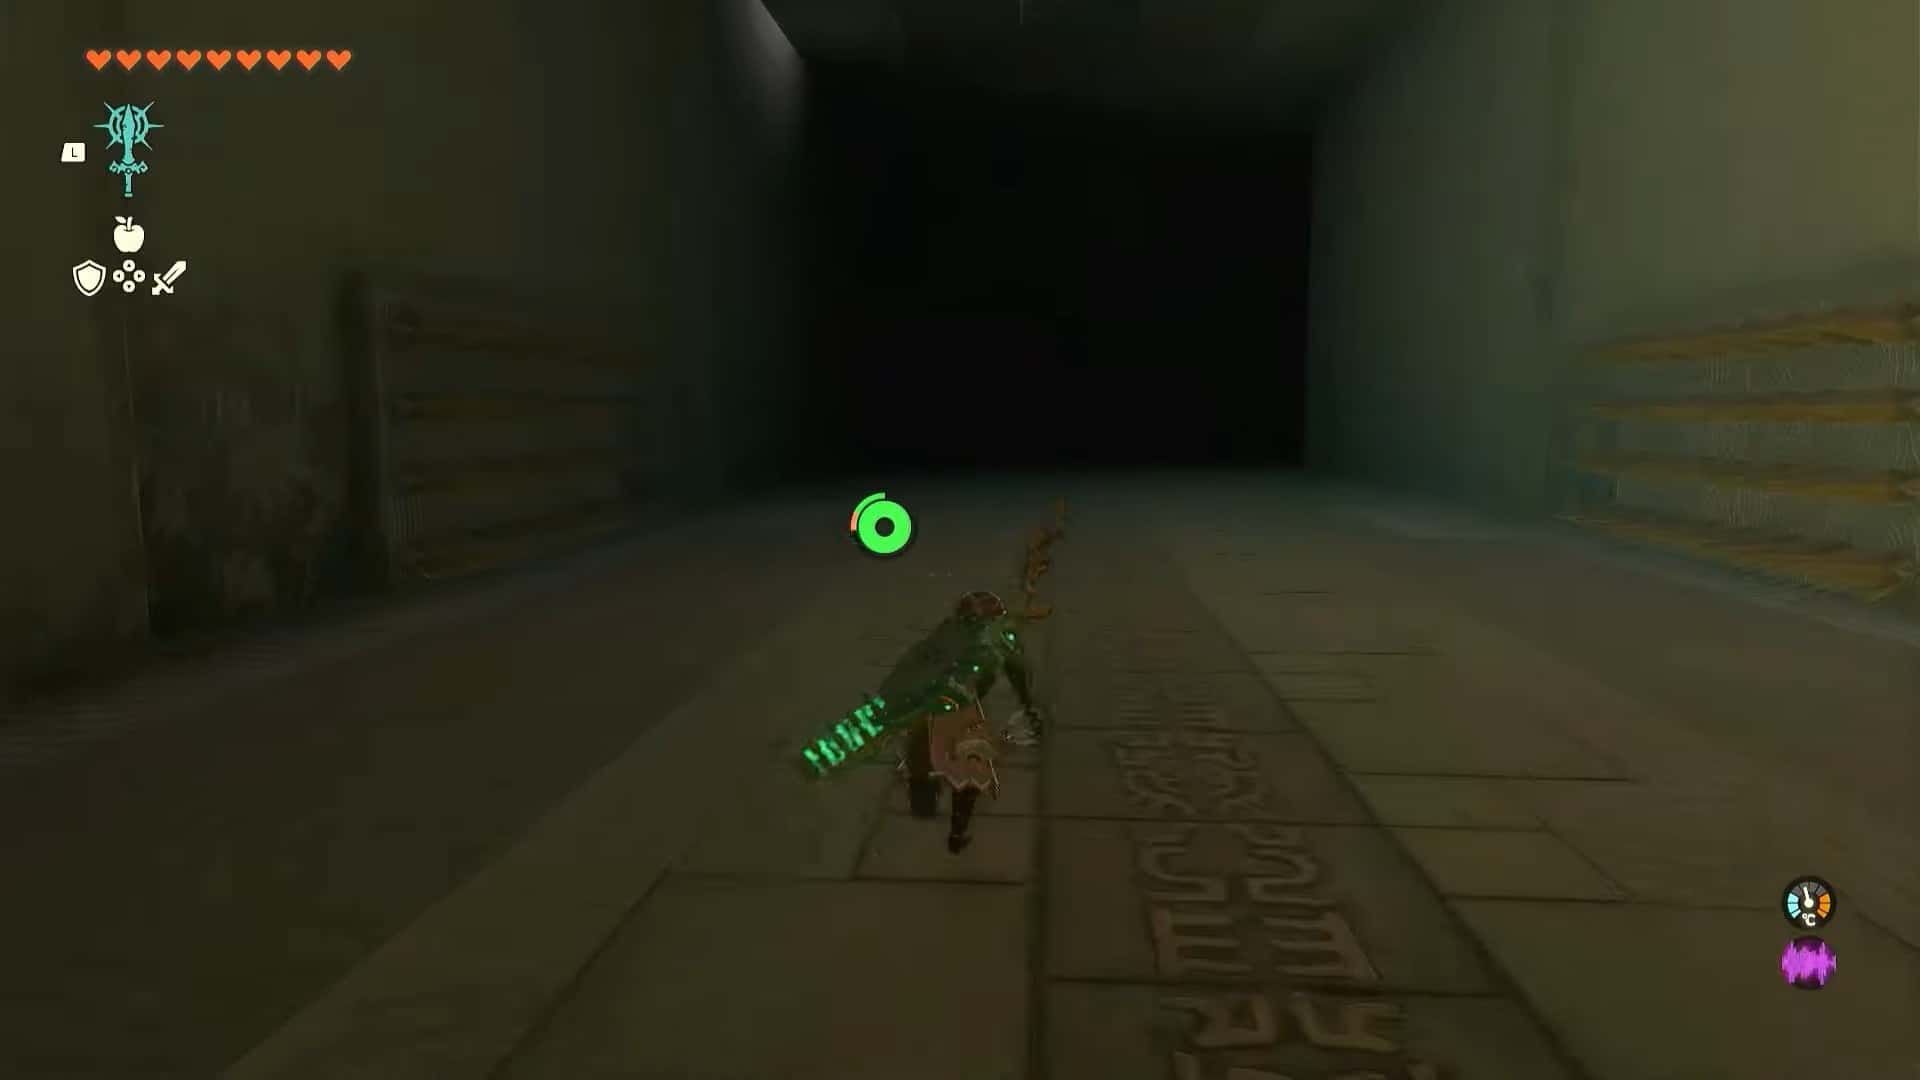
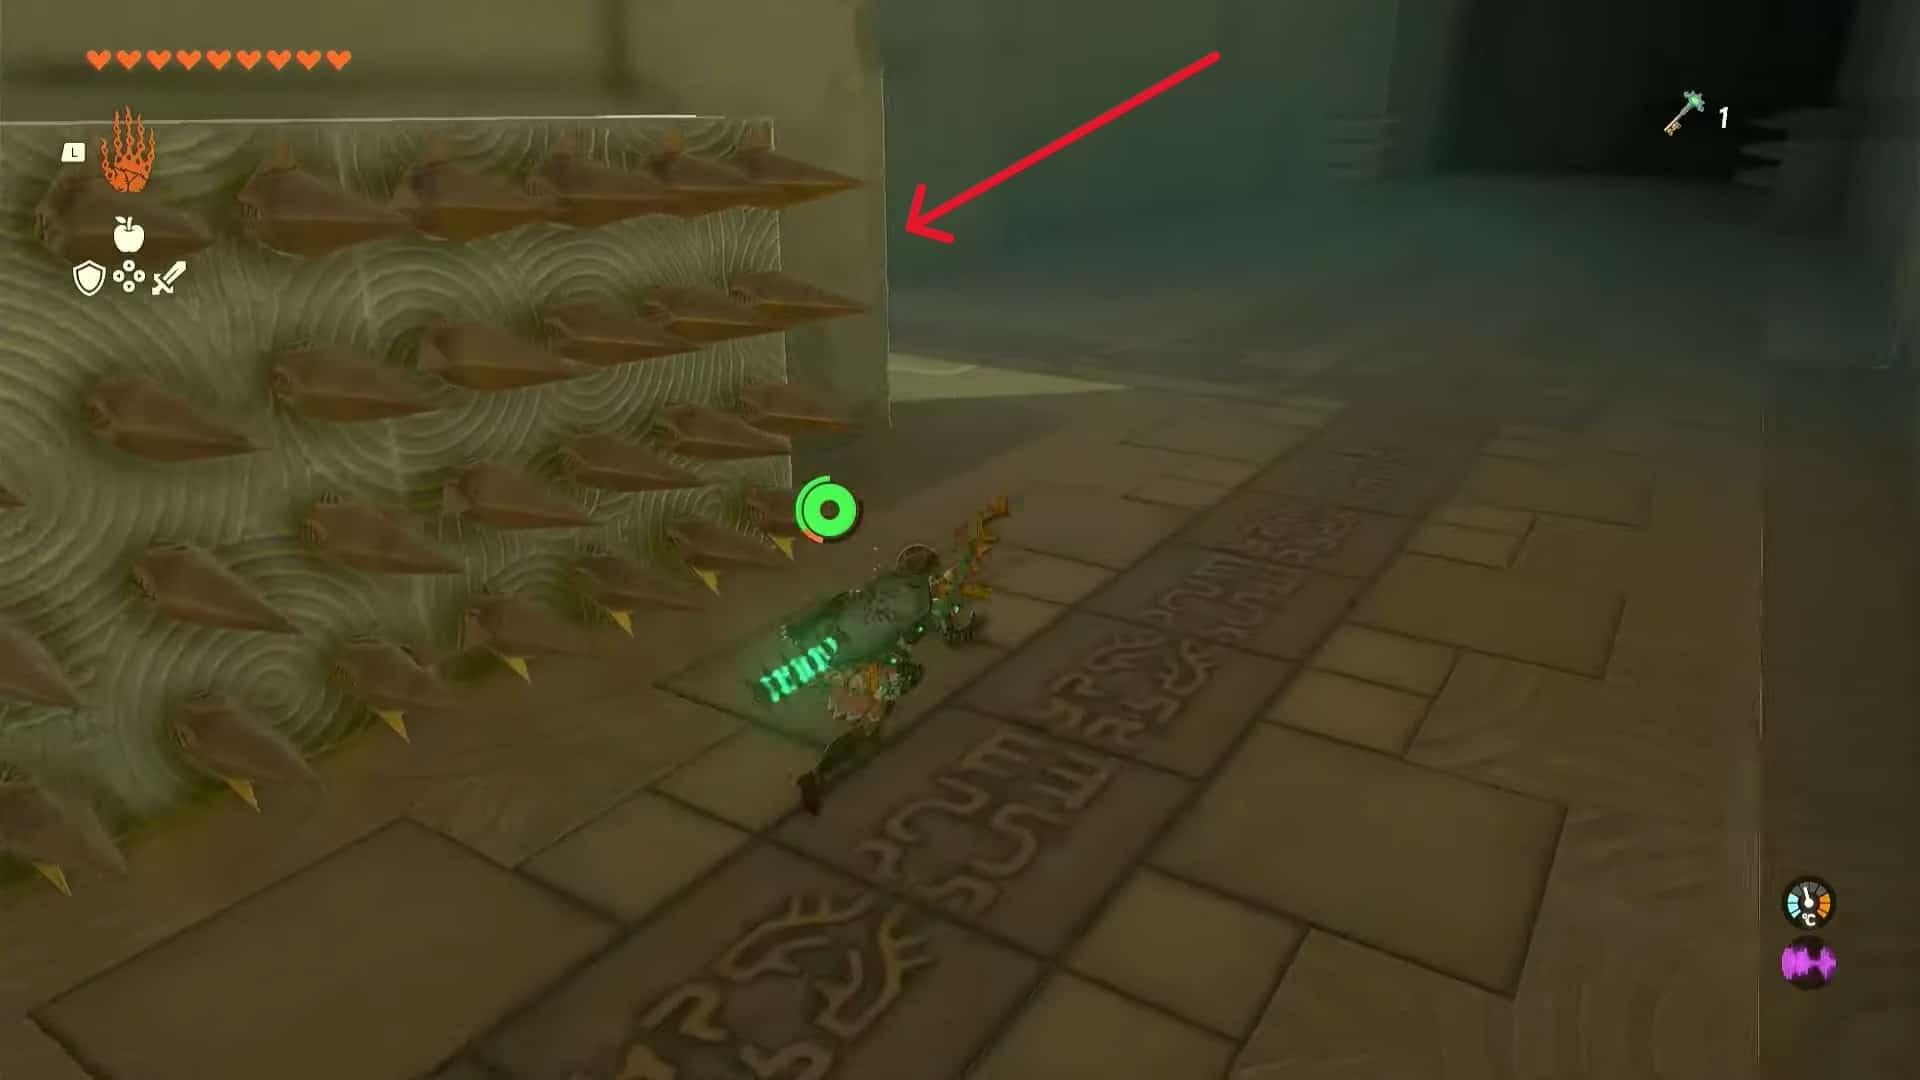
2. Go left from the start until you reach the end. Take another left and then one more left turn to reach the area with lasers. Keep using Brightbloom Seeds to make the traps visible.
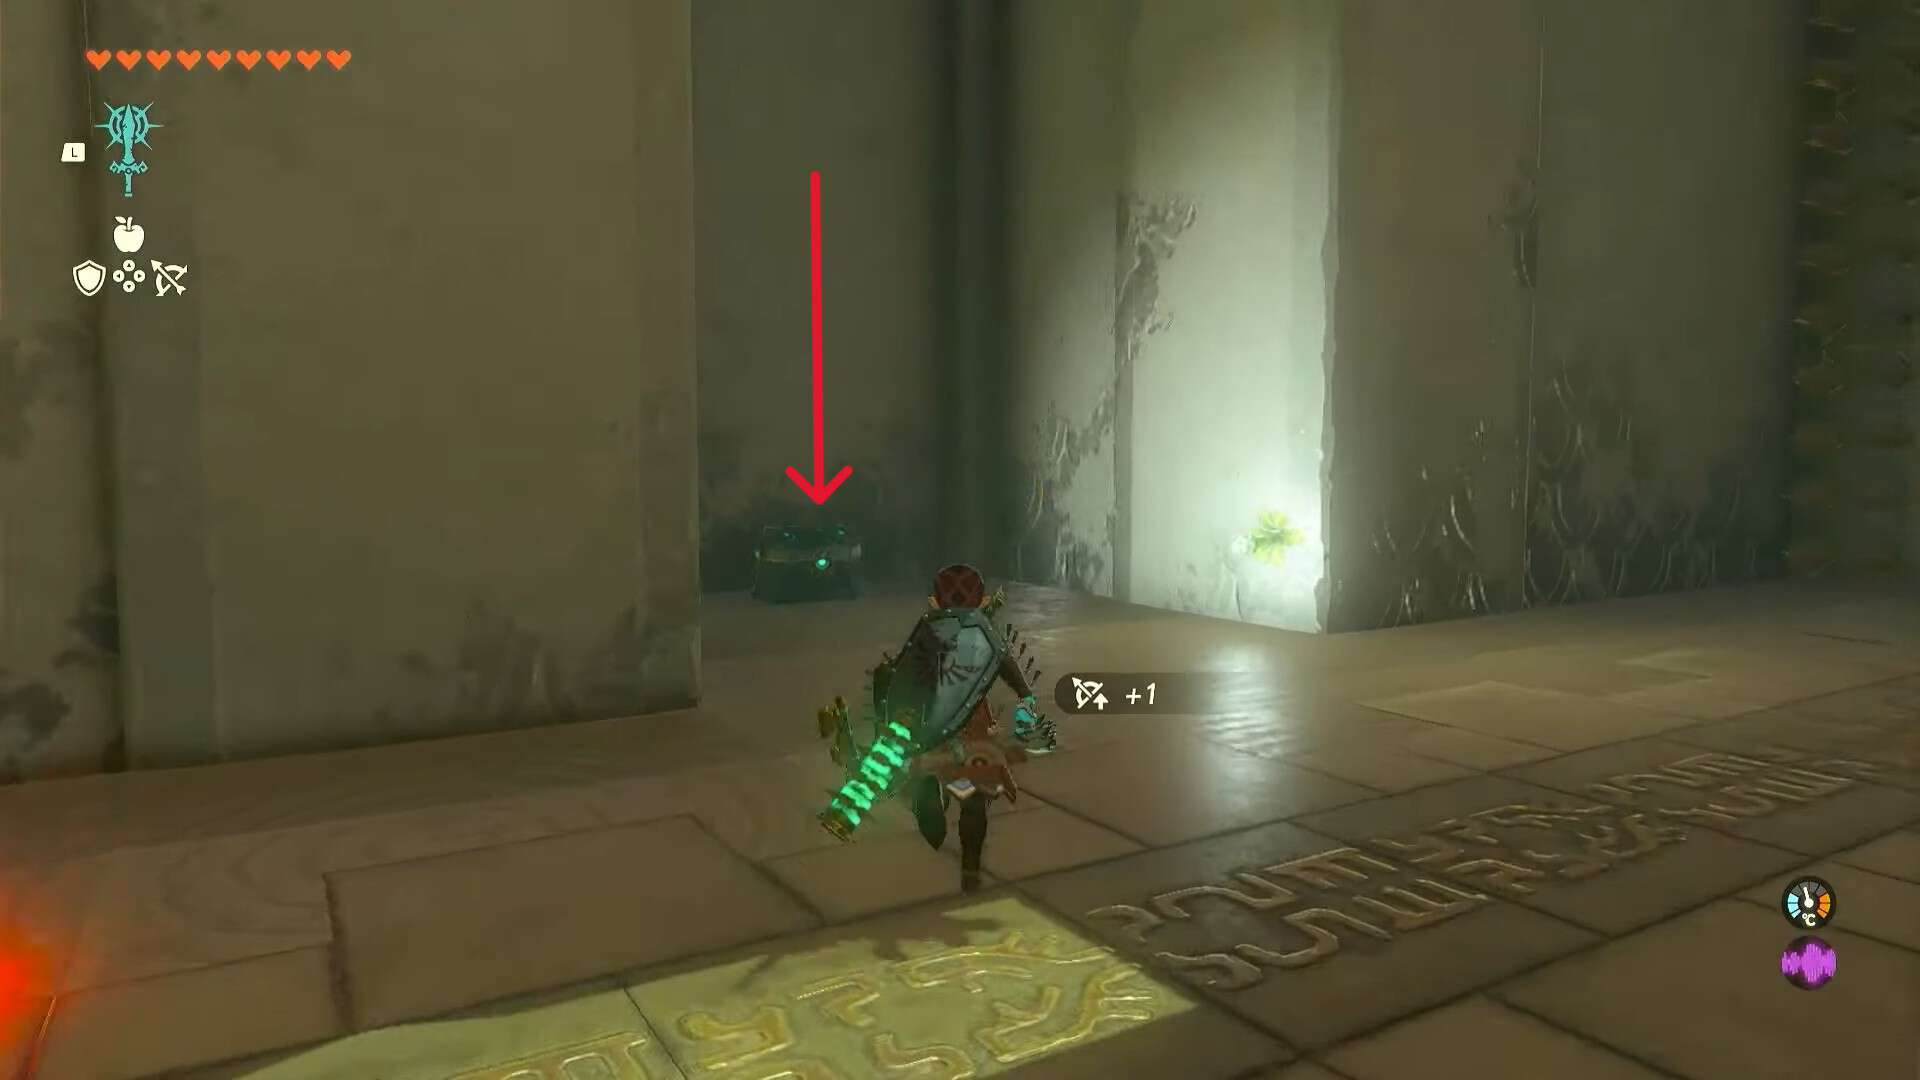
3. There is a treasure chest in a depression to the left. Open it to obtain an Opal.
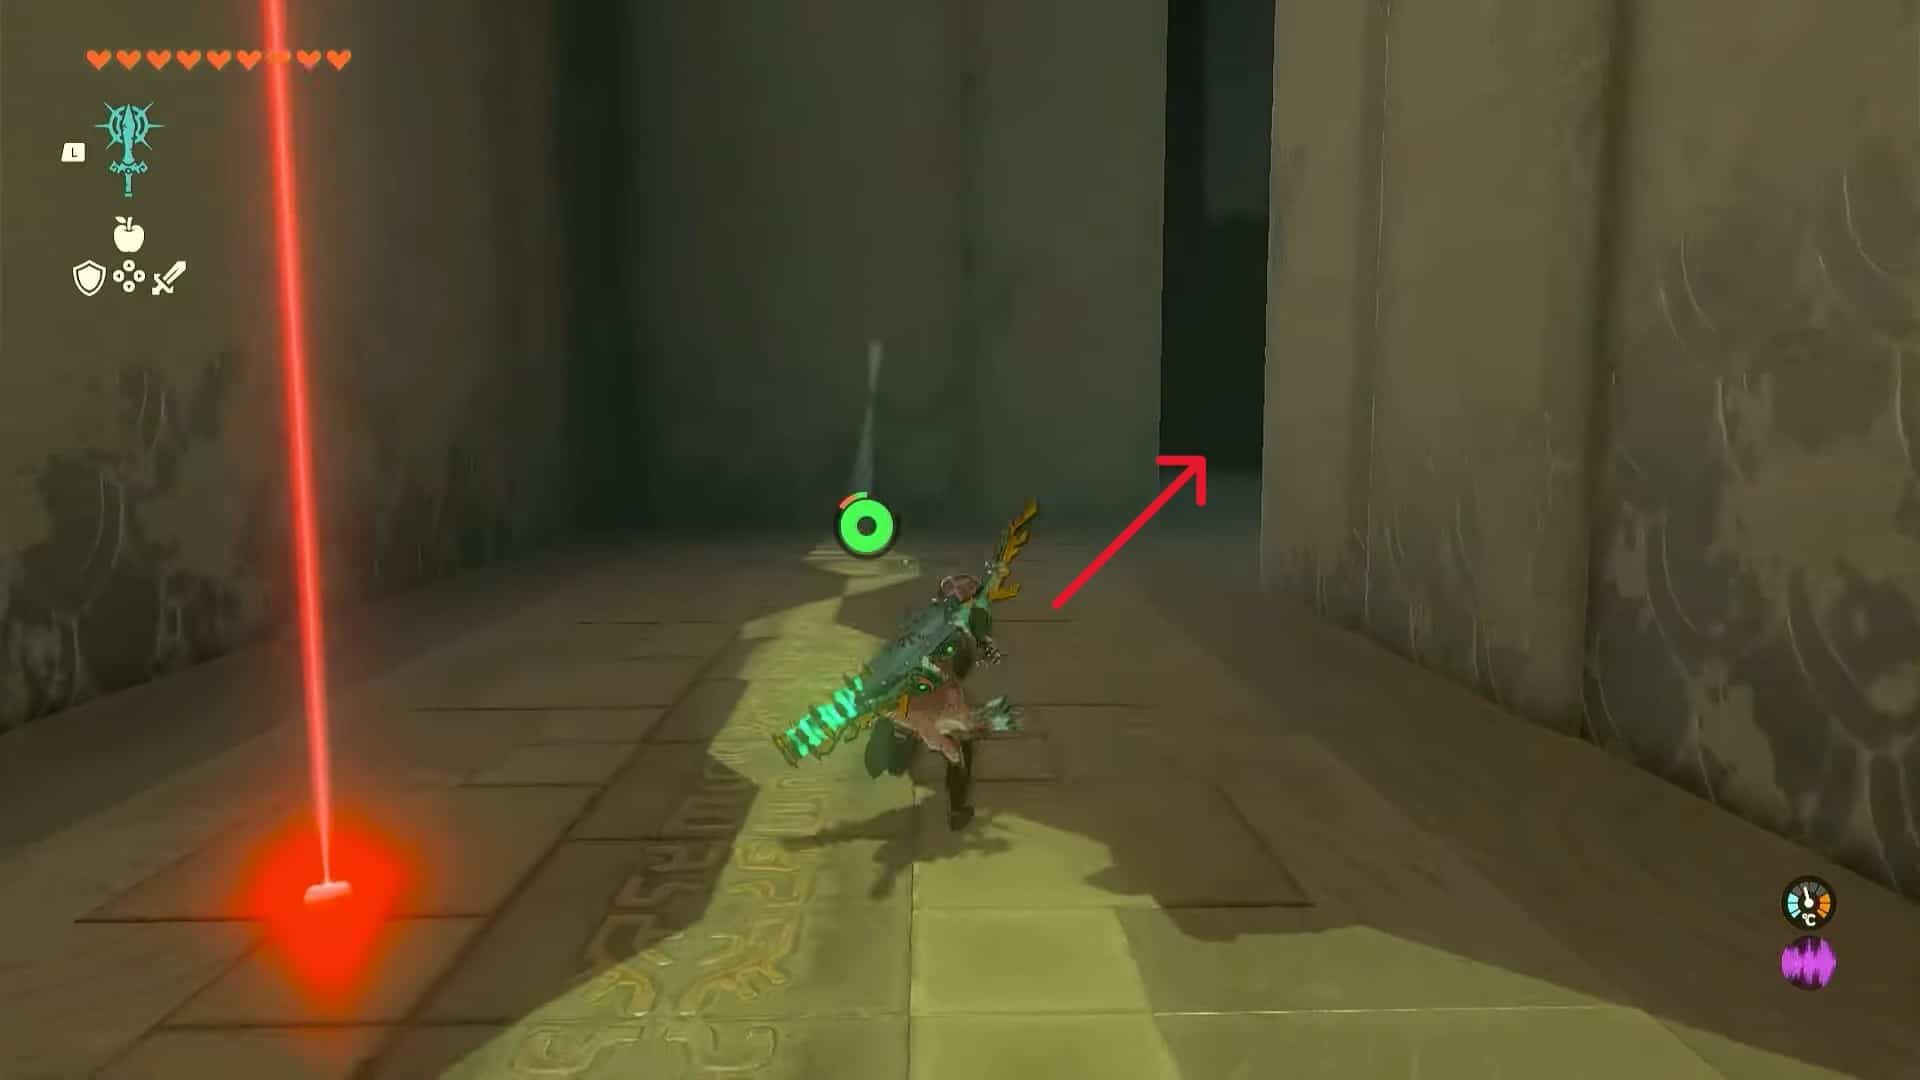
4. Turn back and go through the lasers once more. Keep going straight instead of turning right this time.
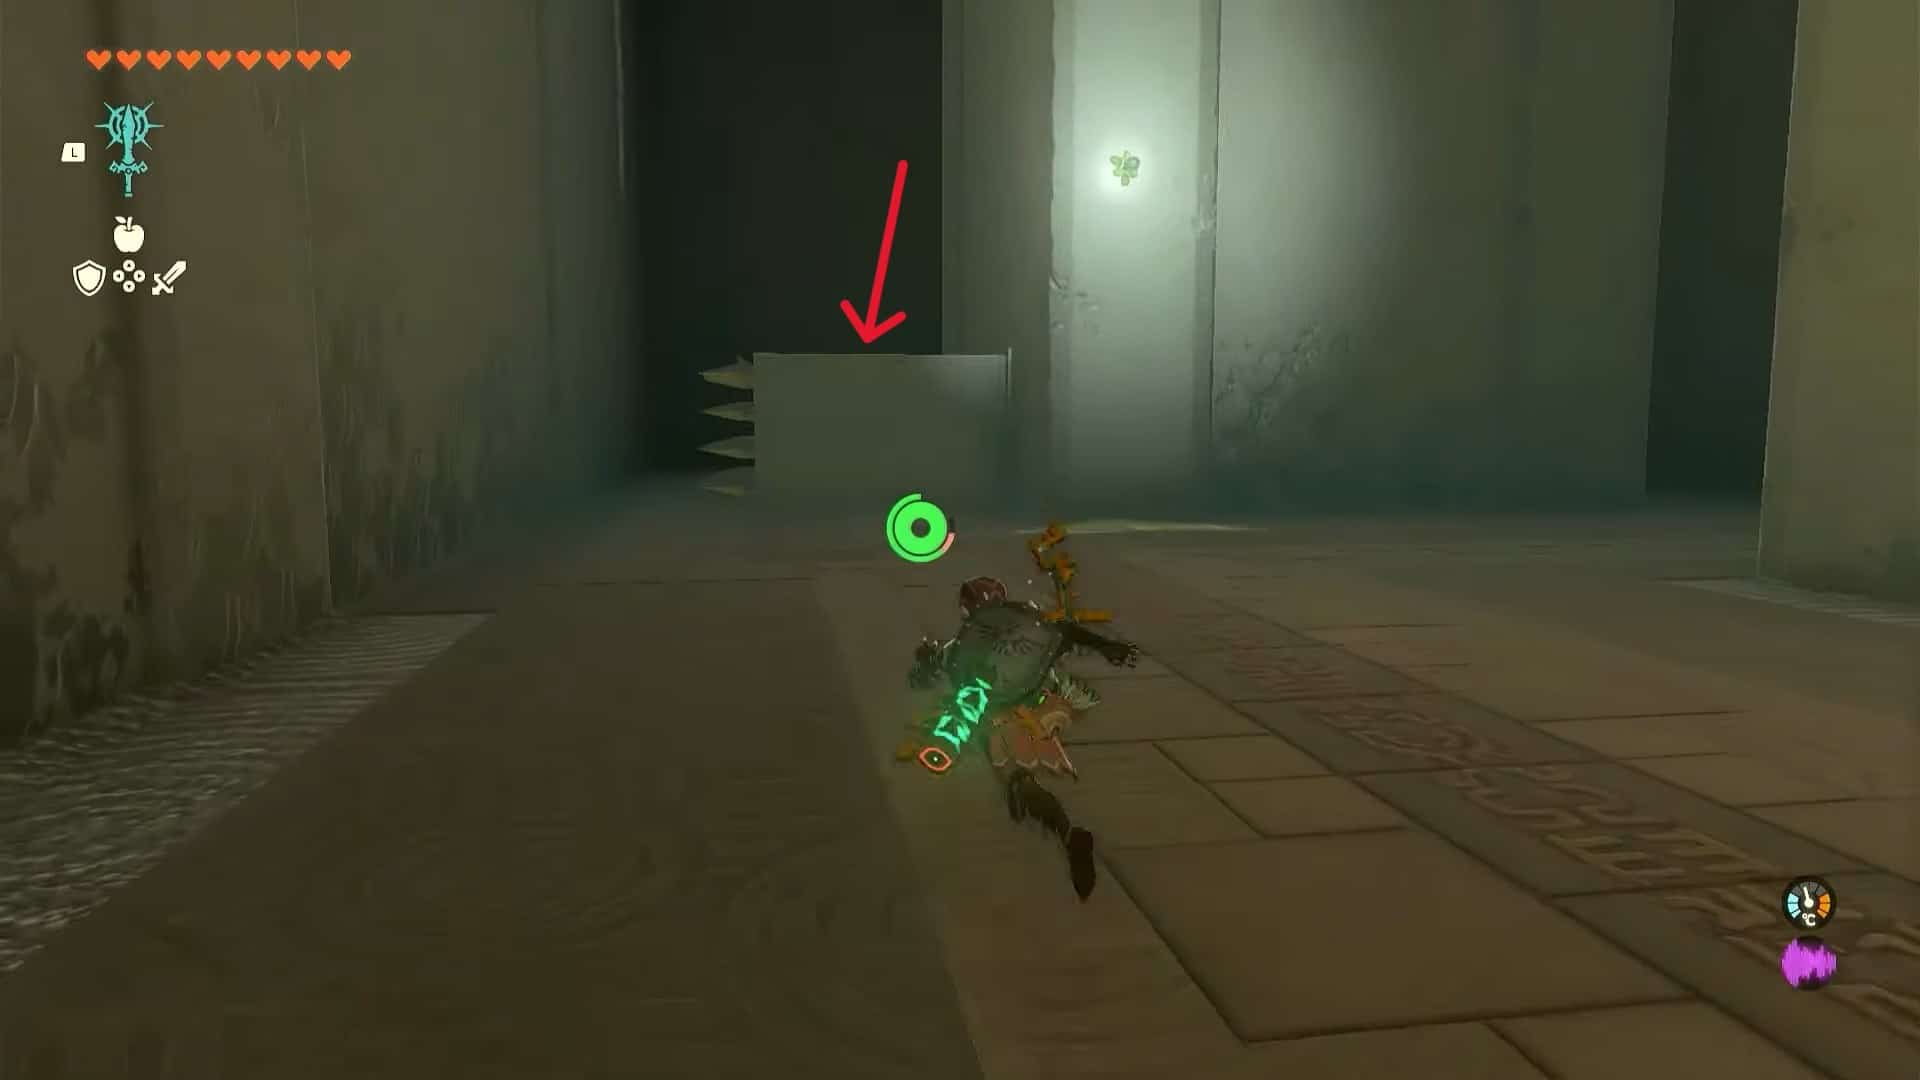
5. Turn right to go past the spiky traps. Illuminate the area if needed and pass another spiky trap to the left.
6. There is a closed alley to the right with a removable tile on the floor. Lift it up with Ultrahand and collect the small key from the treasure chest.
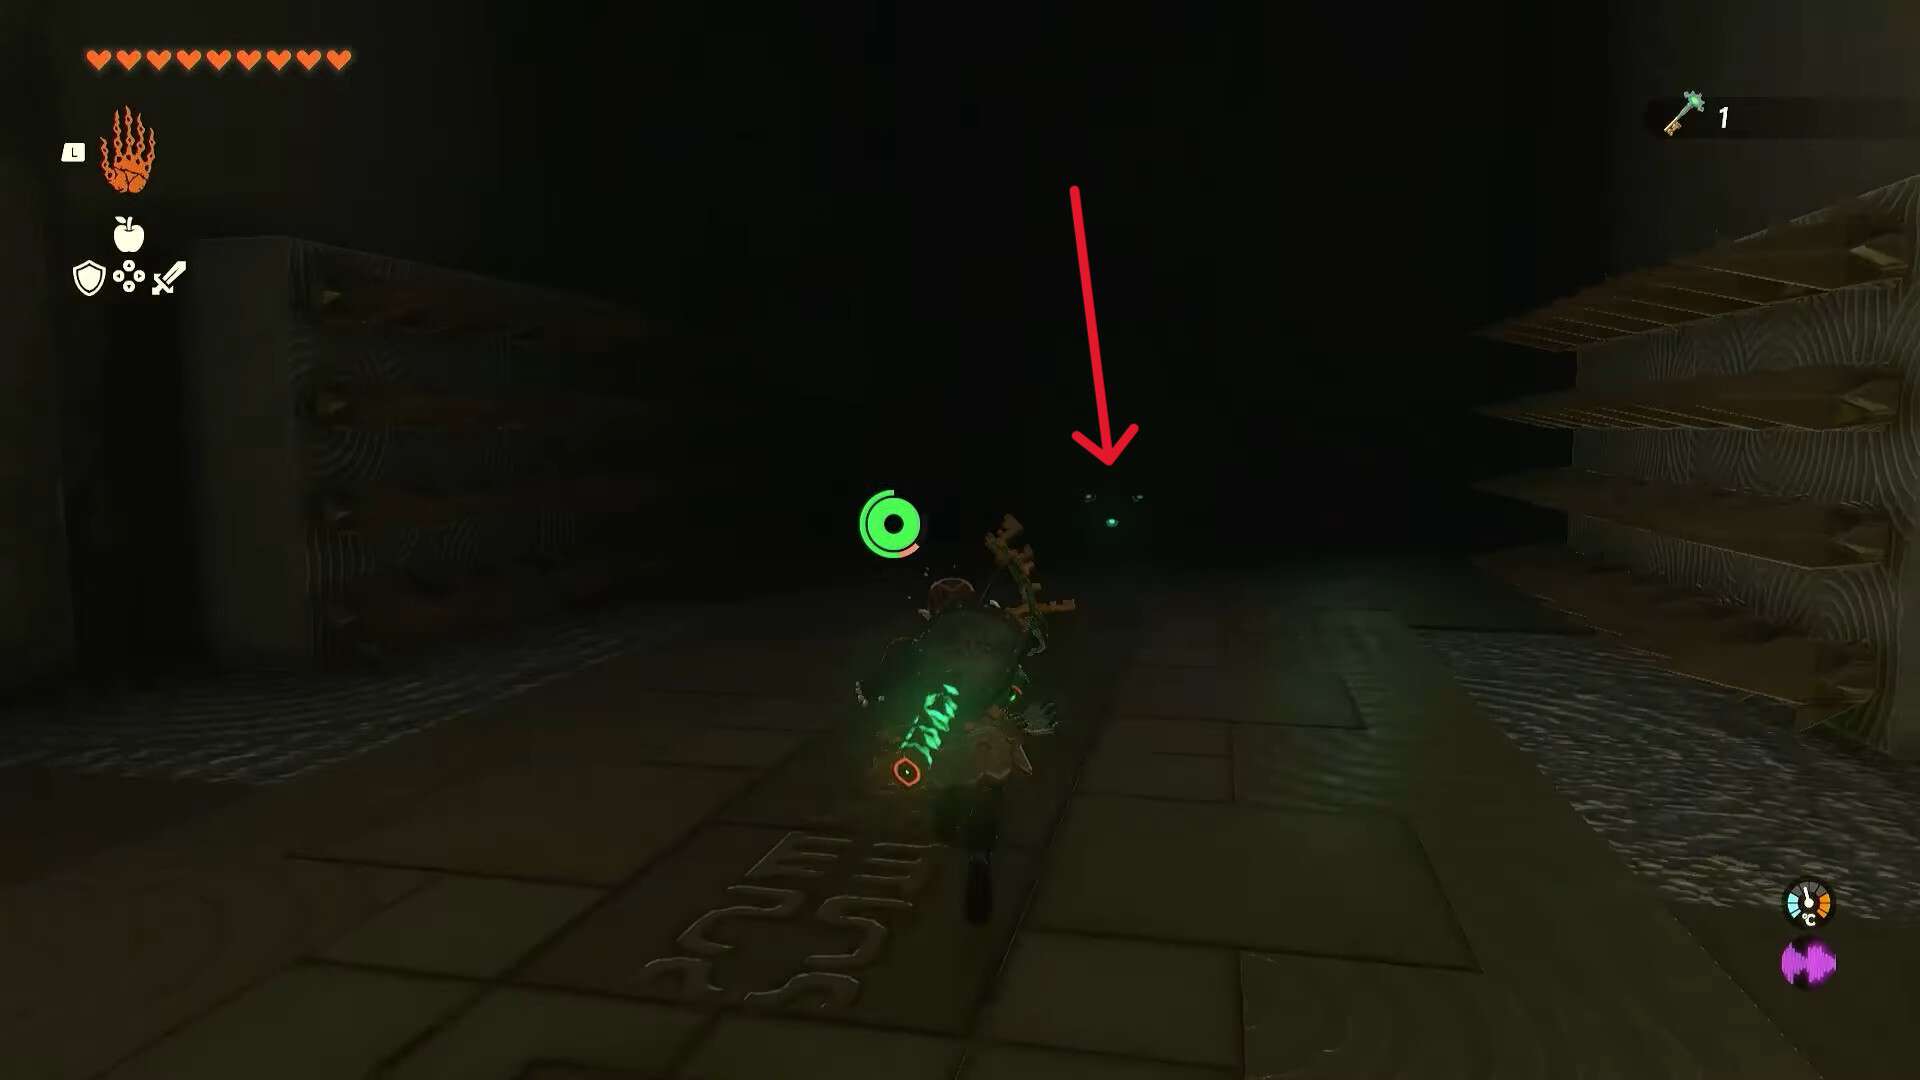
7. Go back and, this time, turn left after the trap. Make another left and then turn right to come across another spiky trap. Open it to obtain a Luminous Stone.

8. Go back and take two left turns to come across a wall with a removable tile. There is a treasure chest behind it. Drag it out to obtain an Ember.
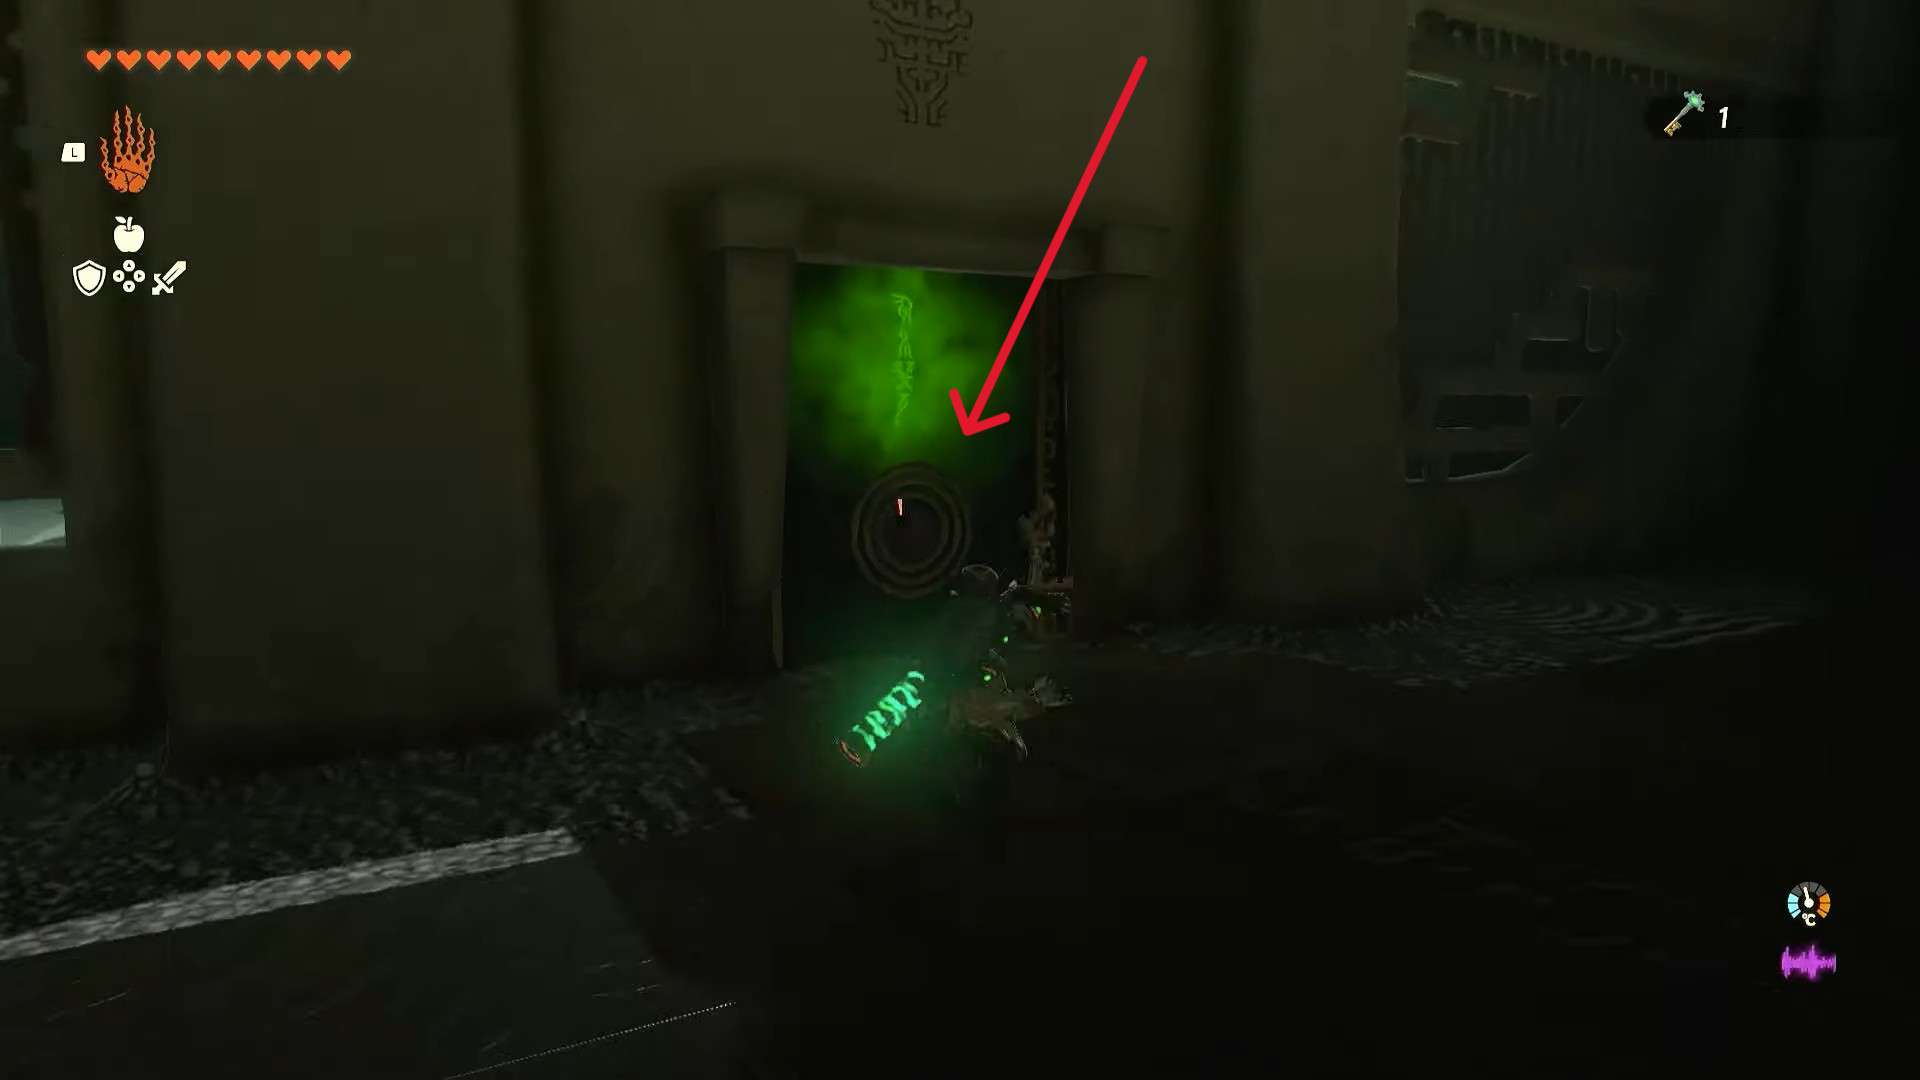
9. Return to the beginning of the shrine to find the locked door of the altar room. Open it with the small key and collect the Light of Blessing from the statues of Rauru and Sonia as a reward.