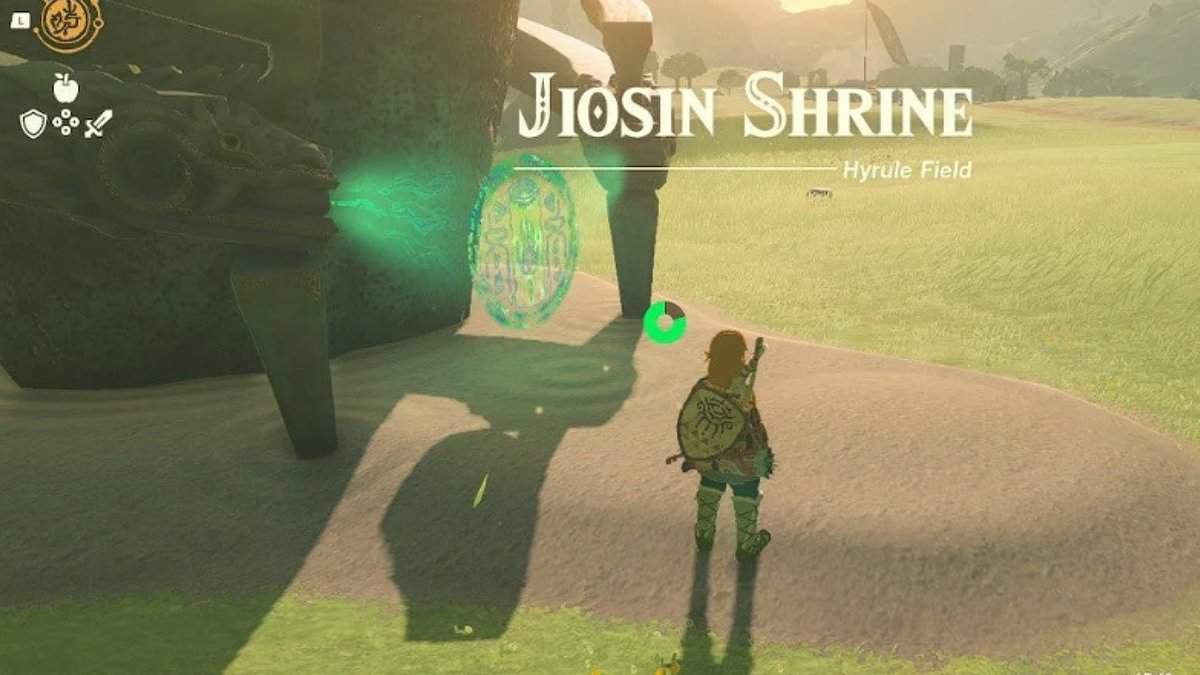
Jiosin Shrine involves manipulating objects and changing their orientation using the Ultrahand ability. It is one of the earliest land shrines and offers a moderately difficult puzzle to solve. While this basic function of rotating objects becomes available as soon as you get Ultrahand ability, you will only learn to use it properly once you reach Jiosin Shrine in Zelda: Tears of the Kingdom. We can’t emphasize the importance of this feature and why you should prioritize this shrine.
Jiosin Shrine Location in Zelda: TotK

Jiosin Shrine is in the Southern part of Hyrule Field, right next to Hyrule Field Chasm. To find this shrine, travel exactly south from the Lookout Landing Skyview Tower.
Its exact coordinates are (-0241, -0369, 0027).
Jiosin Shrine Walkthrough

You will be presented with the Shape Rotation trial as soon as you enter the Jiosin Shrine. This puzzle aims to rotate objects using the Ultrahand ability and pass them through specific shaped holes.

1. Enter the first room to the left and pick up the block structure with Ultrahand. Pass the blocks through the X-shaped hole in the wall. There is no need to rotate it.

2. Once outside, pick up this structure once more and rotate it to create a bridge. Place the bridge over the gap to enter the next area of the Jiosin shrine in Zelda: Tears of the Kingdom.

3. Go into the room to the right and pick up two blocks connected vertically.

4. Rotate the blocks to the right and make them lie down to match the hole in the wall.

5. Take them out, rotate them once more, and place them in the depression at the end of the corridor. Climb these blocks to find a treasure chest above. Open it to obtain a Hasty Elixir.

6. Climb down and look at the left wall to notice a new shape in the wall.

7. Pick up the blocks again and rotate them vertically this time to match the hole shape.

8. Pick up the blocks one last time and rotate them to create steps. Place them near the ledge leading to the altar room.
9. Climb the steps to enter the altar room and collect the Light of Blessing by interacting with Rauru and Sonia’s statues.
