Gutanbac Shrine is the last of the three shrines on the Great Sky Island that you need to solve to open the door to the Temple of Time in The Legend of Zelda: Tears of the Kingdom.
What makes the Gutanbac Shrine stand out from the others in Zelda: Tears of the Kingdom is its location. During your search for this shrine, you must go through multiple hazardous areas and use your previous abilities just to reach it.
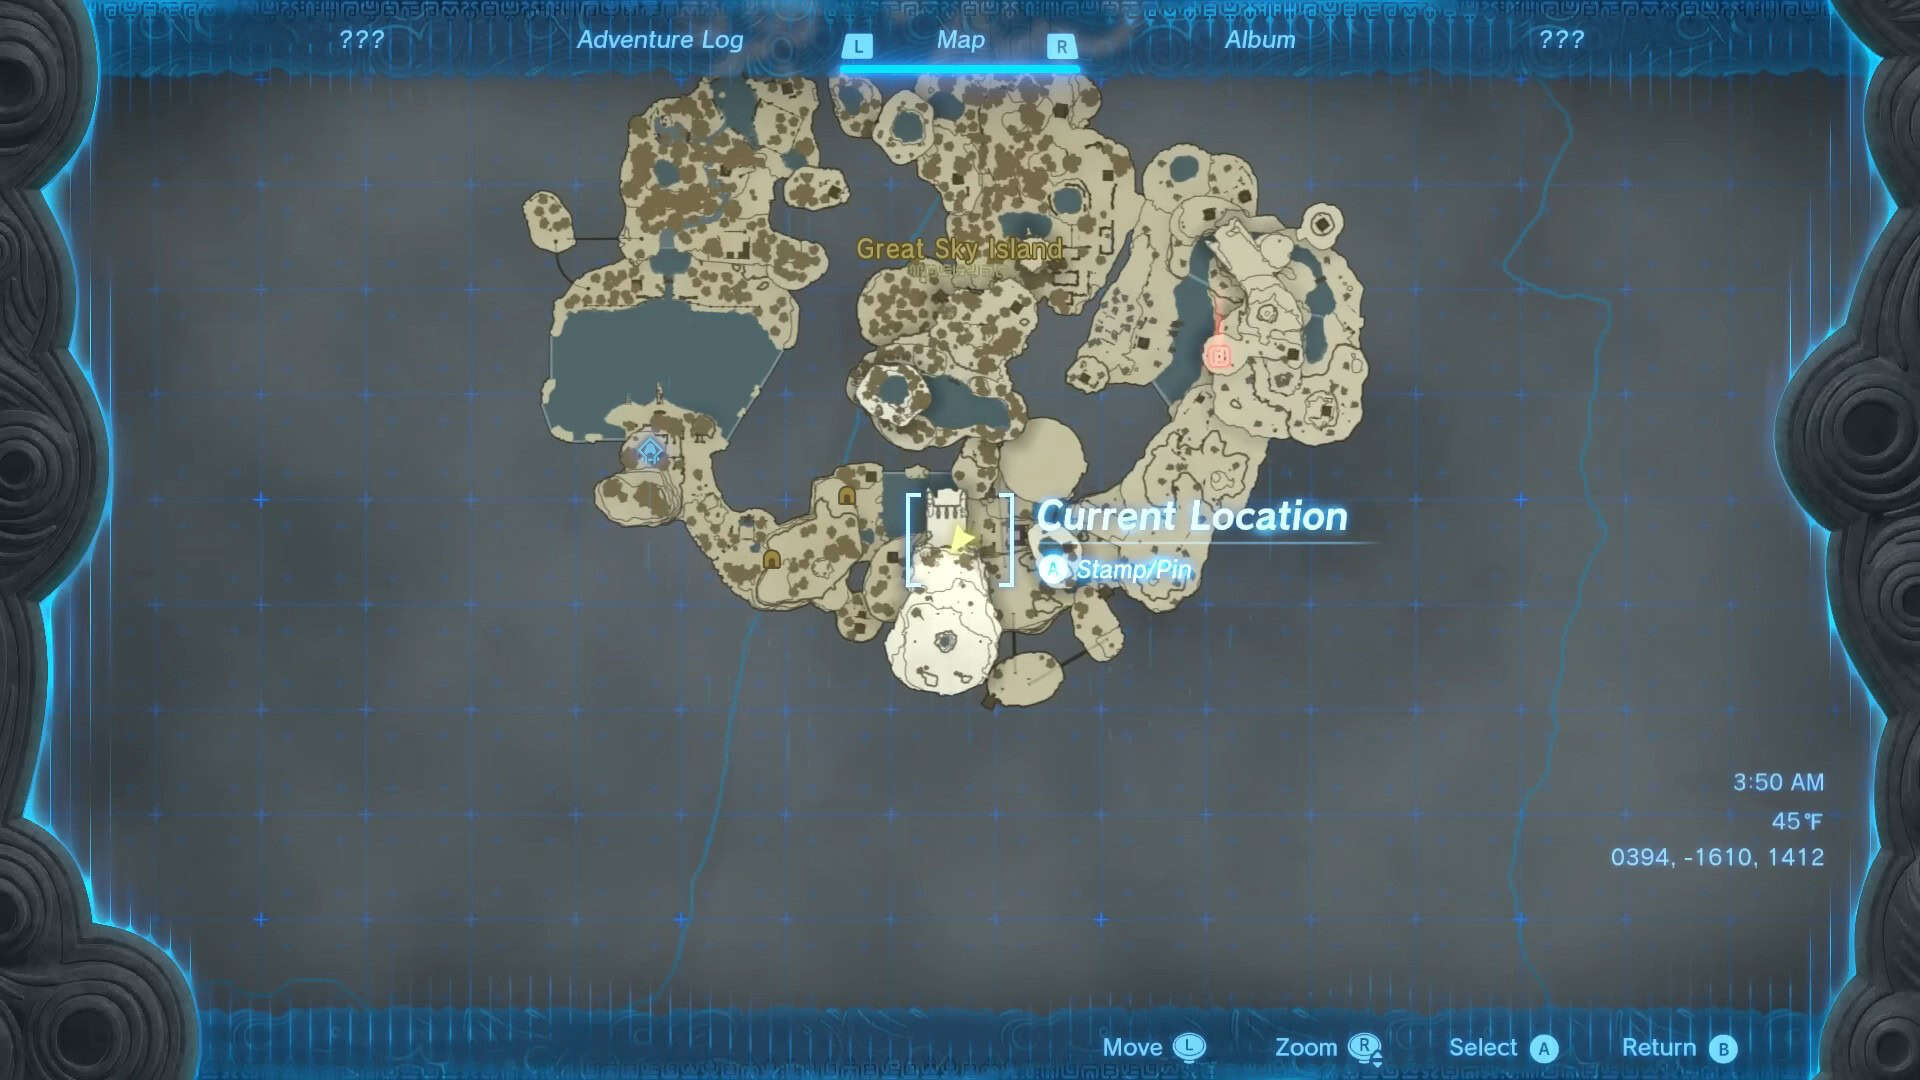
Gutanbac Shrine Location in Zelda: TotK
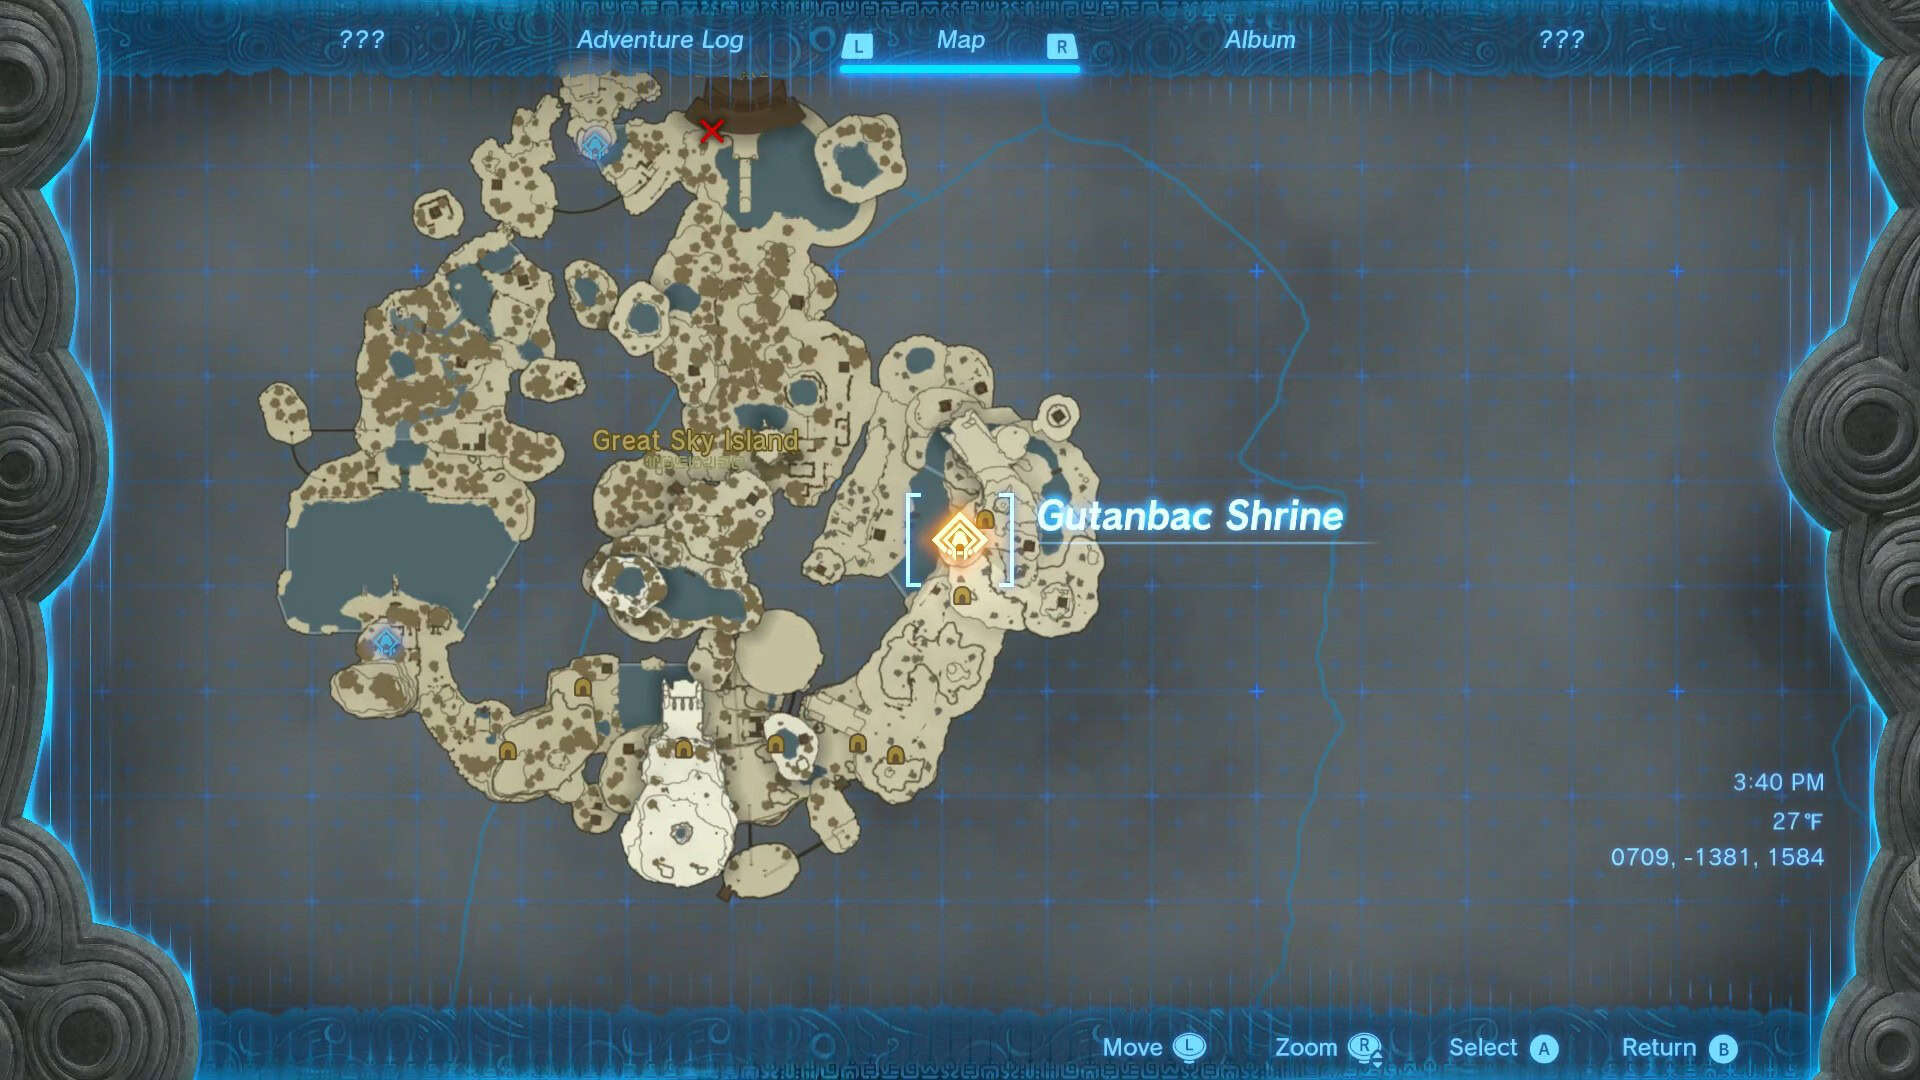
Gutanbac Shrine is in the eastern part of Great Sky Island, the game’s starting point. This area is covered with snow, and traversing it is much more difficult than completing the shrine itself.
The exact coordinates for Gutanbac Shrine in Zelda: Tears of the Kingdom are (0709, -1381, 1584).
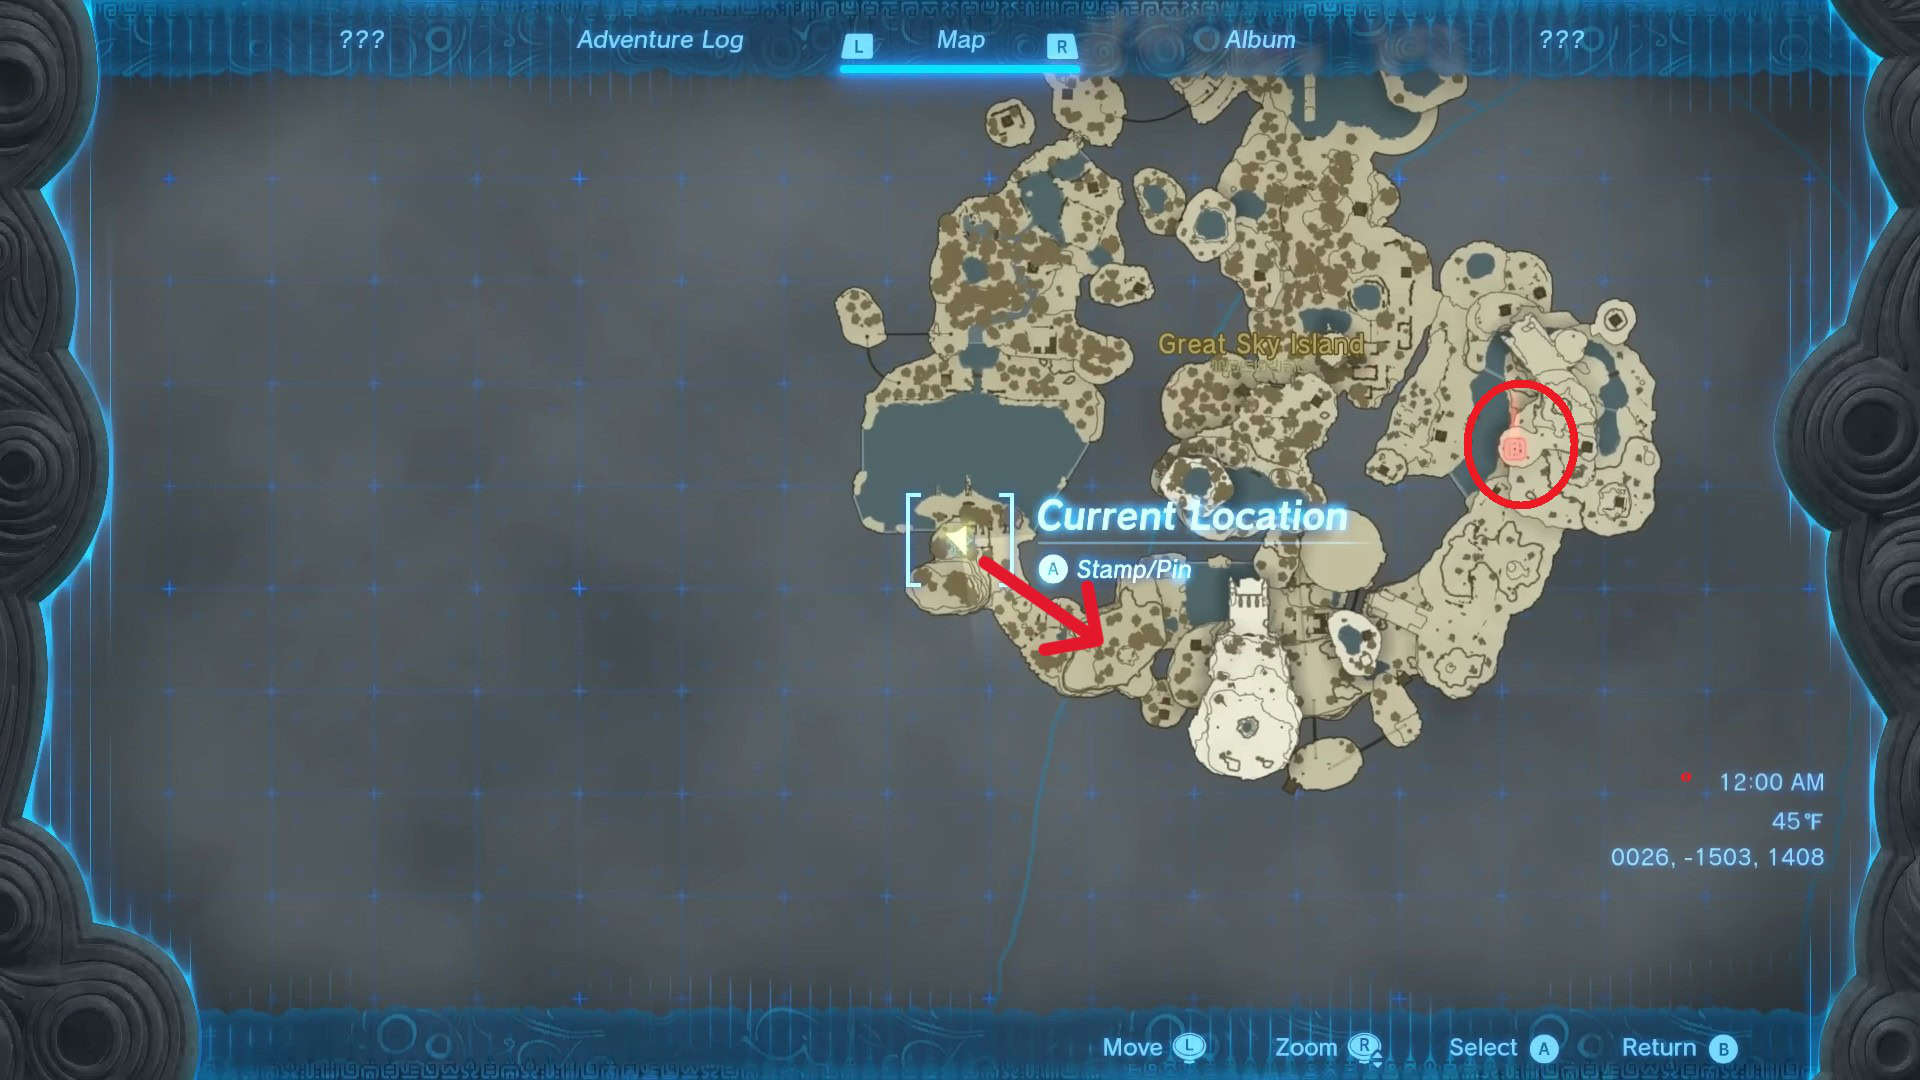
1. Start from the In-isa shrine in the Southwest corner of the map.
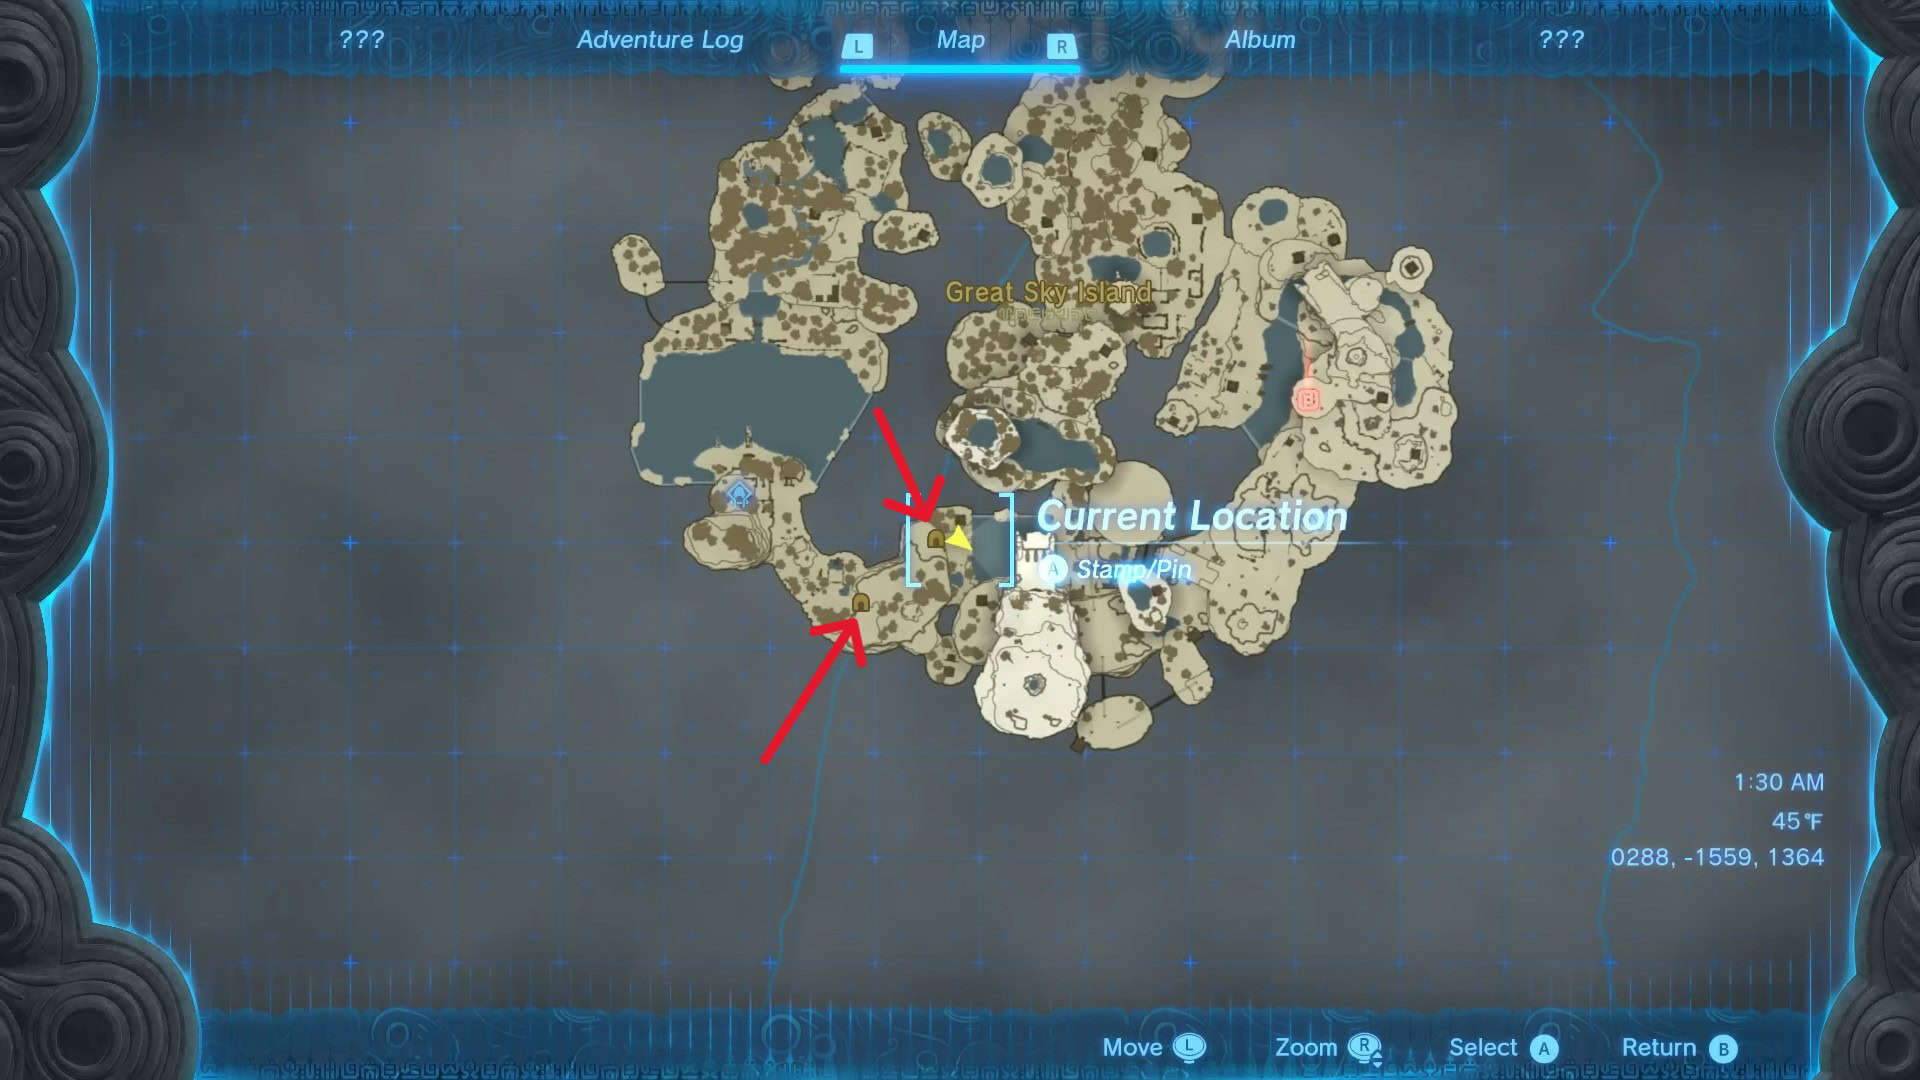
2. Keep going southeast on the map until you reach Pondside Cave. Kill the enemies in your path to collect their parts and take down a Bubbul Frog inside the cave to earn a Bubbul Gem.
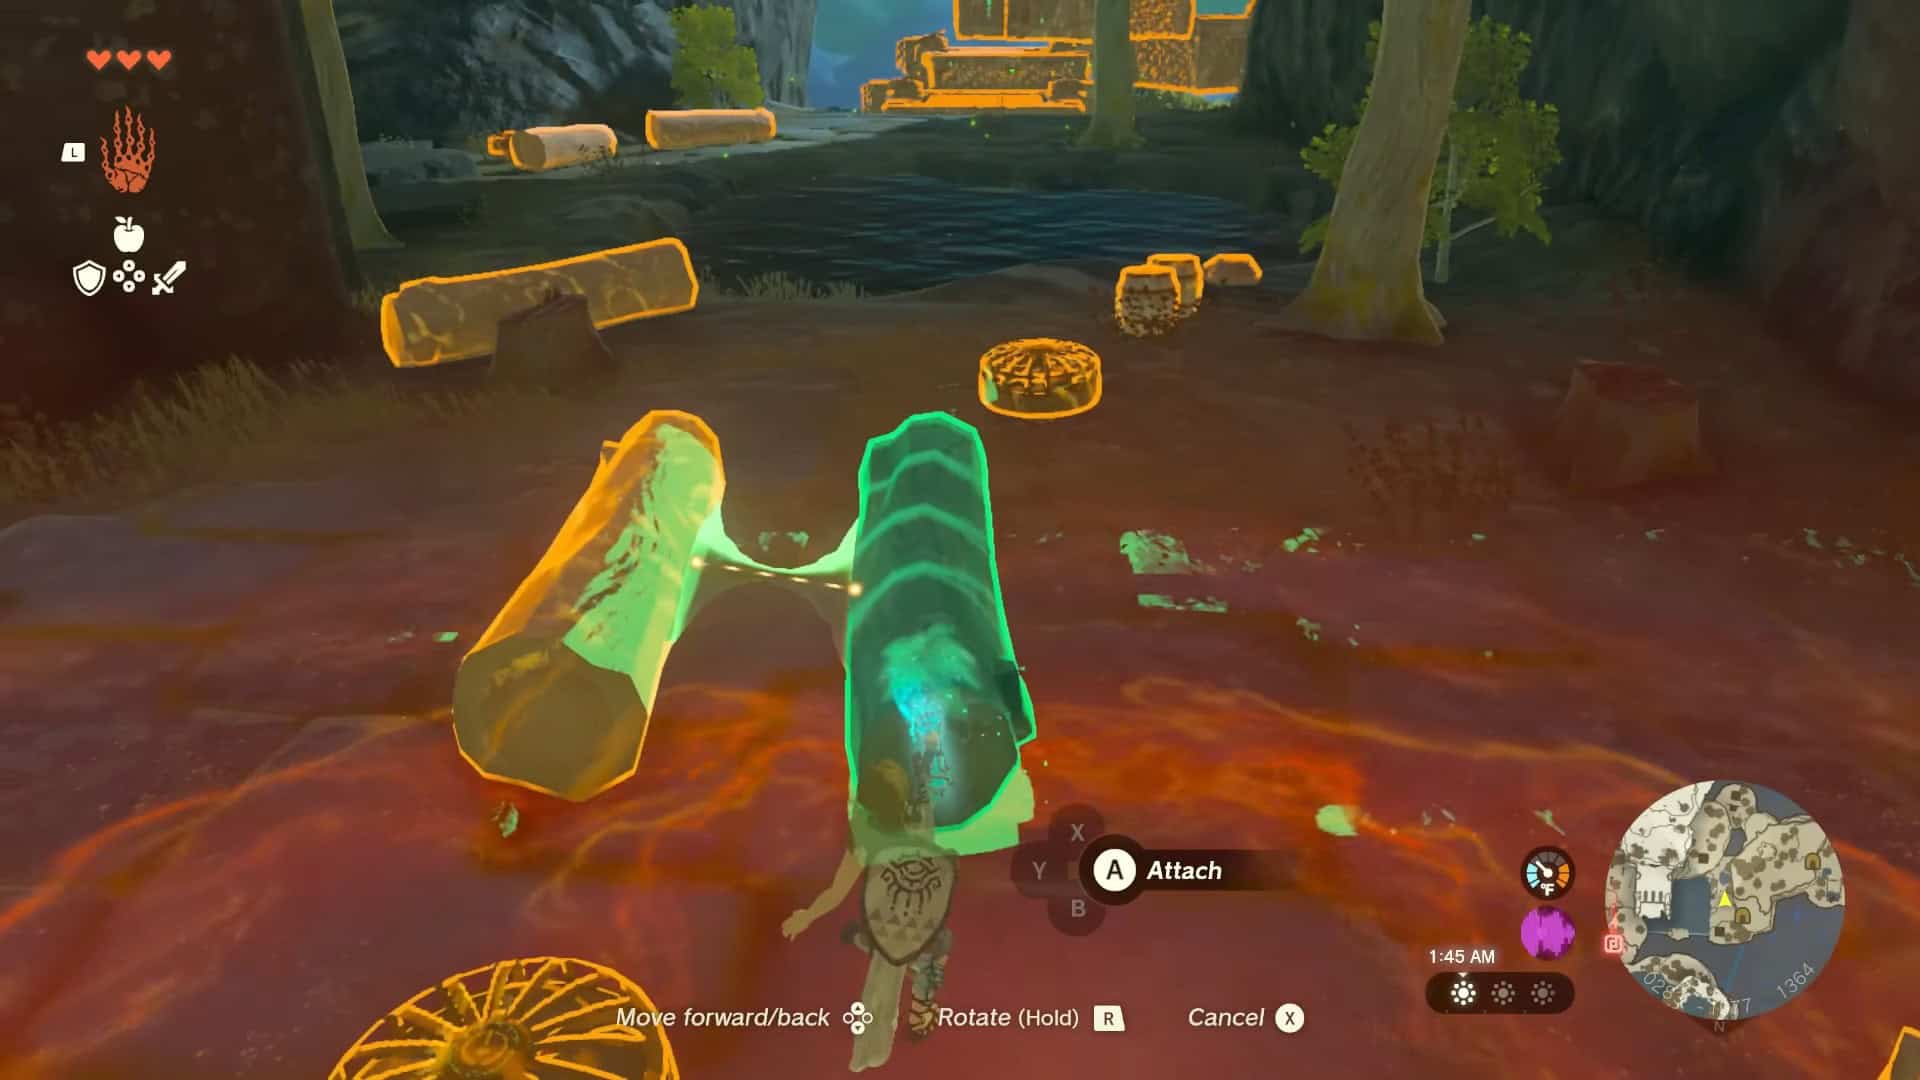
3. Once you come out of the cave from its northern end, talk to some constructs and use your Ultrahand ability to construct a boat.
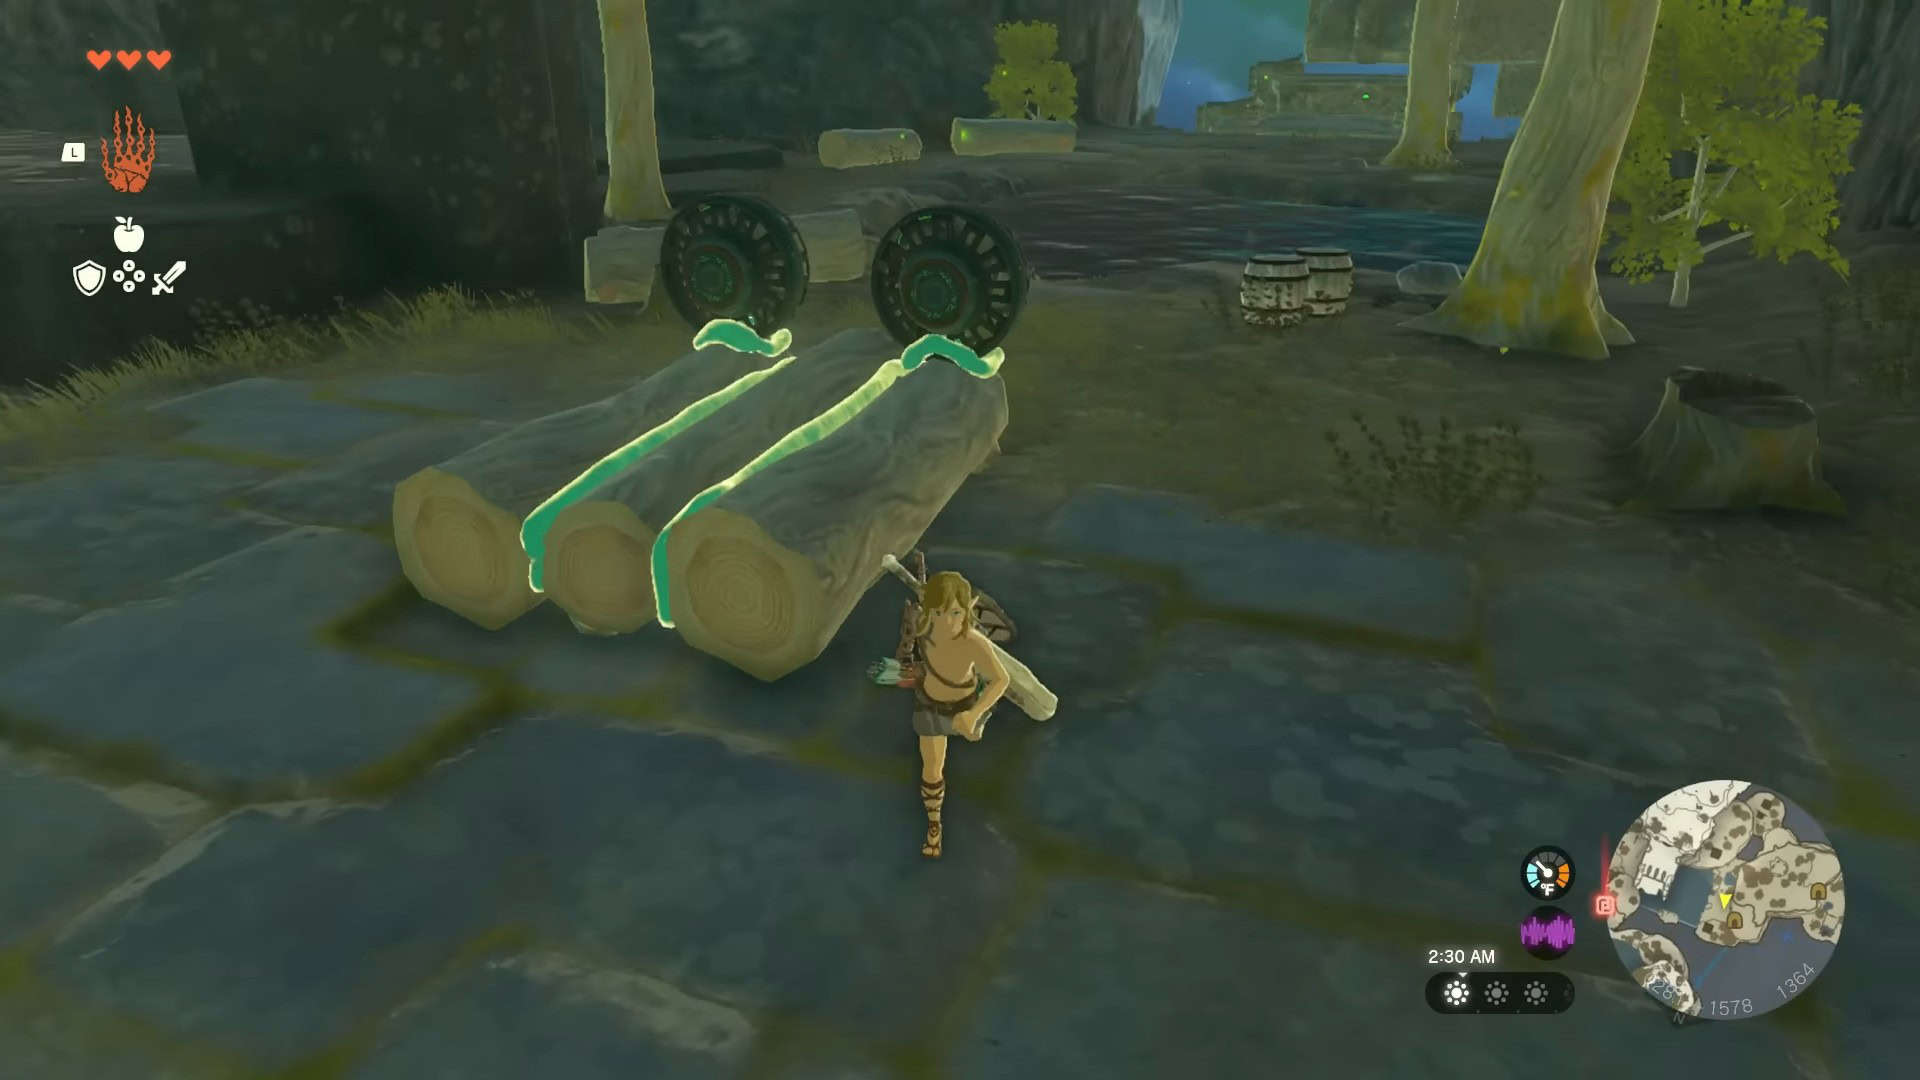
4. Attach three logs and two fans to make a working boat.
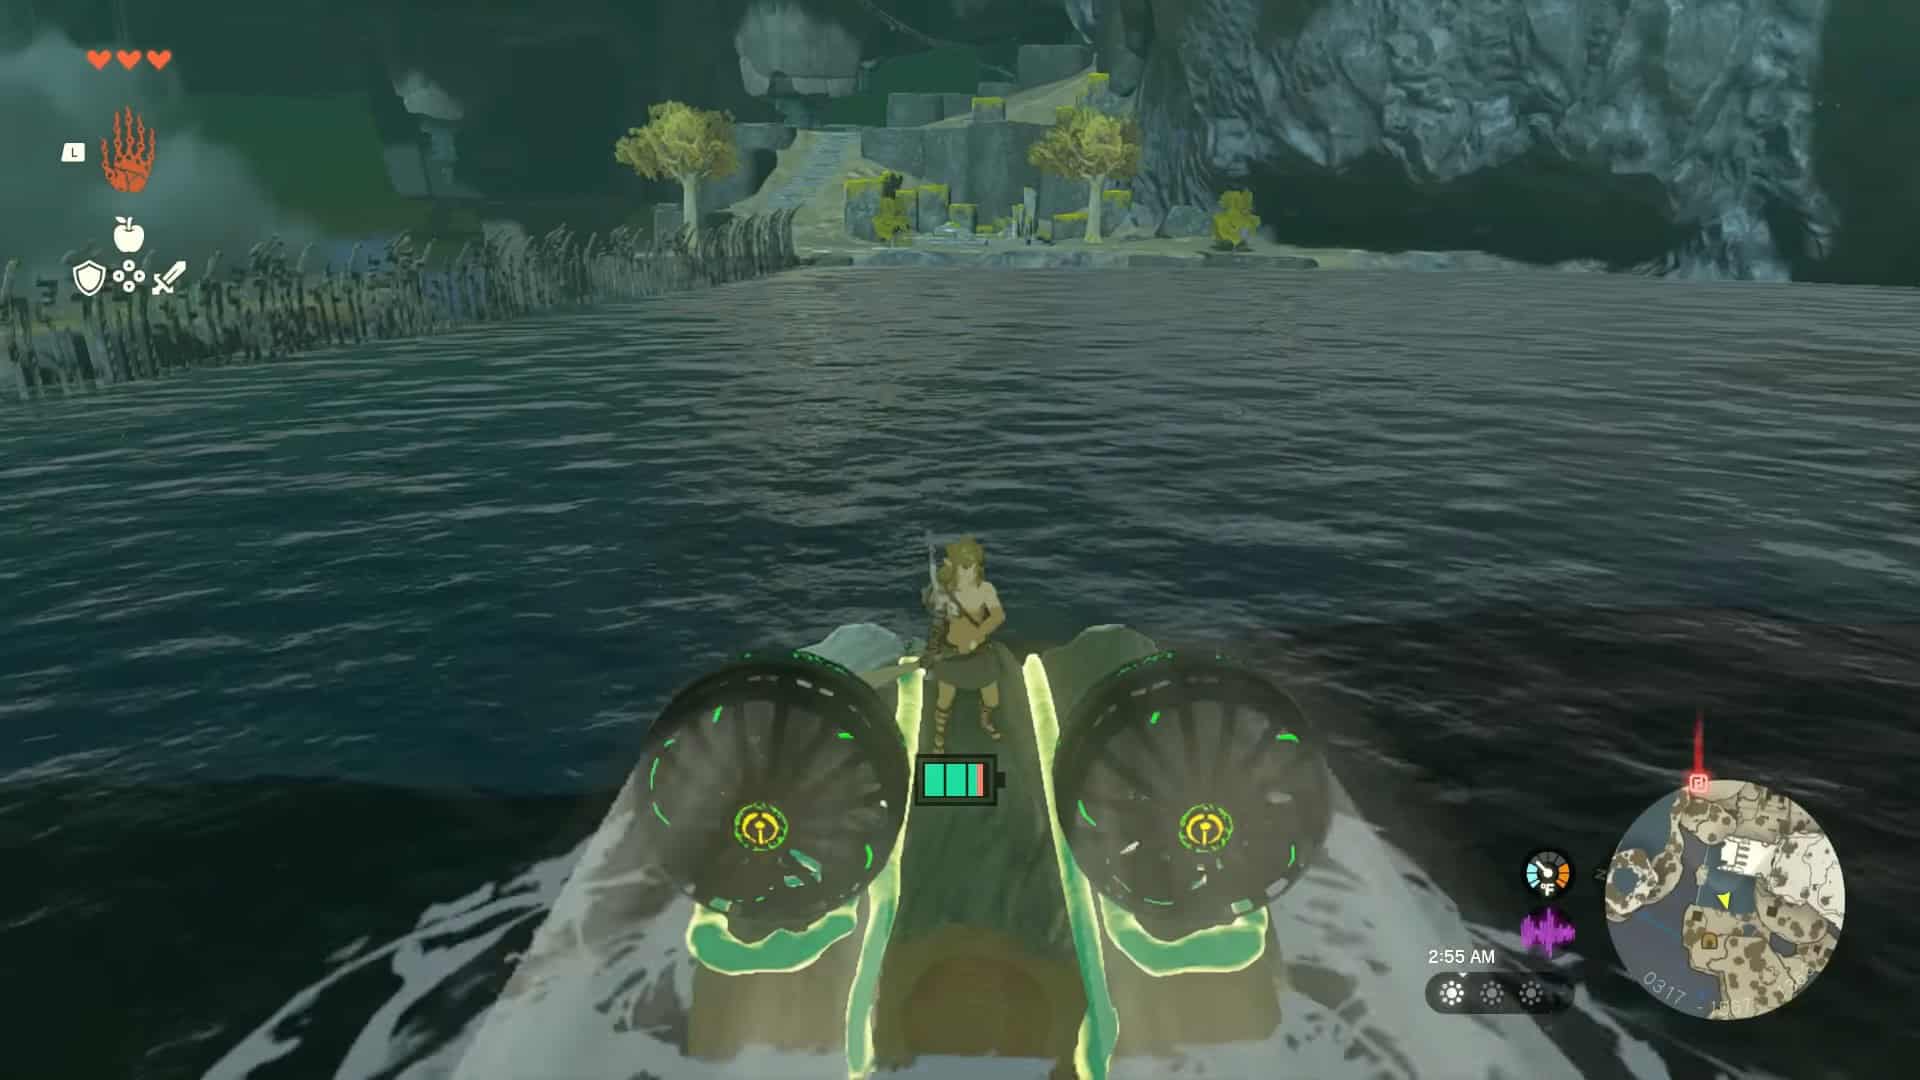
5. Place the boat on the water and hit the fan to activate it. This will be more than enough to take you to the other side of the freezing lake.
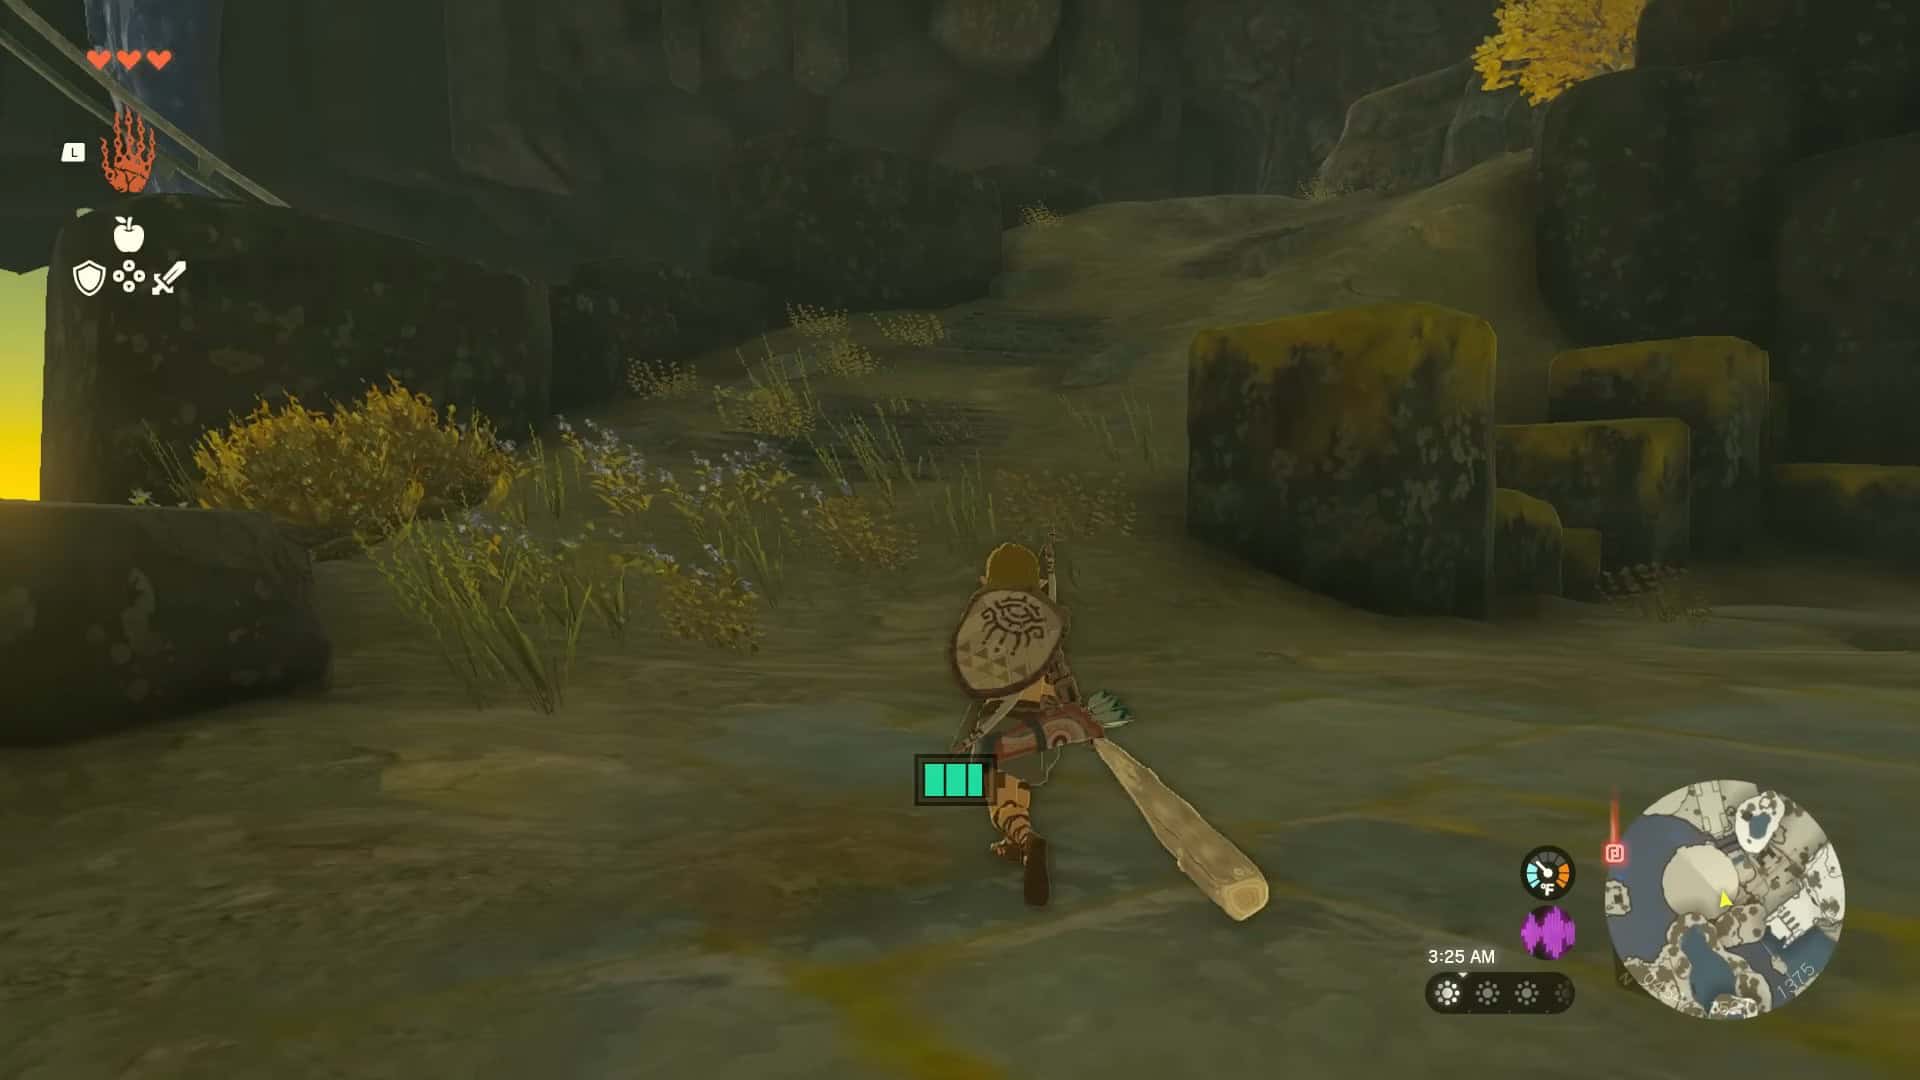
6. Climb the stairs in this area to keep going Northeast.
7. Once you reach the top, you will come across the Mining Cave.
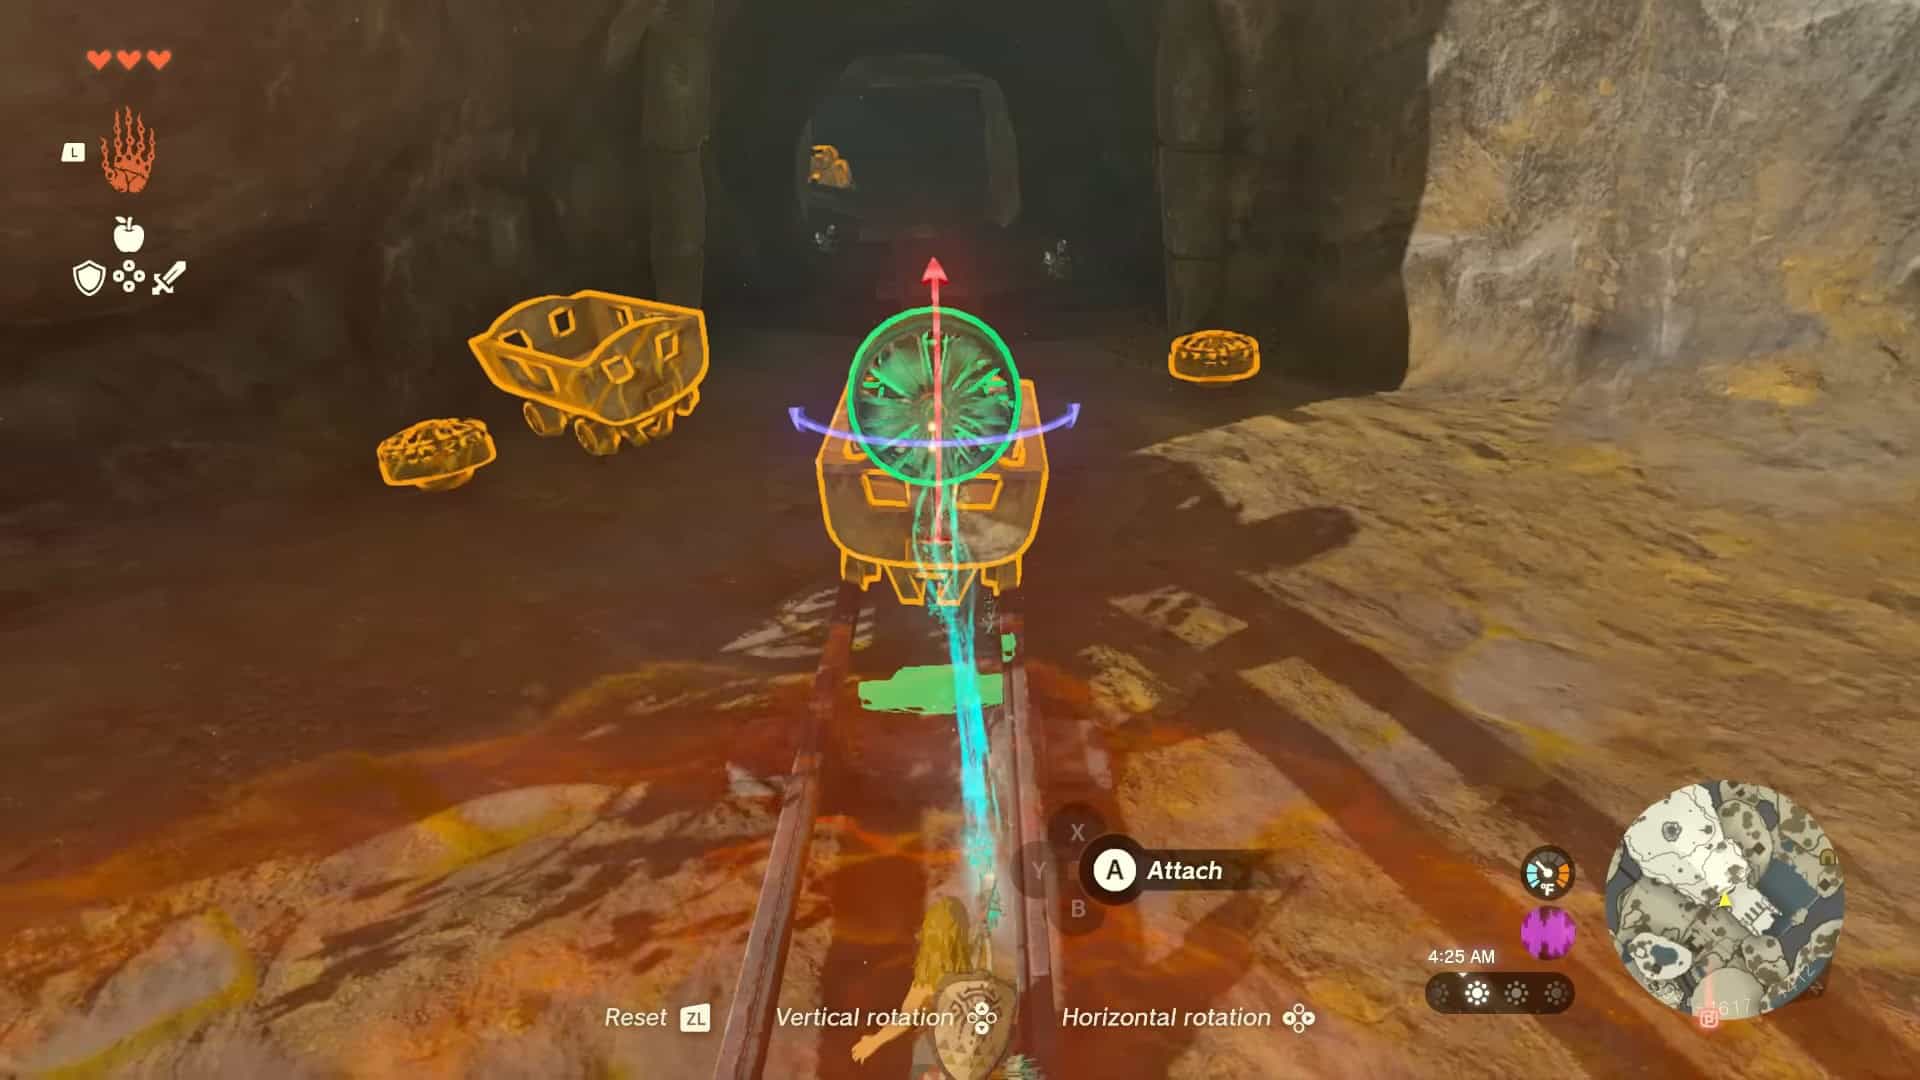
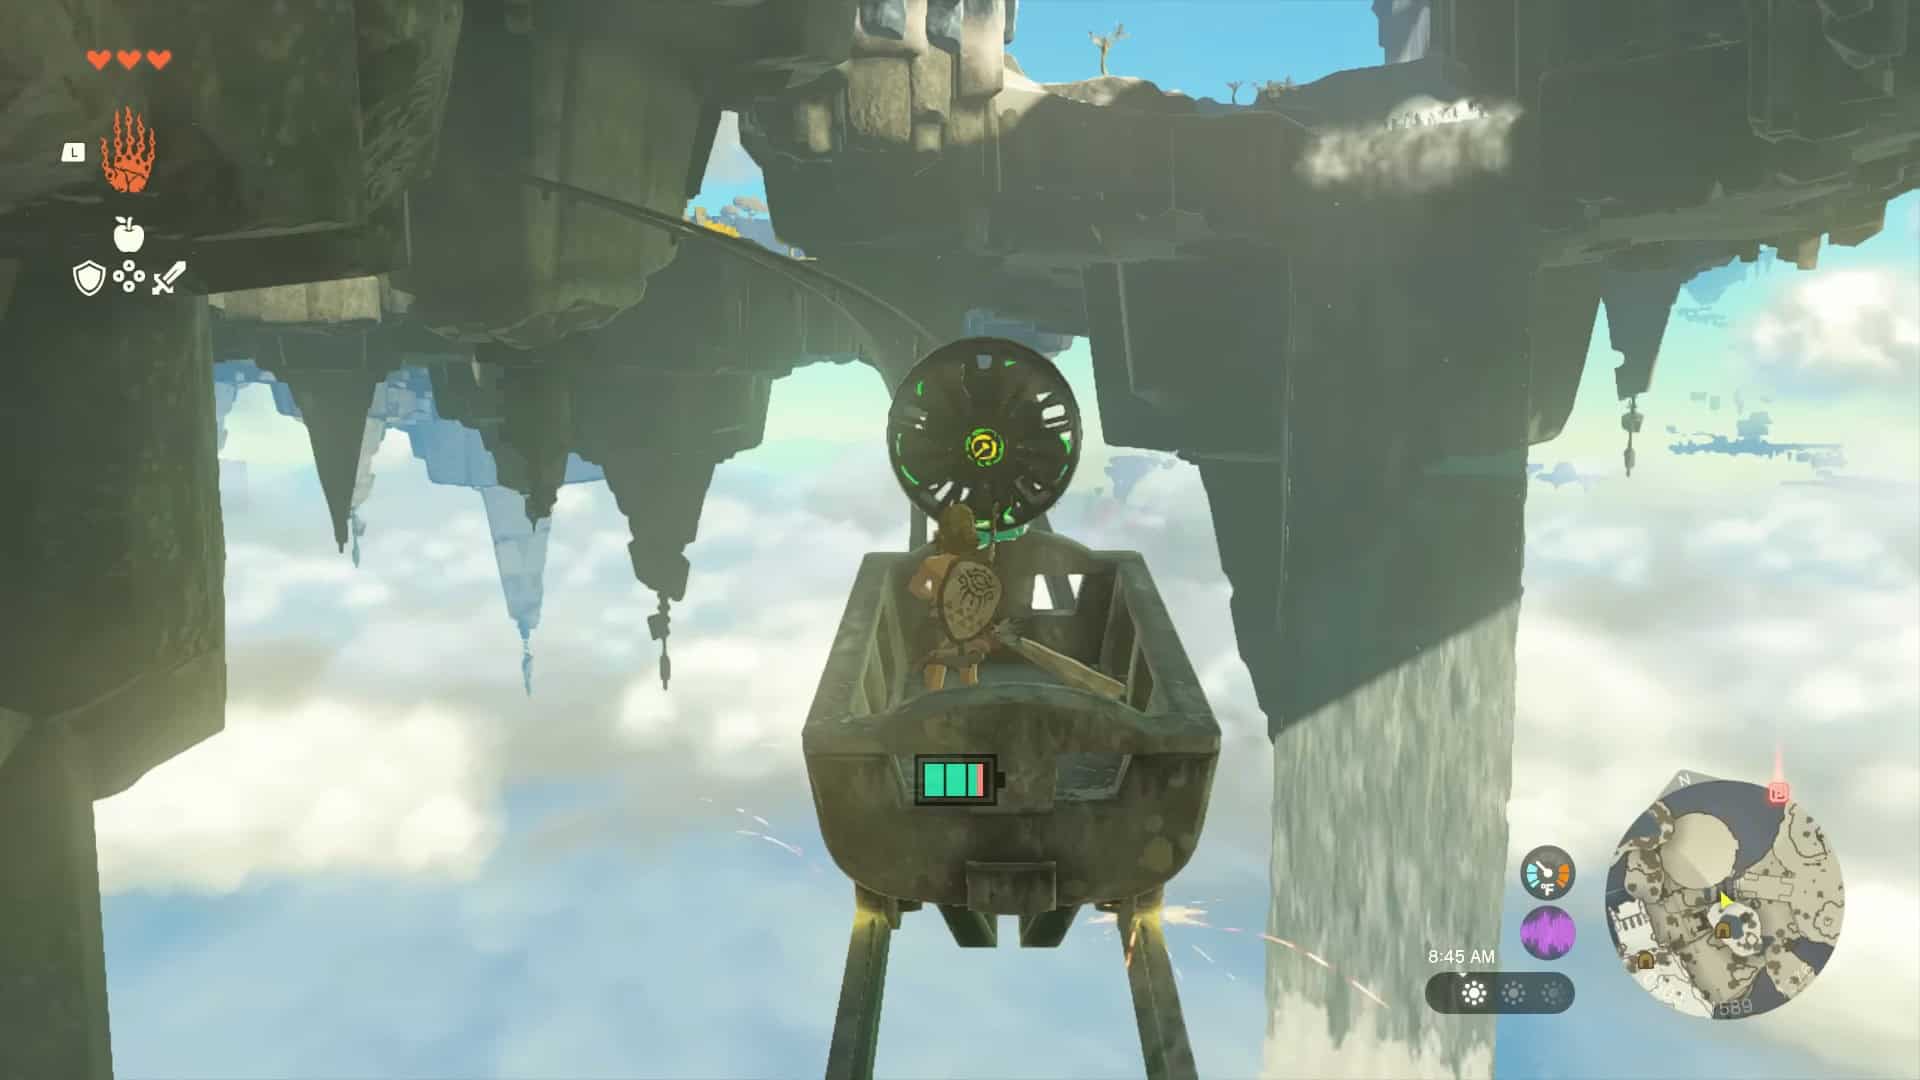
8. Near the railway tracks, there are some trolleys and fans. Use Ultrahand to pick up a fan and attach it to one of the trolleys.
9. Place the trolley on the track and climb it. Hit the fan to activate the trolley.
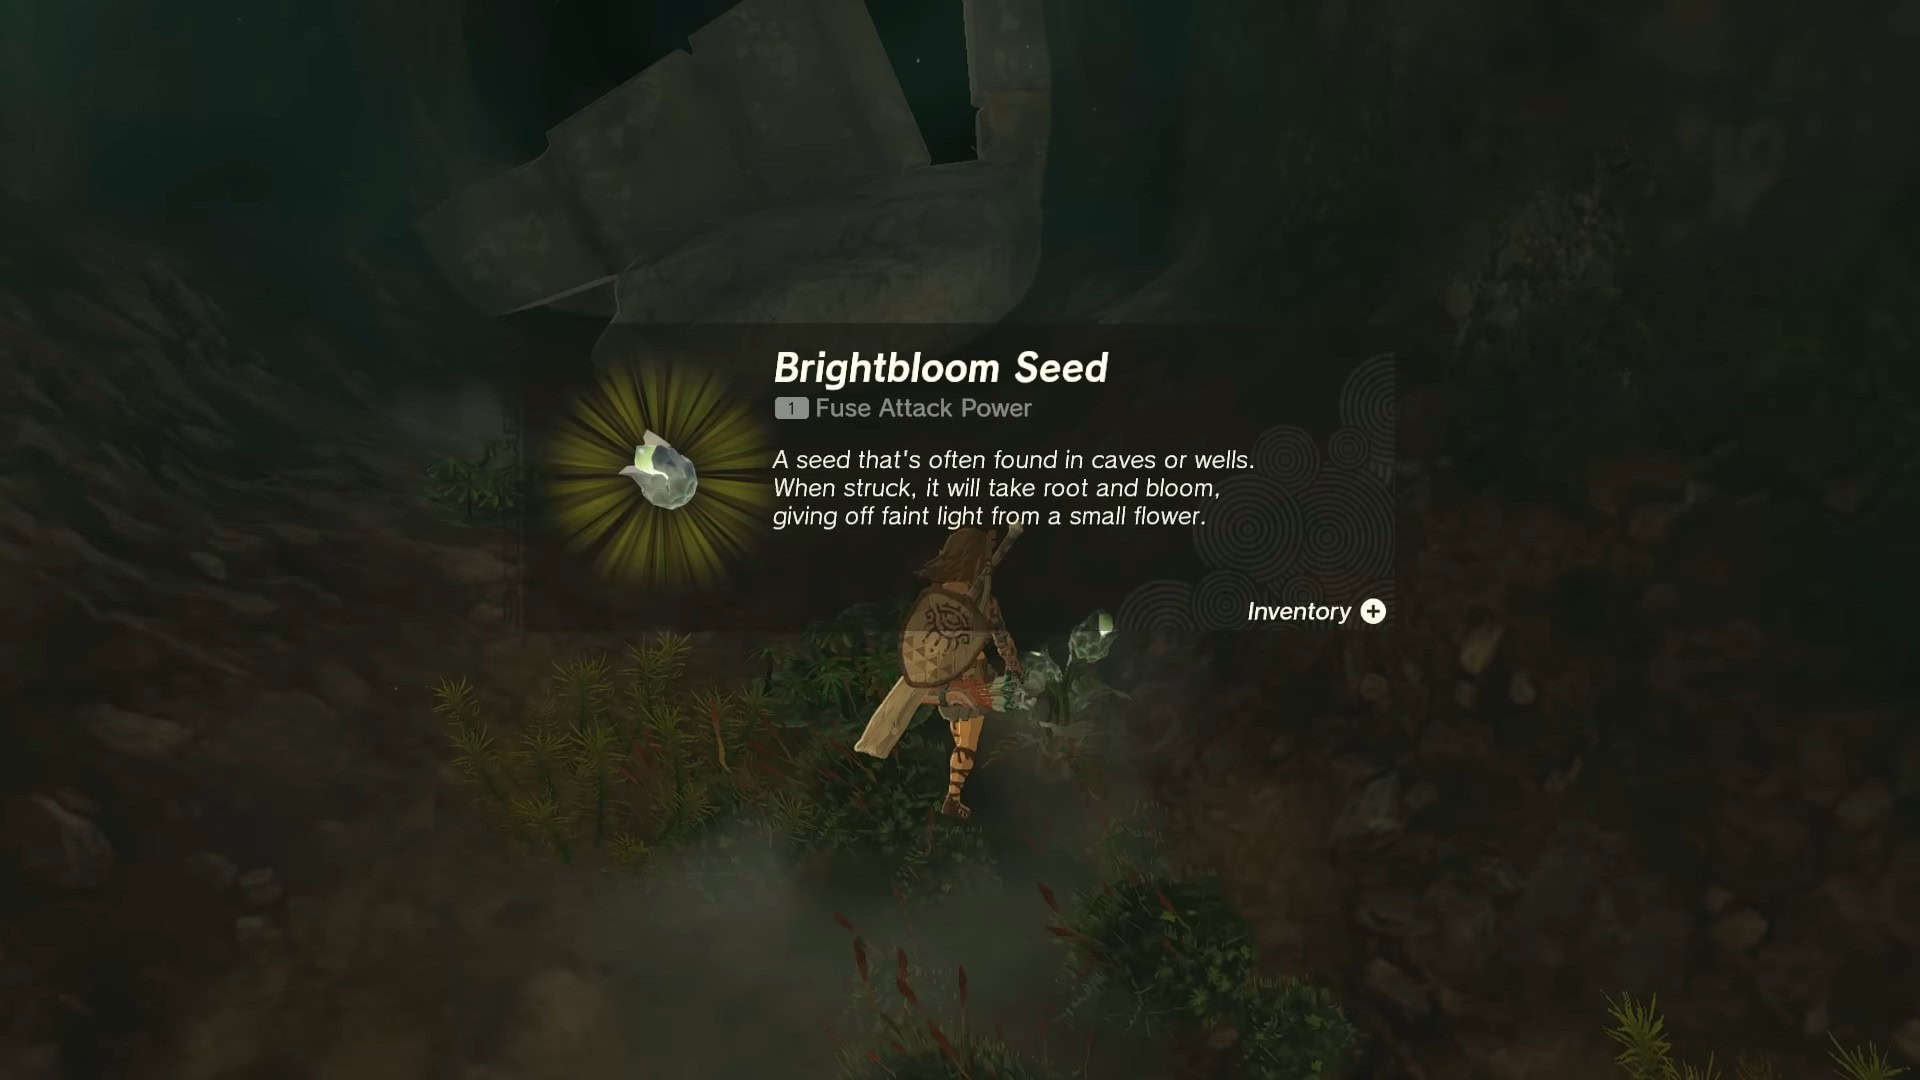
10. Talk to the construct to learn about Brightbloom seeds. Pick up a few, as the Mining Cave is extremely dark.
11. Throw some Brightbloom seeds (Hold R + D-Pad Up) to lighten up the cave.
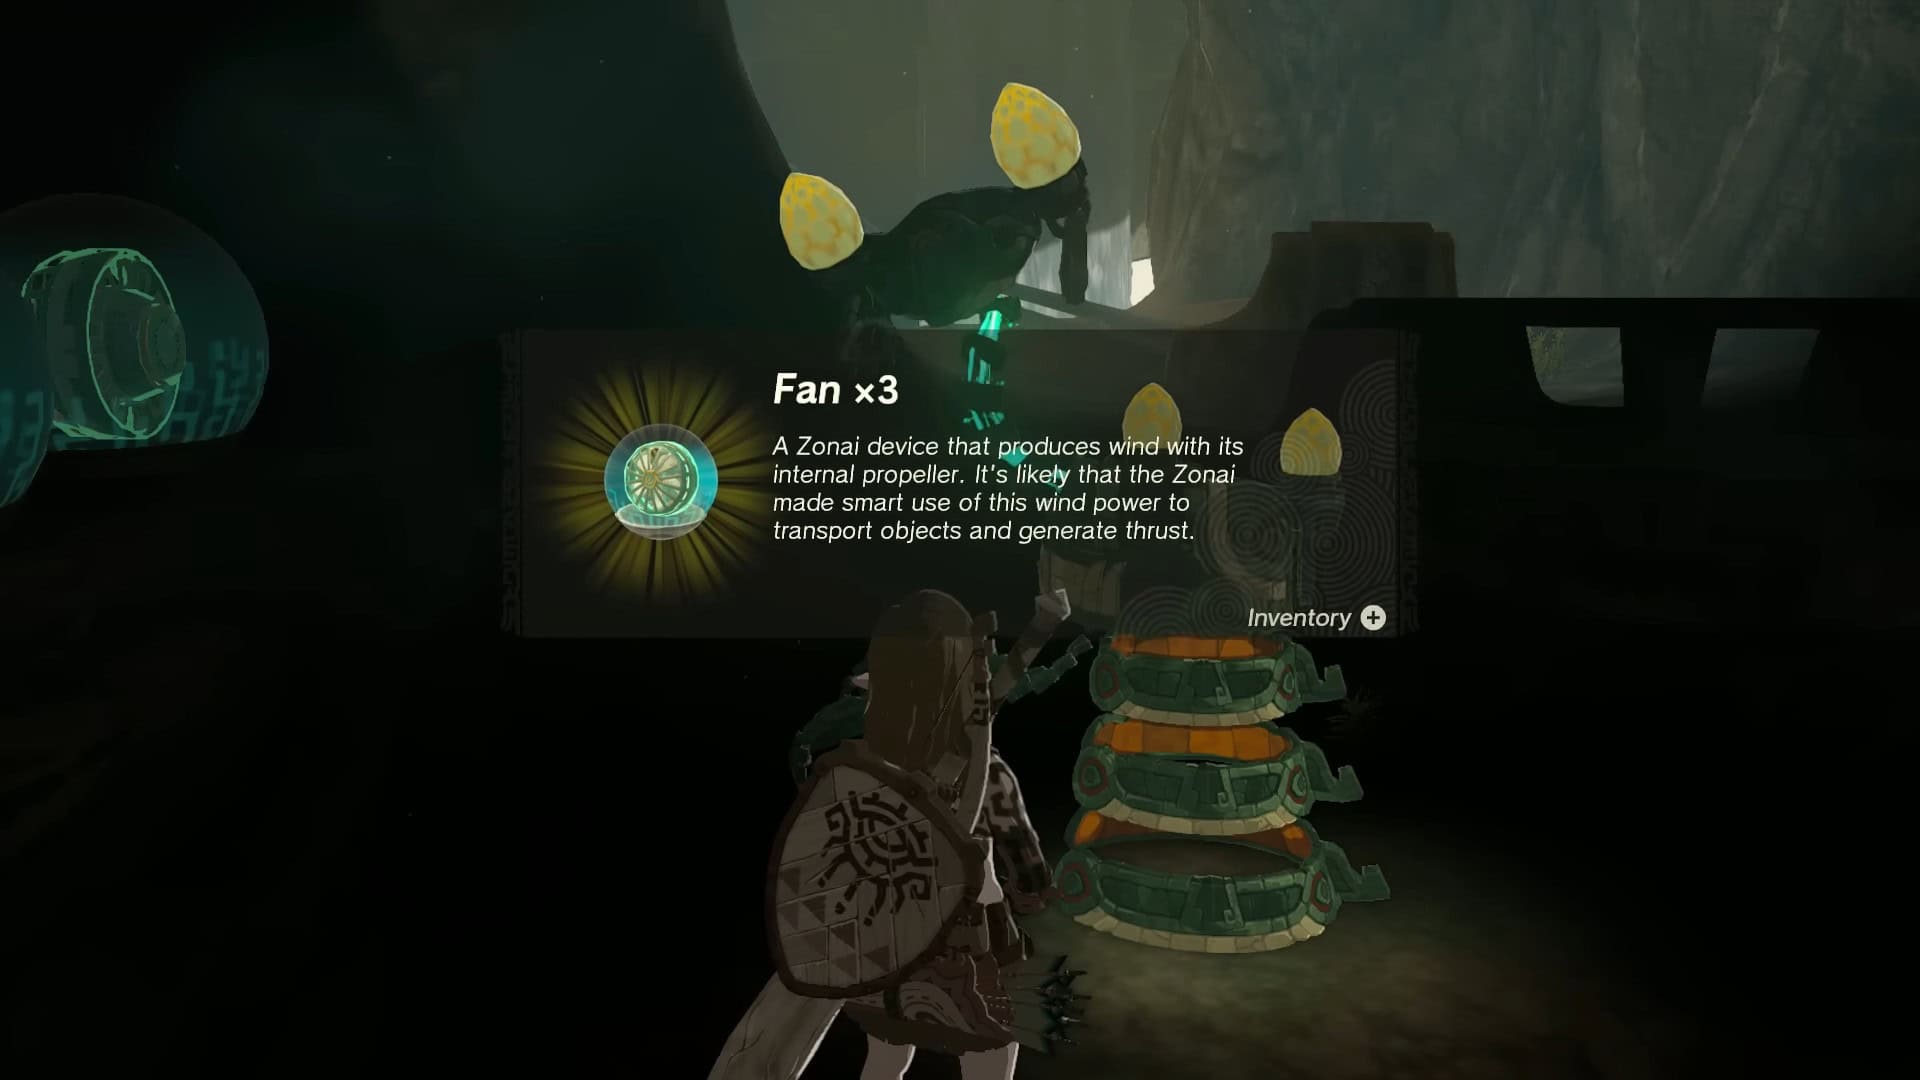
12. Talk to a construct at the exit of the Mining Cave to receive 3x Fans.
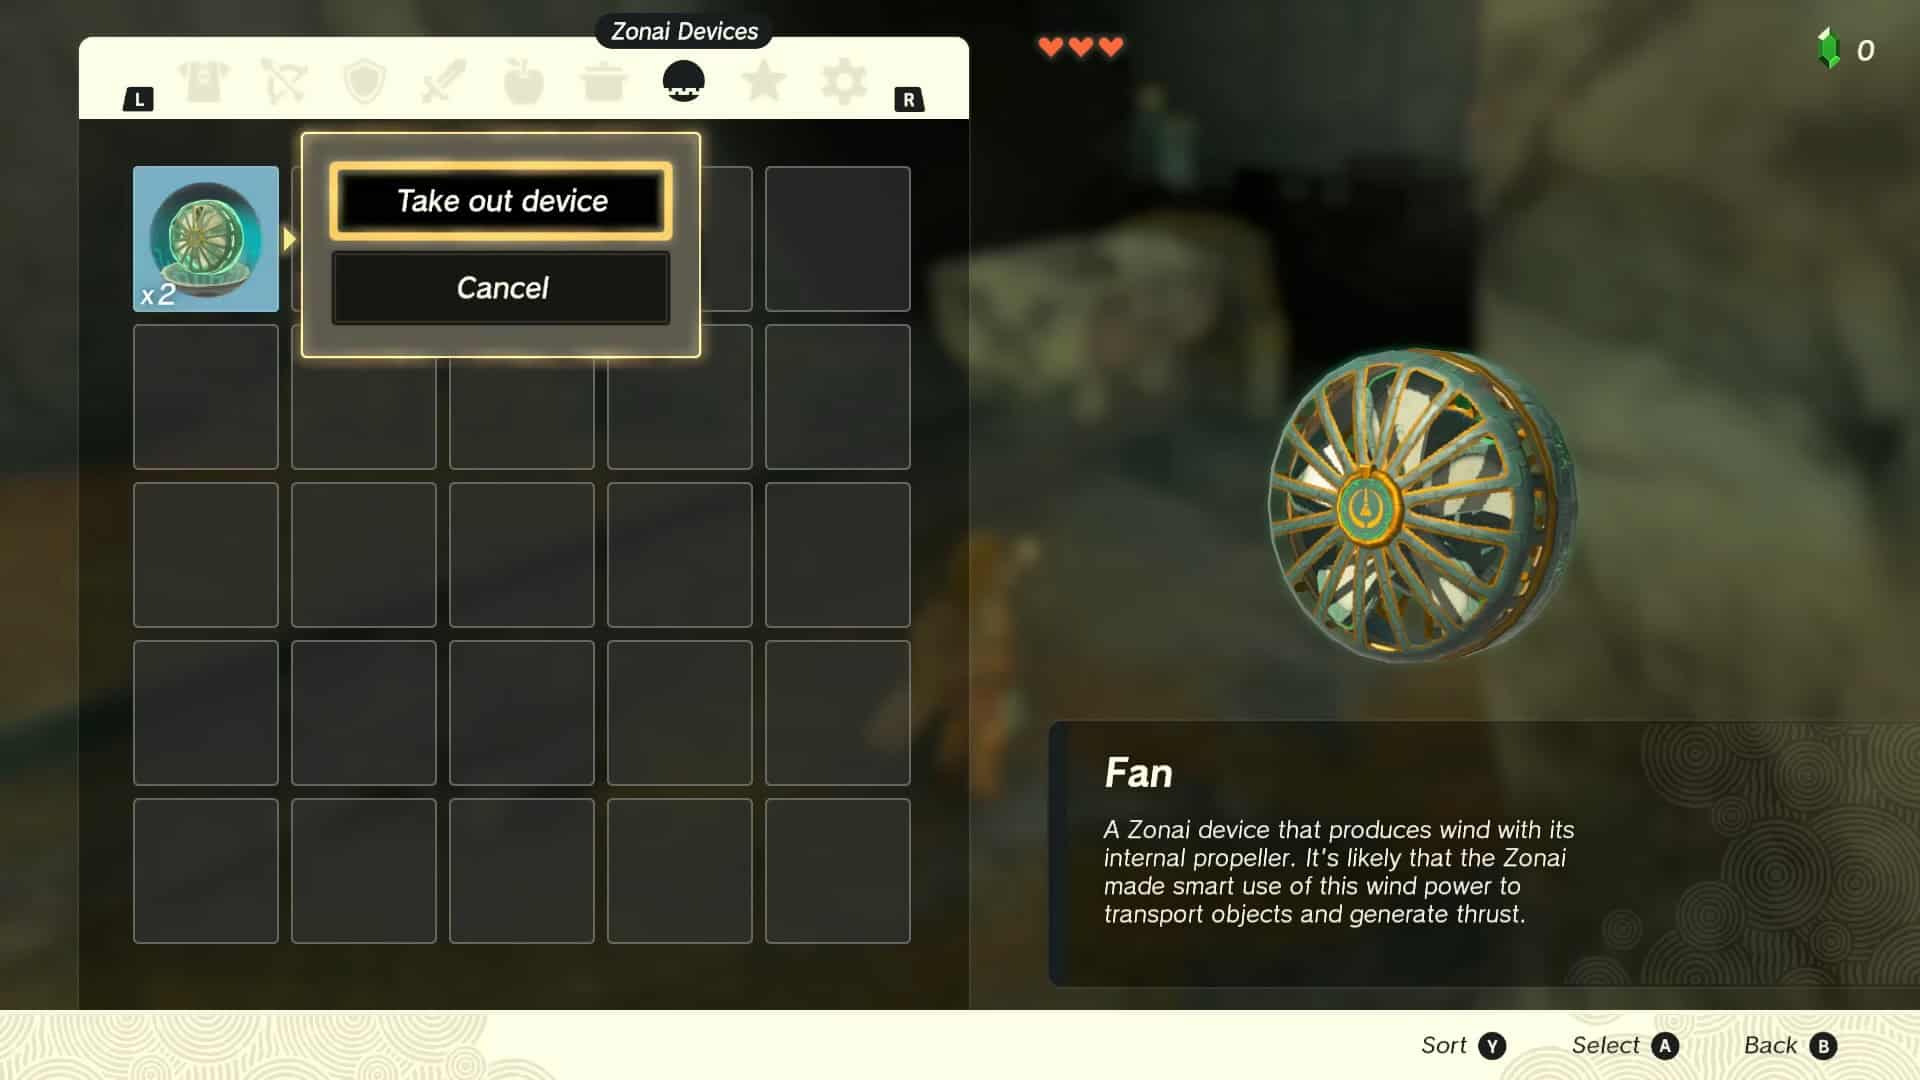
13. Take out a fan from your zonai devices tab and attach it to a trolley present nearby.
14. Place this trolley on the railway track and climb it. Hit it once more to reach the next area.
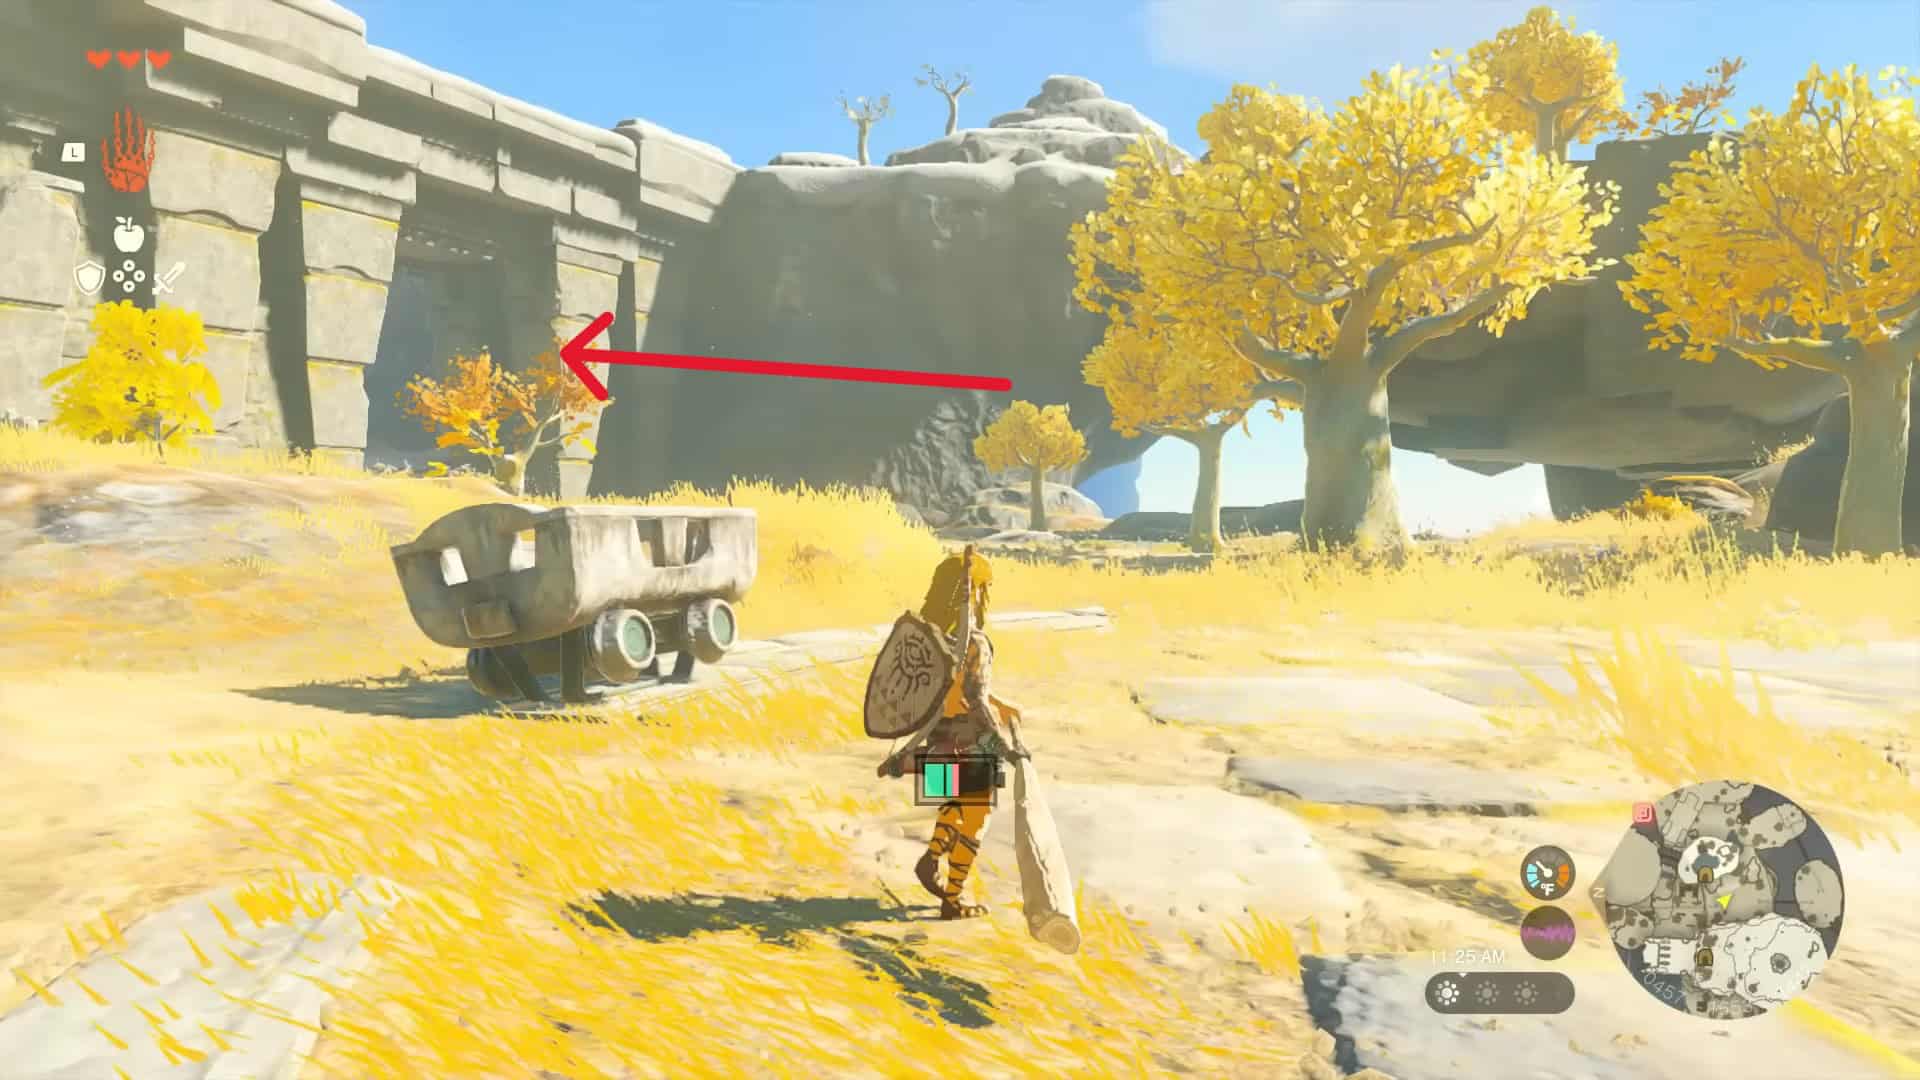
15. After getting off the trolley, turn left to find a massive area covered in snow.
16. Before venturing there, go straight to find the Pit Cave with a construct inside it near a burning pot.
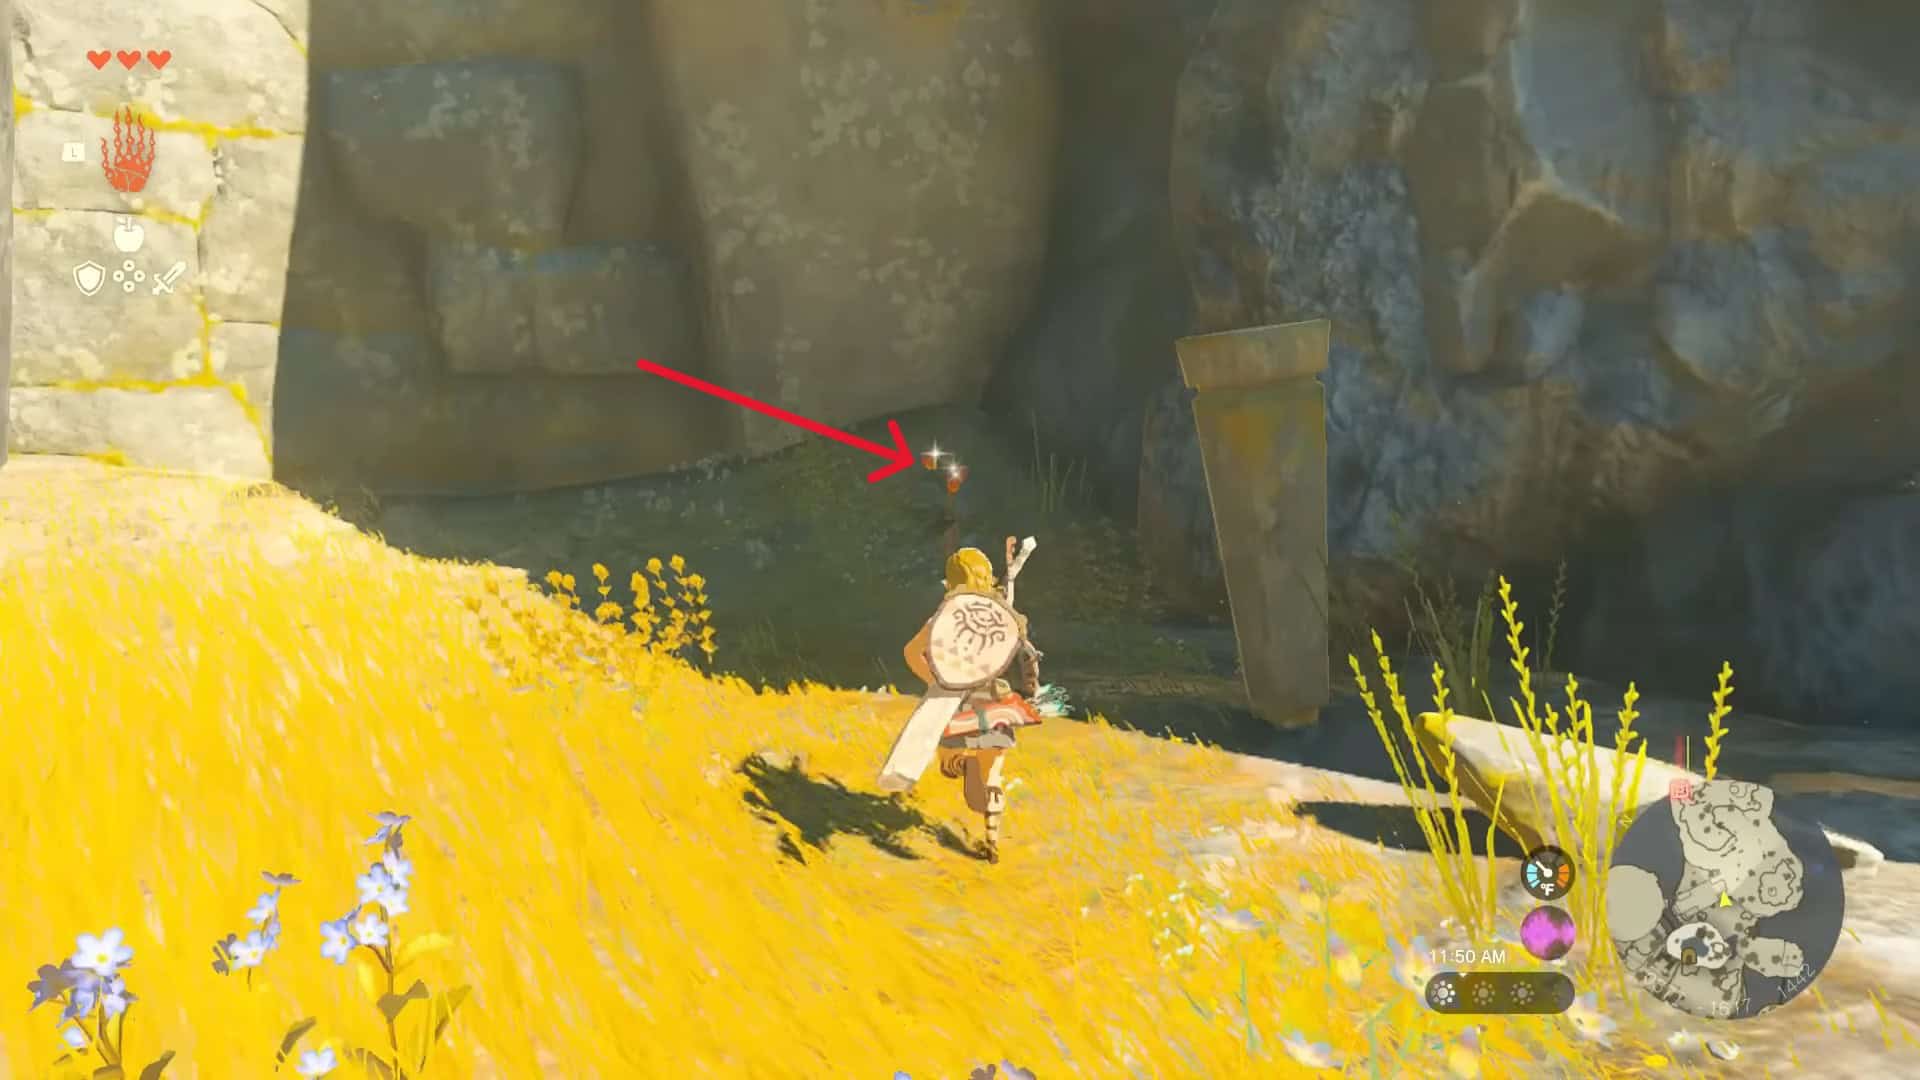

17. Pick up Spicy Peppers near the cave’s entrance and cook them in the pot to create a Spicy Sautéed Pepper meal (hold the chilies from inventory and throw them in the pot).
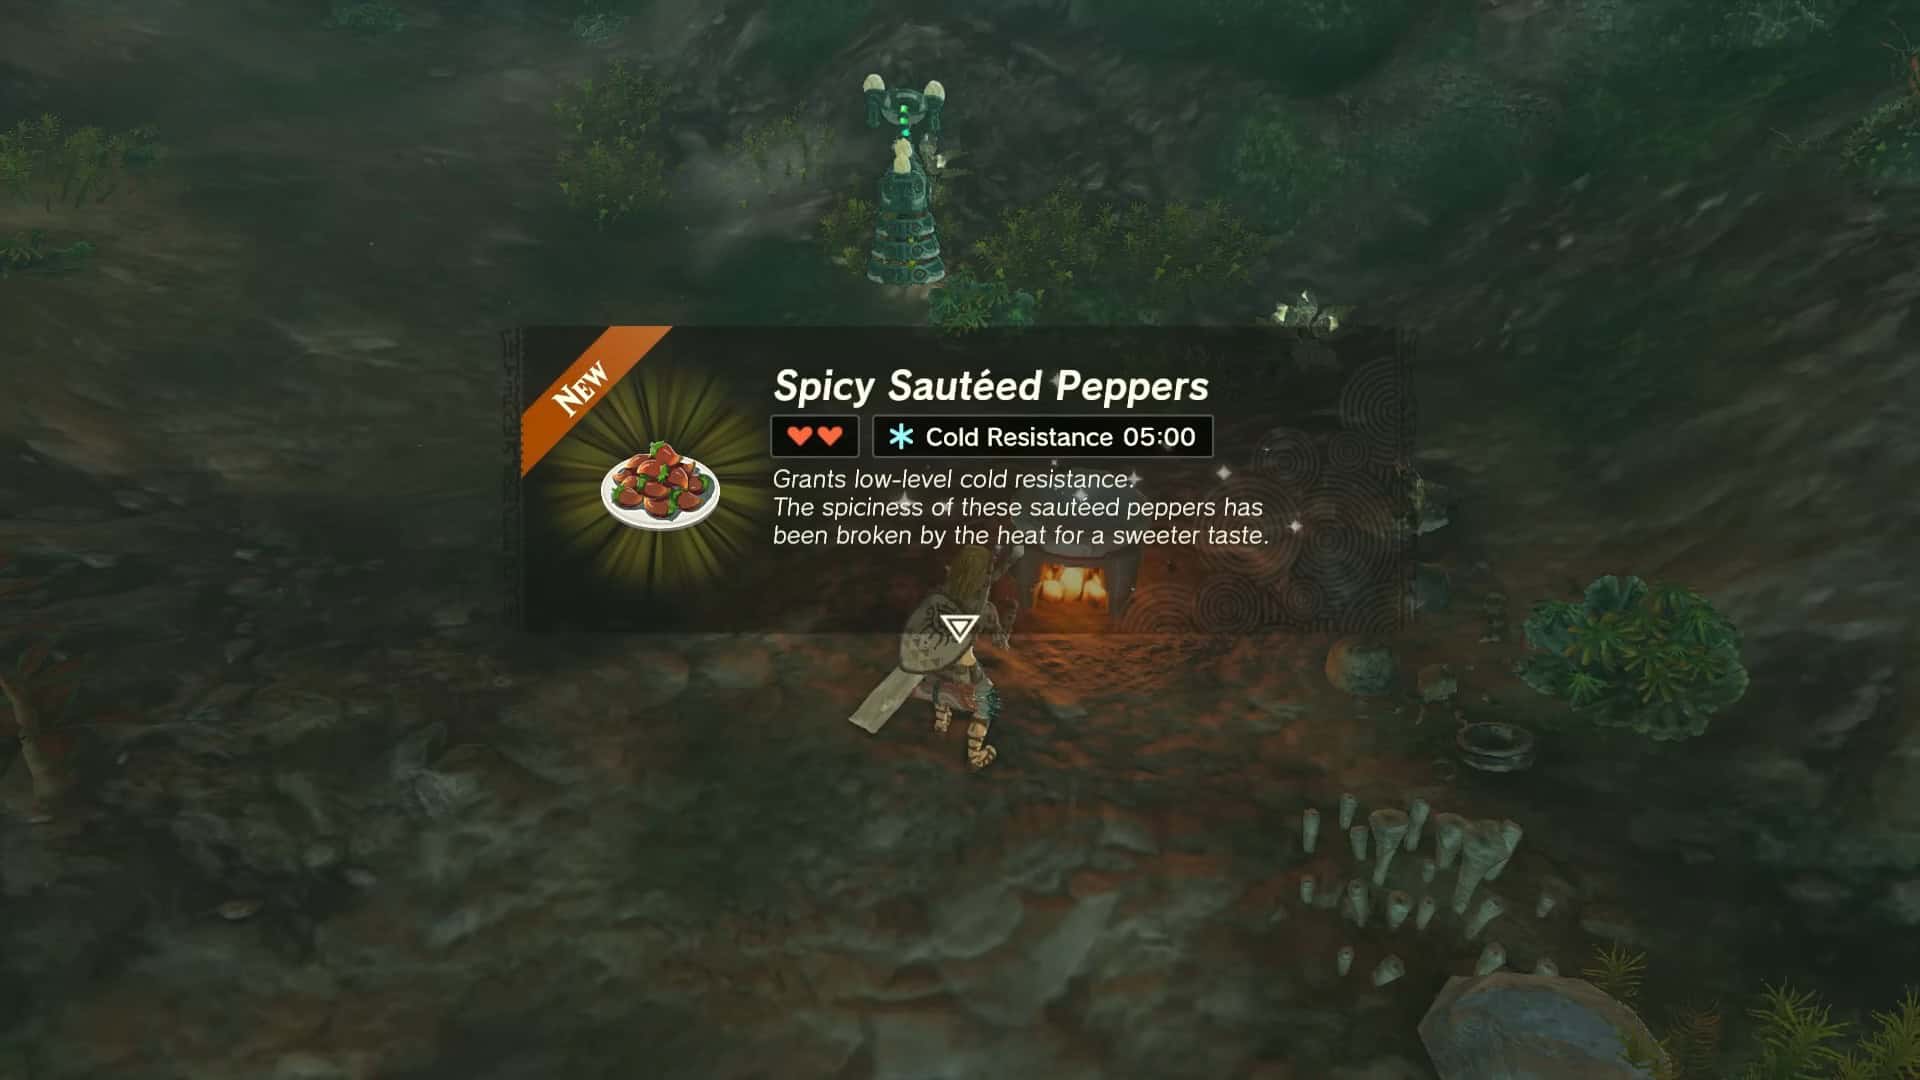
18. Consuming this meal provides resistance against the cold for the next 5 minutes (if you use 5 pepper). We recommend that you create multiple meals to survive in the next area.
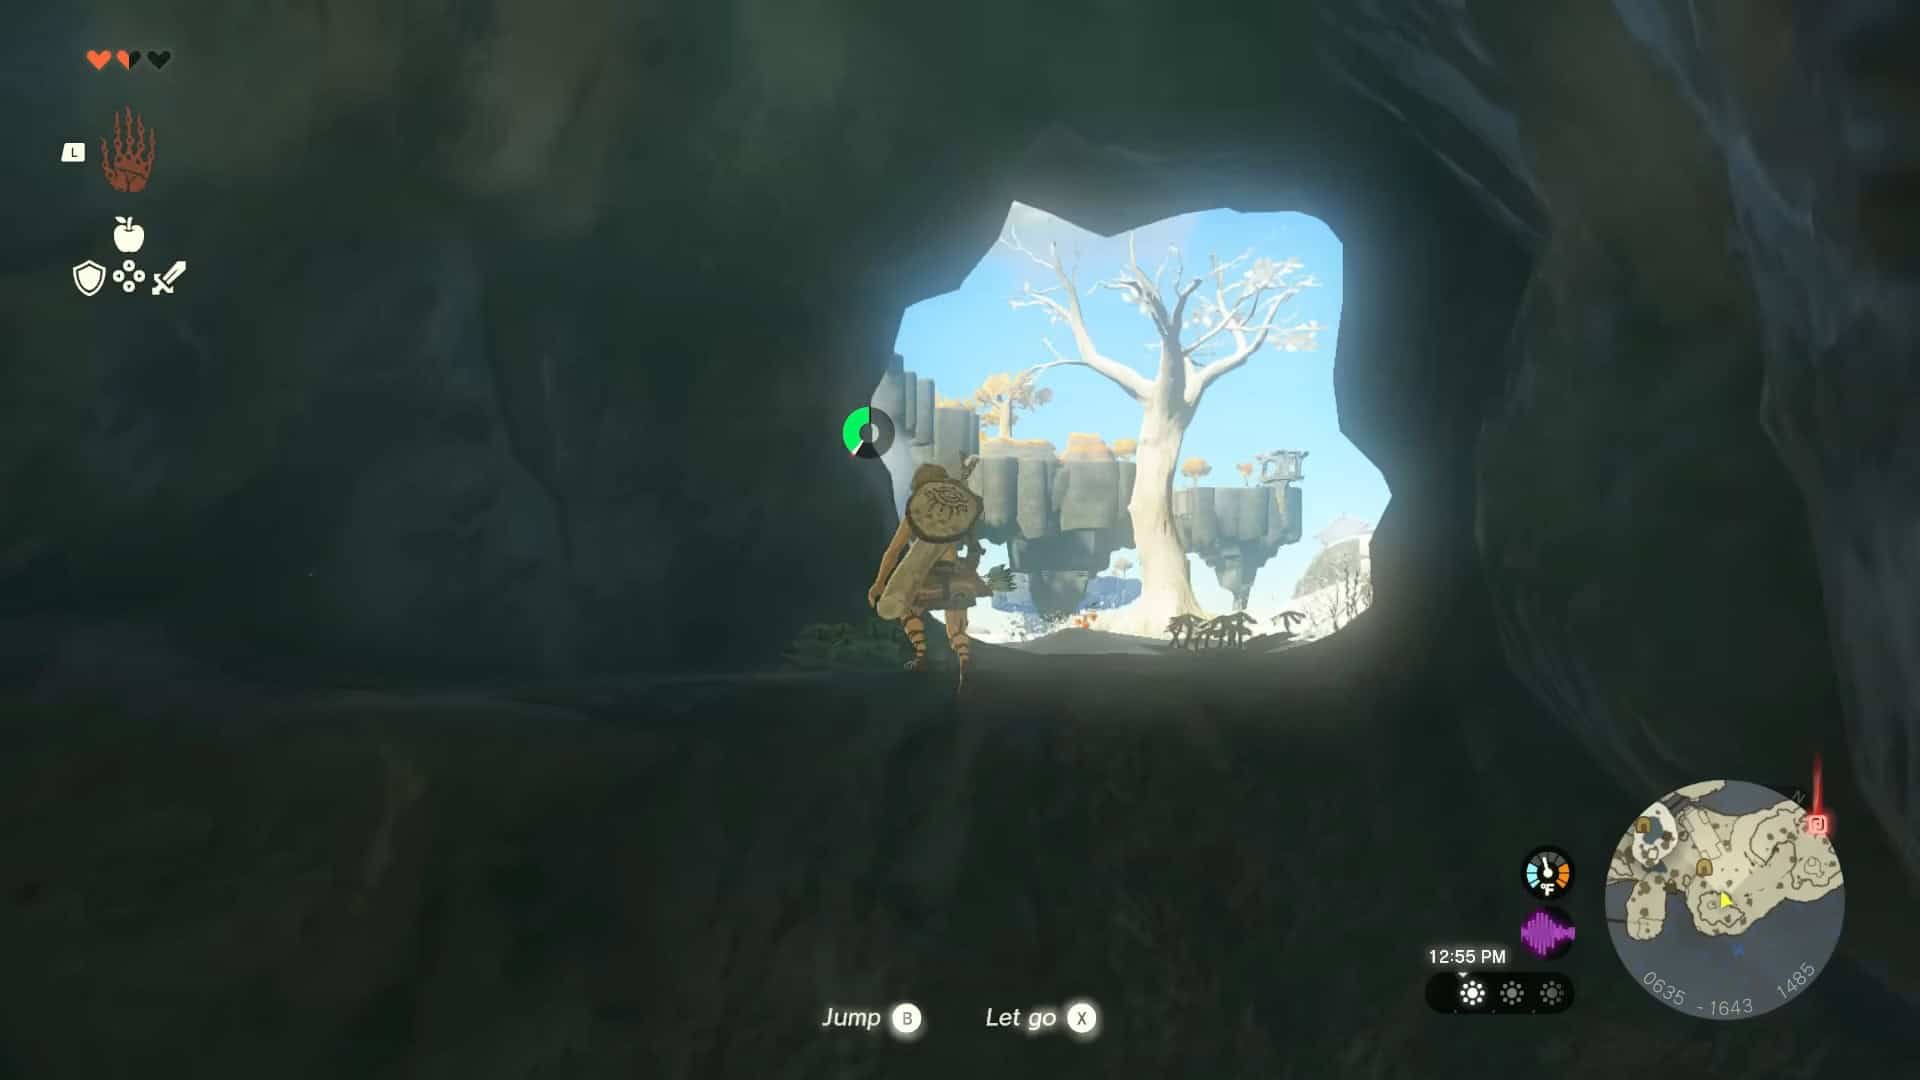
19. Keep going through the cave and take an exit from its north.
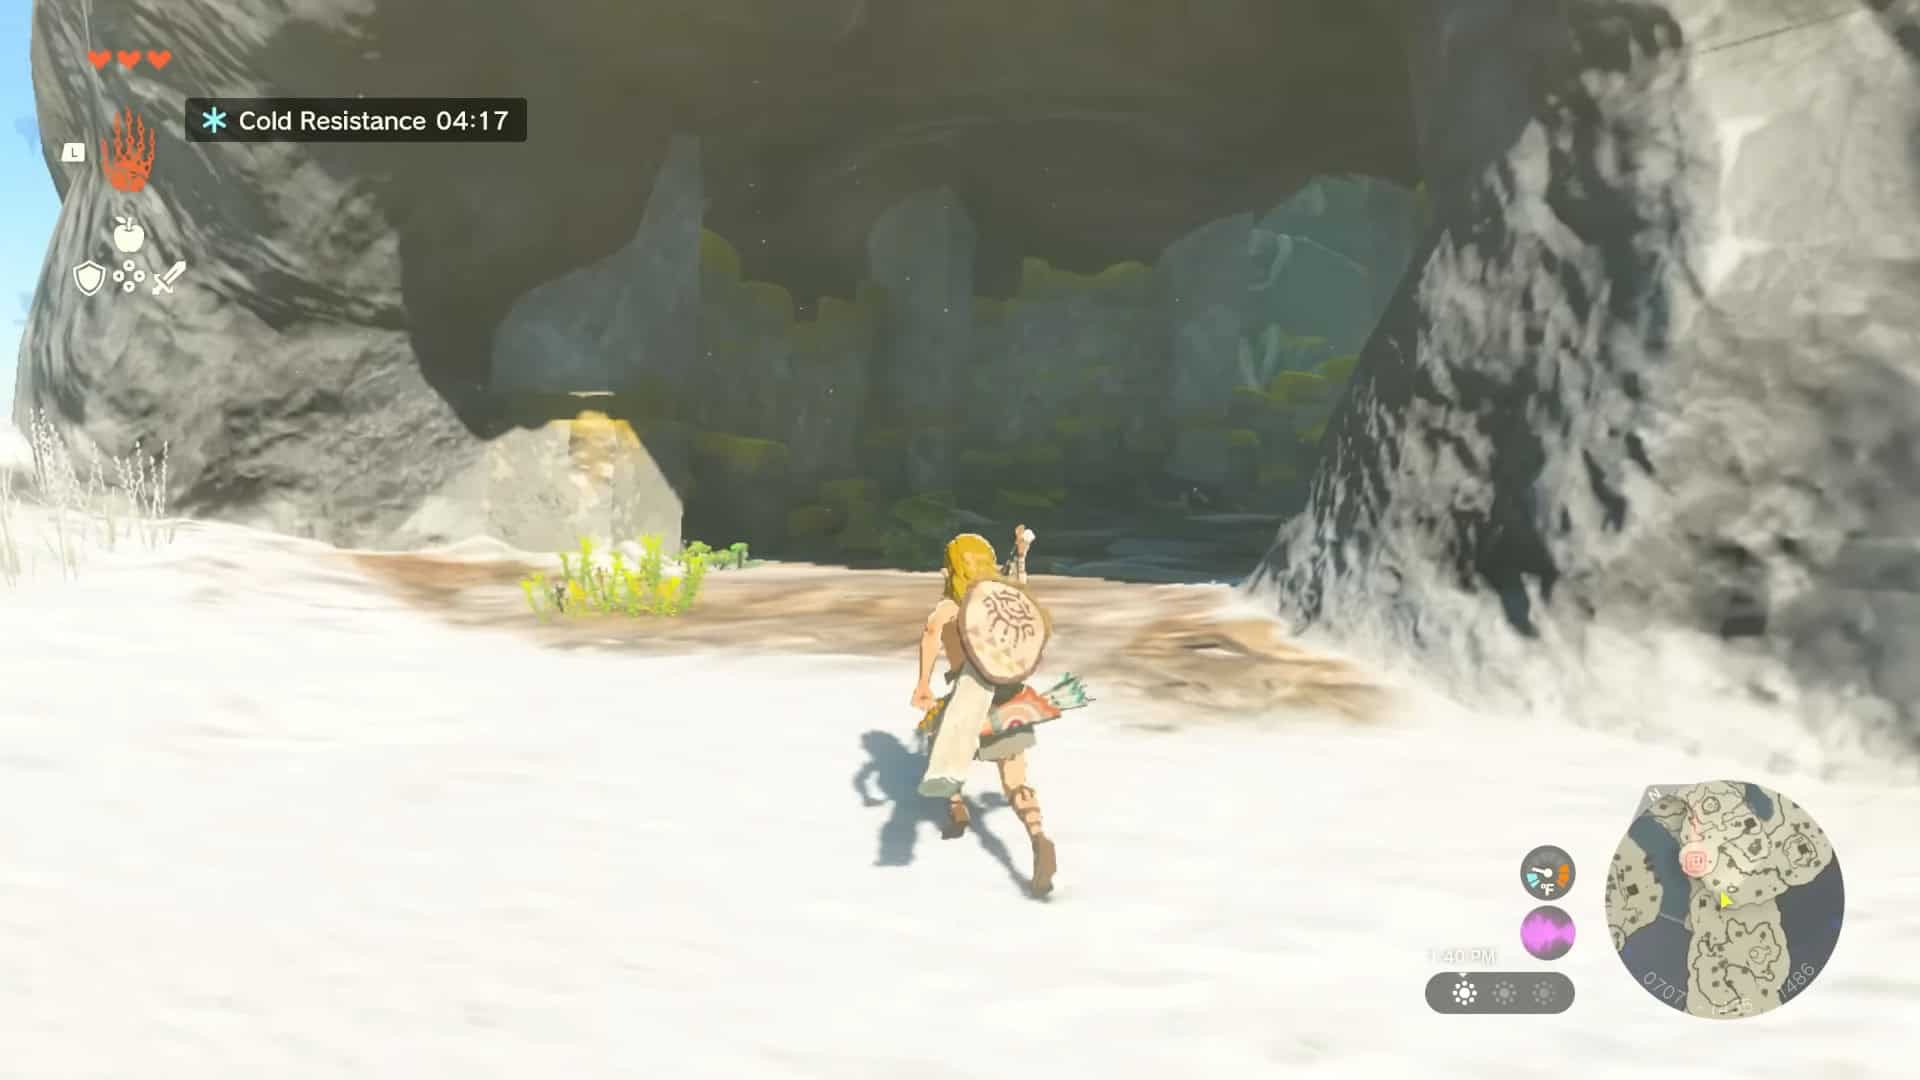
20. Avoid all the enemies and go north until you come across Bottomless Cave.
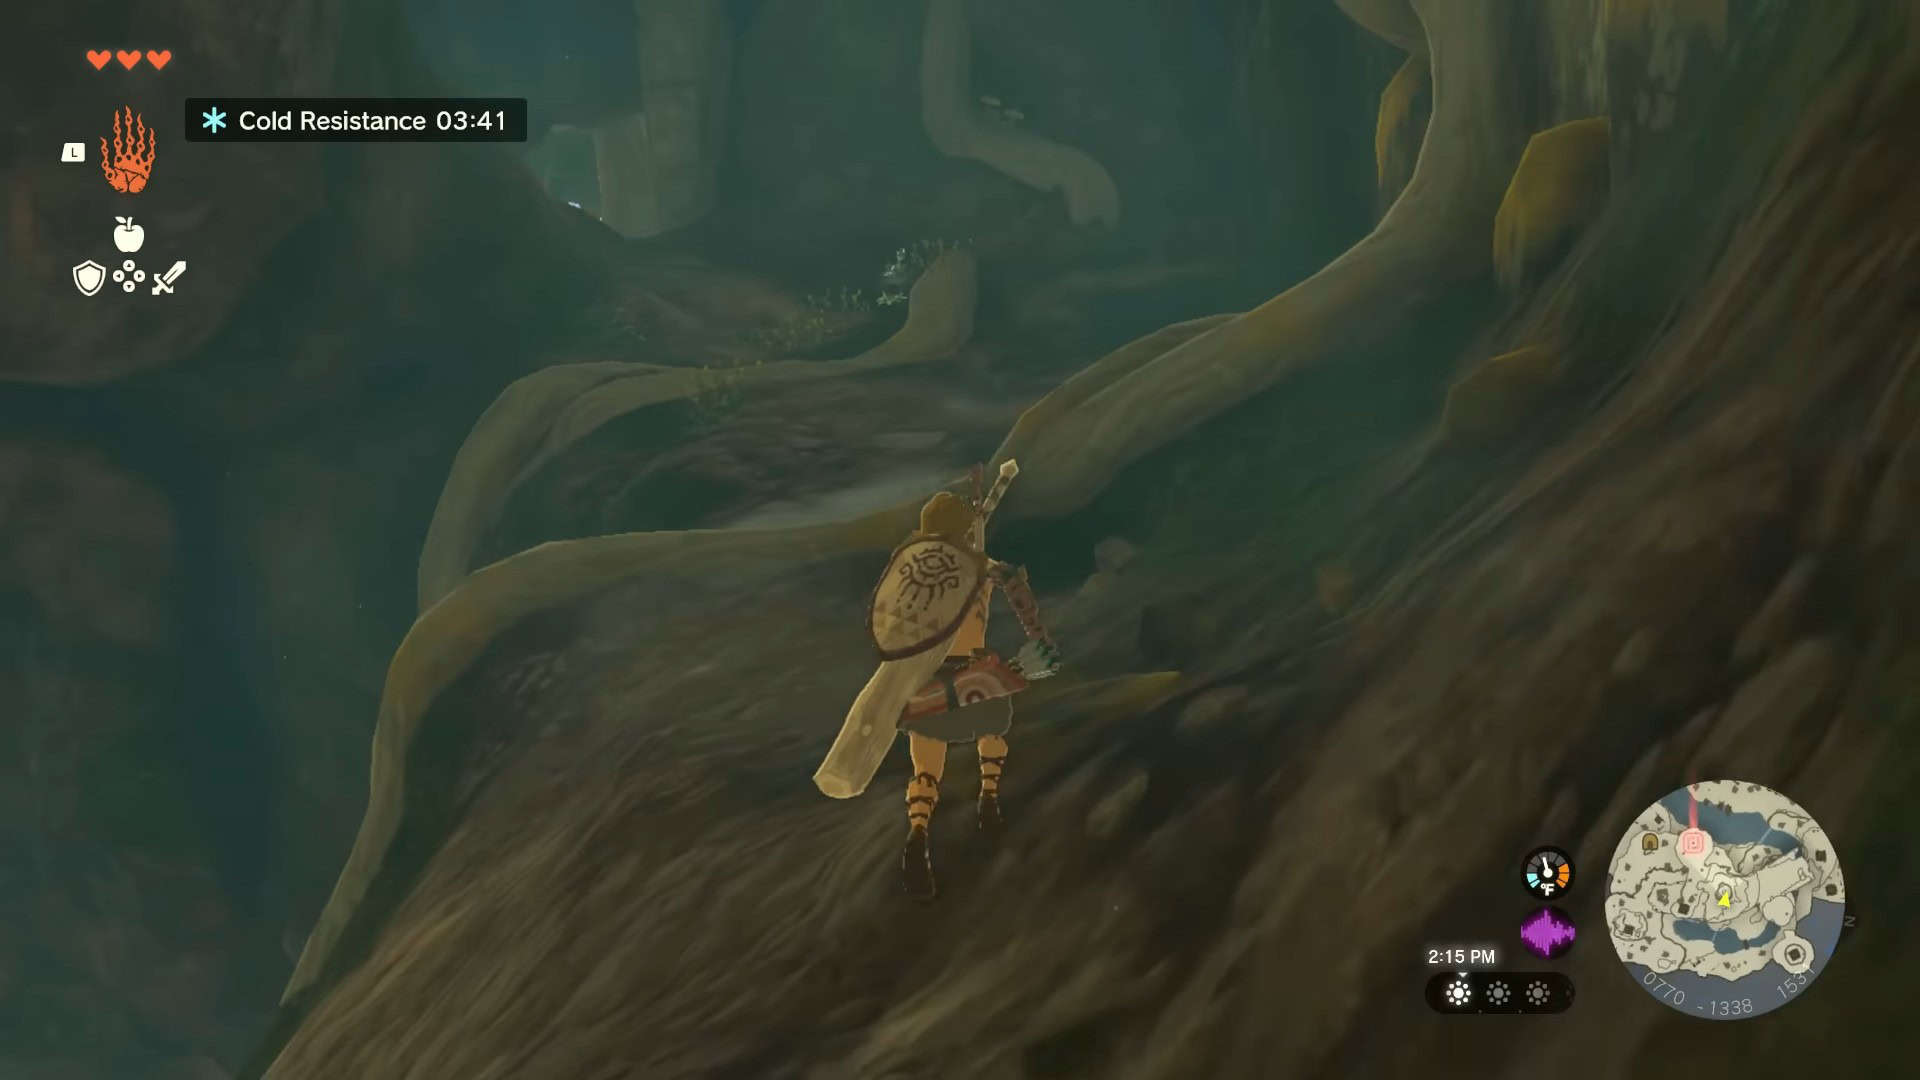
21. Keep going north and up inside the Bottomless Cave until you come out of the other end.
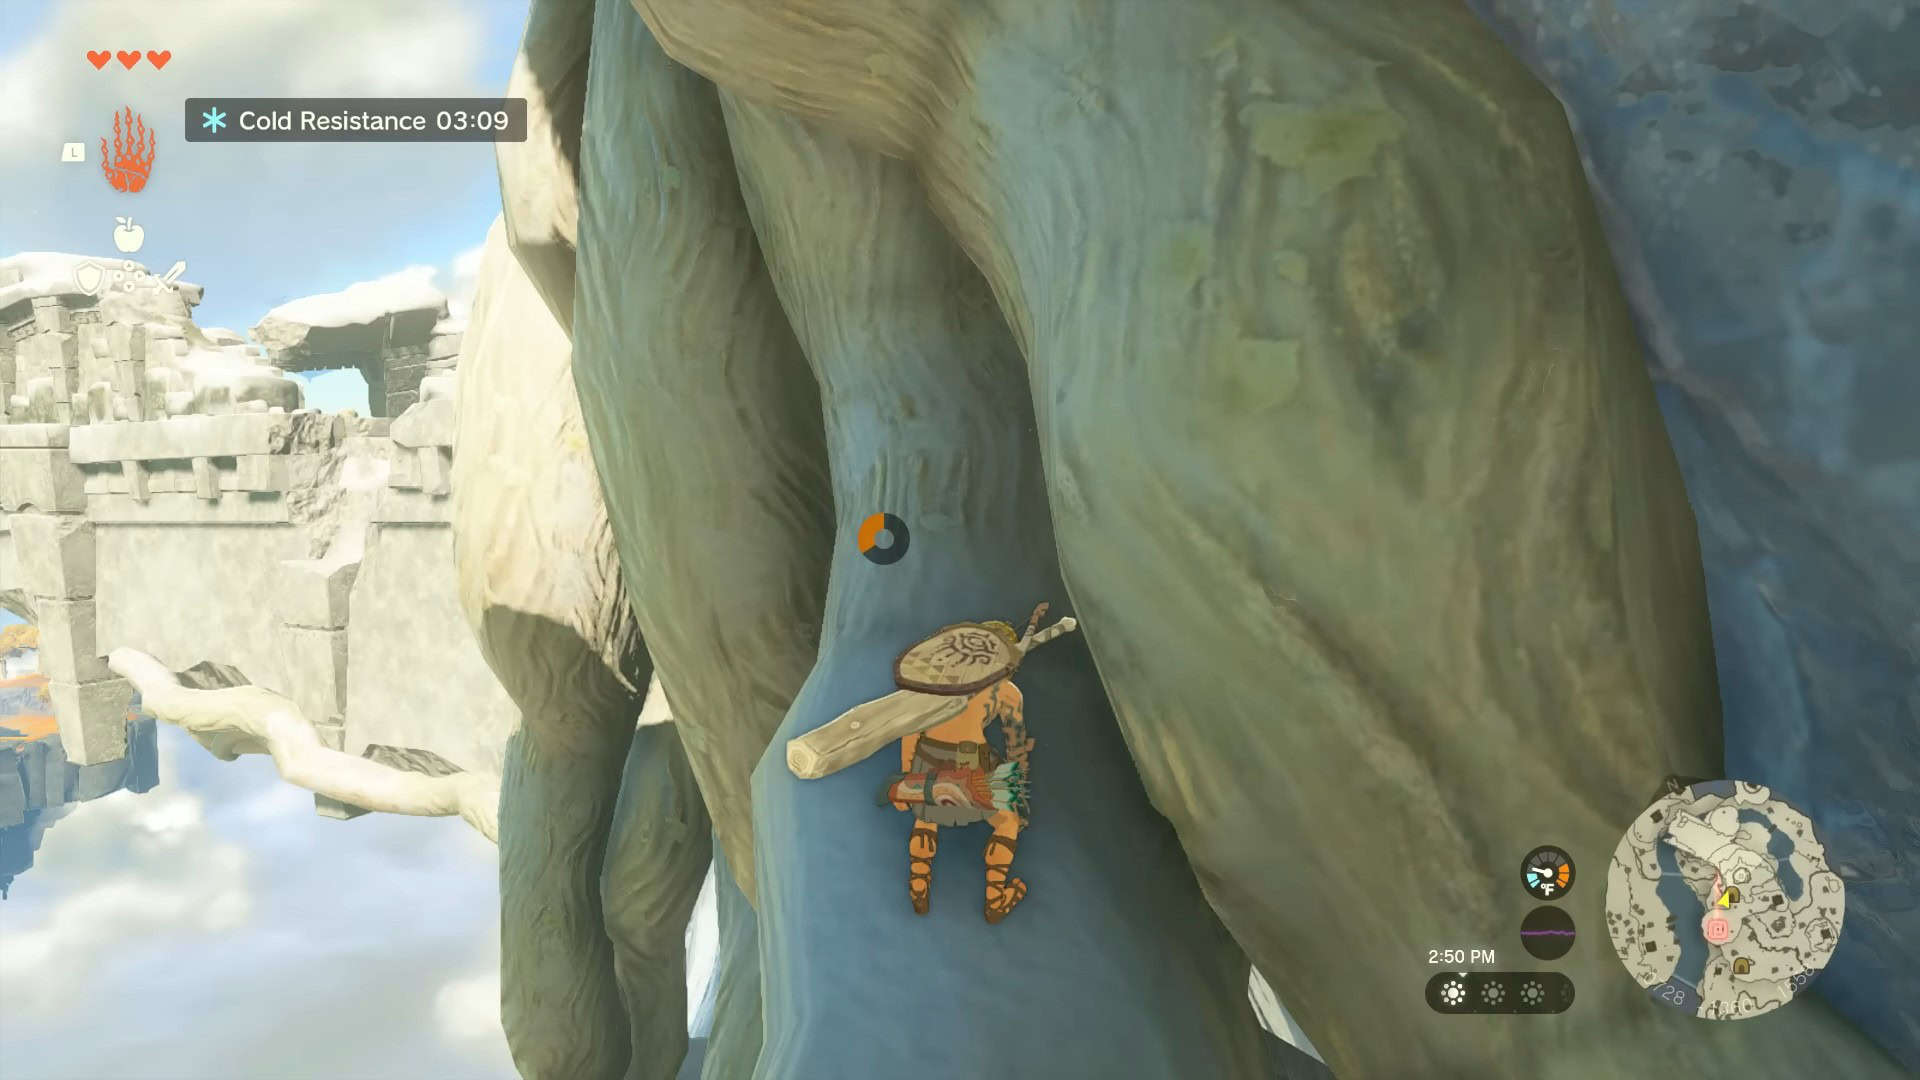
22. Climb tree roots at the exit of the Bottomless Cave to go up. Make sure to take rests in between.
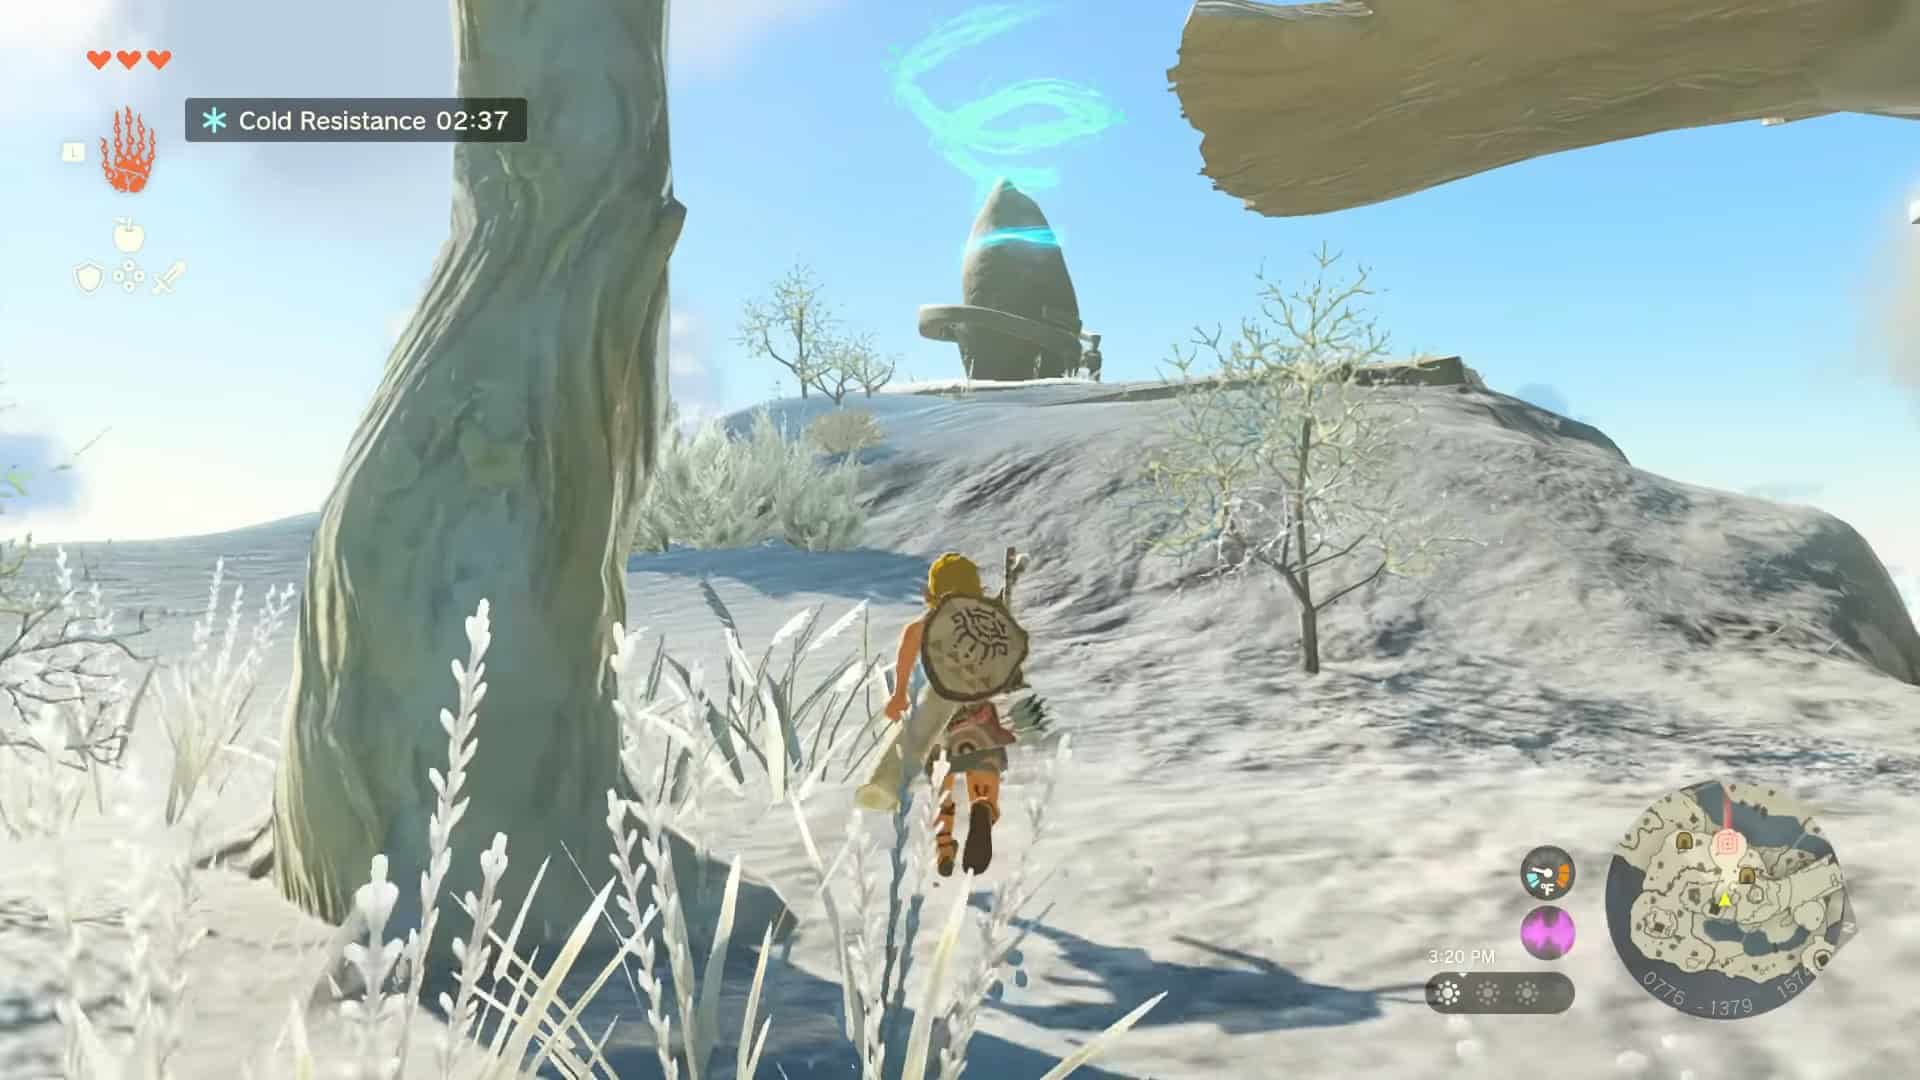
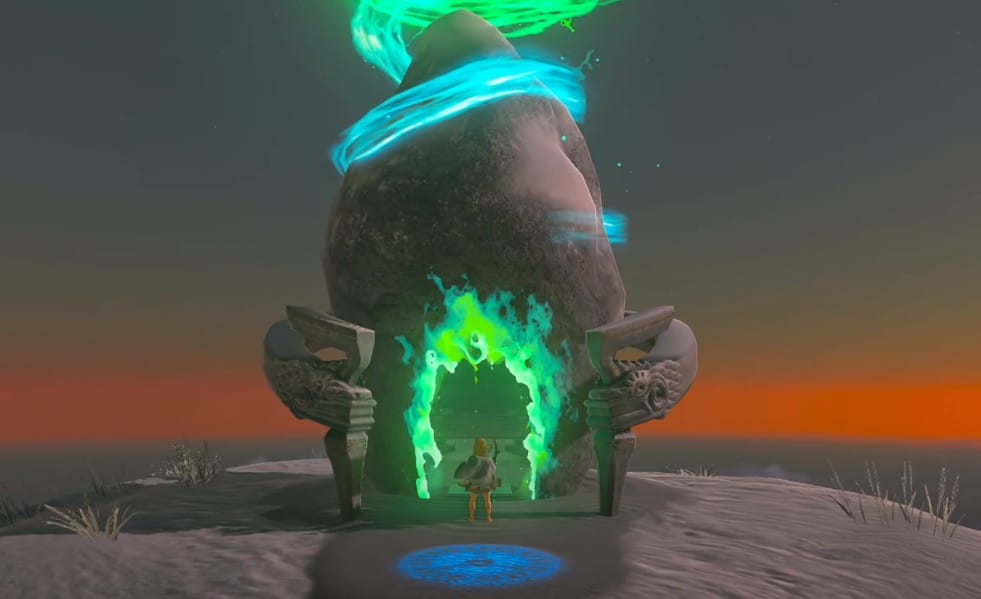
23. Cross the small path to the left and climb to reach Gutanbac Shrine.
Gutanbac Shrine Walkthrough
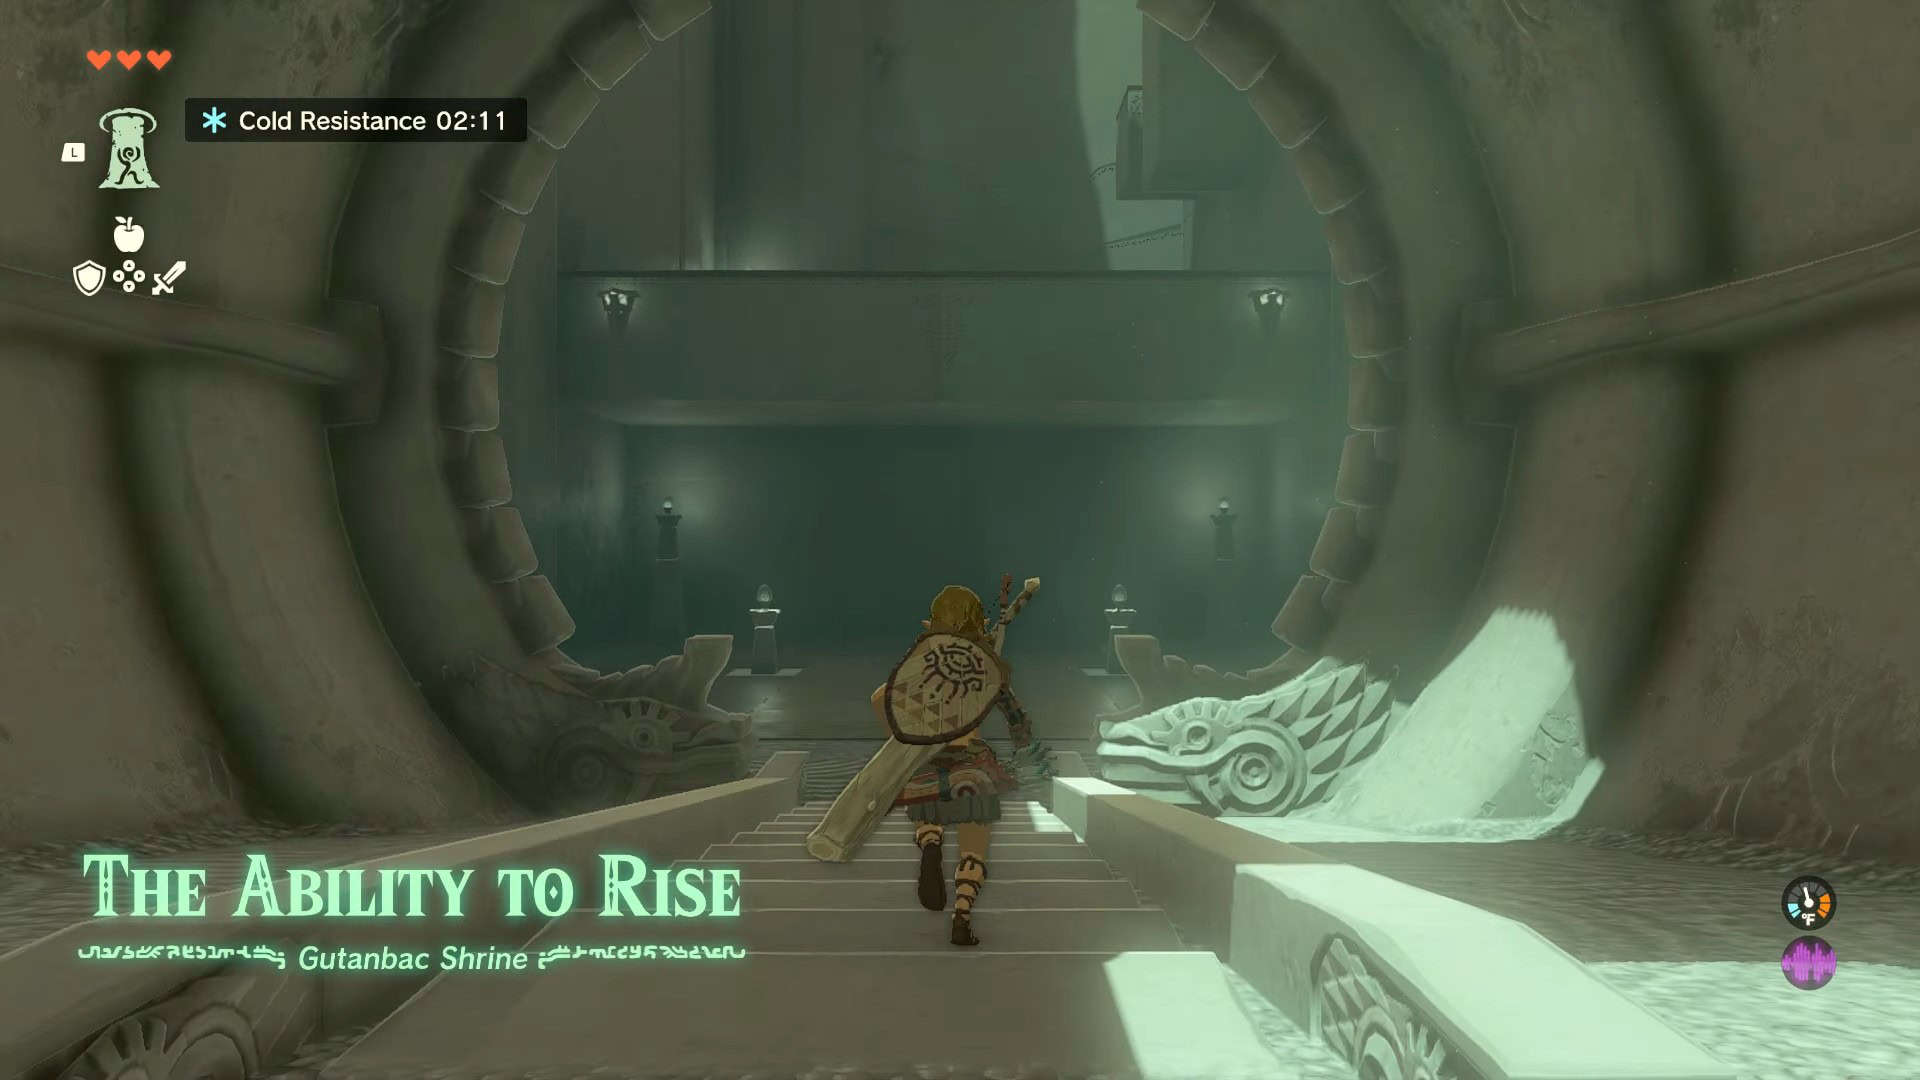
The trial presented by Gutanbac shrine in Zelda: Tears of the Kingdom is known as The Ability to Rise. This is where you will learn a new ability known as the Ascend and use it to solve the shrine’s puzzle.
1. As soon as you enter the shrine, a short cutscene will trigger, and you will get the Ascend ability.
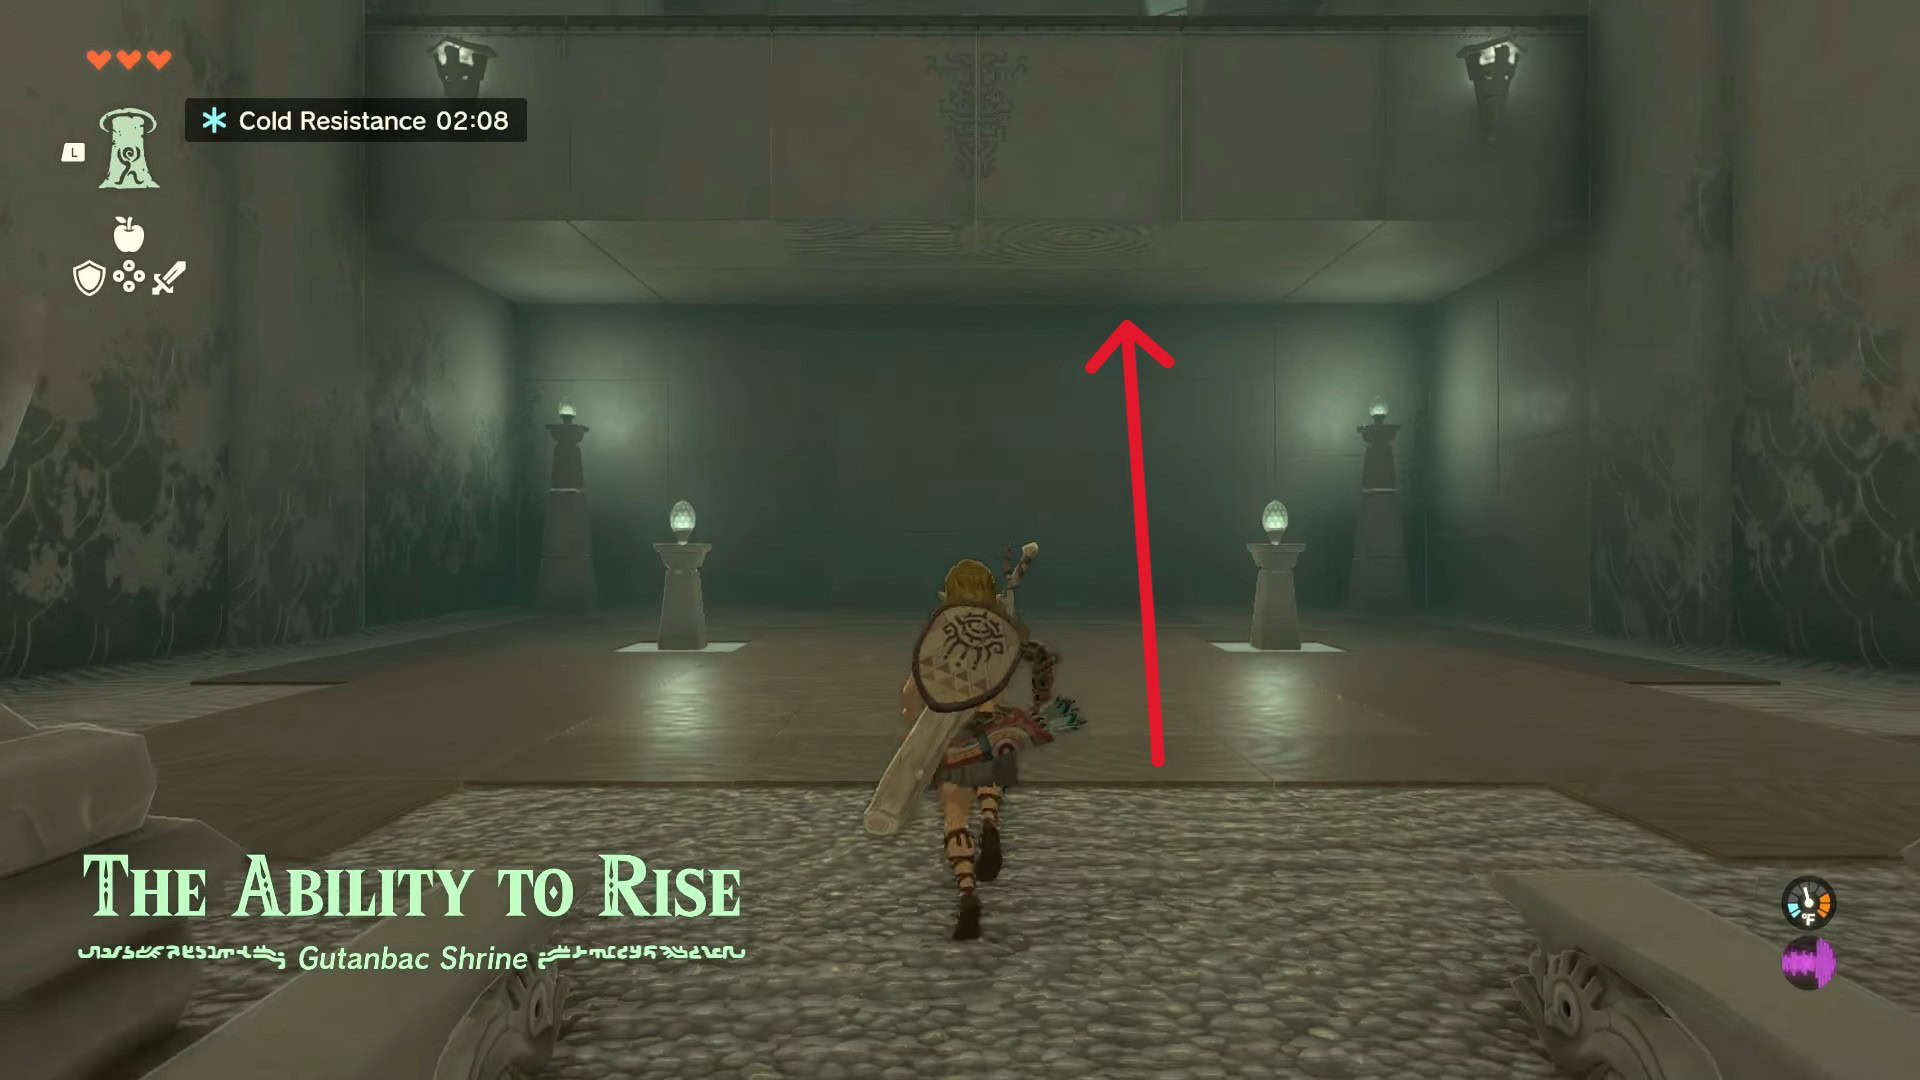
2. Use this ability to reach the top of the platform in front of you.
3. Use the Ascend ability on the small platform to the left to find the first treasure chest.
4. Open the treasure chest to obtain a Stone Axe.
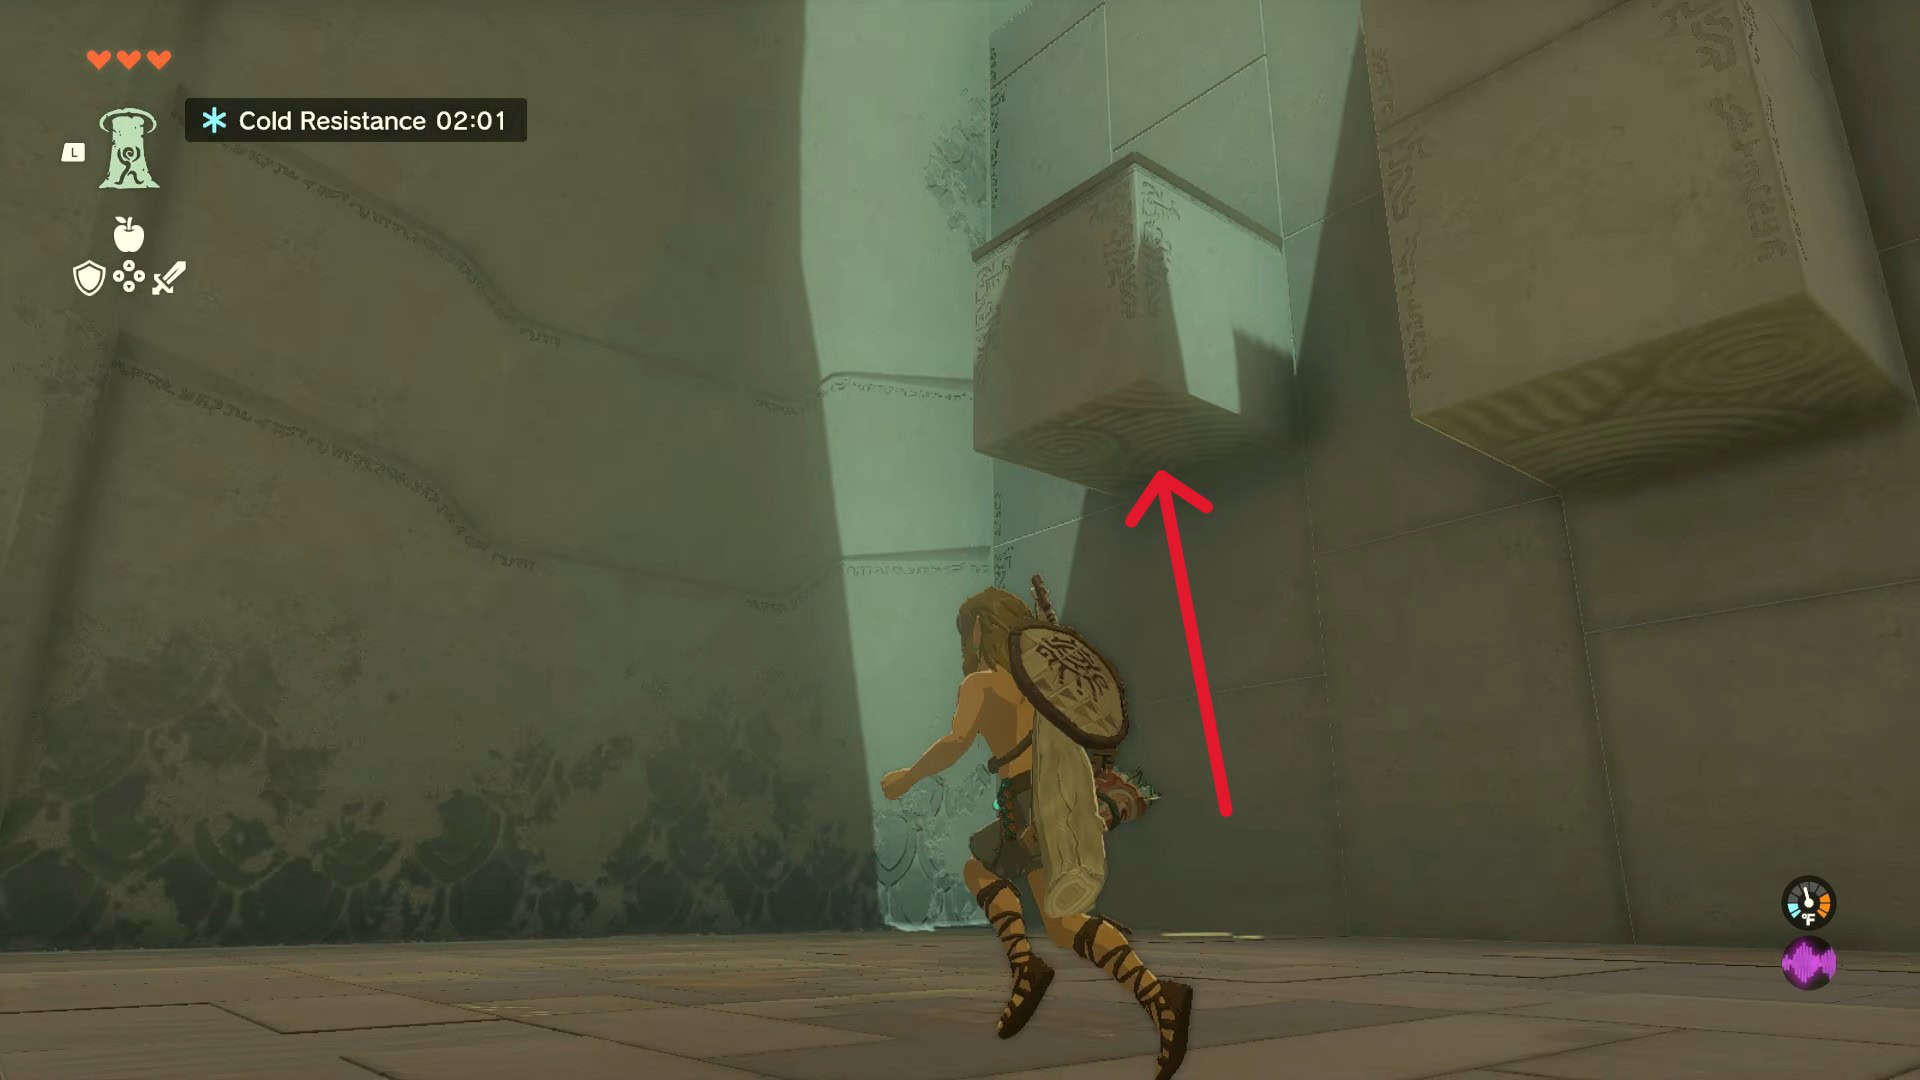
5. Get back down and now use the Ascend on the large pillar right next to the small one. This will take you up to the next area.
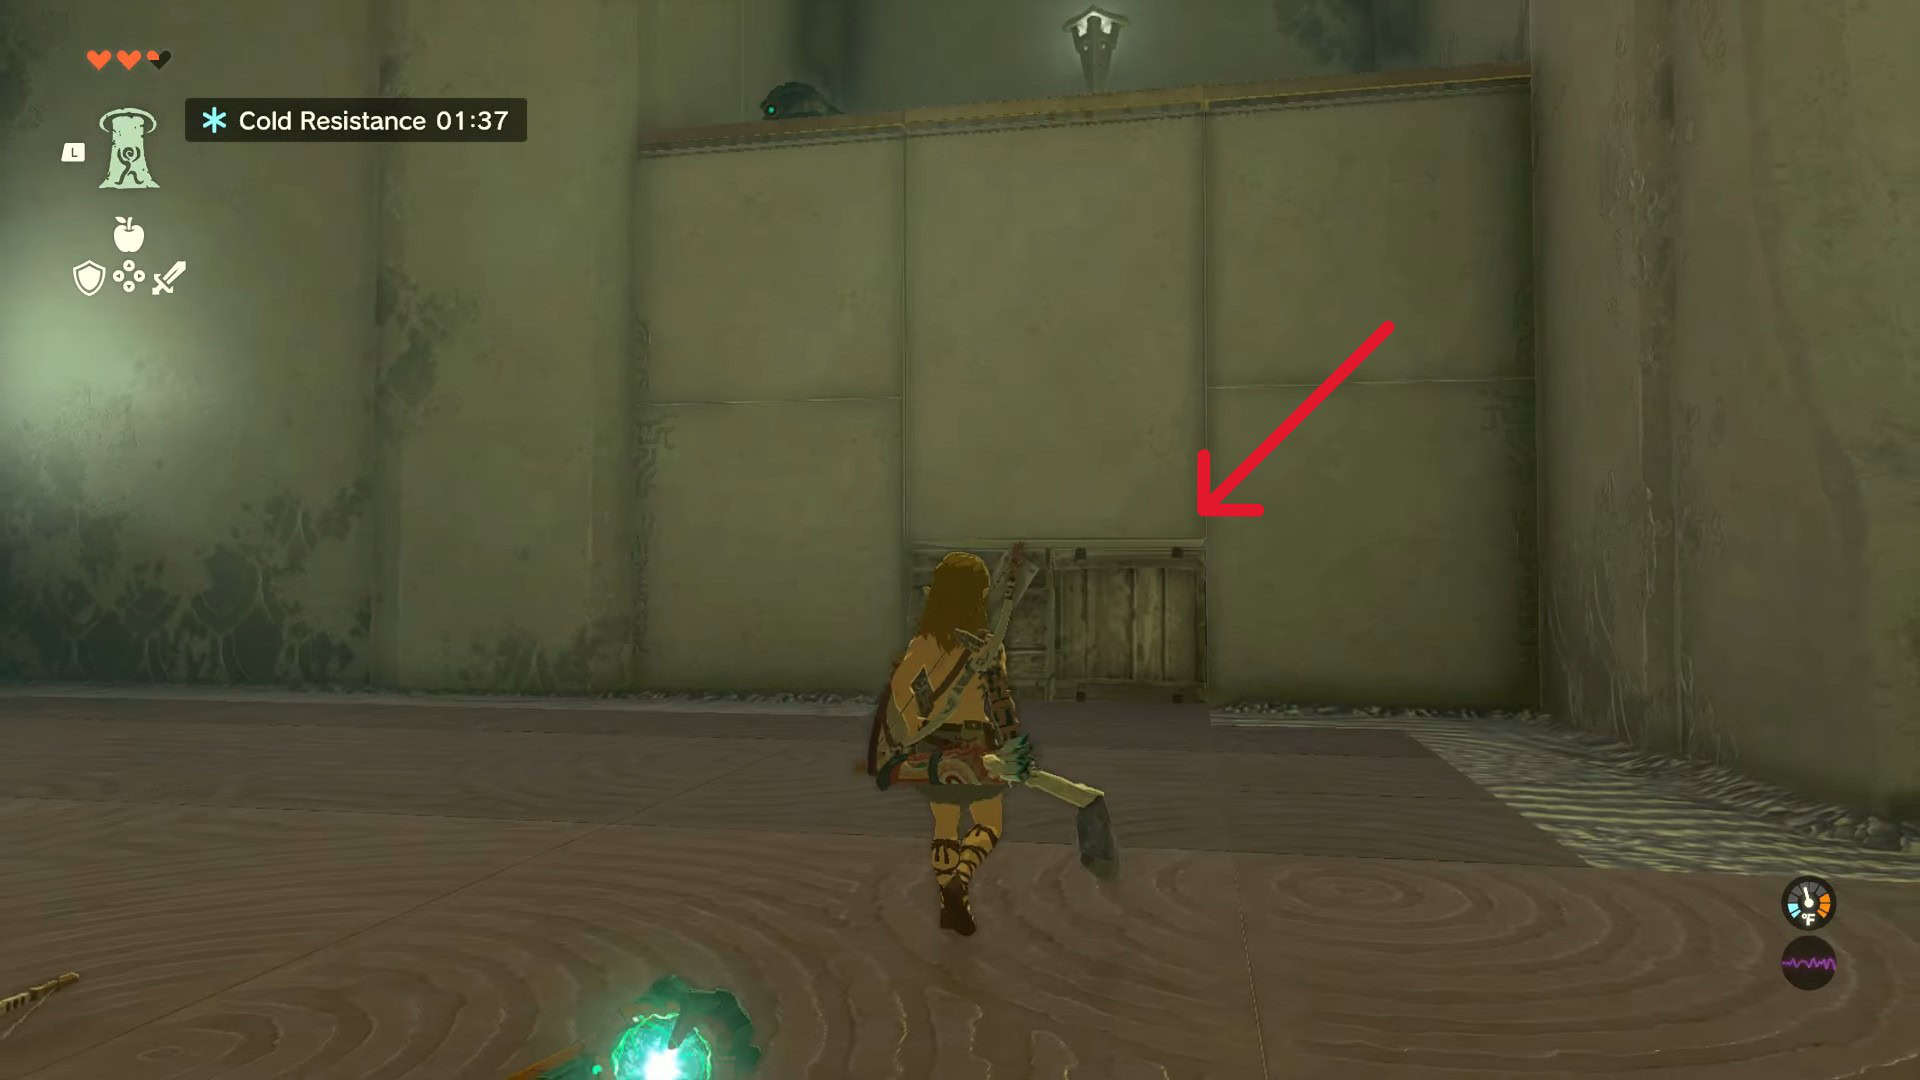
6. Defeat the construct in the area and turn right to locate some boxes. Break these boxes and Ascend inside the depression to reach the next treasure chest.
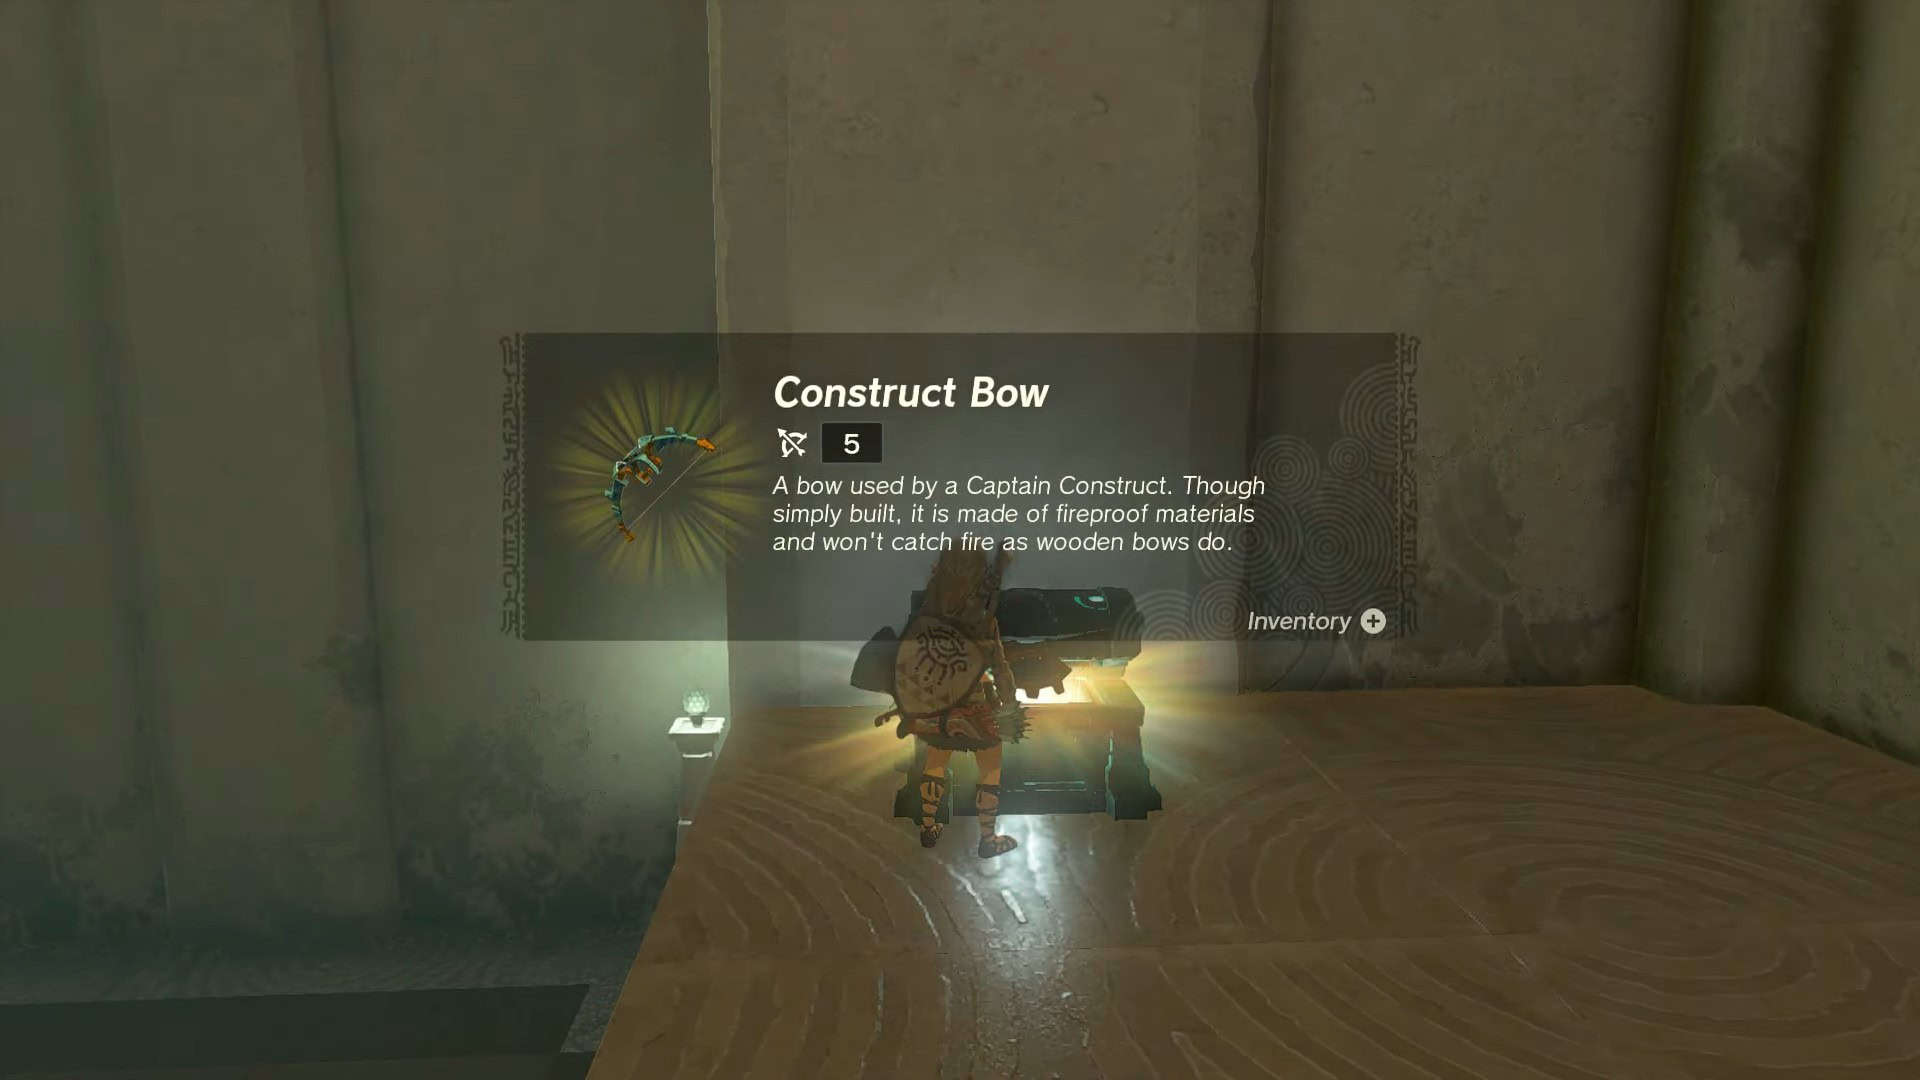
7. Open the treasure chest to obtain a Construct Bow.
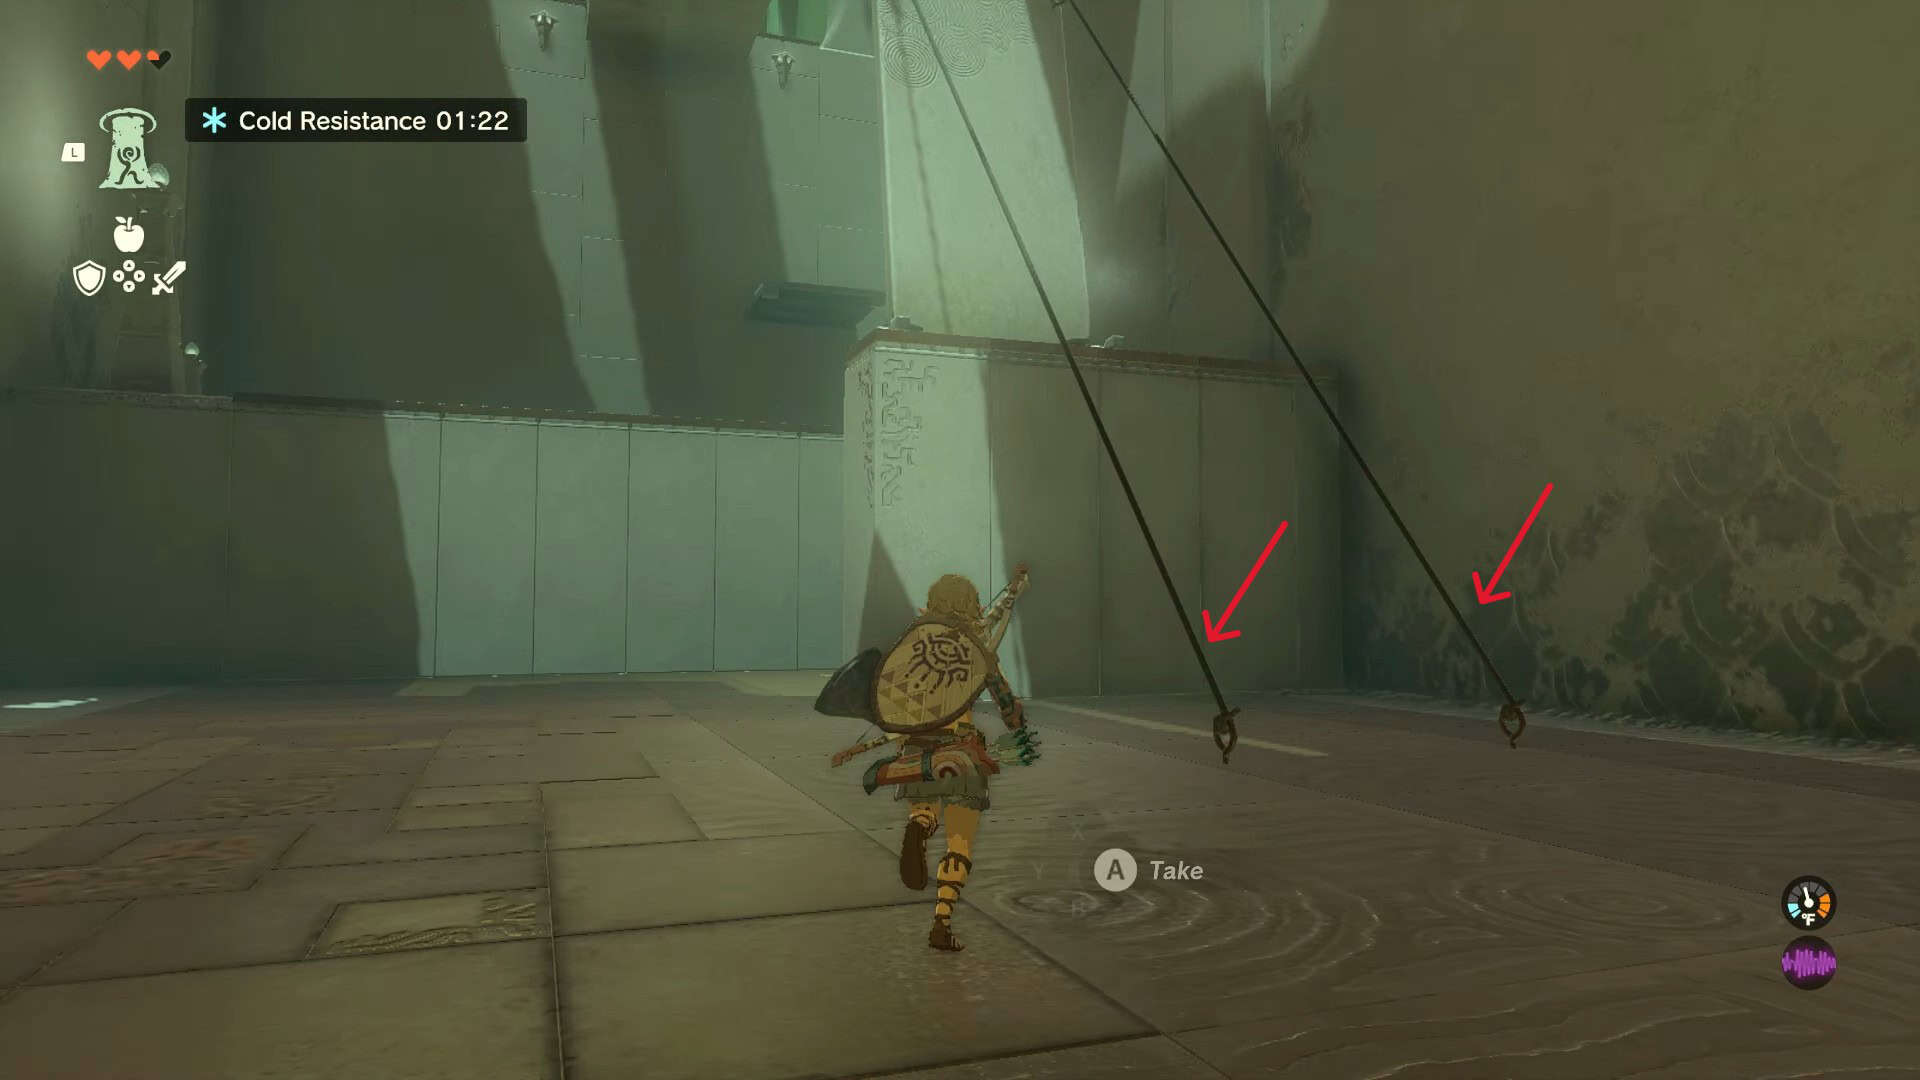
8. Turn left to find two ropes holding a bridge up. Destroy these ropes with arrows or any weapon to lower the bridge.
9. Go beneath the bridge and use Ascend on it once again.
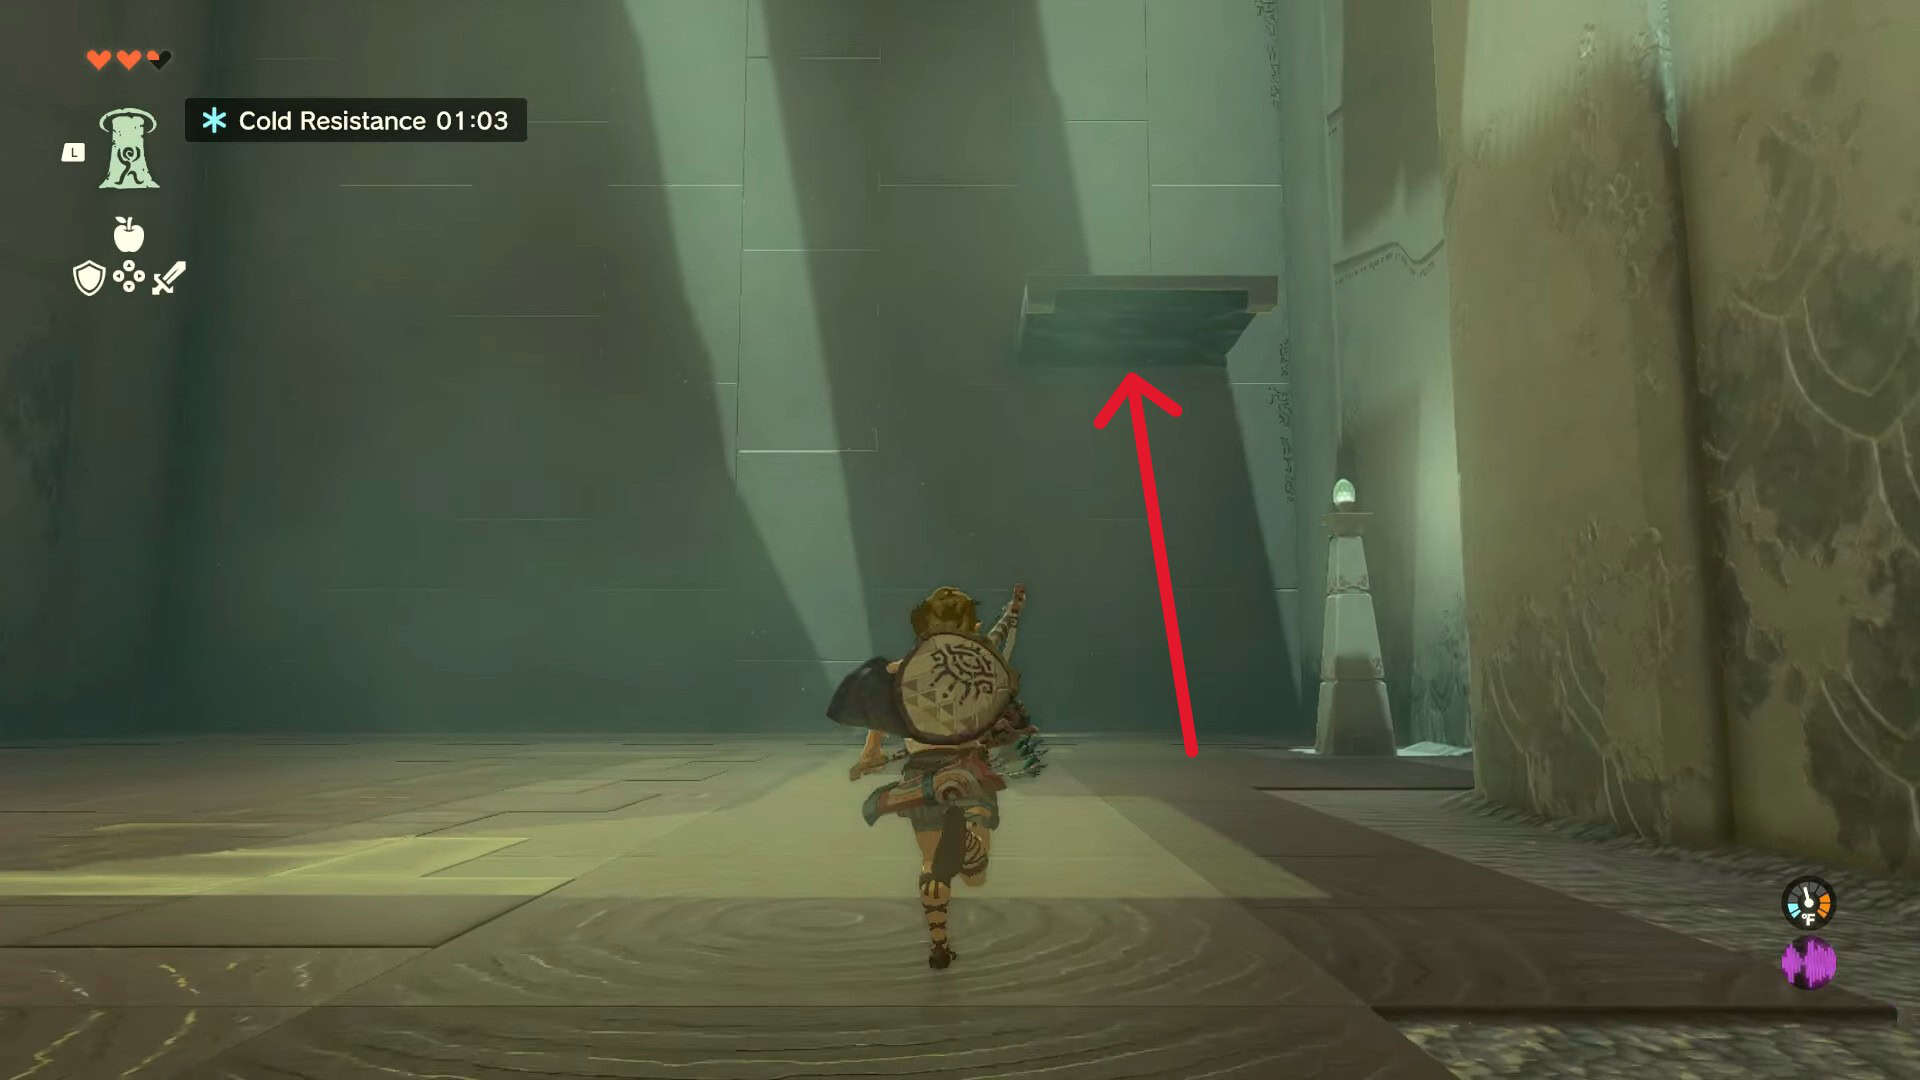
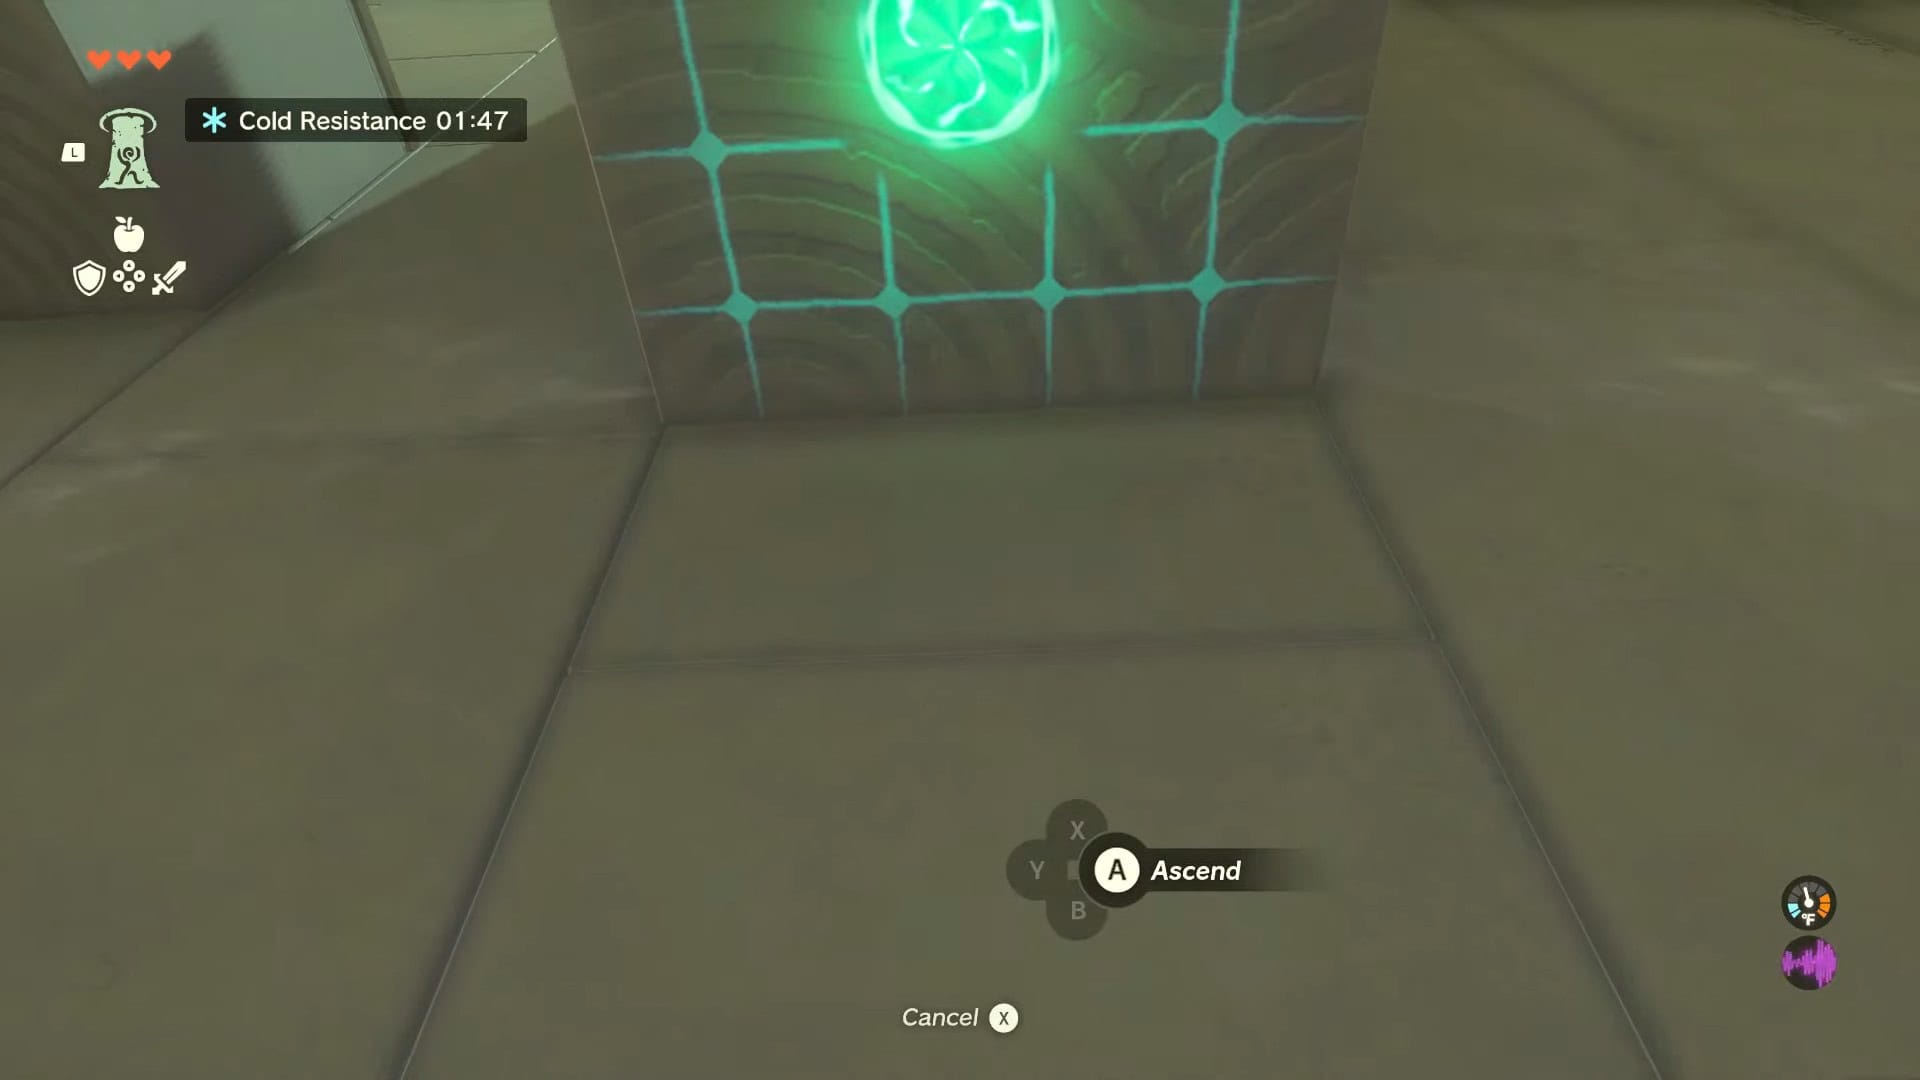
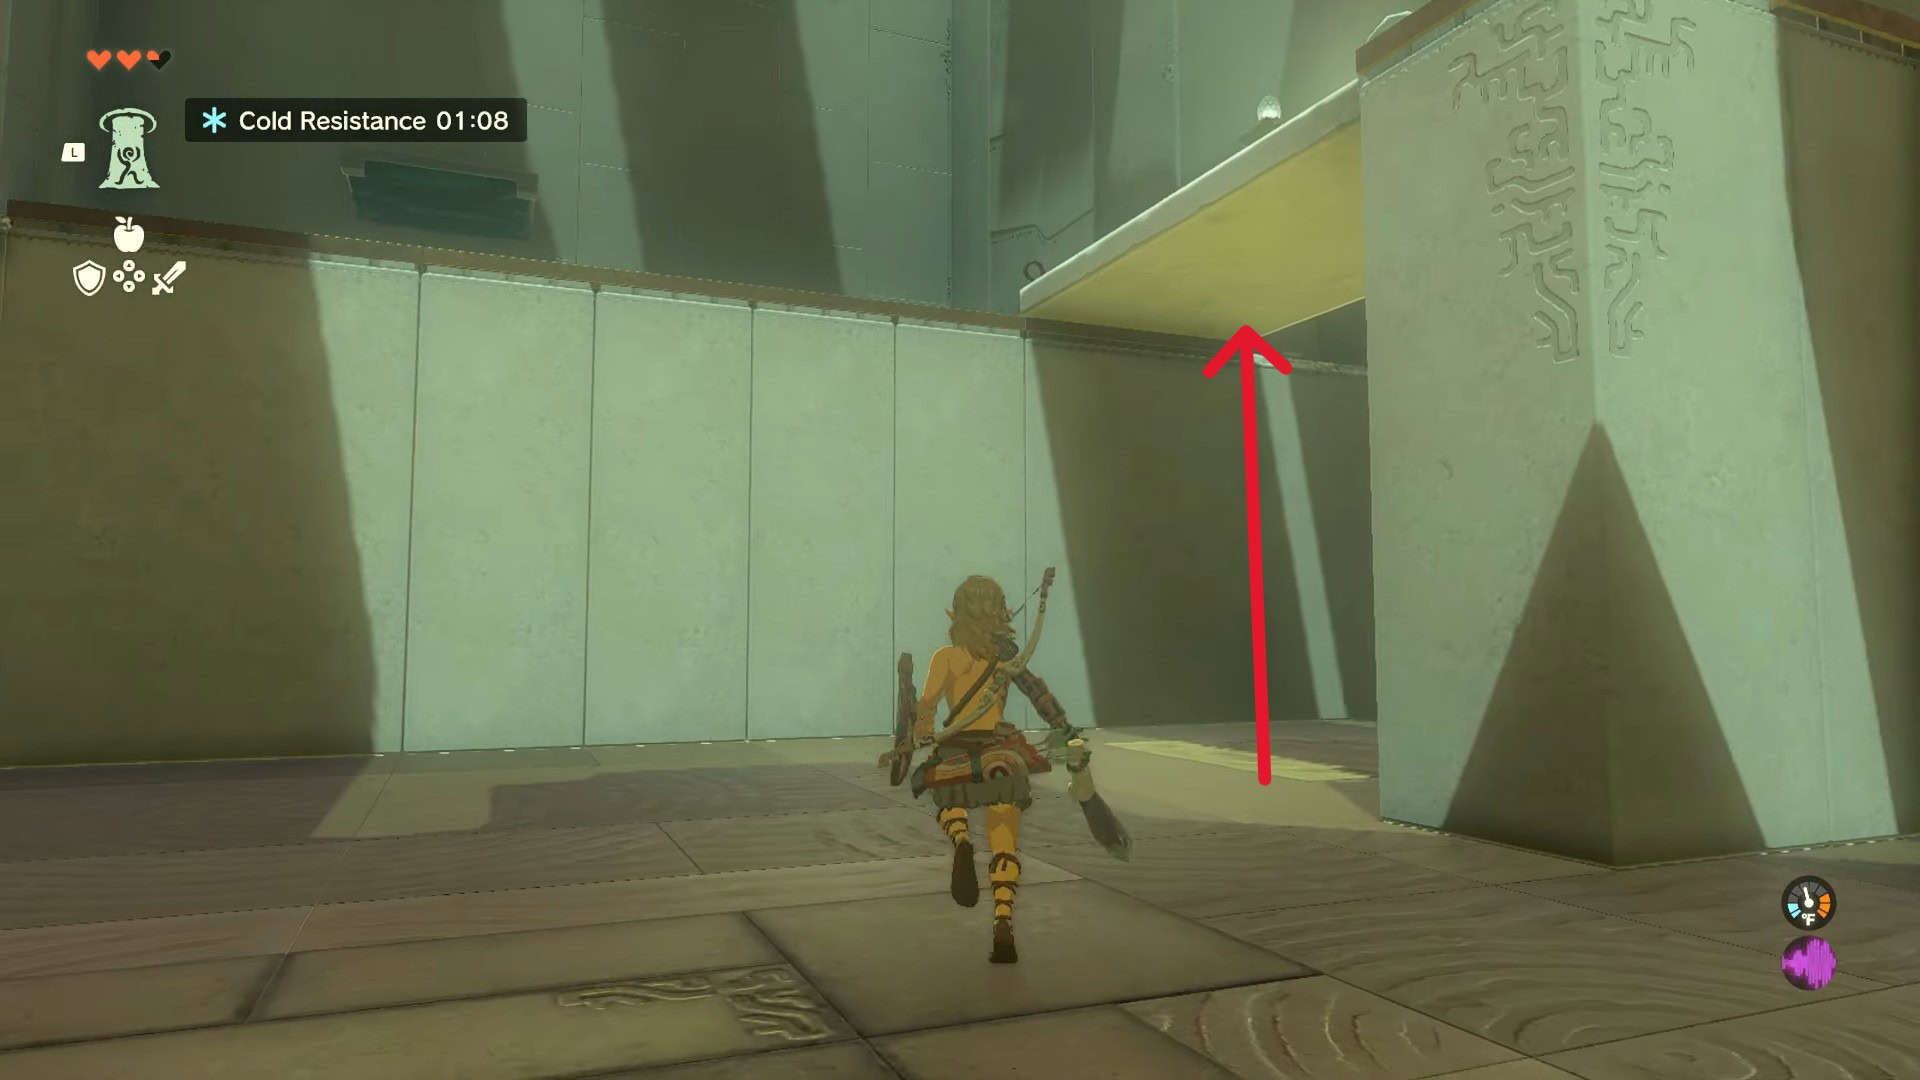
10. In the next area, you must use Ascend ability on moving lifts to proceed. This is easy. Select ascend from your ability wheel and wait for the lift above you. Press the A button to ascend as soon as the target turns green.
11. This will take you to the altar room. Interact with Rauru and Sonia’s statues to solve the puzzle and earn a Light of Blessing as a reward.