The Council Chamber is a dungeon that spawns in Losomn in Remnant 2. This is a dungeon where you are assigned the task of detective by three Fae judges to help find a traitor among them.
There are also a lot of unique and fantastic cutscenes along with lots of mind-boggling puzzles, secrets, and rewards. With so much to do in the Council Chamber, it’s best to read through this Remnant 2 Council Chamber dungeon guide to make sure that you get everything it has to offer.
Council Chamber Location in Remnant 2
The Council Chamber is a dungeon location that can only be accessed in the Losomn world. In Adventure mode, keep re-rolling Losomn until you start from the Palace Courtyard checkpoint.
From there on, you have to find and interact with the Jester to get the quill. This is an important item that is going to help you find the entrance to the Council Chamber.
Keep checking all the doors nearby with the quill until you find the right one. Do note that since there is procedural generation involved, there is no single spawn area for the dungeon. If you have trouble finding the door re-roll the world and check again.
Remnant 2 Council Chamber Dungeon Walkthrough
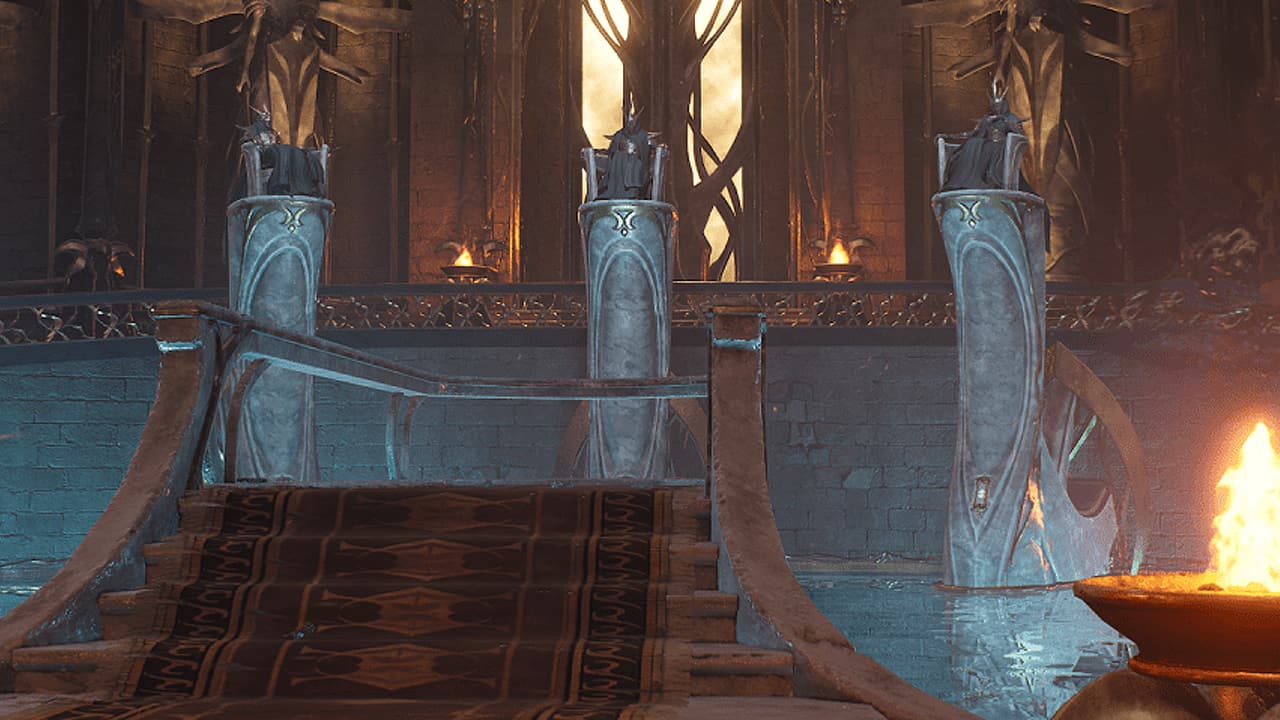
Upon arriving at the Council Chamber central room, you meet with three Fae Magistrates who accuse each other of assassinating the One True King. Since they have no real evidence to find out the real killer, it’s our job to play detective.
We need to figure out which of the three Fae is the imposter that killed the One True King. The puzzle is fairly straightforward and involves the recovery of the dagger that killed the king.
Enter the Council Tribunal
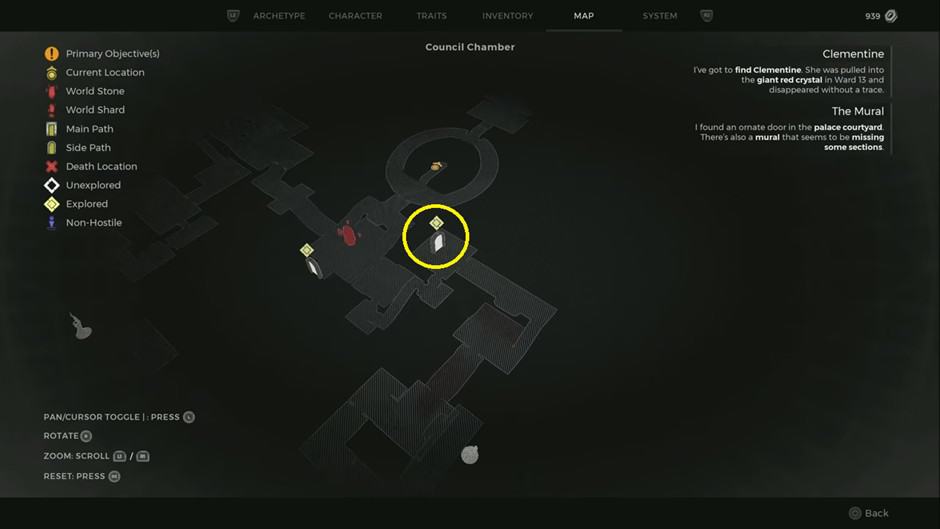
After you’ve exhausted the dialogue with the Fae, you’ll need to make your way to the Council Tribunal. The exact location is marked on the map above.
Simply head back from the council chamber, take a left, and then go up the stairs. Once you’re at the door follow the path, (which is closed in and fairly linear) until you reach a door on the right. Go into the room, which has a set of double doors that lead out to a bigger hall.
The hall as well as the path to reach it are riddled with high-powered enemies, so take your time to clear them out. Play defensively and carefully. Once you’re in the hall, head right and head up the stairs. At the top of the stairs is another set of doors. Beyond the doors lies the Tribunal Council Room, which has the bulk of the quest’s main requirements.
Solve the Council Tribunal puzzle
Inside the Council Tribunal is a tricky puzzle that needs to be solved to progress to the next stage. You can see a large locked door behind the three judge’s chairs.
That door will only be opened when you solve the puzzle. To solve the puzzle, head down toward the foot of the throne and collect each key. All three keys have different colors, namely green, purple, and red, and they all correspond to one of the three Fae council members.
To solve the puzzle, pan the camera down until you can see the reflection of where each key was embedded. The reflections show the correct area where each key needs to be slotted by showing the correct color order.
Place each key back into this rightful place one by one and the door behind the three thrones opens. Head back and up the stairs and you’ll be brought to the one true king’s throne room, where you’ll find the evidence of the perpetrator.
Find the Assassin’s Dagger
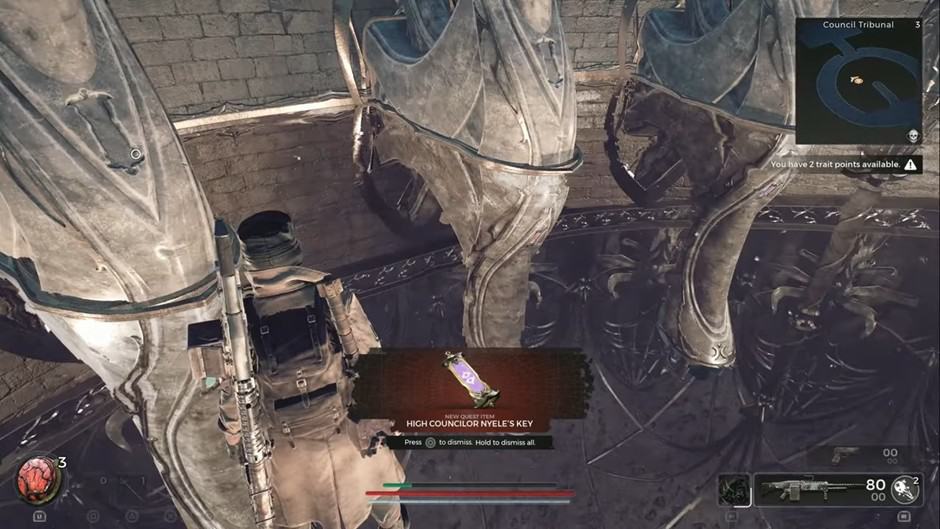
In the area on the other end of the Tribunal door, you come across the One True King lying lifeless on his throne. Here you have to do a little bit of parkour and climb onto the throne from the sides.
Reach the ledge on the throne that’s on the back of the One True King’s neck and you will find a dagger embedded in it. This is the Assassin’s Dagger which was used to murder the king.
When you find the Assassin’s Dagger, you must inspect it to find clues about whom it may belong to. If you look carefully at the hilt’s base, you’ll see an insignia printed on it.
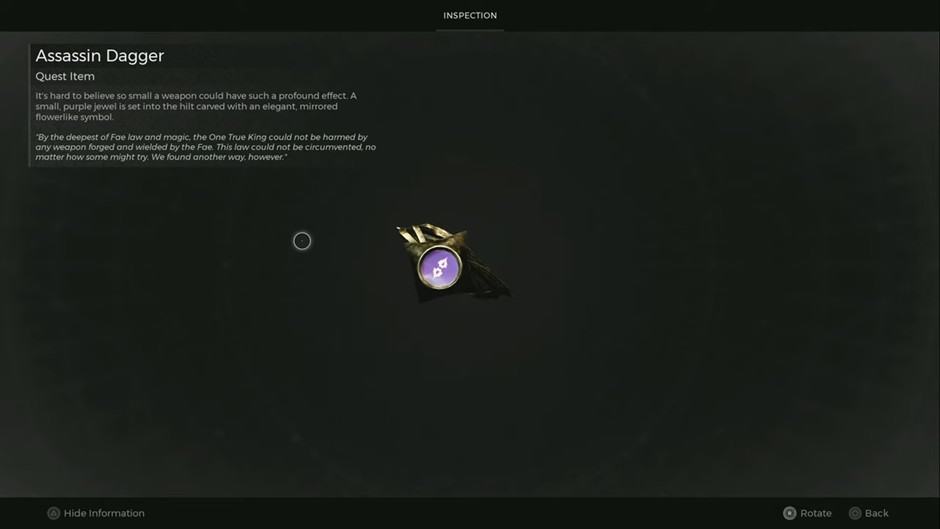
This insignia reflects the one on one of the judge’s chairs. When you go back to the Council Chamber, look at the markings on the chair again and you’ll know who the real assassin is.
However, before you can head back to the real Council Chamber, you get ambushed by a few enemies who were supposed to hide the identity of the killer. Finish off the incoming groups and return to the Council with the Assassin’s Dagger.
Use the Evidence to Accuse the Correct Conspirator
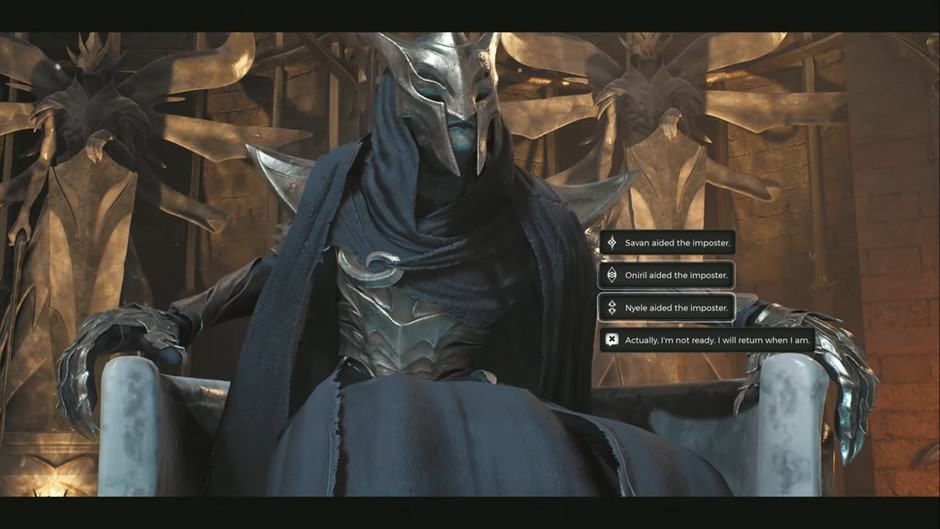
When you get back to the real Council Chamber, a hearing by the Magistrate will be held, and you will be required to present your evidence to accuse the correct Conspirator. Select the answer that corresponds to the symbol you saw on the hilt.
It is important to note that there is no right or wrong answer for who is guilty. The answer depends solely on what symbol you see at the bottom of the dagger. The symbol will be different for everyone but will always be one of the three; Savan, Oniril, and Nyele.
Present the Assassin’s Dagger as your evidence and you’ll witness the execution of the guilty Council Member. When all is done, you will be rewarded with an Ornate Blade, an extremely powerful melee weapon.
What happens if you Accuse the Wrong Conspirator?
Regardless of the evidence presented by the Assassin’s Dagger, if you choose to accuse the wrong Council Member, then you are indirectly asking for a fight.
This is because the Fae council considers a false accusation grounds for an instant execution. If you do so, you will enter a boss fight with the Council, where you have to fight all three of the judges off at once.
All three of the judges fight alike, and it’s almost like fighting an Elite Teleport Fae – except that you have to fight three of them at once, so it may be more difficult than expected.
Since they don’t have any distinguishable special abilities, you can choose to target any one of them first. However, it is recommended that you follow a defensive/counterattack strategy against these bosses since they can teleport around the arena – which makes it difficult to defeat them on a purely offensive strategy.
If you manage to defeat all three members of the Council in this fight, you will receive the Fae Protector Signet as a reward rather than the Ornate Blade. You should accuse the Council member based on what reward you want to receive at the end.
The Council Chamber events and bosses
Apart from the Council Chamber’s main quest, there are a few other side events and bosses that you can come across in the dungeon. However, unlike the previous quest, these are optional and may n
The Secret Room and the Executioner Boss
Sometimes, the Council Chamber Dungeon allows you access to a large room holding a huge statue and a couple of paintings hanging on the wall. When you enter this room, your character will say “Something’s odd” – which is your confirmation that you are in the correct room.
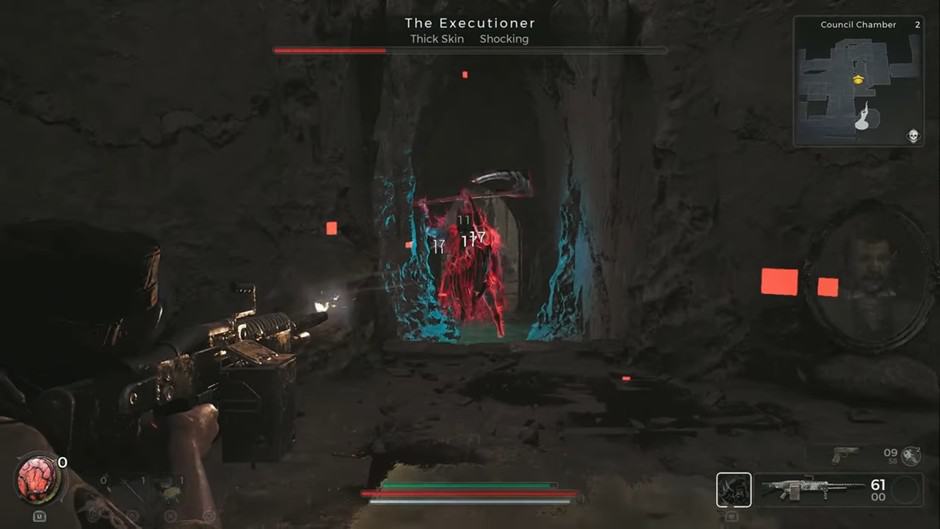
In this room, there is one particular painting that can be destroyed to reveal another secret room behind it. Inside this room, you find the Executioner which is an optional boss that drops the Steadfast Mutator upon defeat.
Further on in the secret room, you can also find the Ornate Flail Melee Weapon and a Sapphire Dreamstone.
The Fae Statues Puzzle
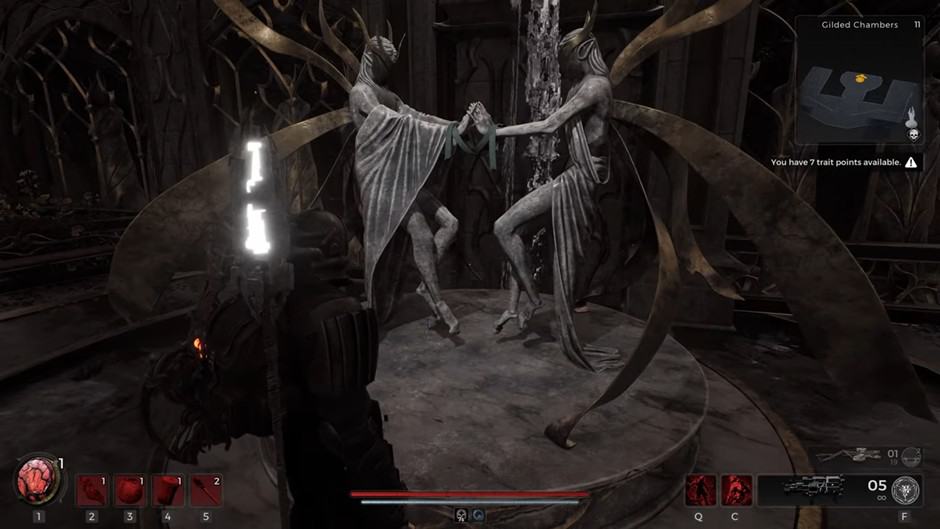
While traveling around the dungeon, you may sometimes come across a statue of two Faes holding hands. This is a puzzle that can be solved and to do so you need to find a Plain Ribbon. This item can spawn in either the Council Chamber or in the Gilded Chamber. In both cases, it’ll be on a corpse.
To solve the Fae Statues Puzzle, simply tie the Plain Ribbon around the statue’s hands. After this, you must leave the area and come back again at a later time. When you do so, you may either receive the Golden Ribbon Amulet or the Silver Ribbon from the statues as a reward.
The Flame Puzzle
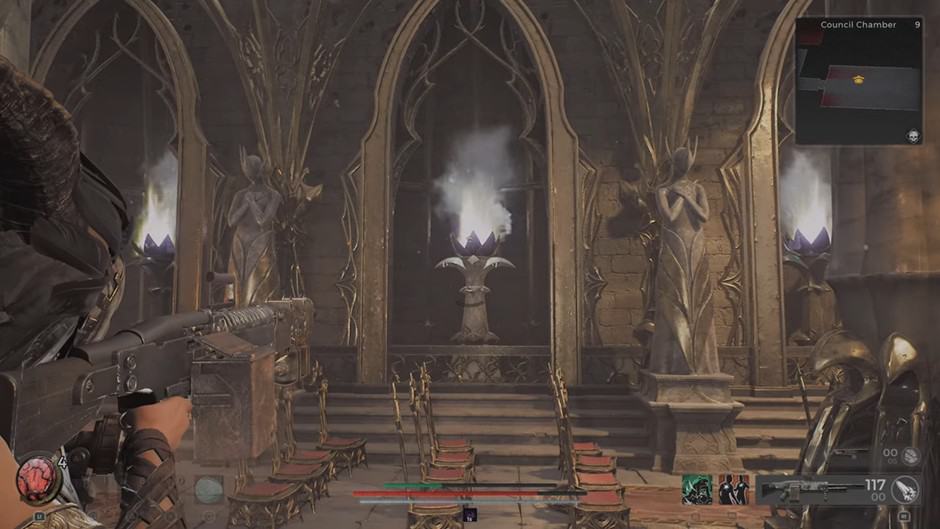
You may even sometimes come across the Flames Event in the halls of the Council Chamber Dungeon. This is a small puzzle that includes two sets of five torches, lit with varying colors of flames.
These can either be lit with a white or a blue flame. To change the flame’s color, you must shoot at it, but it changes the adjacent torch’s color as well. You have the option to either make all of the torches blue or white, which renders the puzzle completed and yields different rewards.
If all the torches are turned blue, you receive the Black Pawn Stamp. But if all the torches are turned white, you receive the White Pawn Stamp. The former is a Ring that reduces the cooldown of Skills while the latter Ring reduces the Mod Power Requirement of your weapons.