Below is our detailed walkthrough for the Okinawa Jail in Persona 5 Strikers. Our step-by-step walkthrough covers clearing the dungeon, defeating its bosses and mini-bosses, and even loots drops and chests! Let’s jump right in then.
Persona 5 Strikers Okinawa Jail
The infiltration of Okinawa Jail in P5 Strikers starts on August 17. Your first objective from the start point will be to get to the containment area. Sophie separates from the party at the start of the mission. Upon entering, you should go ahead and examine the desk in front of the door for the “Research Records # 1”. After this, make your way to the experiment area and initiate a cutscene with Sophie.
On the other side of the same room will be some shadows for you to defeat. Use the first went you see from the southeast and clear enemies on the other side. Follow the pathway in front of you and you will eventually happen upon another group of shadows; this time, they will also have legion enemies.
You have to make it to the next experiment area but look for the first treasure you can find in this Jail before you do so. Once in the experiment room, deal with any shadows and look for a vent to the west side.
Warehouse
The vent leads into the warehouse. More enemies await here, this time with Shissa type enemies as well. There is another treasure chest on the top of the containers here. Now we need to find another vent. Reach the second rail hook and land on top of the other container; the vent is just on the other side.
Just follow your map marker now, it will lead you to some enemies; these will include Arahabaki type enemies as well.
Just near here, you find the “Research Records # 2”. Also, when you leave this area, you can activate the first checkpoint of this Jail. The third treasure chest will be due northwest of here. To the south are some stairs that lead up to a room where you can find “Research Records # 3”. Just to the left of which you can find the fourth vent and make your way across to the Delivery Area.
Delivery Area
Welcome to the Delivery area. The first surprise you get here is that the game will shift from being 3d to a side scroller, and you move using the rail hooks. There are two treasure chests here. The 4th treasure chest is on the upper left part of your screen (requires Safecracker bond skill level 3 to open), while the 5th treasure chest can be located after using the third railing.
Make your way to the next passage to face a mini-boss Shiisa, and the best way to deal damage to them is to focus on using Fire, Psy, and Curse type damage. After defeating the boss, look for a small room with the 6th treasure chest.
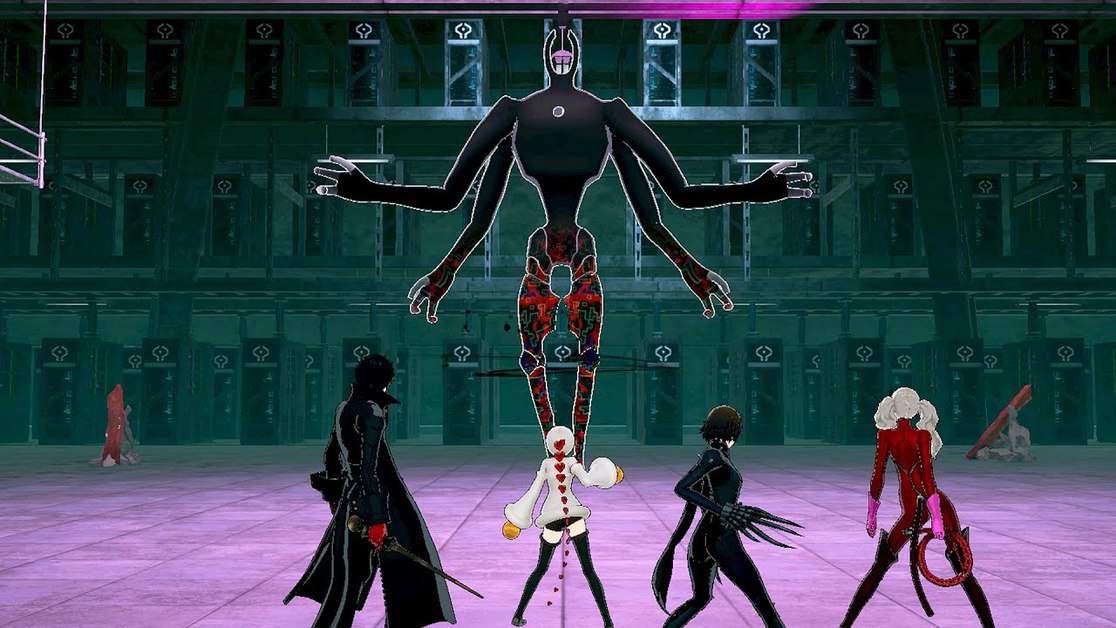
Move south from here and into the next room. Another mini-boss will be waiting for you inside, The Hecatoncheires. The most damage you can do to this boss is by exploiting his weakness to Bless. Defeating this mini-boss also gives you the “Research Records # 4”. After this, you get to the second checkpoint for the Jail.
Materials storage area
Heading East from the checkpoint will lead you to the Materials storage area. Get to the rail to get across to the other section, defeat any enemies in your way. The rail drops you in the Northwest section. Defeat the shadows and then take another rail to the northeast section and clean up the shadows there.
The 7th Treasure chest will also be visible nearby. Defeat any remaining enemies and leave the area to enter the Monitoring area.
Monitoring Area
Head east and then Turn North to enter the monitoring area. After you reach the marked location, you will come to find that the elevator isn’t working. Futaba will set about hacking the panel to get the elevator started. Meanwhile, the rest of the party has to defend her while she does so. Face multiple waves of shadows until the hacking bar doesn’t reach 100%.
Now all that’s left in the next area is to defeat the Okinawa Jail Lock Keeper.
After the boss is defeated, you will have completed the Persona 5 Strikers Okinawa Jail.
Also, for players who have cleared all the post-game requests, there is a hidden boss in Okinawa Jail, the Reaper Boss.
Okinawa Jail Treasure Chests
We have told you where each treasure chest can be found; the table below will tell you what treasures you can hope to find.
| Treasure Number | Loot & conditions |
| 1 | Chris Dagger x1(obtainable only once) |
| 2 | Pro Hackerware x1(obtainable only once) |
| 3 | Random Item or Skill Card x1(Repeatable chest) |
| 4 | Unknown item(obtainable only once) |
| 5 | Random Item or Skill Card x1(Repeatable chest) |
| 6 | Life Stone x2(obtainable only once) |
| 7 | Speed Incense x1(obtainable only once) |
