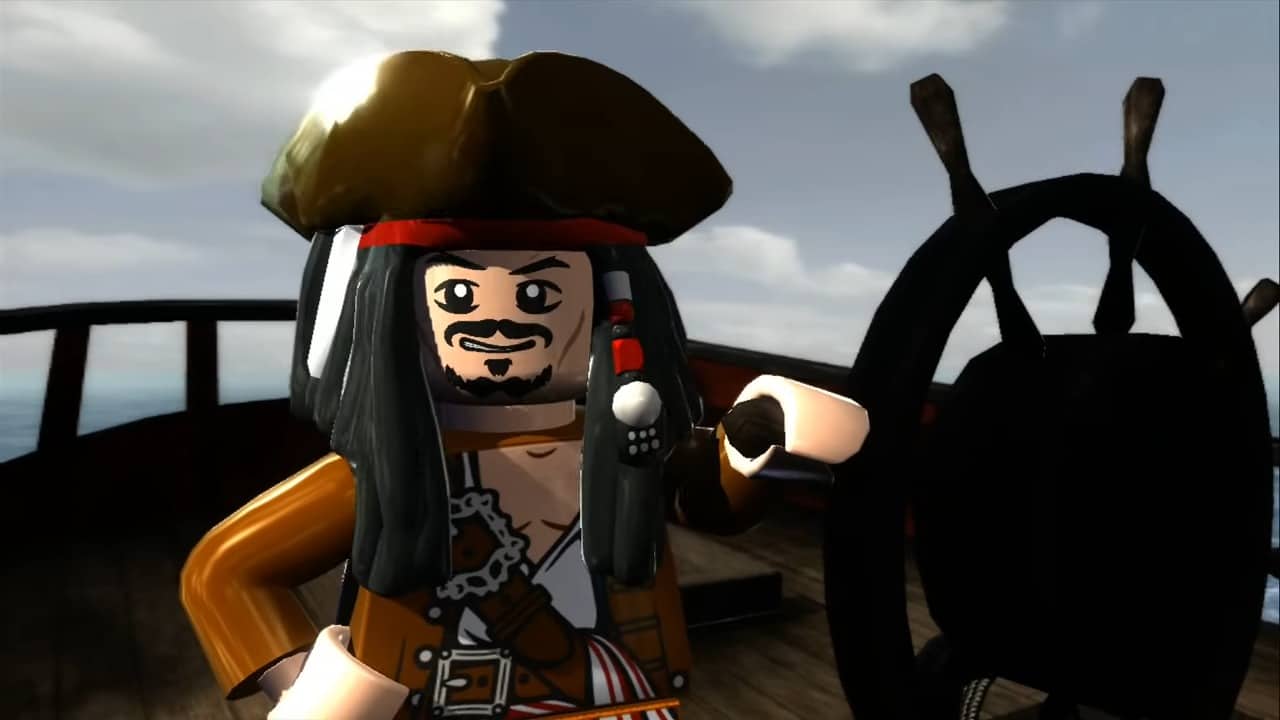
LEGO Pirates of the Caribbean encompasses the story of the first four movies to deliver a game jam-packed game with puzzles to solve, masses of journeys to take, and heaps of fights to win.
Furthermore, you’ll cross paths with over 70 characters from the movie series and you’ll have to find collectibles like the Minikits and Red Hats. This guide will give you a comprehensive walkthrough of the entire game.
LEGO Pirates of the Caribbean Walkthrough
Act #1 – The Curse of the Black Pearl
Act #2 – Dead Man’s Chest
Act #3 – At World’s End
Act #4 – On Stranger Tides
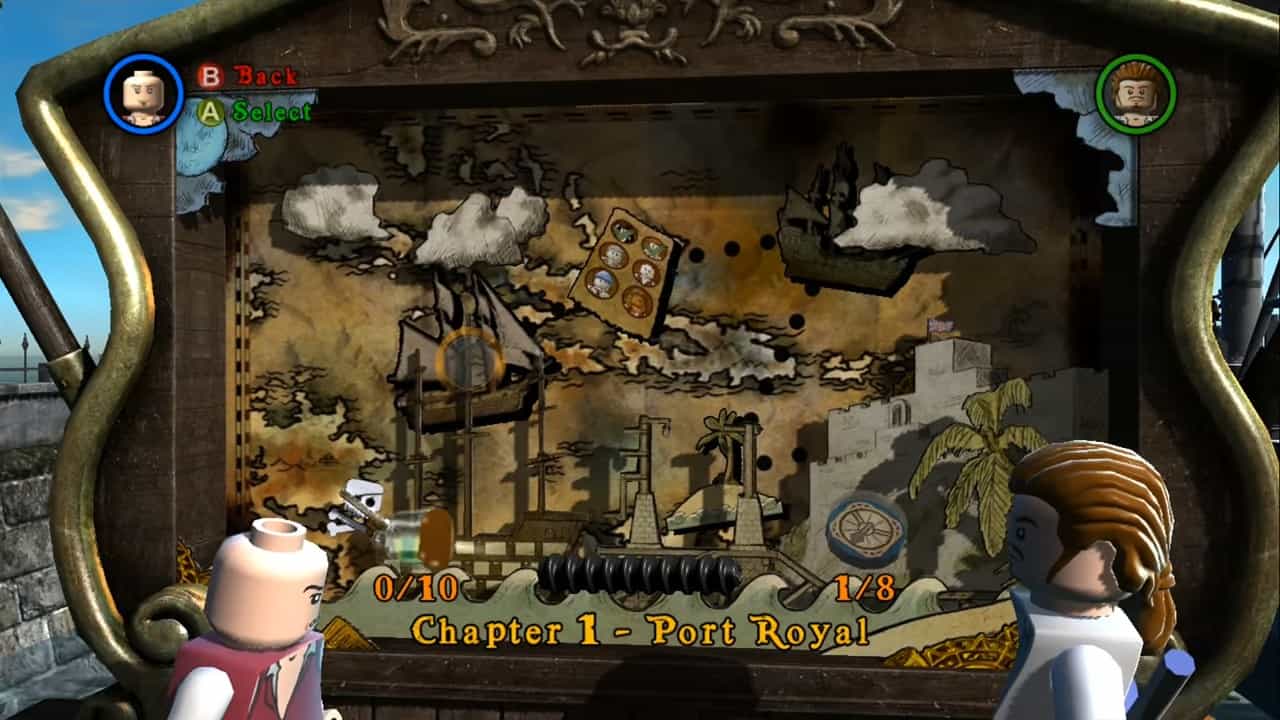
Act #1 – The Curse of the Black Pearl
Chapter 1 – Port Royal
As things get started, you will find a damaged circular platform on the floor. Repair it and then repair the red blocks placed beside to transform them into a switch. To build the switch from blocks, you will have to switch to a player with a hammer.
After the handle has been rebuilt, lift the structure using the handle. Grab the carrot, throw it to the donkey, and move the platform under the structure. Use it to activate the structure in the room.
Next is the confrontation with Captain Jack Sparrow as he falls through the chimney. He will climb the platform above. Use the red blocks to build a platform to get to the top.
Move towards Jack and start fighting with him again. After a couple of hits, he will again flee away. Use the ladder to get to him and start the fight once more. After one final hit, the fight will be over.
In Jail, move to the right and the cell door will fall off. Give one of the bones from the skeleton to the dog which will be added to your character’s queue. Now, move through the vent (after switching to the dog)
To open Jack’s cell, move the table to the green spot in front of Jack’s cell (switching back to Will). Jump onto it to open the door.
Come back and use the dog to dig the floor where you found the bone earlier. You will find a handle that should be placed on the switch and then activate it. Jack will rotate the other lever. This will open the door to the next section.
Jump over the brown drum. Spin it to the orange switch near the door. Keep on spinning on the switch till the door is opened. Next, on the beach, switch to Jack and use his compass to find the wooden bars. Switch to the dog to dig for the bars. Use the bars to make the passageway.
Hop onto the drum and cross the passage you just built to the switch on the other side. Keep on rolling till the door is opened.
Get inside one of the barrels ahead and press the switch underwater to raise the cage to the surface. Get to the lower dock level and look for a gold handle. Bring it back to activate the turn wheel which will move the brown scaffold.
Hop onto the scaffold and then next to another platform. Shoot the grappling hook across the ship beside you. Move down to the ship’s wheel to conclude the level.
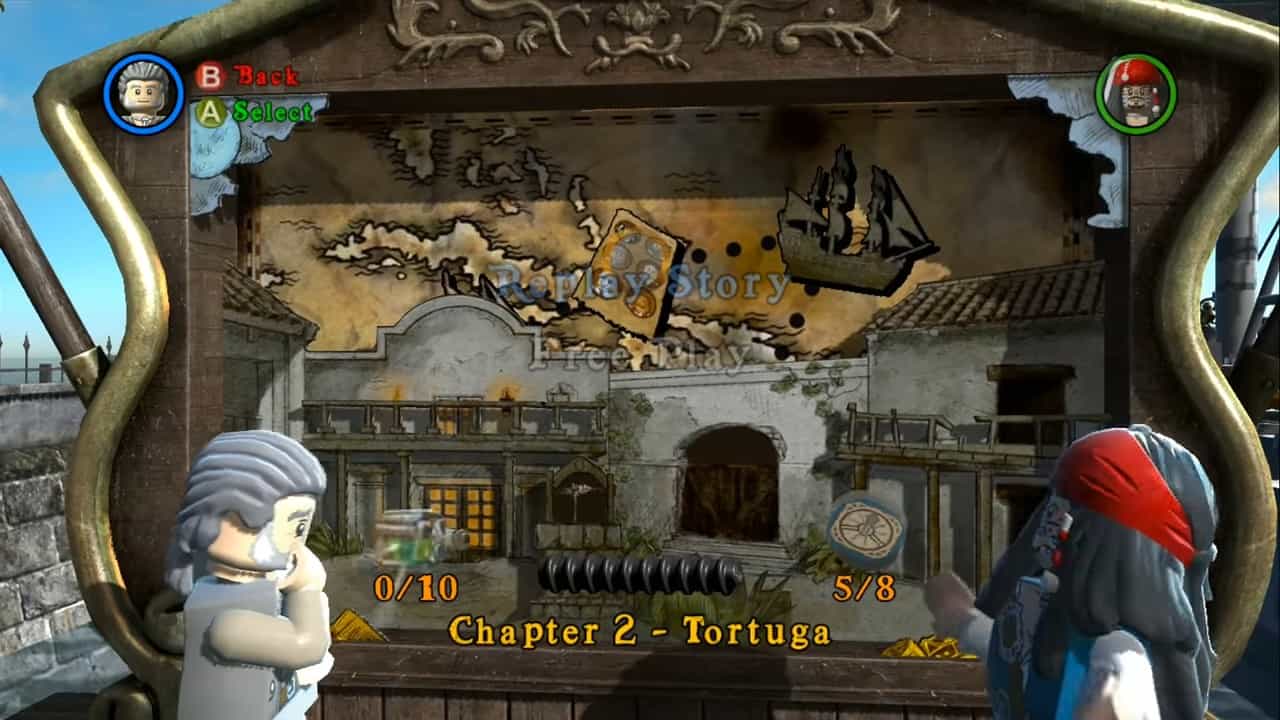
Chapter 2 – Tortuga
You can use the cannon with the help of a torch. Grab it by the door and shoot at the gate blocking your way. Now to move the horse, you need to attach its 2 wheels with the LEGO pieces scattered around the town square. Finally, feed an apple (the green one nearby) to the horse to get it moving.
Move the horse till the passage is cleared. Next up (in the pigsty), destroy the box and use (construct) them to fetch pigs some food. Search for the crank inside the food.
Use it with the device to raise the water container. Now grab the ladder’s lowest step to pull it down. Climb up the ladder and then grab the water bowl. Move it to the green brick. You can use the sword switch to fill the bow with the liquid.
Use the bottle filled with water to wale Mr. Gibbs. You can do it by placing the bottle on the green brick to your right side. Mr. Gibbs (your new crew member) has a hammer.
Use the hammer on the shining points closing the gates. next up in tow, use the hammer again to transform the shining bricks which will open the furnace door. Grab the torch.
Take the torch from the TNT drum and cause an explosion. Rebuild the shattered pieces to make your way to the cave below. Keep on moving till you find another crew member sleeping.
Use Jack’s compass standing on the marker and follow the lead. You can’t dig the treasure as you don’t have any diggers. Search for a digger on the left side wall of the cave.
After digging, you will find a small cannon in the treasure. Hand over this cannon to Marty so that he can join your ranks. You will have to smash the boxes to your left to wake up Marty before he can join you. After Marty is a crew member, use him switch to him, and pass through the small door.
Shoot the small silver LEGO pieces and head back outside. Bad guys are waiting. Fire the Big Silver blocks and climb up the ladder. Fix the pulley on the left wall using Mr. Gibbs.
After the pendants are raised, hang off the lower pendant and use the successive pendants to get to the hotel room. The crew member you are going to recruit this time is a female. Get her a diamond ring (you can get the ring from the dresser beside the entrance door) to make her join your crew.
Some pirates will attack through the windows. Switch to your newly recruited member and double jump twice to reach the flower symbols to close the windows. Another pirate will enter through the door. Use the door to move out. On your left, you will find a series of green bars. Use these bars to reach the pavement above.
Move the large brown down and pick up the crank. Use it on the music box this time. The music will force some music pirates to leave their houses. Now is your chance to recruit the final member of your crew.
He will ask you to find his bird. Move the big brown box to the left using the bricks lane and get to the second floor (Anamaia should accompany you).
Deal with the pirate distracting the bird. It will fly off to the other side. Use the plank to reach the other side of the floor. Fight with the two pirates in your way, get to the pendent, and knock out the plank leaving no place for the bird to run. Your crew is complete now.
You should get to your ship to complete the level.
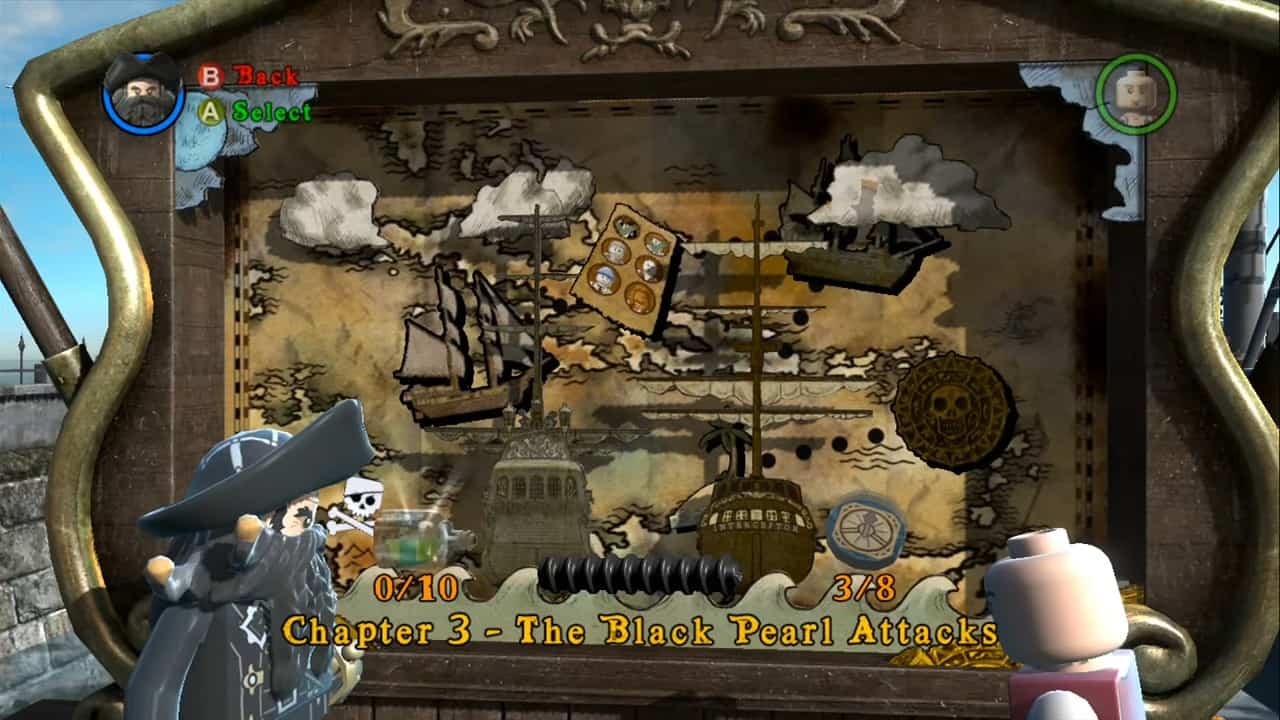
Chapter 3 – The Black Pearl Attacks
Grab the torch and use it to fire the cannon to destroy the caged window. After destroying the window, select Mr. Gibbs and repair the left cannon. Use it to destroy the other window on the Pearl. Once both the windows are destroyed, the doors will open hence you can jump down.
To your right side, you will find another cannon and the torch. Use it to destroy another window. Continue moving right and you will find the fourth cannon. What else? Light it and destroy the 4th window. The hold you are on is the 5th cannon but the way is blocked.
In the same area, climb the cluster of blocks till they fall. You will find a crank inside which you can use to activate the device and ultimately use the cannon to destroy the 5th window.
After the cannon explodes, pick the cannon drum and position it down on the suspended green brick. You will find some boxes towards your left. Destroy them to gather some bricks which should then be used to build a lane.
To the right side, climb the wall and get to the ceiling to drop some blocks. Build the pieces and place them on another green brick. Build another lane. Once you have completed both lanes, push the joined blocks till they get locked.
Climb the ladder dropped at the back of the ship’s deck. Use the cannon to destroy the last of the windows. After Jack is free, use the box behind the incomplete lane for the construction (destroy the box for pieces). Push the block beside the lane down and it will break.
Move down but before you reconstruct from the broken block, jump down the flooded area and activate 2 switches. Swim back, and lock the push block into position.
Once the block is locked into position, it will open a door in the flooded area. Move through it and get back to the ship. You can get to the black pearl by jumping onto the fallen mast.
Use the cursed gold on the monkey. As the monkey gets to the crow’s nest, use the sword marker to chase the monkey to the top.
Attack it and then jump onto the suspended chain. You will fall off to fight with a bunch of enemies. After the fight is over, pick the bigger LEGO box and place it on the green patch.
Now select Mr. Gibbs and use his hammer to smash the red bricks. Use the drum (roll it to the rolling position) to bring up the boat. Take the box and drop it onto the green patch.
Build the bricks and then push the crank (its green side) till the platform is lowered. Use your female character to get to the poles so that she can attack the monkey which will cause it to fall. Attack for the final time to finish things off.
Chapter 4 – Smuggler’s Den
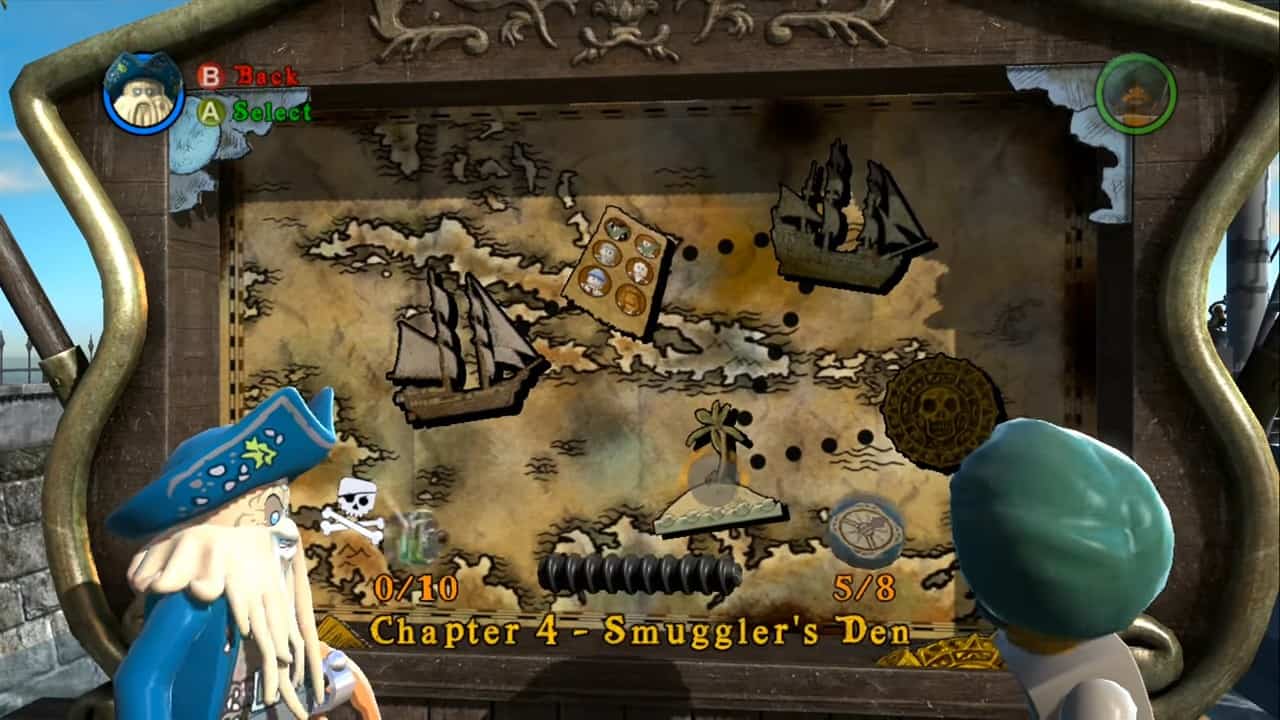
At the start, use Jack’s compass to find a hatch (there will be a skull on the top of it). You will have to go to another island. Hit the tree beside the hatch to drop a banana.
Fetch it to the monkey to gain a shovel. Use Jack’s compass again and this time look for the fireplace. Follow the path dig up the wood and place it on the green patch.
After building the pieces, use the shovel to remove the dirt around the box and hit the lock to open it. In the cave, roll the drum to the orange spot and keep rolling till one end of the bridge is raised.
Switch to the female character and double jump to the top rope. Switch back to Jack so that you can hold the other rope to lift the bridge.
After reaching the terminal region of the bridge use her to vault in the wall, between the vault. On the other side, strike the coffins and search for a golden switch handle.
Use the handle on the console to lift the bridge completely, Jack can pull the sword switch (look for the point) now while Elizabeth should pull down the ladder on the surface.
After reaching the above level, follow the monkey to get to the top of the island. Use the spyglass on the ship’s captain till he does the same. After the cutscene, get to the bottom again and do some rebuilding.
First the LEGO block into the catapult part and then the wheel in the water. Also, destroy the wall along the sunken ship to build the complete catapult. After you have finished the catapult, a monkey will come and smash the lid into a wooden pile.
Get to the hatch and build the wooden pieces into a bundle that you should place on the green patch of the catapult. Spin the golden wheel to launch it.
Head back to the bottom and wait for the explosion. Rebuild the pieces into a mirror. Turn both the wheels above the bridge (three times) so that the light is reflected for another dynamite explosion.
Rebuild the pieces into the mirror again. Another reflection for the dynamite explosion, and rebuild the final pieces to form a plank on a ledge on the left side.
Grab the wood bundle and take it to the lift that you destroyed earlier. After the lift comes up, grab the reflector and carry it to the green patch of the wall near the stairs. Adjust the mirror on the push switch to redirect the beam outside.
Move back to the top and make another campfire (on the green patch) using the wooden bundle you carried from the other island. Grab the final wooden bundle from the opened lift door and light the final campfire to conclude the level.
Chapter 5 – Isla De Muerte
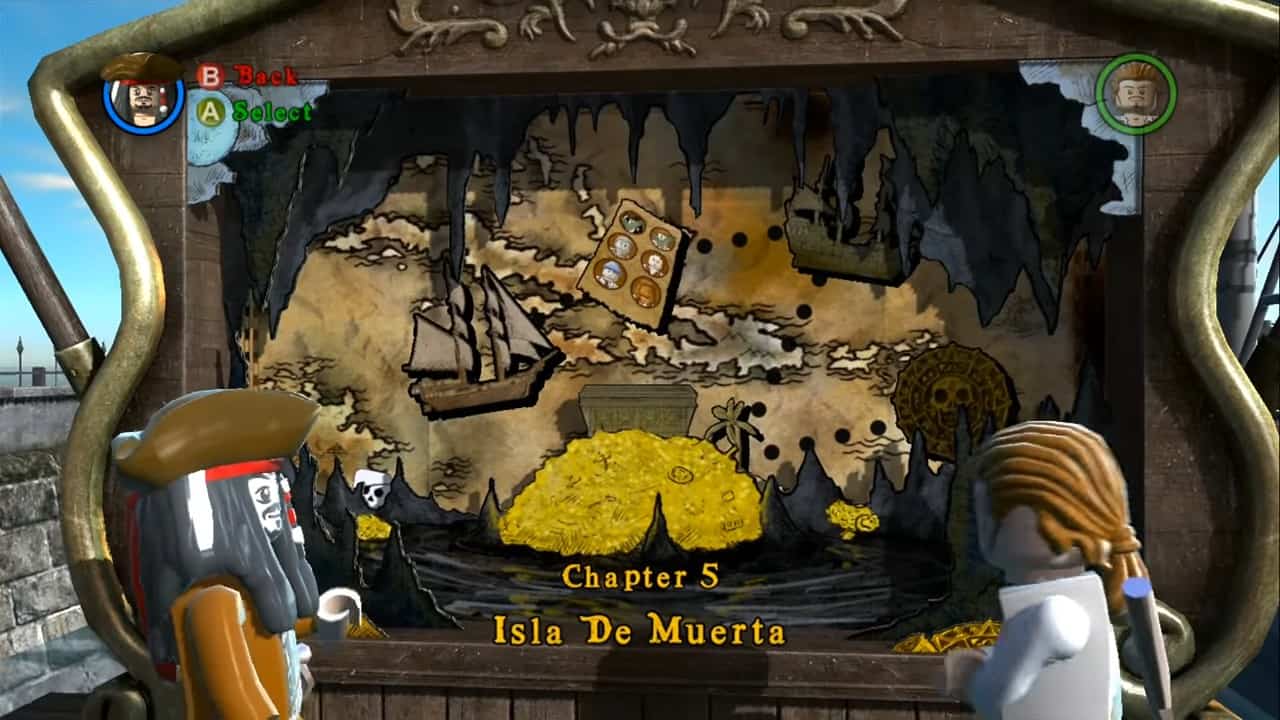
Use Jack to hold the switch along with the lamp and then switch to Elizabeth, take the lamp, and run across the water. Follow the ledge and keep on moving (on the bridge) till you find a crank.
Head back and place the crank to the designated spot. Move it so that the bridge is moved. Now switch to Jack again and cross the bridge. To meet him again, you will have to switch to Elizabeth Use the poles (double jump) to swing to Jack’s side.
Now since both Elizabeth and Jack are in the same place, simultaneously jump to grab the two suspended ropes.
The path to the cave is now opened. Next up is the fight with the dead men. Stay in the moonlight to stay alive and defeat them as they can only be defeated in moonlight. Switch to Jack and deal with the skeleton guys.
Once you have dealt with the bad guys, use the bones to construct a wheel and then rotate it to raise the bridge. Run across the bridge and grab the torch on the wall.
Use Elizabeth to rotate the wheel again and to raise the second bridge. Carrying the torch with you, move over the second bridge and use the cannon to destroy the two bony structures to break the cave wall. Use Jack’s compass to point to the treasure.
Follow the path and dig the hoping blocks with the shovel. Transform the block into a crank assembly and place it on the green patch nearby.
Open the treasure chests near the assembly and attach the golden mirrors to the turnstiles. Push the first turn structures till the laser is directed to the second’s mirror.
Now do the same to the second turn structure till the beam hits the skull into the rocky structure of the cave. Move through the door to meet Barbossa and his crew.
Time for a serious fight. Barbossa is vulnerable (unlike his crew members) only when he is out of the moonlight. He will call his crew members to fight.
You should stay in the moonlight to get rid of them. Use the bones to construct the barrel and roll it to the designated spot.
Rotate the drum till the Barbossa falls. Attack him once he is out of the moonlight. He will retreat again. The crew members will attack you again. You should follow the same strategy but this time build a wall using the bones to climb up.
At the top of the wall, jump onto the ceiling and when you are under skull assembly, drop down and start pushing the blocks till both the eyes light open. When both eyes are lit Barbossa will fall again.
He will stick to the moonlight. Fight him so that he gets out of the light and you cast another blow. yet another retreat and you will have to fight with the skeletal souls again.
Build using the bones and once you are all done with the building, switch to Will Turner and throw the axe on the mark that appears on the wall. As the structure starts rotating, use it to get to the higher ledge. Keep on moving till you find another skull assembly.
Push the blocks into the skull to shake the cave once again. Barbossa will be vulnerable this time get to his hiding spot and rip off his 3 hearts. You should now escape before the cave collapses. Use the suspended vines to follow Barbossa and his monkey.
Keep on following till he is cornered once again. He won’t allow you to get near him. Use the rock and throw it at Barbossa to stun him. Beware of the attacking monkey and switching to Jack or Will and attacking is your best shot.
Keep on shifting the characters as the monkey attacks and by stunning the bad captain, you can ensure a hit on him. 5 hits and you will conclude the first part of the story.
Act #2 – Dead Man’s Chest
Chapter 1 – Pelegosto
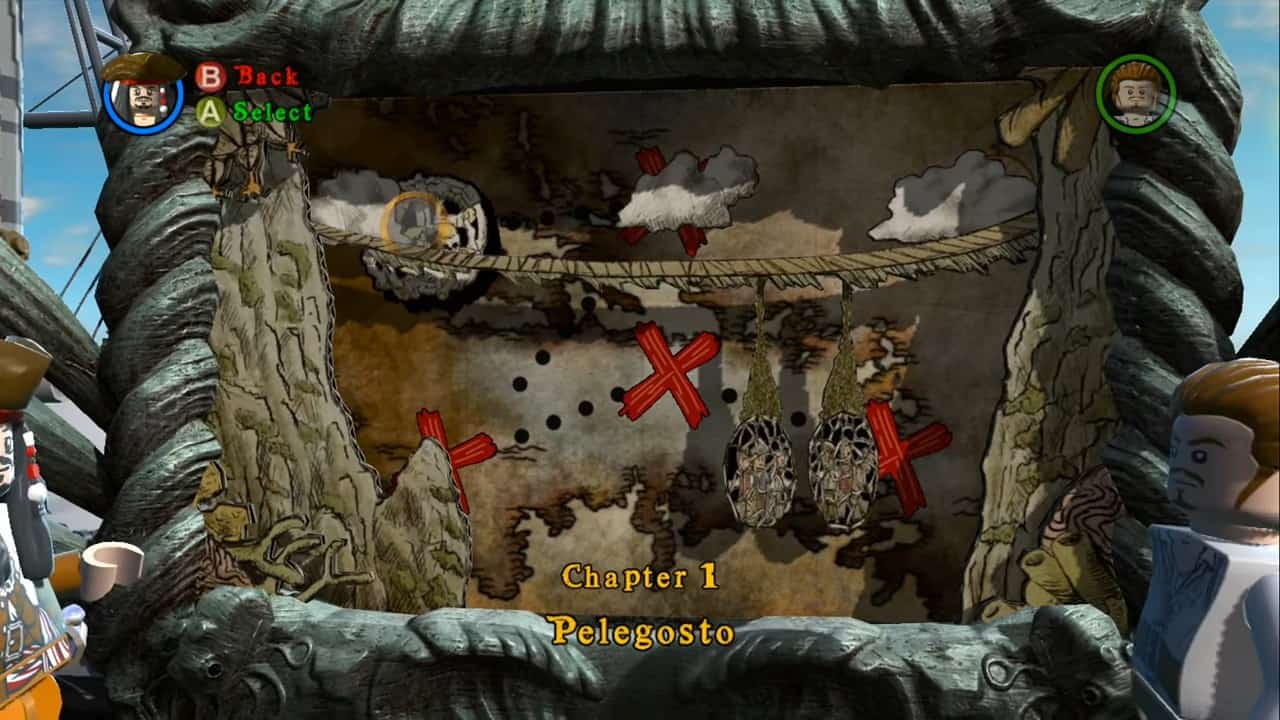
The chapter opens with Mr Turner in a cage. Do as Mr. Gibbs tells you and after the rope gets loose roll down the hill up to the right face of the cliff. Climb up (avoid the guard’s site) and reach the two dishes. One should be occupied by while the other is occupied by Mr. Gibbs.
Move through the gate to the cave below. Destroy all the boxes down there to reach the area and make a net. Move out of the cave and then climb the LEGO brick wall to get to the next cliff.
Now stroll onto the dish to the left to open the gate. After moving over the bridges, you will encounter another LEGO net. Climb the net and you will find a wheel. Now start rolling the wheel to the left.
The whole assembly will lower a water trough. After that jump over to the right side of the cliff. As you move down the ledge grabbing the wine, the water will spin the mega wheel.
You need to find the opening through the wheel to get past. Up next, you will find 4 wheels. Mr. Gibbs will take hold of the Hamster one.
You need to wait till the wheels are positioned and use the gaps made as the wheels move. Destroy the circular brownstones that block your passage above to make your way to the cave. You will get a hamster wheel and you will destroy a wall. Mr. Gibbs will follow you.
At the top, there will be a village. Cannibals are there. You need to move through them and use both discs simultaneously to open the gate. Roll back down to the circular peak but watch out for the spears and spike traps. These traps are marked with LEGO bricks.
Keep on rolling and you will reach the bridge. Cross it and it will break making you fall again. You will meet Jack and the dog. To find the dog a bone, use Jack’s compass. Give him the bone first and then you should draw your attention to the bright part.
Switch to the dog to dig the area for the brick piles. Swim over the water and ask the dog to dig some bricks. Use the bricks to construct the Plank bridge. Collect the second pile of bricks nearby and take both piles to the brick surfaces.
Transform the hopping bricks into a wall you can use to climb up. Select Mr. Gibbs and transform the red-hot bricks. After the rope is raised, slide on it. You will drop on a platform, and use the rope above again to get to the big stone which will clear the path for you.
Swim your way through and destroy the LEGO insignias so that the bridge gets loose and the water takes the crew members back to the Black Pearl.
Chapter 2 – A Touch of Destiny
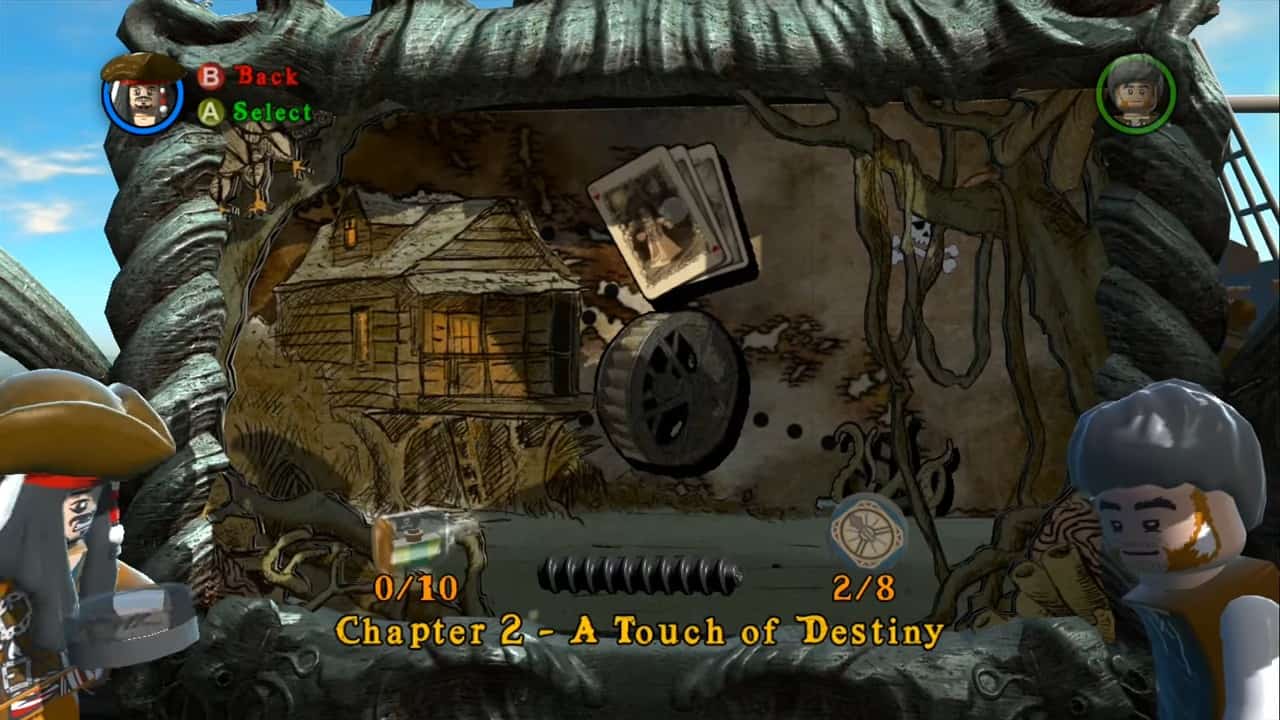
To get out of the mud, you will have to find a pistol and the glass eye of your crew members. Use Jack Sparrow’s compass and use the shovel to dig the treasure. Open it and give the eye to Ragetti.
Again, use the compass to find the pistol, and now since both the crew members are with you, you can move on. Place the monkey on the raft to activate the assembly. Rotate the crank to move the raft down till you are interrupted by the monster.
Jump off and use the explosive nearby (you can use the light). Once your raft is free, select Pintel and use his pistol to shoot the target to reveal the bouncy pads. Jump onto them and use the torch to set off the barrels. Now that you have dealt with the tentacles, select Gibbs and pound the red bricks.
Head back and use the crank assembly again till you reach the end. Now on the ship’s dock, select Mr. Gibbs again to hammer the bricks to make a wheel which you can use to carry the monkey with you.
Place the monkey on the catapult and activate the sword switch. Select Turner or Pintel to shoot the target which will throw the monkey cage into the space. Now near the ladder below a green cage will open. Hand from the rope inside to activate the bridge.
Cross the bridge to get to the monkey again. Bring the monkey to the marked green patch don’t worry about the crocodile for now. Use the crates to jump over the water.
Use Jack’s compass to get to the elevated level hut and then push the block to activate the assembly to raise the plank bridges. Find the target using the bridges. Shoot using Turner or Pintel to drop the bridge. Up next is the confrontation with a crocodile.
Keep on moving and when it roars, use the bombs provided to you by the villagers and throw them in its mouth. The villagers will lower the plank. Now before you climb up the plank, get the monkey. Beware of the swamp water as it is poisonous.
Once in the village, place it on the green patch. Leave the cage for the time being and move over the bridge to find the two sword switches. Activate both the switches using Turner and Jack (at the same time) and a raft will rise having a crank.
Head back with the crank and use it on the assembly to raise the LEGO bridge. Roll the cage and keep it rolling on the roller till the bell rings. Enter the witch’s home. Jump onto both the ropes to open the door on the right side.
Climb up the stairs. Now on the second floor, you need to break free the box from the table, which will cause it to fall. You need to repair the surface. Climb up on the ceiling to make the bricks fall to the ground. Repair the broken surface using the bricks.
Push the box to the trap area and use the sword switch to drop down the box. Head back down, and rebuild the blocks to complete the map and a magnifying glass. Look for a brown ship on the map and as it starts moving, follow it to conclude the chapter.
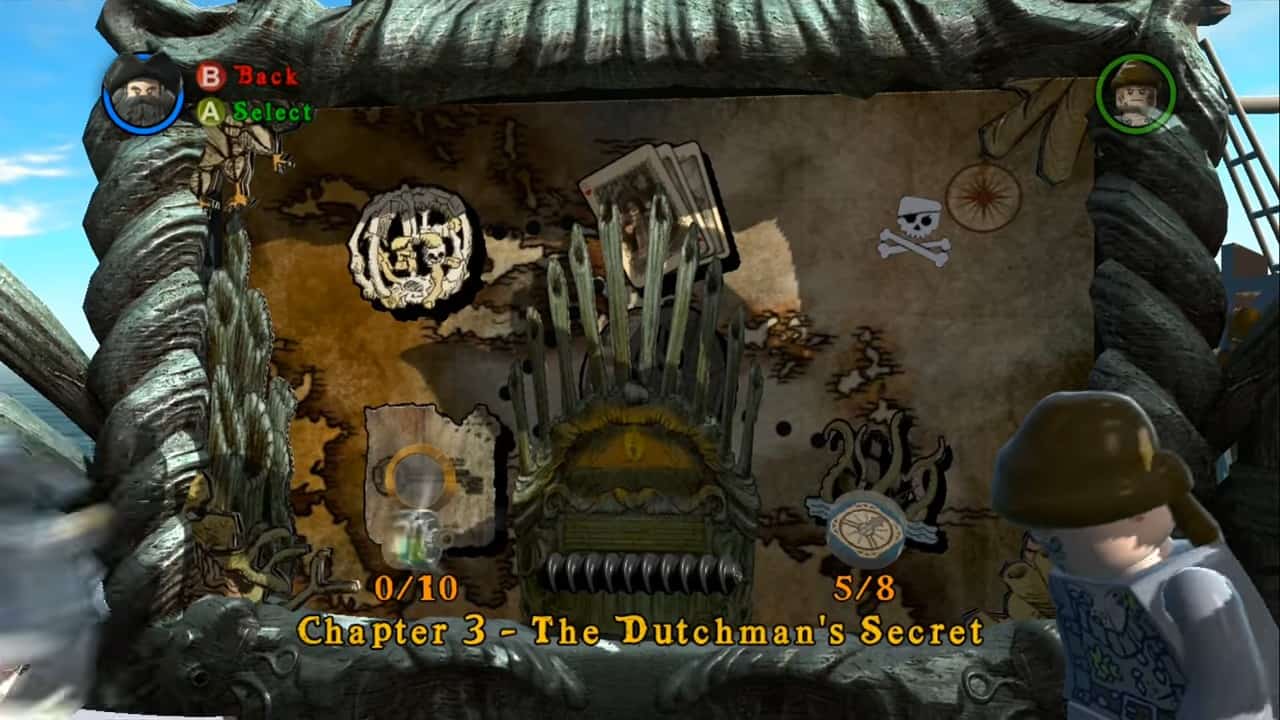
Chapter 3 – The Dutchman’s Secret
On the ship, use the lamp to clear the switching assembly from the tentacles. Activate the sword switch which will drop a group of bricks onto the deck. Transform the bricks into a transport creature. Switch to Turner to use the transport.
Your next objective is to build three crew members. Head to the closed-off deck area and you will find a drum filled with small parts. Use these parts to build your first crew member.
For the second one, head upstairs and use the green side of the turnstile to drop the cannon on the crew member below. To make him work for you, you will have to fetch him his demand.
Move back up the stairs and use the transport on the back wall of the ship. You can use the lamp to get rid of the tentacles. Jump down and now build the blocks into the stairs so that Will Turner can join in.
Select Will Turner, climb the mast, use the axe on the bricks there, and construct the debris into another crewmate. Once you are at the ship’s lower deck, jump into the hole to find another barnacle transport. Use Bill Turner to turn the wheel and then the ladder will be lowered.
Head back through the transport and you will find a rolling assembly. You can find a drum to your right filled with tentacles. Get rid of them and get the drum rolling. Keep on rolling till the chain is broken and the lock is opened.
To open the second lock of the big gate, climb up the ladder and use the sword switch. Meanwhile, switch to another character and you can push the door to open it. Move through the opened gate, to get back to the deck. Follow the Dutchman now to his room.
In his room, you will find another transport. Switch to Bootstrap Bill to use the transport. Hold the sword switch on the other end, switch to Will Turner, and push the wheel that has just appeared till it is locked into a place.
Turn the wheel and some platforms will be raised. Use these platforms to reach the above surface. Move left and then down to find another sword switch which should be activated for the wheel to be positioned towards the right.
Both wheels are active now. Turn them to make a pathway over the water. Place the box on the green patch to start the music.
The music will take care of the tentacles and the blue surfaces will appear. Stand on both of them to reveal more surfaces. Keep on moving till you have walked on purple, blue, and pink surfaces.
Watch out for the green surface as if you step on it, you will have to restart with the evil pirates.
If you are unable to clear the zones, you will have to stop the incoming waves of pirates using the chains on both flanks and will have to try your luck again with the music.
You might have to repeat a couple of times to clear the puzzle. Once the puzzle is done, you can jump onto the Dutchman to conclude the chapter.
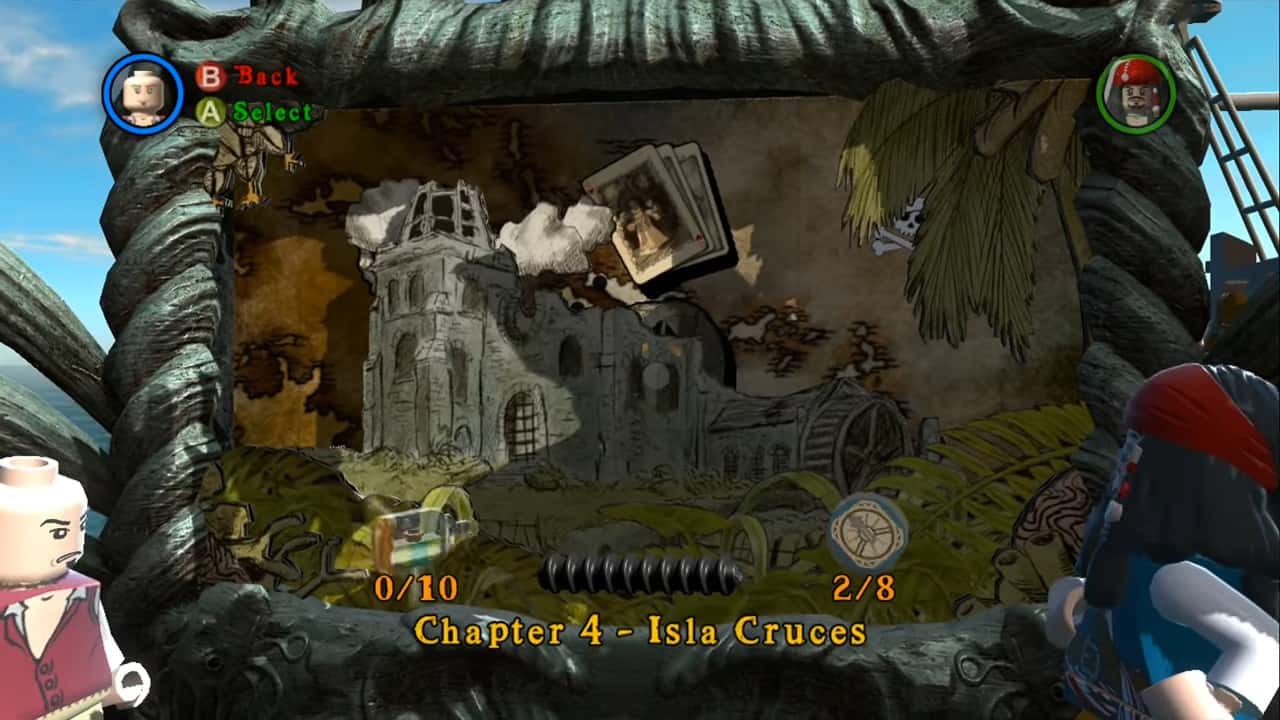
Chapter 4 – Isla Cruces
Get a banana so that the monkey follows your crew mates. Use Jack’s compass and dig all the spotted treasures till you get the umbrella. You can trade the umbrella with a boat. Continue your search till you find the pieces that can fix the catapult. Grab a coconut from the tree above and fire it through the catapult using the sword switch.
The coconut will hit the golden fish and now Jack can reach the boat on the beach. Get to the ship’s deck and then to the other section of the beach. Use the compass again to find another treasure.
You can defeat the crab by throwing coconuts at it. Climb the tree again and grab the coconut which you can shoot using the catapult. You need two hits to get rid of this giant creature.
Use the hoping platforms formed after the destruction of the crab to get to the treasure. After the cutscene, follow Jack Sparrow. He will attack suddenly. You need to fight him till you get a hit.
After being hit, Jack will retreat. Use the bricks to build and use the object on the assembly nearby.
Now press the sword switch to activate it which will reveal a box full of tools. Get the hammer and use it on the red-hot bricks. Before you can do that, you will be attacked by the bad pirates. Deal with them while fixing LEGO blocks.
Once you have fixed the bricks, a door leading to the ruins will open. Pass through it and use the axe to hit the target ahead to drop a plank. Climb up and activate the sword switch. Keep it holding as other characters move up the plank. One of your partners now will release the switch and you will rise above with the plank.
Jump onto the green poles to lower the ladder. Use the ladder to get to Jack Sparrow. After a hit, he will retreat again. Move through the gate to the other side. Take the torch and keep on moving till you find an explosive fuse (take cover while it explodes).
Now move through the wall (through the hole created). Up next, use Will Turner to throw the axe to the target to lower the net. Climb up the net and then move out. Chase Jack Sparrow till you corner him. If you fall, you can climb up using the vines. You will have a chance to make two more blows.
Next, on the water wheel, attack Jack Sparrow’s feet as you see them. He will be stuck and to free him by destroying the two spikes. Get to him inside the wheel and fight him again.
One more hit and he will retreat again and stuck once more. Free him again and he will come to the center of the wheel again. Hit him again and after the hit, he will get stuck once again so you need to repeat the procedure once more.
Finally, Jack Sparrow will get to the top of the wheel and you should follow him too (use the only platform left). After you have defeated him, you will be up against 5 members from the Dutchman. Use Pintel to deal with them from a distance. This is your last trial and after the chapter is completed.
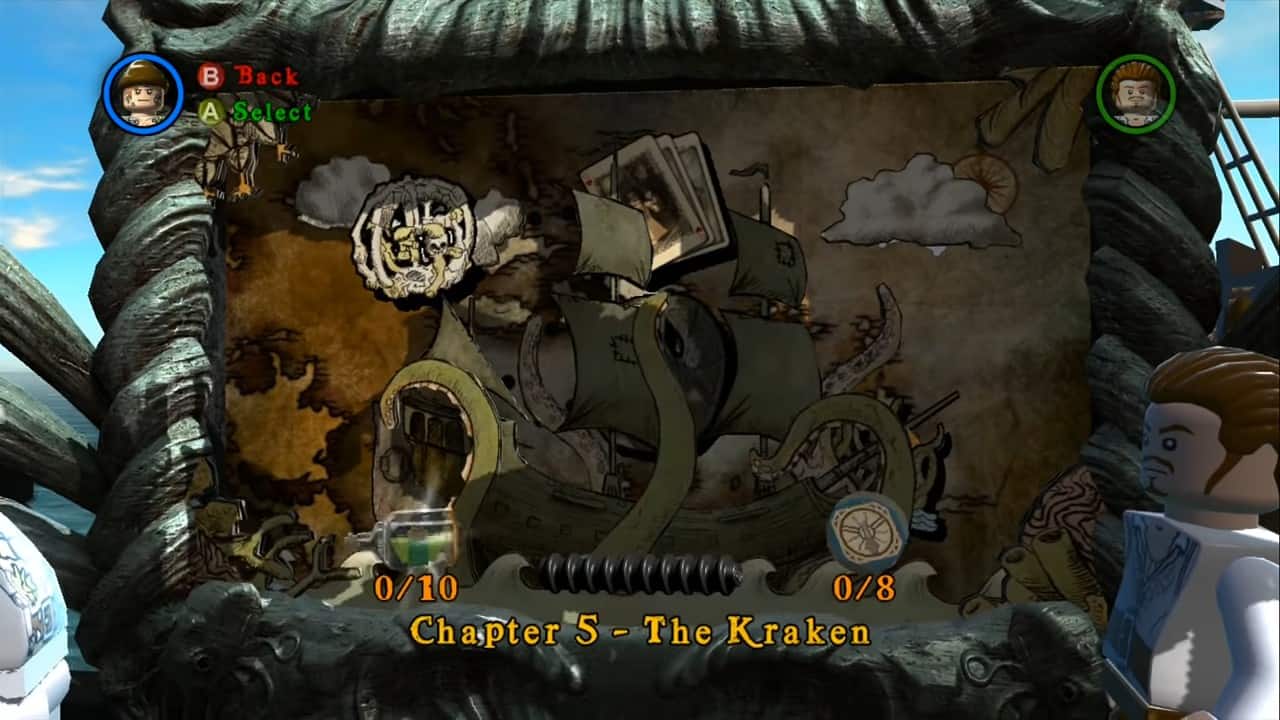
Chapter 5 – The Kraken
The big beast needs to be dealt with. Grab the light and move to the flanks of the lower deck to find the cannons. Shoot the vulnerable parts (purple suckers). Deal with the tentacles to free your grabbed crew mates. Then you need to find 3 drums to place them on the green patch. The first one is just ahead.
For one more box select Marty and free the box hanging with chains. One more box can be found on the left wall of the foreground area. Break the cupboard and use the LEGO bricks to build the third drum. Place three of them on the green surface.
Use the pieces to build turnstiles which will be raised. Select Mr. Gibbs and fix both structures. Push both of the structures to the green side till the explosives are lifted.
Run up the stairs to find two more drums. Rotate the golden wheel to push the platforms down in the background. Marty should move through the small door to push the box till you can grab it and place it on the designated surface.
To find the final box, move left till you find a tentacle. You will also be able to see a target across the stairs. Shoot it to get rid of the tentacle which will also release a box. Get it to the green surface.
To raise the explosives, build a turnstile using the pieces from the destroyed stairs. Push it till the explosives are raised.
Use the stairs to the right side to reach the deck. Select Jack Sparrow and get to the crow’s nest. After cutting the 2 ropes, slide back to the deck. Now on the deck, push the green blocks to break the gadget.
Select Mr. Gibbs and use the rope you just cut to reach the red bricks that need fixing. Head back to the deck and push the turnstile. Move left and light the cannon using the light to shoot the suspended explosives.
Next up is the open fight with the Kraken. It will spit some poisonous material from its mouth so stay in the cover. Throw some junks into its mouth as it opens the mouth. Now, it will smack the deck with its two large tentacles.
Jump onto the stationary tentacles with a torch. You will spot an explosive barrel that you need to light. Repeat the procedure for the second tentacle. Dodge it attacks meanwhile. After a while, it will start spitting boxes filled with explosives.
The attacks will become predictive. Light the grenade boxes before they are sucked back in. The monster will go down after three grenade hits.
Act #3 – At World’s End
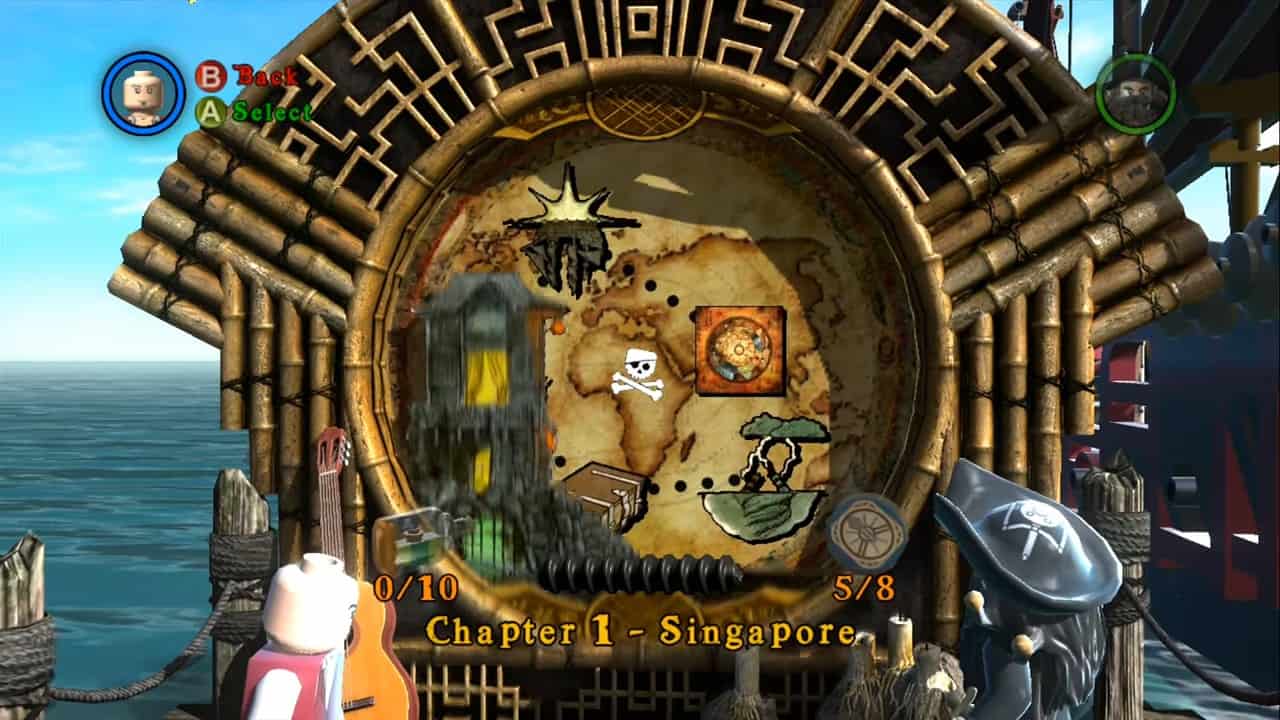
Chapter 1 – Singapore
Head to the fish shop down the street. As the situation dictates, you need to get a fish. You will find a stand just near the fish containing the fish. Destroy it to get the fish. Now the pole can be dropped from the fish shop.
Elizabeth can double jump and climb the pole. Jump to the next platform and then use the rope to get to the deck and ultimately release a bridge for Barbossa. Start moving on the dock till you find some poles cluttered with chains. Let Barbossa use the sword switch. Elizabeth now can jump over the poles and cross the water.
Cut the chain once again to make way for Barbossa through the folded bridge. Open the closed door (cut it open) and move through it. Climb the stairs and you will find 2 sword switches. Use them simultaneously to remove the blockage. Move back down the stairs and then head to the boat and paddle it to the first dock.
Move into the square and you will find a puzzle on the wall. You should move the golden ball through the hindrances. Initially, turn the golden wheel and then push the turnstile till the ball falls to the second layer. By pushing the blue side, the ball will make its way to the green gate. Now use the wheel to move the ball to the third layer.
Next, push the blue surface to move the ball to the blue gate. Turn the wheel again to let the ball fall. The ball is now in its fourth layer. Now push the green side of the turnstile till the ball reaches under a green gate. Next is the wheel turning. The ball will be back to the third layer just close the blue gate. Spin the wheel again to open the blue gate.
Drop the ball to the 4th layer, and push the green surface till the ball is on the green gate. Use the wheel again to finally put the ball through the hole. After the puzzle is solved, the door to the new building is opened. Open the lock and inside the house, your concerned person is behind the steam in the washroom. Close off the steam by pushing the baths.
After Sao Feng and Barbossa are mates again, you need to get the crew’s belongings back. Outside the bath to the right, you will find boxes you can destroy to get the gun which shall be given to Tai Huang. Now Tai is your crew member.
Select him and shoot the target at the ceiling. A carrot is needed by the next crew member. Tattoo Pirate will join the ranks.
Now pull the orange handle found on the wall of the plaza. Switch to the Tattoo Pirate and pull the wall till Tia Dalma joins the ranks. The gates will open allowing the soldiers of East India Company to get in. The sword fighter can deal with them.
Once in the city, select the Tattoo Pirate and drag the bridge over the muddy stream. Move across and then switch to Tai who should shoot the target at the ceiling to release a box.
Switch to Tattoo again and he can carry the box to the green surface. Transform the LEGO bricks into a pushable surface pushing the carriage to the final point. The explosion will open the gate. Move through it across the bridge and grab the explosives. Light them on the green patch.
The explosion will destroy the other bridge and the gate will be opened that will lead you to your ship. There will be minor foes interrupting your path that should not be a problem for you. Switch to Tai and shoot to drop the plank to get everyone onto the ship.
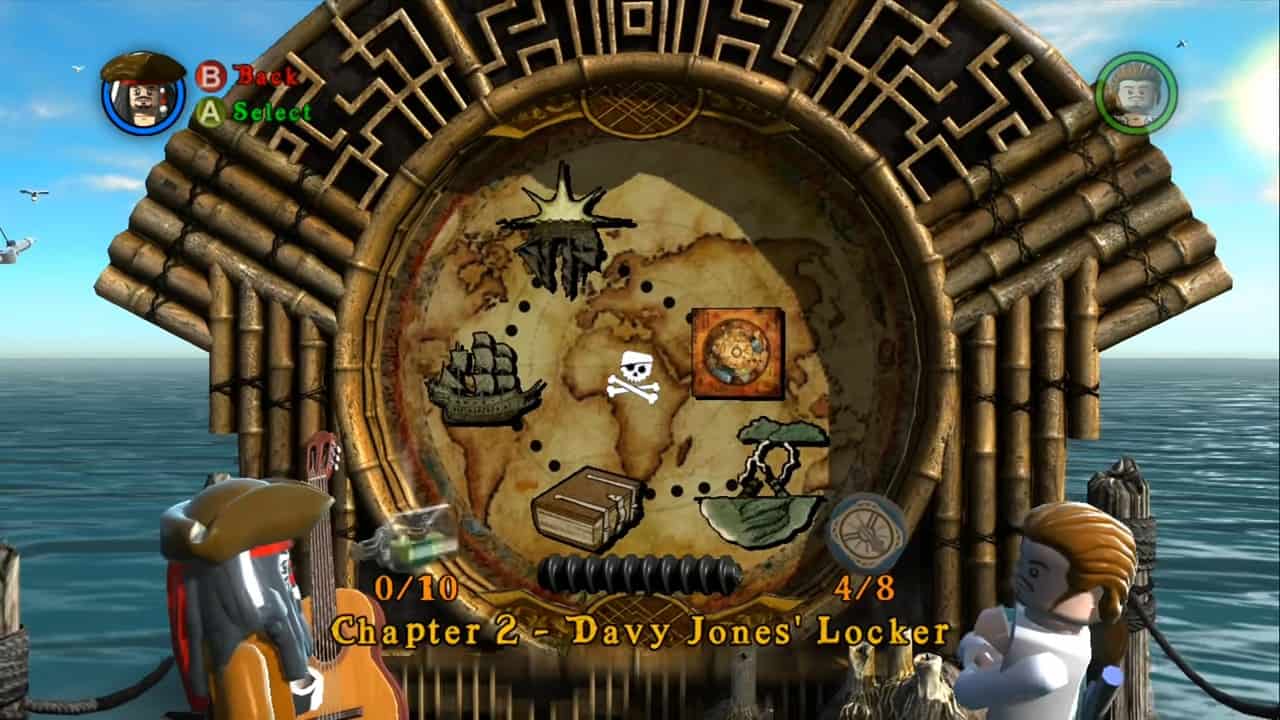
Chapter 2 – Davey Jones’ Locker
There are two Jacks now and two will be revealed later. For now, shoot the target you see on the boat using Jack’s Pistol. Climb the net and move across the beam.
Use the compass and search for the treasure. You will need a shovel. Follow the tornado that revealed the treasure to the shovel. Another Jack has it you will have to give him a duck to get the shovel. The duck can be found using the compass.
Use the shovel to dig and give the bombshell to Jack so that he joins your team. Now that the recruiting is done, you need to repair the ship. First the front end (dig) and then the back end. At the back end destroy the silver LEGO bricks (using the bomb) and also build the hopping blocks.
You need to use the goat. For that, you will have to find a fruit and fetch it to the animal. Use the compass to do so. Ride the goat and then pull the orange switch till your cabin gets repaired by the crab. Get to the ship and rotate the structure to lift the anchor. Pull the chain in front of the ship.
Move downstairs and switch to Marty to destroy the silver cage. The crew member will run away. Don’t grab the crank yet. You will find some jumping bricks on the back wall. Build them to reveal a box. Shoot the target and place the box on the green surface near the cage.
The box will be shattered into pieces. Use the pieces to build an assembly. You can use the crank now on this assembly. Rotate the crank and the pirate will get free. Now back to the deck. You should Marty’s gun to free both tied crew members. Use the hanging chain to climb up to the top. Barbossa should accompany you.
Jump to the crow’s nest and from there reach a mast on the other side. Move towards the nest and use that sword switch to free another crew member. The next two crew members now are engaged with the cannons. Use Marty to free the cannons.
Now to deal with the octopus, light the barrels (using the torch) nearby to scare off the creature and relieve the stressed crew mate. Next up is the Will Turner on the wheel. Attack the wheel to wake him up. Mr. Gibbs is busy sleeping on the bottom deck.
Destroy the barrel and then use Marty to get through the small door and then push the barrel. Move the container to the boiler and activate the sword switch. With water, Gibbs will make up and all your crew members will be ready to go. Capture the boat and you are done with the mission.
Chapter 3 – Norrington’s Choice

Move up the stairs and activate the sword switch (using Norrington). Any other crew member should be the target. If you pull both ends of the chain, a hole will open leading to the lower surface. Through the hole, head further below to find the torch. Climb down another ladder. You can use the torch to scare off the small creature’s arms.
Further below, you will find a pushable surface that will be blocked. Use the torch to deal with the tentacles while turning the wheel to move the nets. Now push the LEGO backward and then forward till you are interrupted again. Use the golden switch to lift the net again and start pushing again.
After the device is activated, activate one of the sword switches using Norrington while the other switch can be activated by any other crew member. Get the sword attached to the pillar. A door will open leading to the crew. Grab the torch from the column to the left and light up the explosive along the cell. After the explosion, your crew will be free.
Now you need to escape. Head back and you will be interrupted by the waves of pirates. You will come across an orange handle. Switch to the Tattoo member and pull down the wall. Use the torch to ignite the cannons. You will find an opening. Move through it.
After you drop down from the bow, switch to Elizabeth and double jump to reach the top. A net will drop. Climb up and you will find three of your crew members. The next hurdle can be cleared by using the cannon windows. You should keep in mind that windows can open and fire so you need to be careful.
From the green pole area, jump to the brown pole which will reveal a golden wheel. Turn this wheel and a boat will be raised. Select Tai and shoot the target over the LEGO bricks. Deal with the pirates and then search for a strong rope in the left and back area of the ship.
Use the rope to slide to the ship. Now time to detach your ship from the Dutchman. Using the Tattoo Pirate, withdraw the anchors by pulling the four orange handles and you will be good to go.
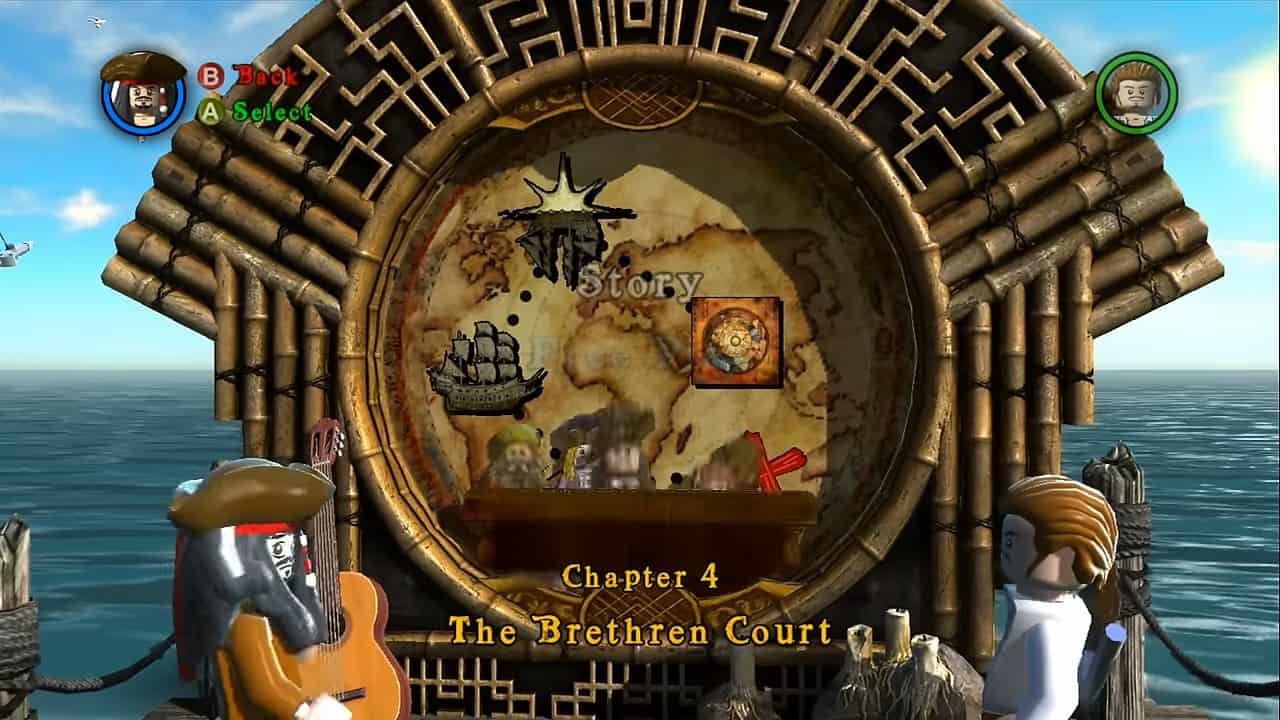
Chapter 4 – The Brethren Court
Time to recruit more pirates. The first pirate is behind the waterfall. Use Jack and Barbossa to activate the sword switch. A block will fall. Use the pieces to build a statue. The pirate will agree. Search for more pirates. Move left and then over the plank to the door.
After you have moved through the door, move left and you will find an assembly. Activate the assembly. Get the gear and place all of it on the green surface. Move the turnstile to position the cannon which you can use to destroy the silver chain.
You will need a torch. Find it using the compass and light the cannon to destroy the blockage from the box. Open the lock to get the treasure and complete another recruit. The next one is to the left across the railings. A wig is wanted by this pirate.
Use the compass to find the first one then place it near her on the green surface. You now need to find two more. One can be found using the compass, For the next one, walk the path in the foreground till you find the wig. Find them and place them near the first wig.
Head back to the waterfall again and this time instead of walking left, move right till the fork comes. Move up and then left. Jump from one wall to another and keep on moving till you find the rope. Pull the rope and then move right.
Cross the bridge and keep on moving till you are confronted with another pirate. His demand is weird but you will have to do it. Pull the chains and LEGO women will help you dance. You will have to follow the particular patterns. Once the jangling is over, the pirate will join you.
Jump down and then move right to find another pirate. Use the elevator to get to him. You need to solve a puzzle that involves the removal of the drum that is stuck inside a square. The golden wheel and chain will solve the puzzle.
The wheel will move the square and the chain will decide the direction in which the golden wheel moves the square. Pull the chain to red or blue and rotate the wheel multiple times to free the drum.
Give pirate the drum whine so that he can join your cause. For the final member, run left and take the elevator to the top. Move right till you find a crank. You can use Jack’s compass to find it.
Put the crack into the assembly and then switch both the cranks to save the pirate. Now you are ready to attend the meeting.
Use the elevators and then the switches above to open the doors to the meeting. Next, you should find a bone for the dog. Move left into a room and you will three boxes. One of them contains bone. Get the dog in the room with three skull chests and use it to get to the cellar below.
Move right and inside the cage, and jump to bite the orange handle. The cage door will open. Bring the box back to the table and a book will be revealed inside. With all the LEGO pirates on your side now, the chapter is concluded.
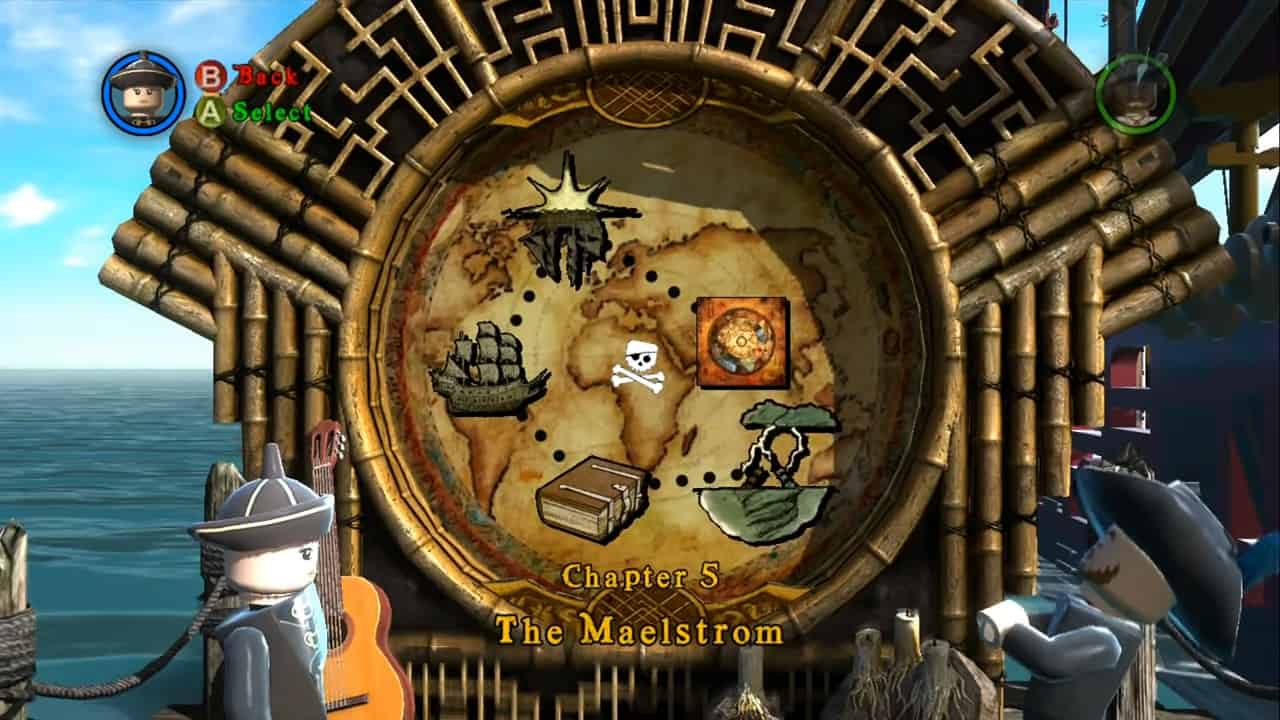
Chapter 5 – The Maelstrom
On your ship, you need to explore all the magic components. The first one is in the box to your left flank. Next up, using the spyglass, spot the female pirate. She will throw you another component. Now, outside the cabin, you will find a chest from which you can get an umbrella. Use this umbrella to get an eyeball from your crewmate.
Upstairs and to the left of the ship, look for a target and use Will Turner’s axe at this target. Climb up to the nest and you will be able to spot another piece on the back of the ship. Grab the piece and after placing it with the other component, take the torch you can find outside the cabin.
Take the boat down to the purple tentacle and free the component it is holding using the torch. Get back to the crow’s nest and this time slide down the rope to the central mast. Light the cannon to shoot the barrels revealing the last component. Get down and collect it.
A cutscene and after that use the golden wheel at the back side of the ship. Turn it 3 times to reveal a cannon. Complete it using the bricks and fire it after that. You need to aim for the weak spot of the Flying Dutchman. Leave the cannon and the enemy will fire back.
Fix the cannon again and fire once more on the weak spot. Before you fire the last cannon, you will have to deal with the crabs. Construct using the jumping bricks and turn the wheel. The water will drive them off.
Next up is the confrontation with Bootstrap Bill Turner. Defeat him so that he joins your side. Select Bootstrap and use the small transport (also grab a lamp) to the down level and scare the creature’s arms. Push the bricks to the left till the compass icon appears. Select Jack now, get to the nest, and then sail left.
Devey Jones will attack. As he falls, he will hit the earth thrice and will retreat. He will summon some pirates you need to deal with. After that select Bootstrap and then select the Barnacle transport. Wait for his attacks and then chase him.
Switch back to Jack Sparrow and use the compass to get to the bow mast. He (Jones) will switch a couple of more positions. Follow him and attack till you have defeated your foe. Once Jones is down, you are done with this part of the story.
Act #4 – On Stranger Tides
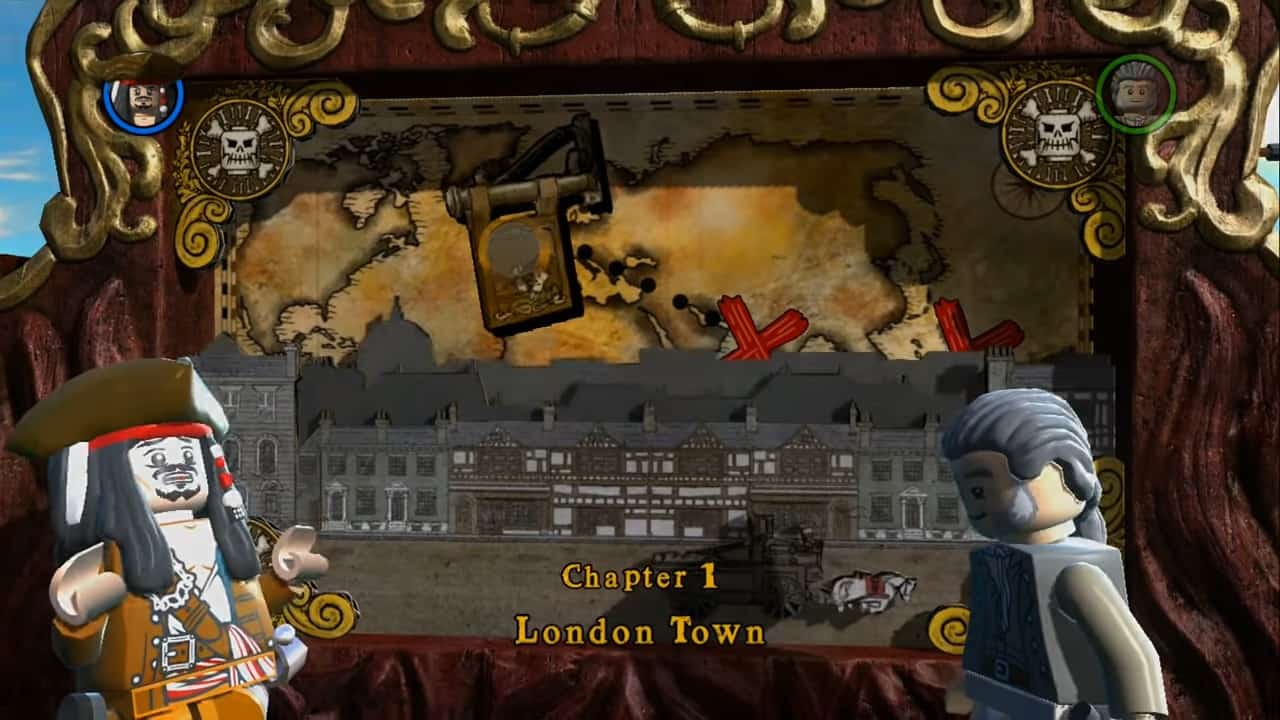
Chapter 1 – London Town
Take care of the soldiers to the left side first. Use their muskets to shoot the targets. Use the bricks to construct an assembly that will help you reach the ledge. On the ledge, push the statue and then pull the rope.
Next, jump onto the table below and move the block to the left. Jump on it and then to the poles of the moving chandelier. Jump to the platform in the background and then to the next platform. Use the rope to swing and leave the area.
Now keep on moving down the hallway till you find glass cases you can destroy to gather cannon pieces. Use the hopping bricks to build and fire the cannon to remove the blockage at the exit. Use the drainage pipe to get to the wall and then to another set of poles to lower a net for Mr. Gibbs.
Get to the red-hot bricks which can be transformed by Mr. Gibbs. A sword switch will be formed. Activate it using Jack and Mr. Gibbs will be raised above. Push the brown bricks and a ladder will drop for Jack. Next, you need to cross the street for a couple of times. First, use the suspended ropes then the drainage pipe, and then ultimately another rope to slide down.
You will find yourself in a chase after the cutscene. Ride the carriage till you can jump to the cargo ahead. Hit the soldier and grab the musket to hit a target to your left. A bridge will be lowered. Get to the bridge and wait for another carriage to pass by. Again, jump off it and destroy the coffins to get the pieces to build a plank bridge.
Cross the bridge and get into another ride. This time, use the red brick to make a sword switch which can be activated by Jack. This will remove the driver from the ride and it is your time to drive. After some time, to get rid of the red coats, you can use coal and throw it at both targets.
Next up is a pretty familiar fight. Your foe will retreat after each heart is down. Like the previous enemies, you will have to get her each time till she is finished. Defeat her to complete the level.
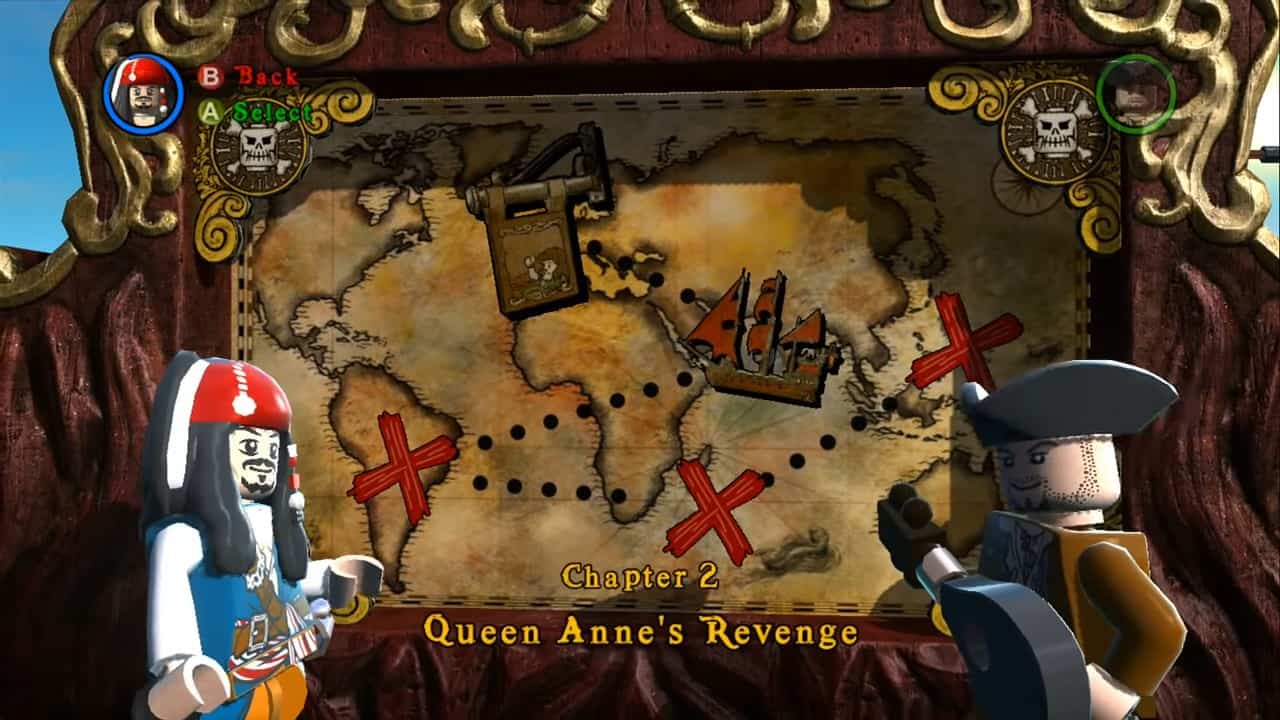
Chapter 2 – Queen Anne’s Revenge
Use Jack Sparrow’s compass to find the treasure. Use can use the explosives to wake up the half-dead pirate. Since he is a pirate, he will demand something.
Get him the egg (using the compass) and he will join you. Use the sword switch to your right to drop the bricks and cannon fodder. Construct the bricks and push the explosives till the red-hot bricks are revealed.
You don’t have the hammer. To find it, you will need the help of a couple of pirates. Give them what they want (music and then the egg) to finally get the hammer. Light the fuse using the torch and then construct the revealed pieces into a ladder.
There are enemies ahead. Deal with them. You will find a container (silver) with explosives. Light them to break the bars after the explosion take the barrel and roll across.
Select Garheng while you are on the other side of the bar to pull the orange levers. Now roll the barrel into the rolling assembly back there.
A skeleton will appear. Light another fuse and the stairs will be cleared. Climb up. Next, on the top deck, cannons will target you. Smash the skeletons and use the skulls on the cannons.
At the front end of the ship, you will find large lamps. Make them fall to the ground and they will explode.
Use the resultant bricks to repair the sword switch there. Move along the stream upwards and then grab the chain to the crow’s nest and grab the musket.
Use the musket on the target to the right and jump to the platforms. On the third one, shoot the musket at a crank across. The blocks will fall. Move down and build the blocks into a hook for Jack. Select Jack and use the hook to activate a switch and then use the rope line.
To the left side of the ship, grab a crank from the skeleton and turn the cranking assembly till you reach the target you need to free. Once he is free, your task is completed.
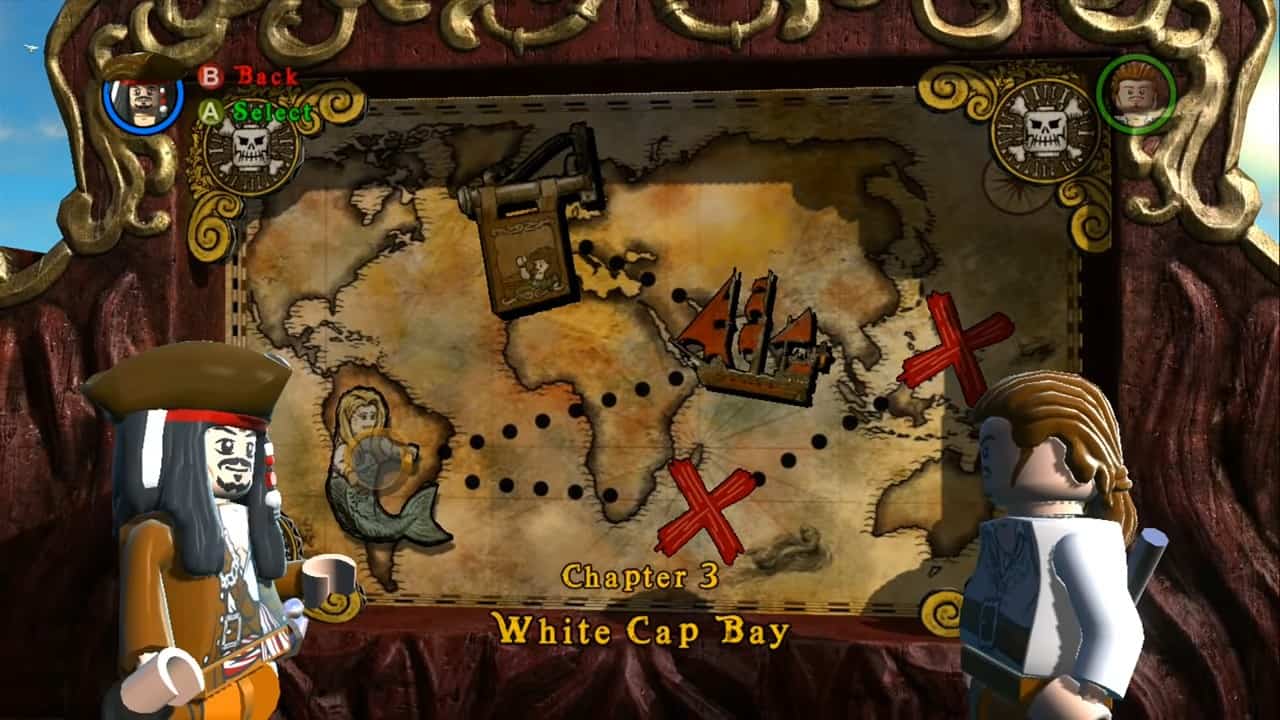
Chapter 3 – White Cap Bay
Nothing unusual at the start. Use the compass to find treasure. You can use a shovel held by the skeleton to dig the treasure. You will find a sand castle up ahead. Destroy it to get the box. You can’t move it further yet. Find some LEGO bricks, mold them into a ship, and cross the water to get to the switch.
Activating the switch will lower the bridge so that you can reach the otherwise blocked surface. Take the box now, place it on the green patch, and build the hoping blocks. Use Angelina to get to the top of the green pole and then onto the ledge. Search for a crank and pull it to regroup.
Next, after moving up, use Gahreng to pull the orange handle. Head into the lighthouse and move to the second floor. Find the torch there and light the fuse. Back to the first floor and use your hammer guy to build red bricks. Push the turnstile plate to get the device working.
Back to the second floor where you need to light the fuse again. The mechanism will work. Back to the first floor and push the structure for the activation of the green pipe.
Use the wheel to get your path clear. Back to the second floor and light another laser. Repeat the procedure for the third laser. Look through the windows and follow the mermaid there till a hook for Jack is arranged. After getting rid of the mermaid, use the hook to reach the top of the lighthouse.
Now you need, two explosive boxes. One you can find by moving the wheel. For the other one, you will have to ride the boat to the band. Place the boxes on the green patch. You can use the crane mechanism and the wheel to move the box. Once the explosives are placed and lit, you are done with the level.
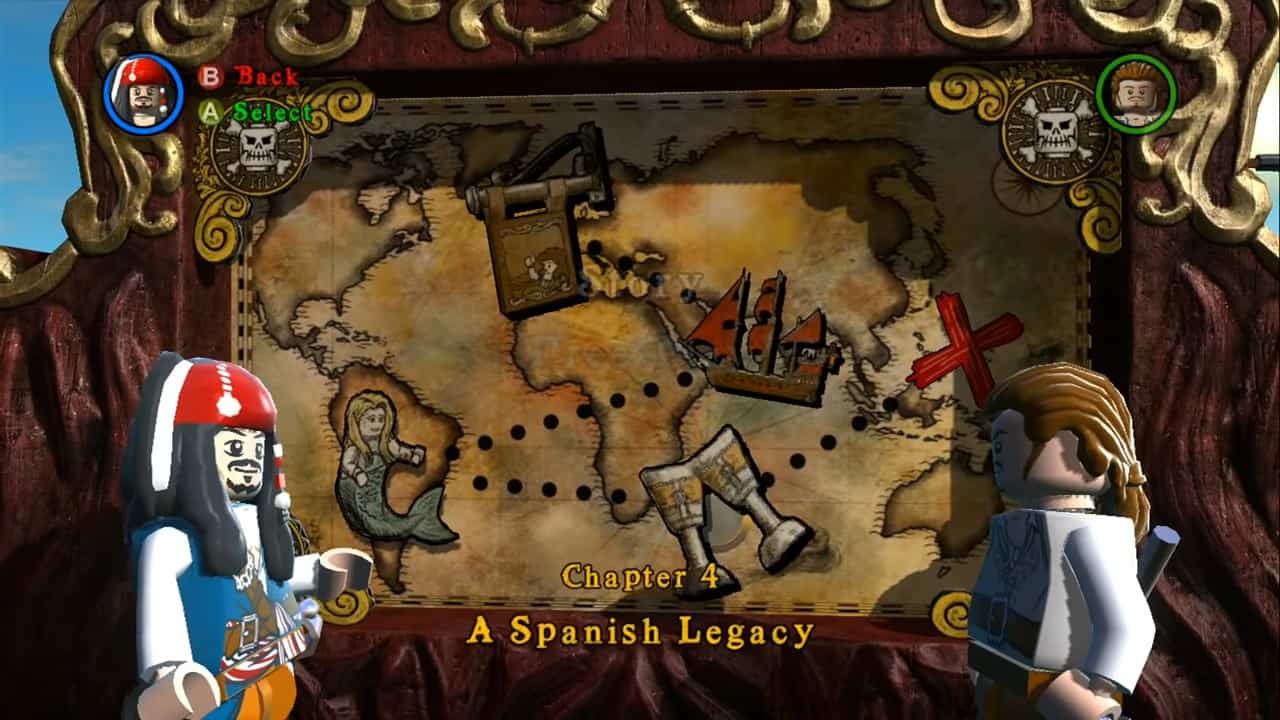
Chapter 4 – A Spanish Legacy
You need to push the box as far as it can go. Then use the sword switch to the left to get another box. Push it to the right and the ship will start rattling. Use the brick nearby to build a ladder and reach the cabin. Now to make a pushing surface, hit the left wall (the treasure chest) and construct the resultant pieces.
To complete the surface, get to the ceiling by climbing the wall and dropping the bricks to the floor. Find the barrel in the corner there and roll it over the designated spot till the piano is lowered.
To complete the surface, smash another chest to get the pieces to construct. Once the pushing surface is complete, push the piano till the treasure is revealed.
Open it and place it on the green patch. The telescope can be used to explore the map. Search it thoroughly. After the cutscene, use the planks and then the transport to cross the water. The door of the fortress is about to close. Now select Barbossa and throw a poisonous frog onto the guard to make him asleep. Get in through the door.
Don’t pull the ropes yet. You need to prepare a table for a meal. Destroy the structure near the double door to the left side to make chairs. Next, find a turkey from the food stand to the right. Make it golden by pushing the crank. Place the painted turkey onto the green plate to complete the table.
For glasses and plates, destroy the adjacent side of the food stand. Guards will surely go for the food. Sneak by and activate the sword switch on the platform to make the cannon aligned for fire.
Light the cannon. Four hits to the hinges there and the final hit to take down the door. Pirates will attack you. Deal with them.
You will find three patches where you need to place three boxes. Two of them you will find in separate piles of junk. You can find the third one by using Jack’s compass.
The shovel you need is just beside the X structure. After you have placed the boxes, build the bridge from the pieces and cross it.
Next up is a fight with the boss (while you try to take the golden goblets). Deal with the guards first. The leader will throw explosives at you so you need to take cover while he does that. You can use the metal boxes there to save yourself.
Engage him meanwhile. When most of his power has been consumed, he won’t come down he will keep on throwing explosives. Now you need to build a catapult system to get out of there. Use the pieces from the destroyed silver bricks to build a green patch and a pulley mechanism along with a hook.
Place it on the green patch to complete the whole assembly. Pull the crank to move the tree. Find the chairs and place them on the tree. Jump onto the chairs and get the hell out of there.
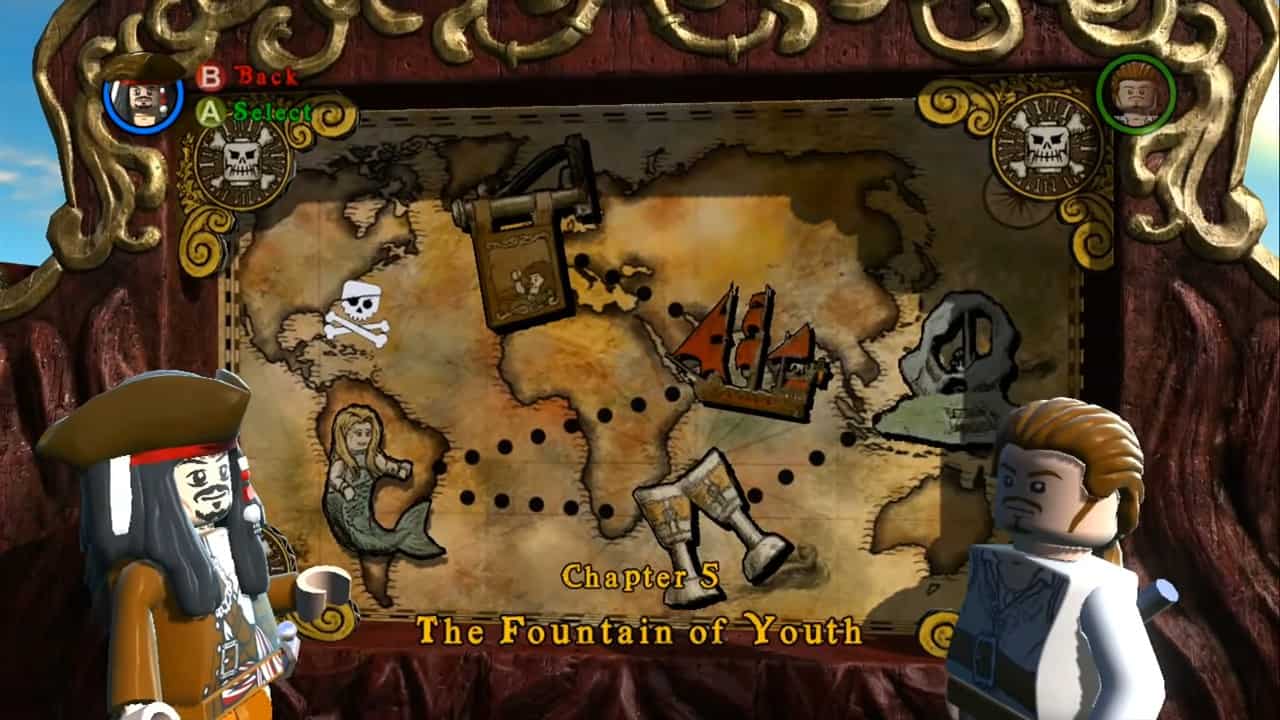
Chapter 5 – The Fountain of Youth
Starting with the Jungle; go towards the open space and when you see the female character get on the Rocky Shelf and grab the green bar you need to take the spade by hitting the skeleton. Then you would use Jack’s compass to find the treasure.
You will find the treasure (The Spyglass) using Jack’s compass and when you find it; destroy the box and take it to the green panel after assembling it. Follow the trickle of water using the spyglass and go inside the cave.
When you get inside the Cave; you need to get to a huge spiderweb by going right. If you hit this web repeatedly, bricks will fall and you will use those to make a lantern. You can turn the mechanism by using the barrel on the right. You will go into the cave by going behind the corridor.
You will find the third lamp using Jack’s compass if you keep moving along the corridor. You will need to dig it up with the spade, assemble it and then activate the wheel mechanism using it, and then jump into the puddle with no gravity.
After that, we will move to the Fountain and explore this area of the cave. There will be brown objects lying on the opposite side in a check pattern. Push one into the wall and the other into the water then find the chest with the bombs using Jack Sparrow’s Compass.
Use one of those bombs on the silver Bricks and use them to build a ladder and climb to take the mermaid’s statue and put it on the green platform to your left. You can get to it using wooden planks and then you can push this statue into the geyser.
Use the compass to locate the other statue and assemble it. When you do, push it into the second geyser. Head towards the central island when the pillar falls.
You will have to take care of Blackbeard after that. He will attack you with red bolts which can reverse the steering temporarily. He will jump down after a while so you would need to keep dodging until then. Use your sword to attack him and wait for Siren to jump out of the water.
Give her the right goblet when she does. Stun Blackbeard with your sword when he jumps down again. When you do; there will be a window where you can take the goblet on top of the stairs to Angelika. You will need to do this four times.
The enemy will start throwing chests at you and a bomb will drop from one of them which you will throw at him and he will come down again shortly after that. Stun and give the goblet to Angelika again and you will defeat Blackbeard