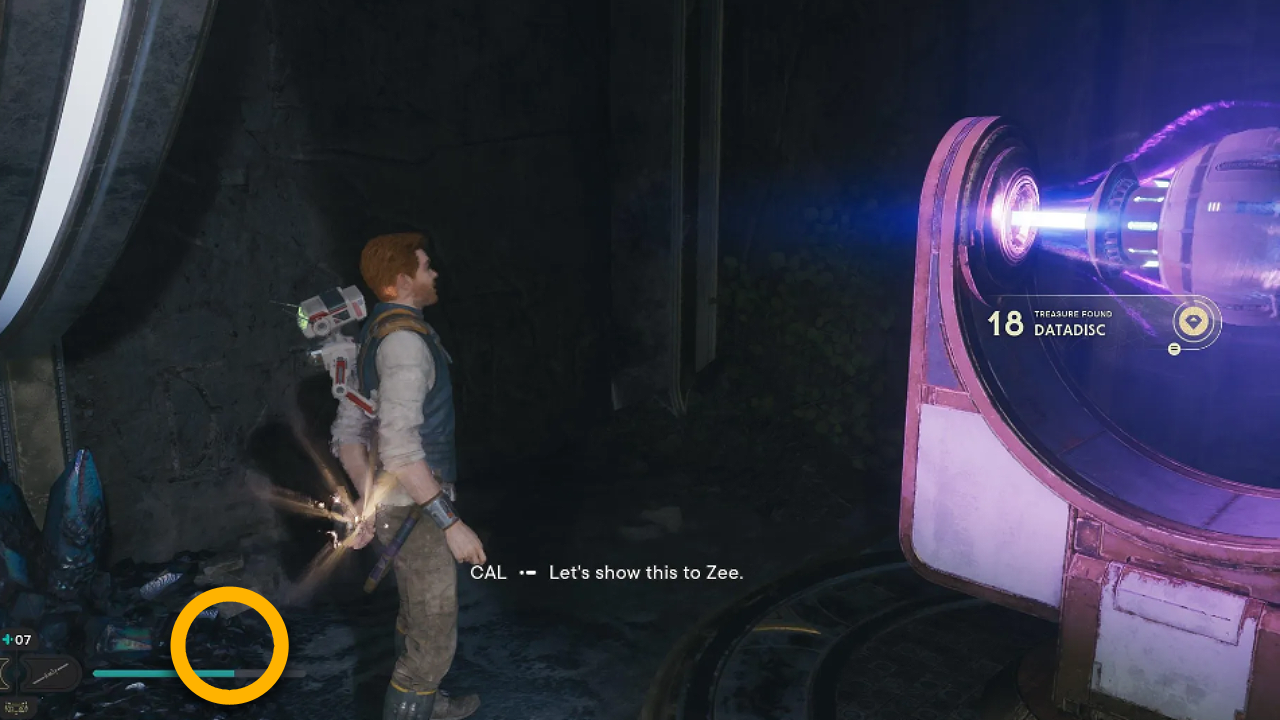
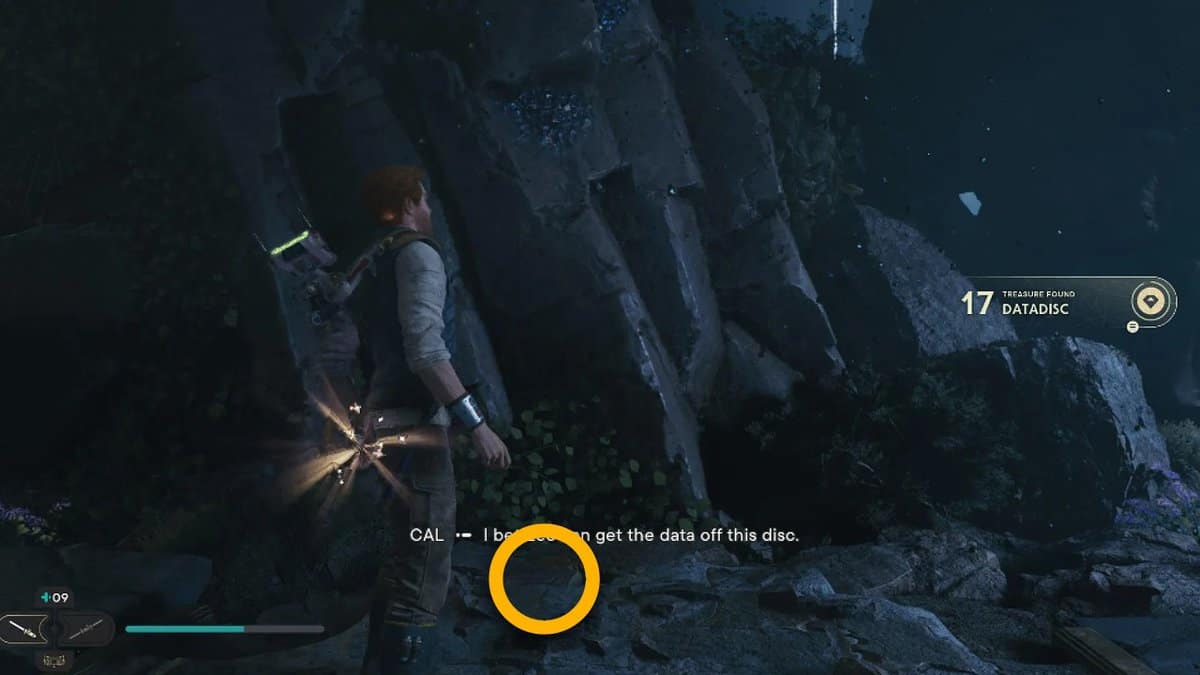
Datadiscs is one of the many collectibles that you can find while progressing the main storyline in Star Wars Jedi: Survivor.
Datadiscs are, however, more than just collectibles. They act like an in-game currency that you can use to unlock perks and perk slots in the game.
The more perks you unlock, the stronger you get. Hence, finding all of them is part of your end-game goals in Jedi: Survivor.
How to use Datadiscs in Jedi: Survivor
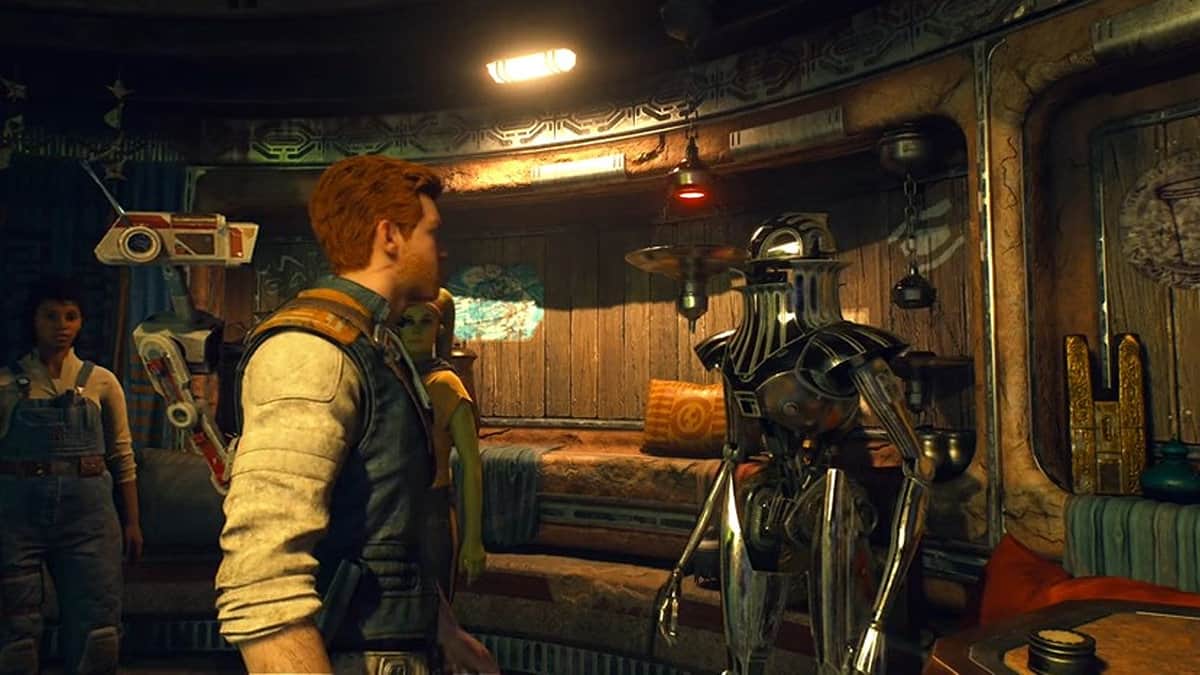
You can exchange these Datadiscs by moving toward the Pyloon Saloon and meeting with Zee the Droid. The guy resembles a robot, so swapping the discs with this particular NPc makes the most sense.
Datadiscs work as a currency in Jedi: Survivor and you can use this currency in Zee’s shop to earn different items. You can get new perks, additional perk slots, and much-needed BD-1 cosmetic articles by exchanging data discs in the shop.
However, to unlock Zee and the shop, you need to progress through the game by going toward another planet called Jedha. You might not find data discs on that planet, but another type of currency known as Jedha Scrolls is available in abundant amounts on that particular planet.
Where to find all Datadiscs in Jedi: Survivor
For Datadiscs, you might have to travel from one planet to another. However, these discs are primarily found in the high ruins area of Koboh and Shattered Moon planets.
You can gather up to 60 Datadiscs from these two planets in Jedi: Survivor. None of these Datadiscs are missable, so you can keep collecting them during your missions and even after completing your main story.
All the collected Datadiscs also carry over to New Game Plus, so you do not have to find any of them again. Keeping all this in mind, let us see each location of Jedi: Survivor Datadisc location.
Koboh Datadisc locations in Jedi: Survivor
To get all the discs, you have to visit multiple locations, so you have to put in a lot of effort to get every single Datadiscs in the game.
Southern Reach
Datadisc #1
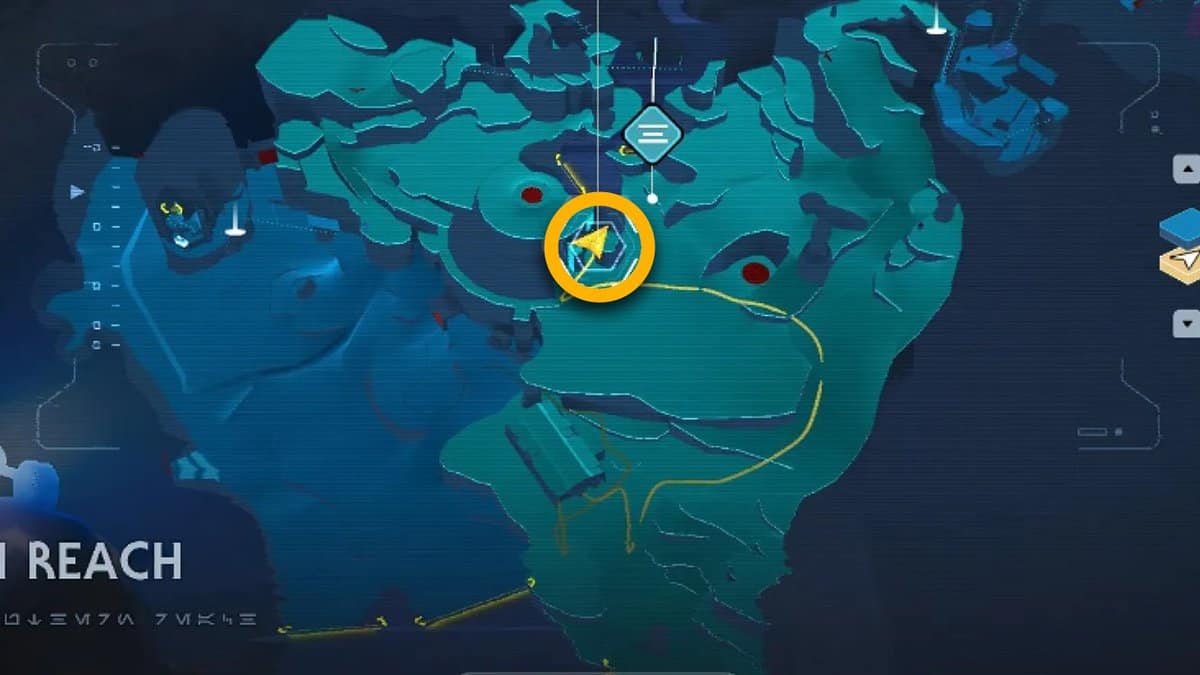
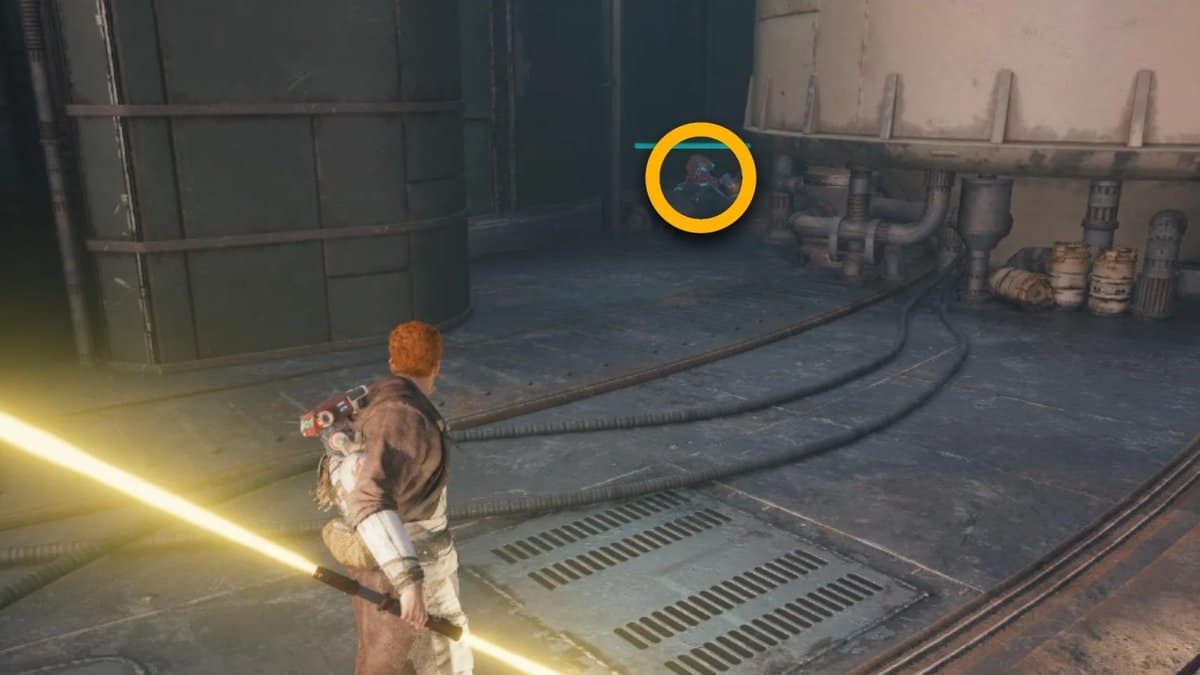
For the first Datadisc, you must take down a Scavenger Droid by moving behind the Silo. This is where you will find Bramliks and Gorgers murdering and looting each other.
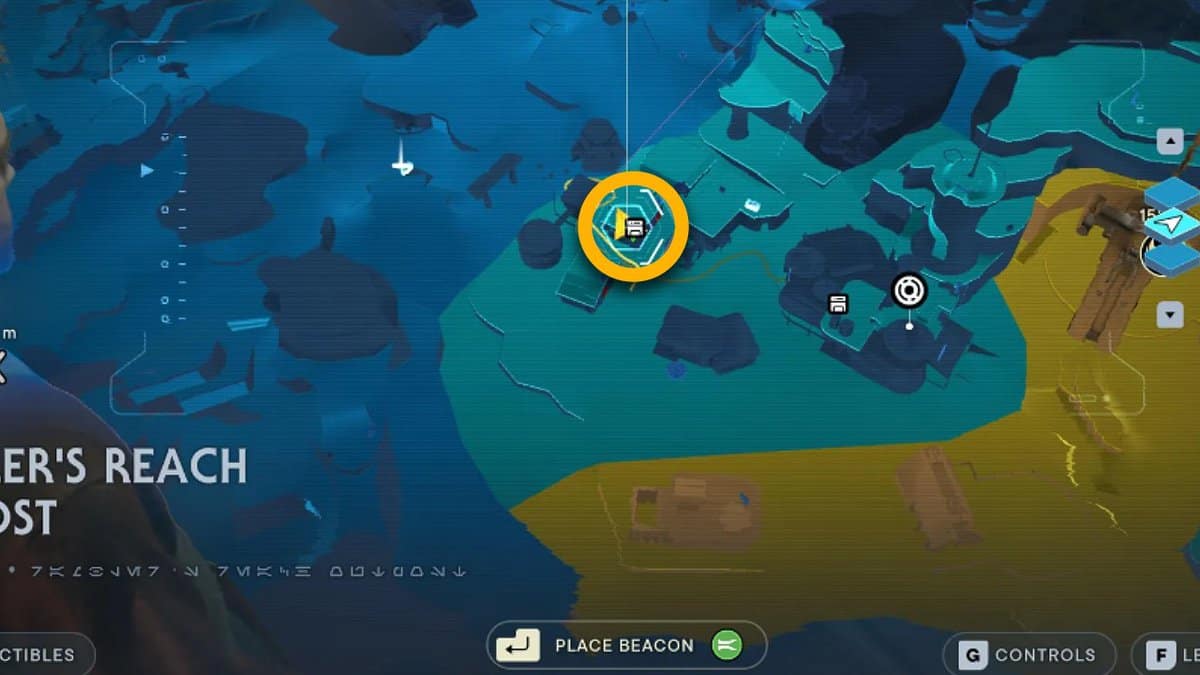
Hunter’s Quarry
Datadisc #1
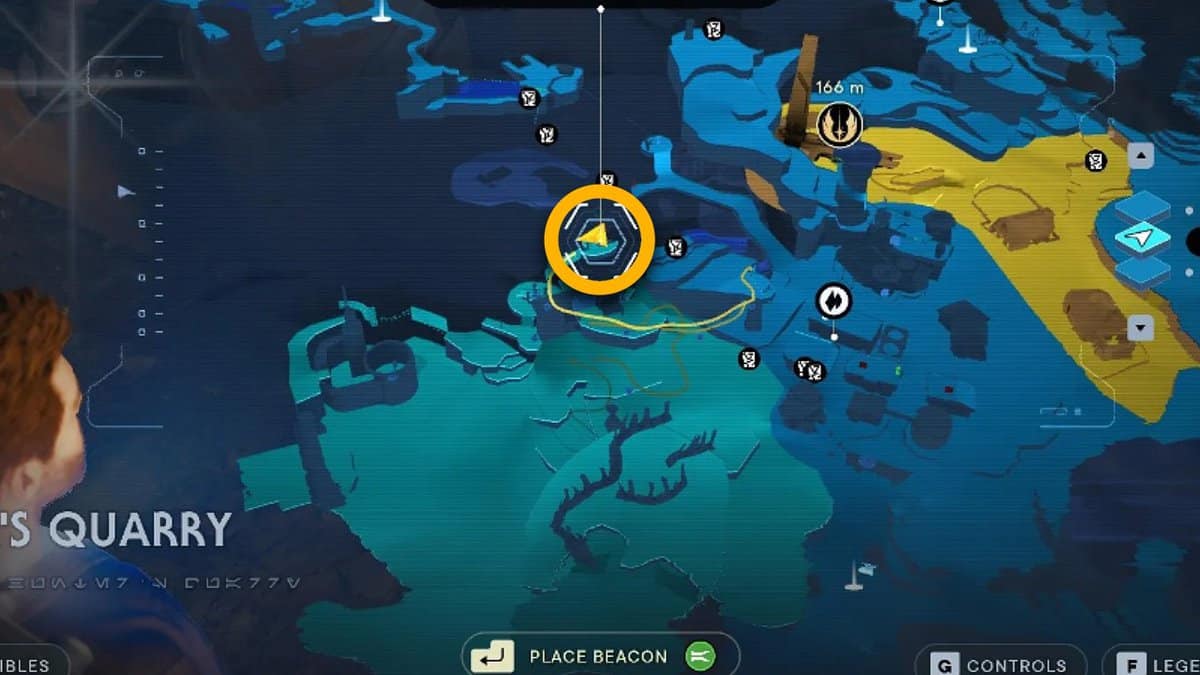
For this Datadisc, you need to unlock the skill that allows you to launch using the grapple points.
So after that, you must move toward the cliff area in the Rambler’s Reach outpost. You can find the point next to the Hunter’s Quarry, and from there, you must follow the grapple balloons.
Keep running next to the wall to reach the top ledge and grab another datadisc in Star Wars Jedi: Survivor.
Phon’Qi Caverns
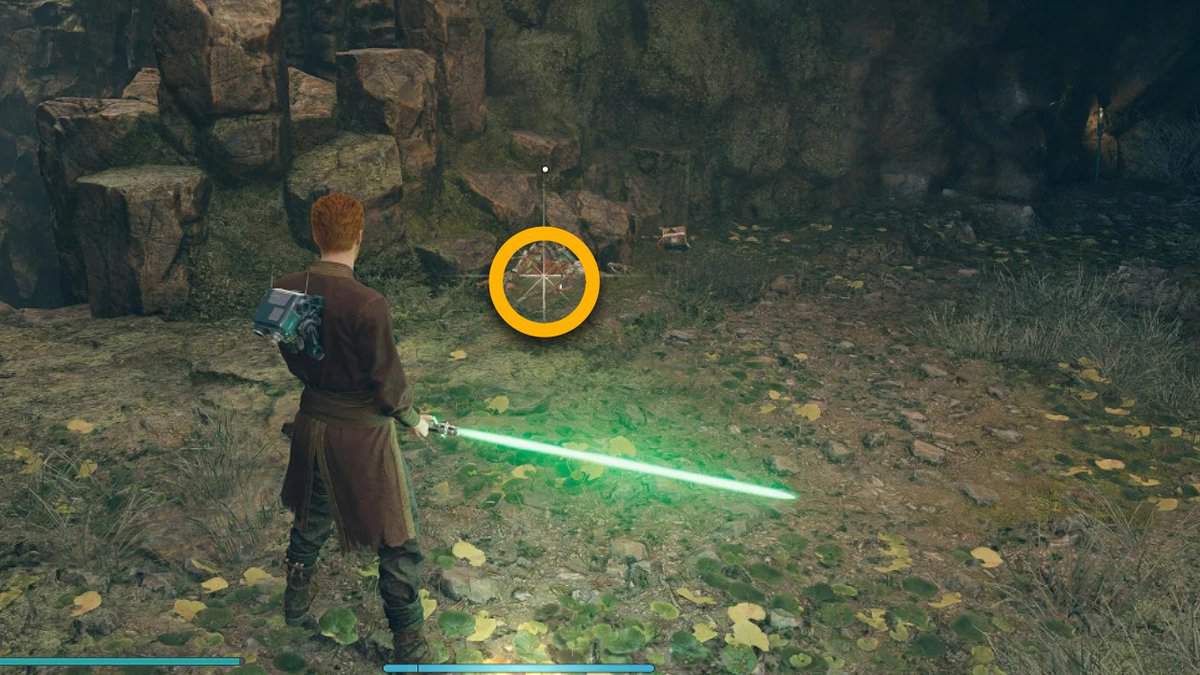
Datadisc #1
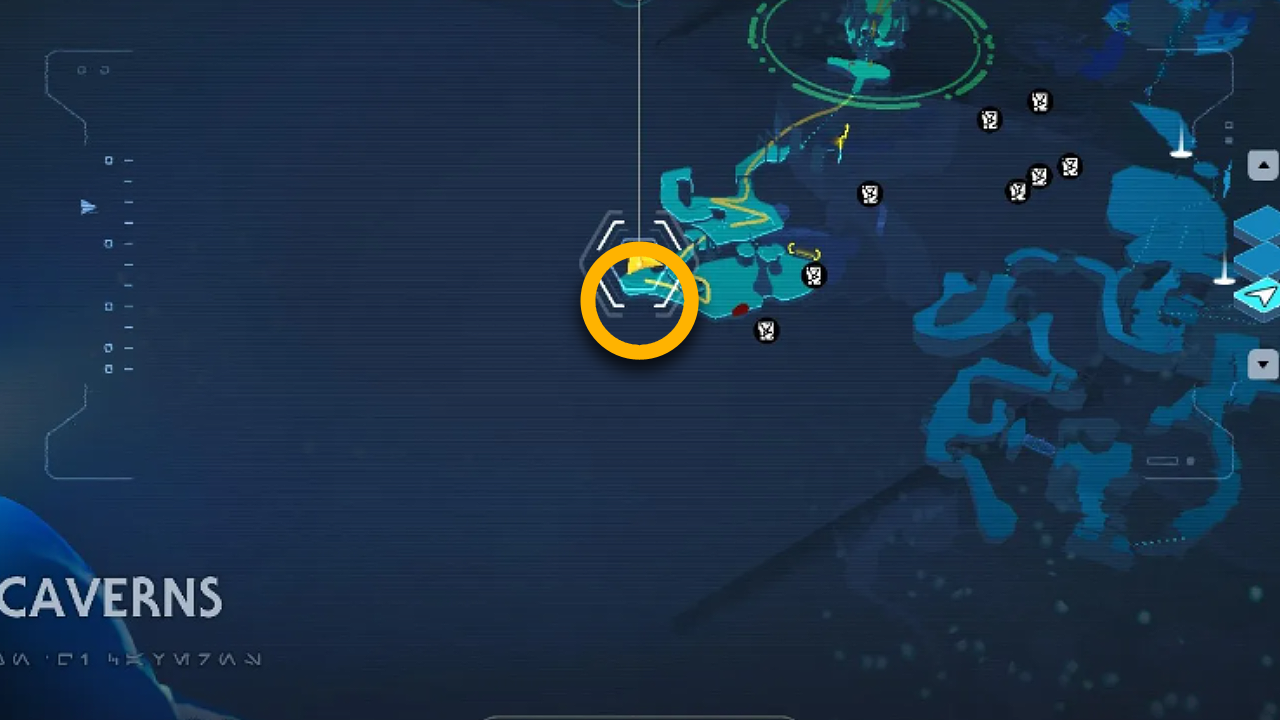
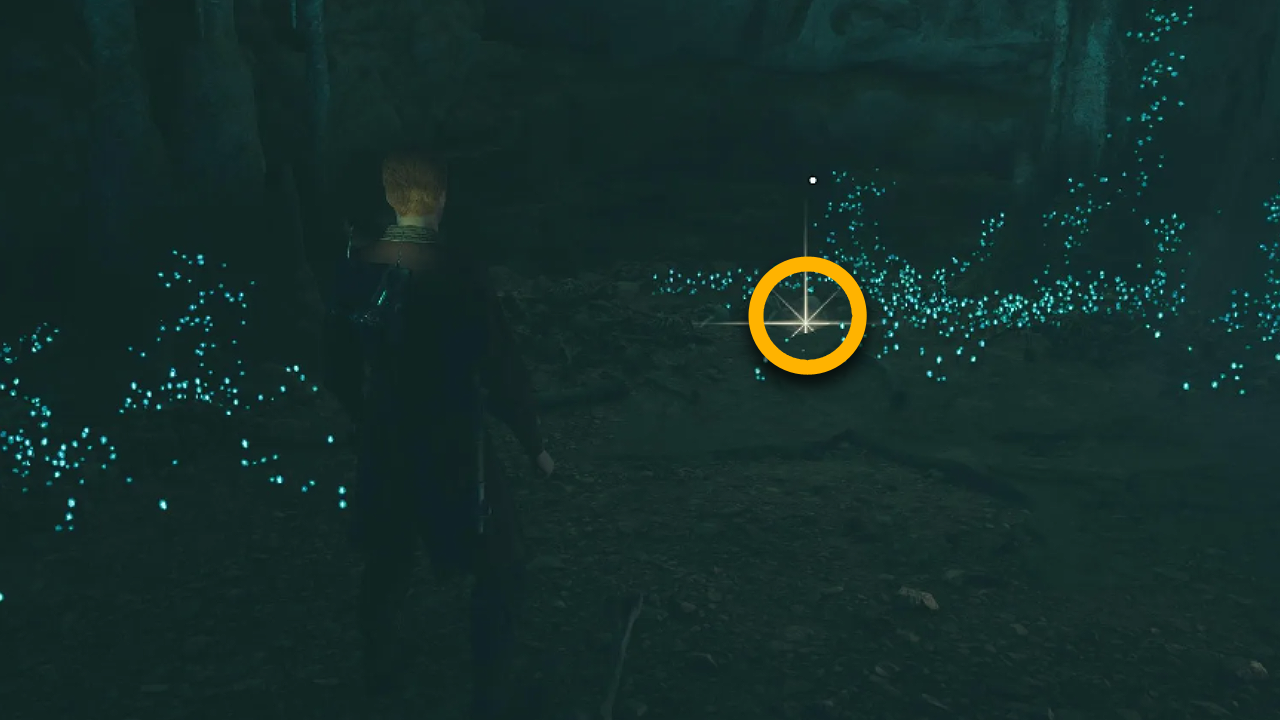
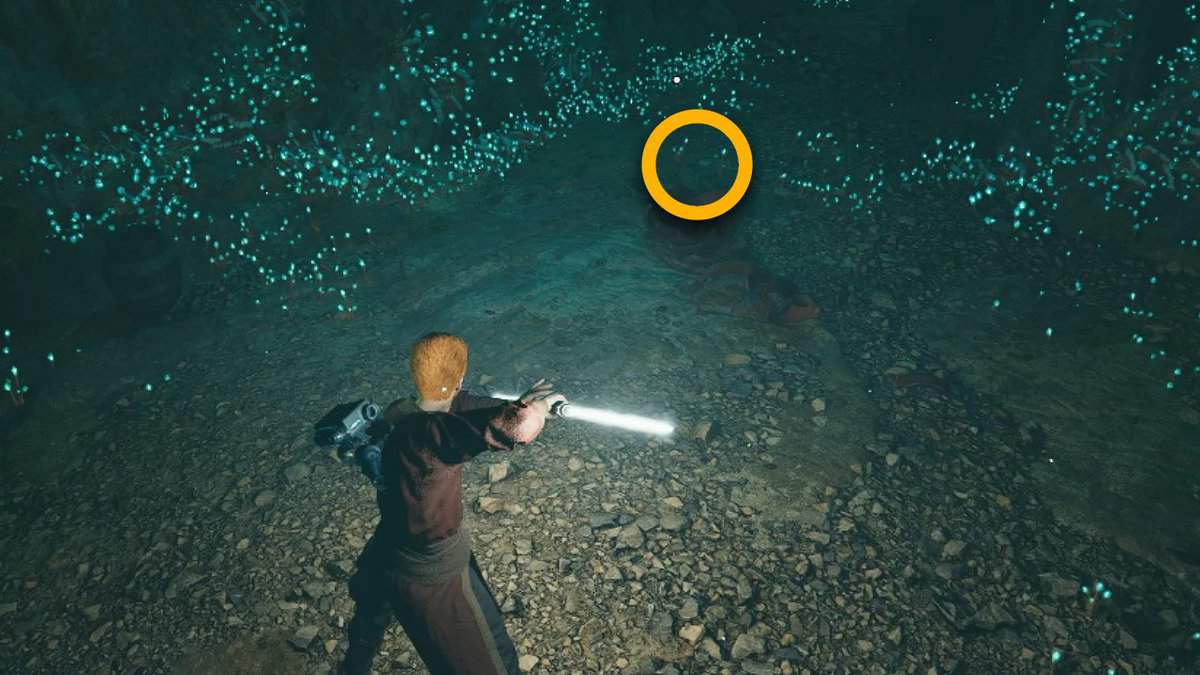
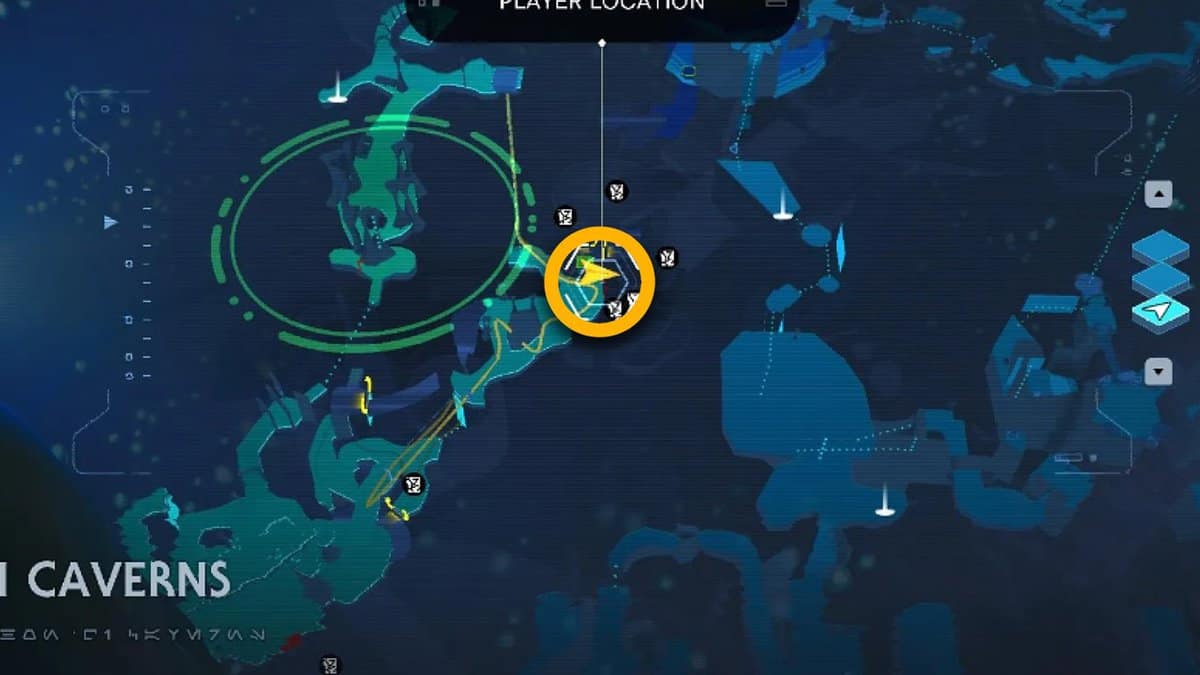
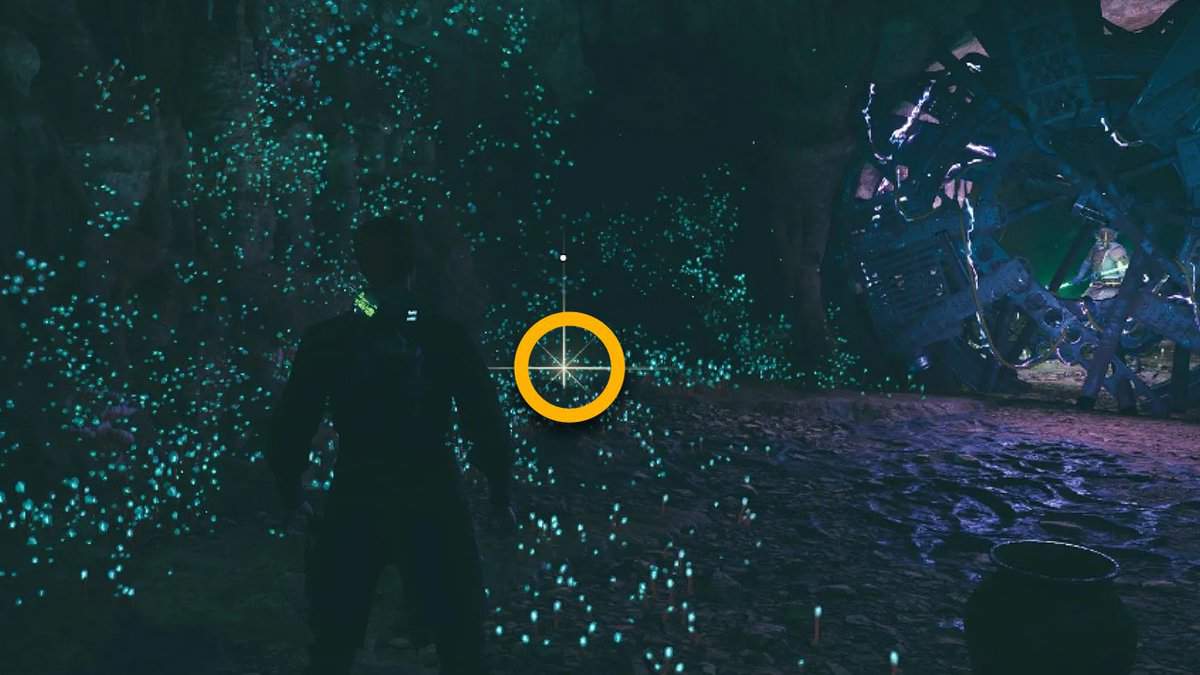
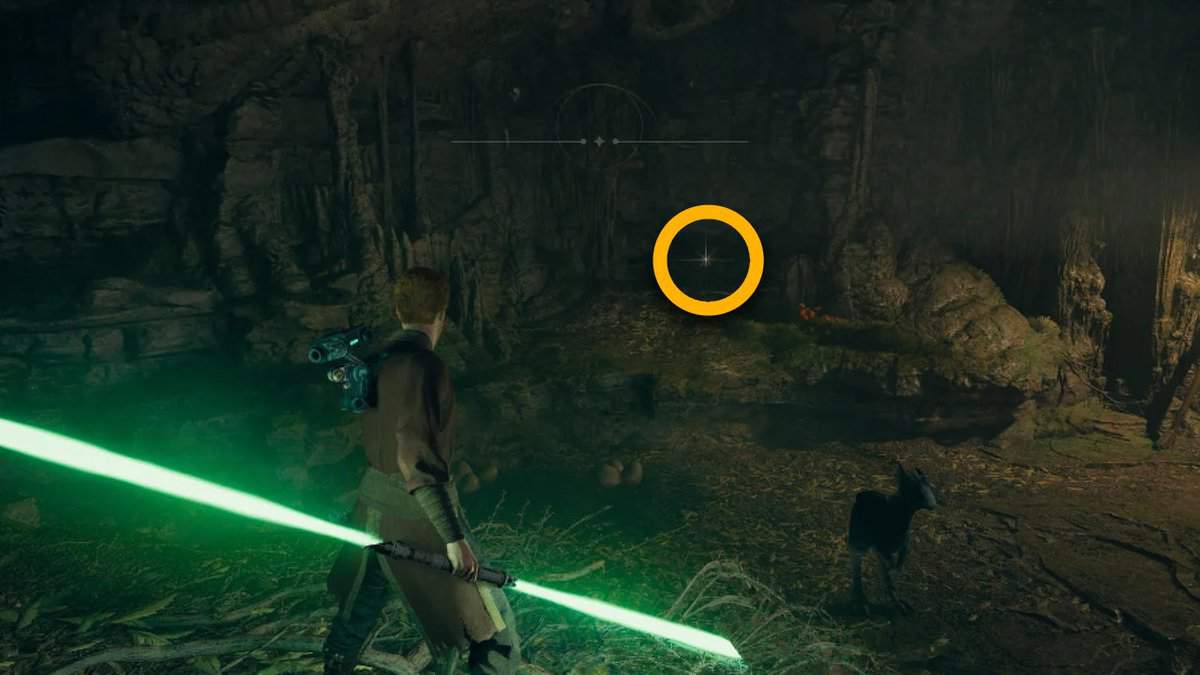
The first one is an easy catch, and you can find it without much trouble. For the first disc in this area, you need to move to the area behind the Rancor. There you will find the shining disc among the green floor.
Datadisc #2
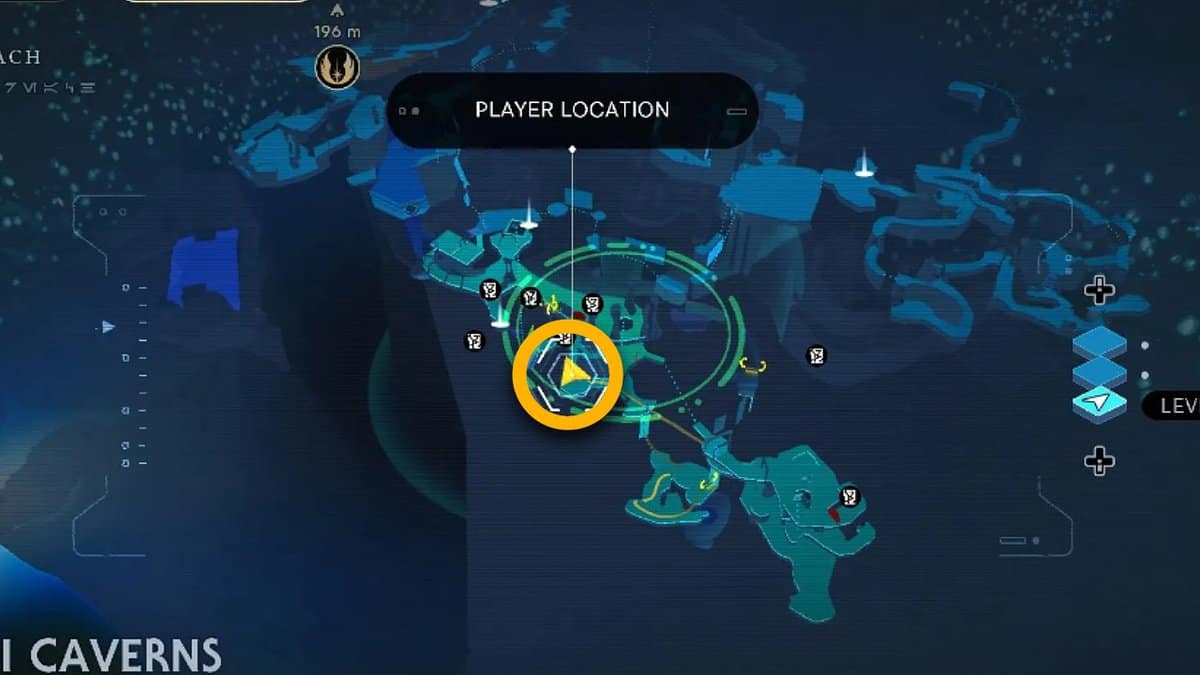
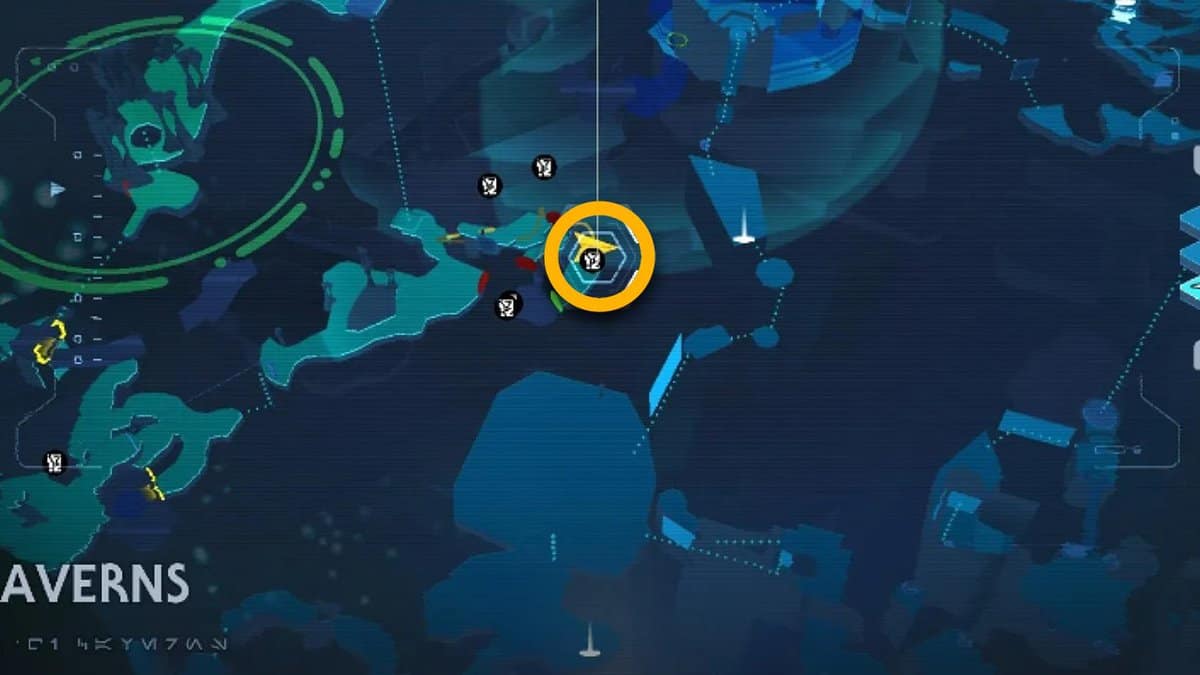
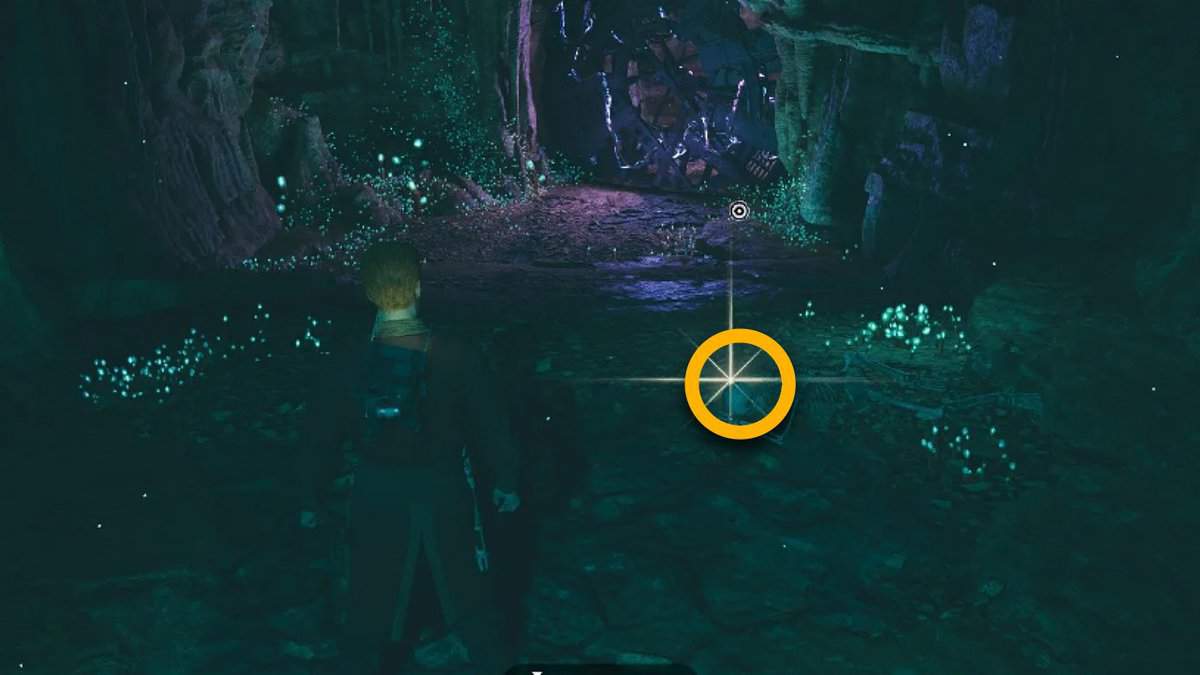
For the second disc, you need to reach the exact location where your fight with Magnaguard takes place in the game.
Datadisc #3

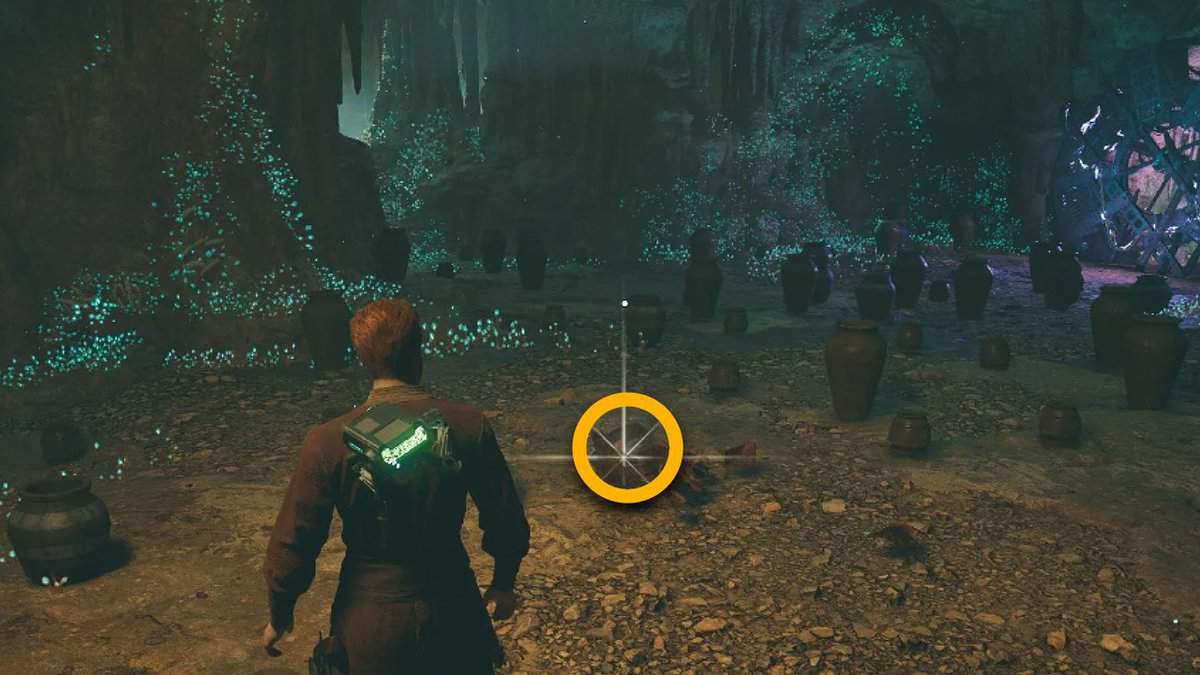
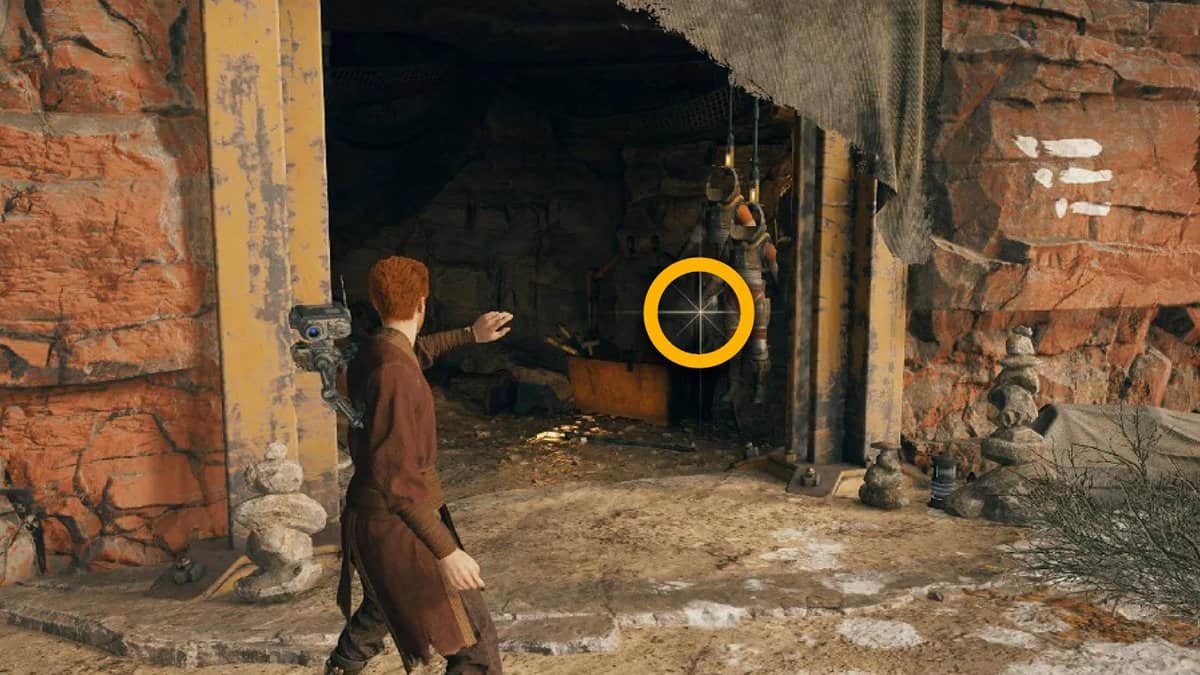
Make your way toward the Electric Circular Gate of this area. Behind the gate, a raider awaits you, and you will find several clay pots in front of it. Your next Datadisc in Jedi: Survivor is in one of those pots.
Datadisc #4
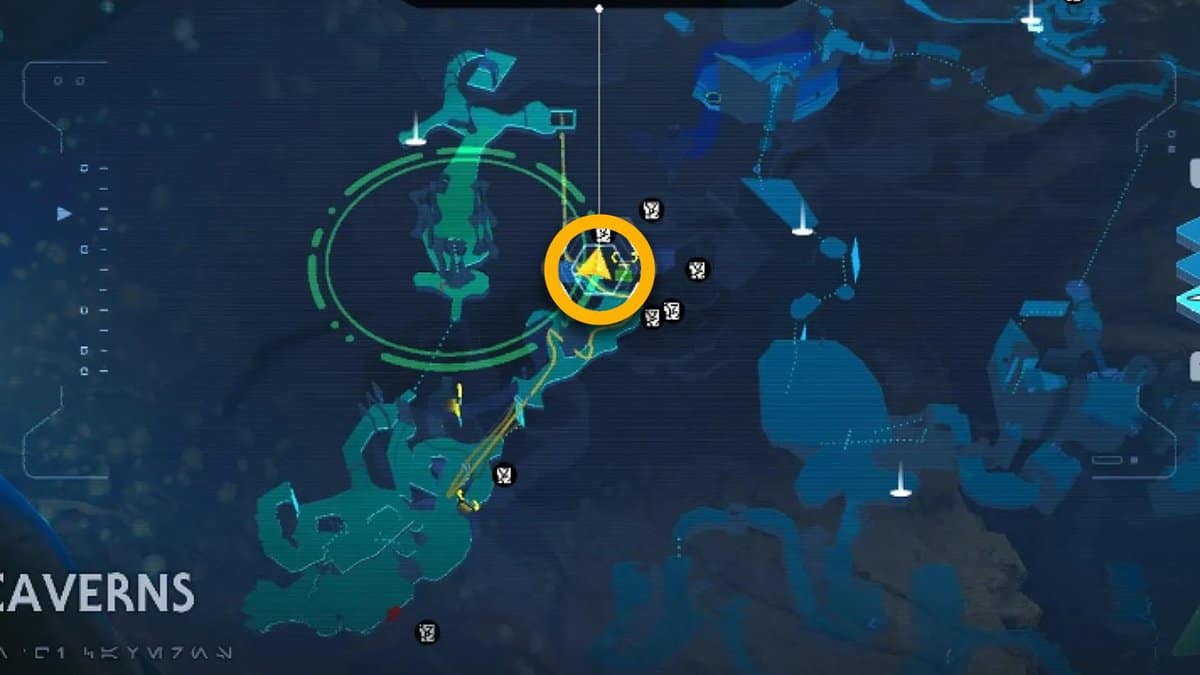
Reach the bottom area where the elevator stops. You will find several pots, one of which contains the treasure in the form of a Datadisc.
Datadisc #5
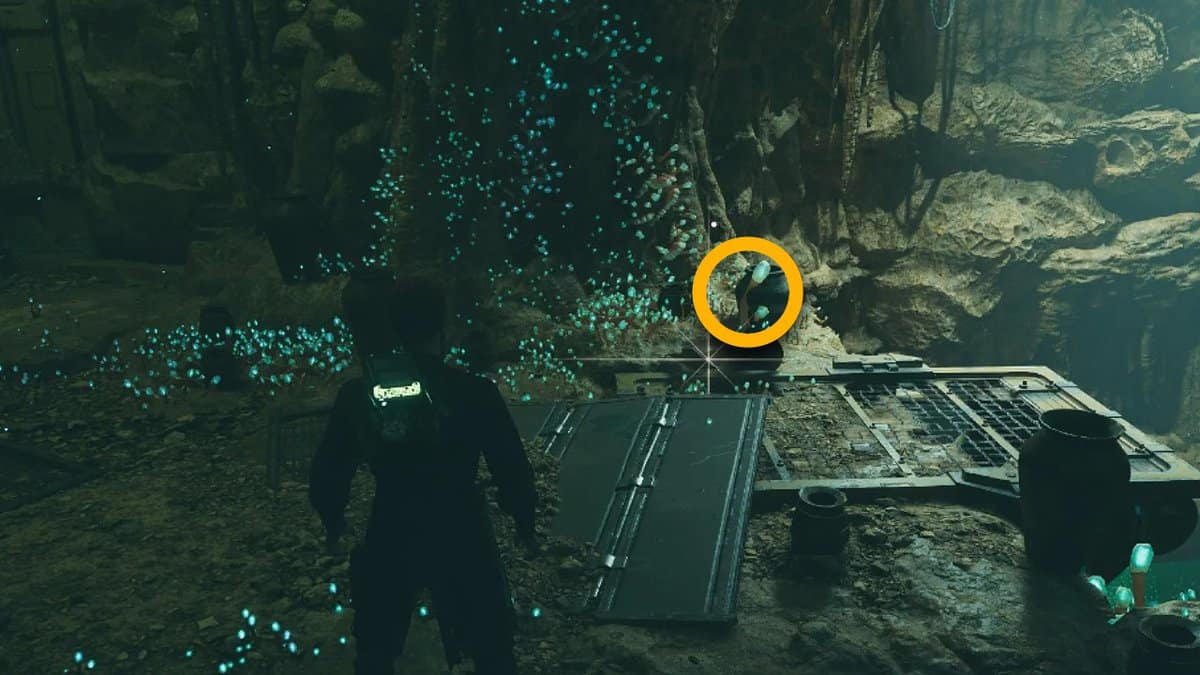
One more Datadisc can be obtained by finding the correct pot on the left side of the Circular Electric Gate. So from this place, you can farm Datadiscs in Star Wars Jedi: Survivor.
Datadisc #6
You can get the sixth and the last Datadisc from this area after dropping from the two forcefields. But remember, you can only drop after getting trapped between them, so position yourself accordingly.
After descending, move through the area ahead to reach the green forcefield, and there you will find the Datadisc.
Rambler’s Reach Outpost
Datadisc #1
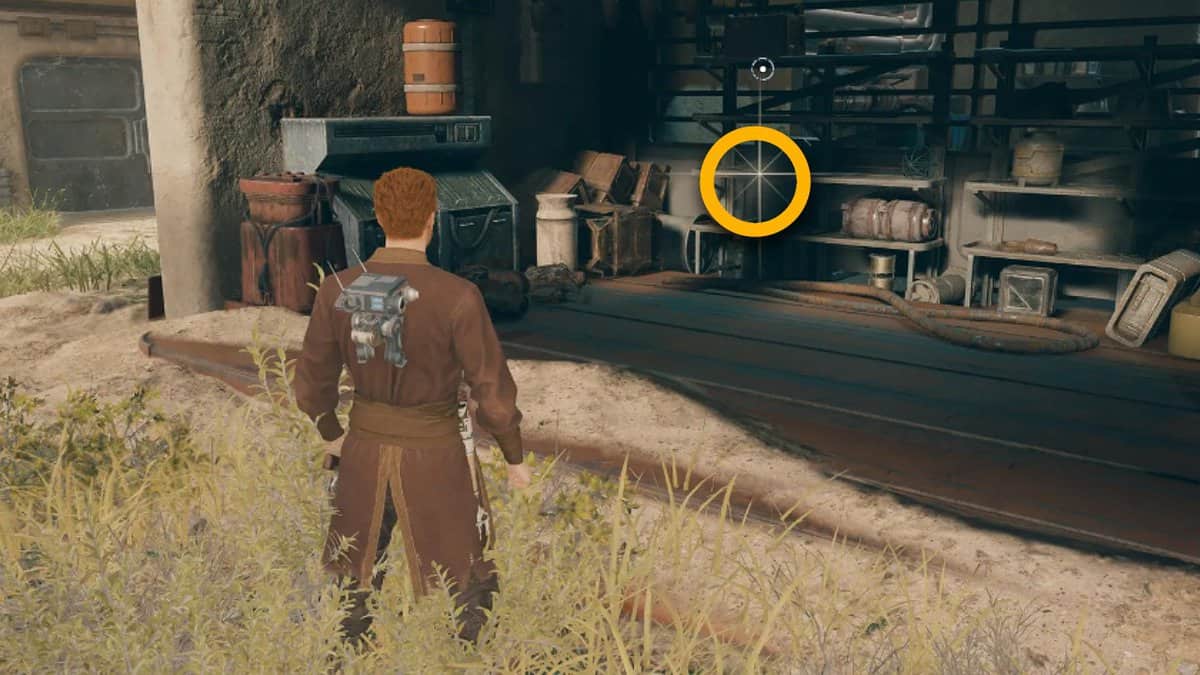
To get the first Datadisc of this area, you must explore the houses in the Bygone Settlement. You need to recruit the Jawas before making any attempt on the discs.
Datadisc #2
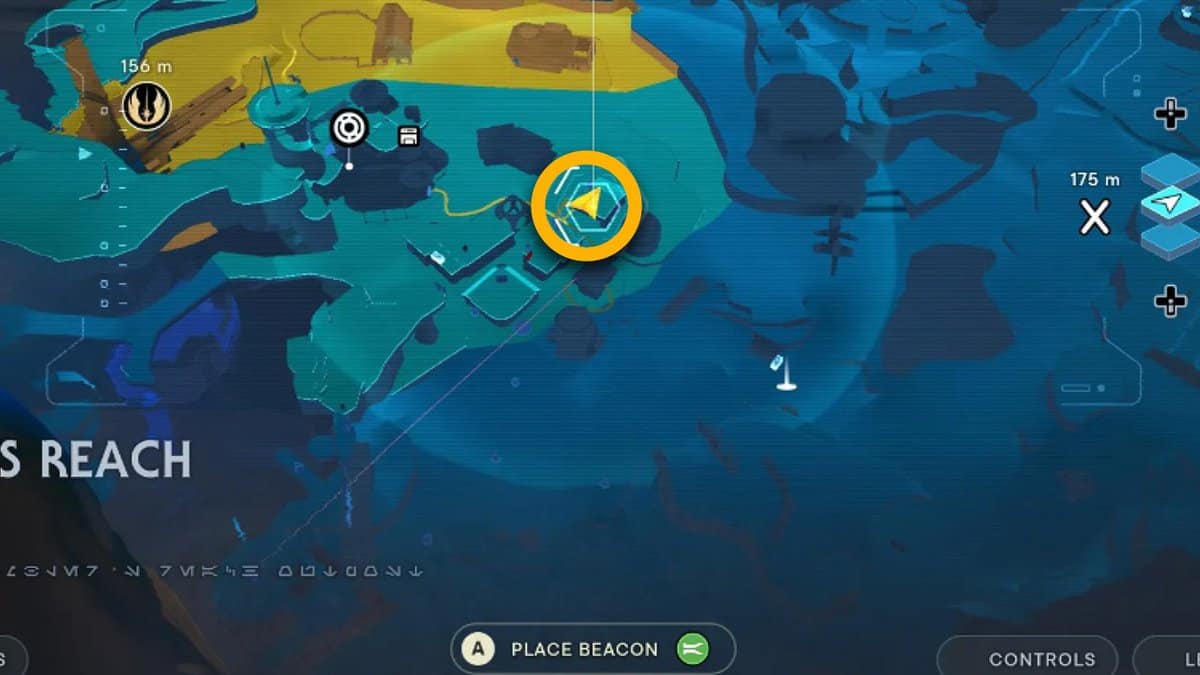
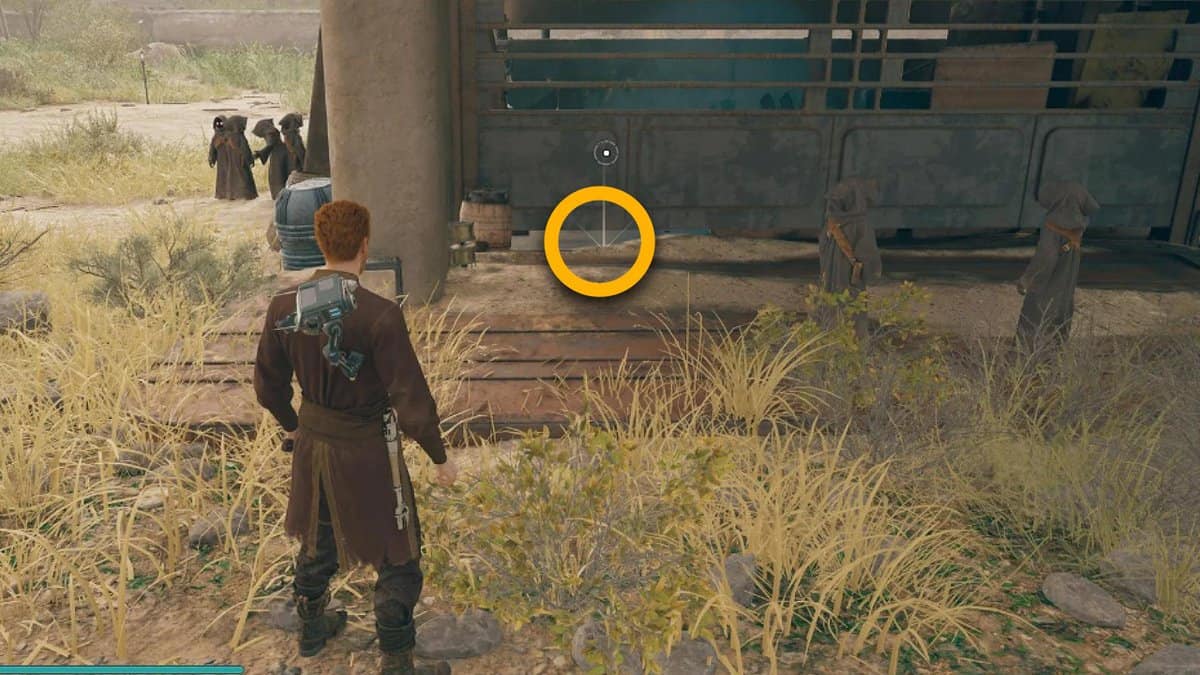
You get the second Datadisc from the other house located in the same place as the first disc. You just have to get inside the house to complete your hunt for the discs in this particular area.
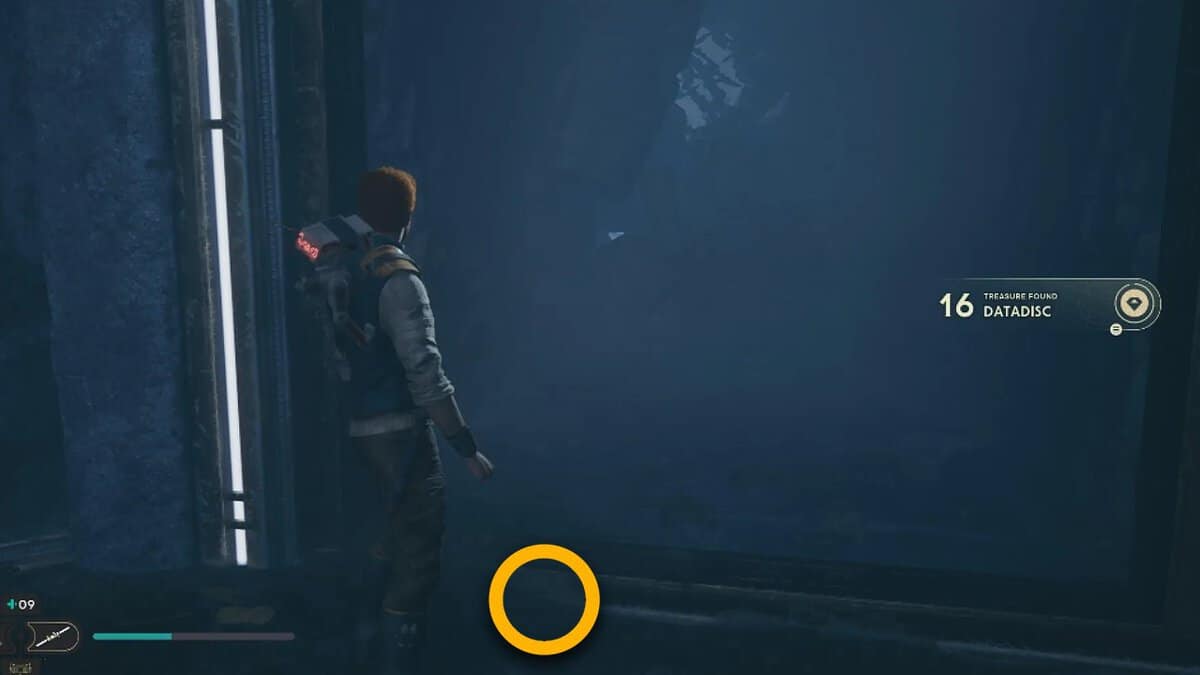
Collapsed Passage
Datadisc #1

You can find the only Datadisc of this area by double jumping from the wall-jump section. You need to reach the raised platform by performing these actions, and on top of it, you will get the treasure you truly desire.
Moldy Depths
Datadisc #1
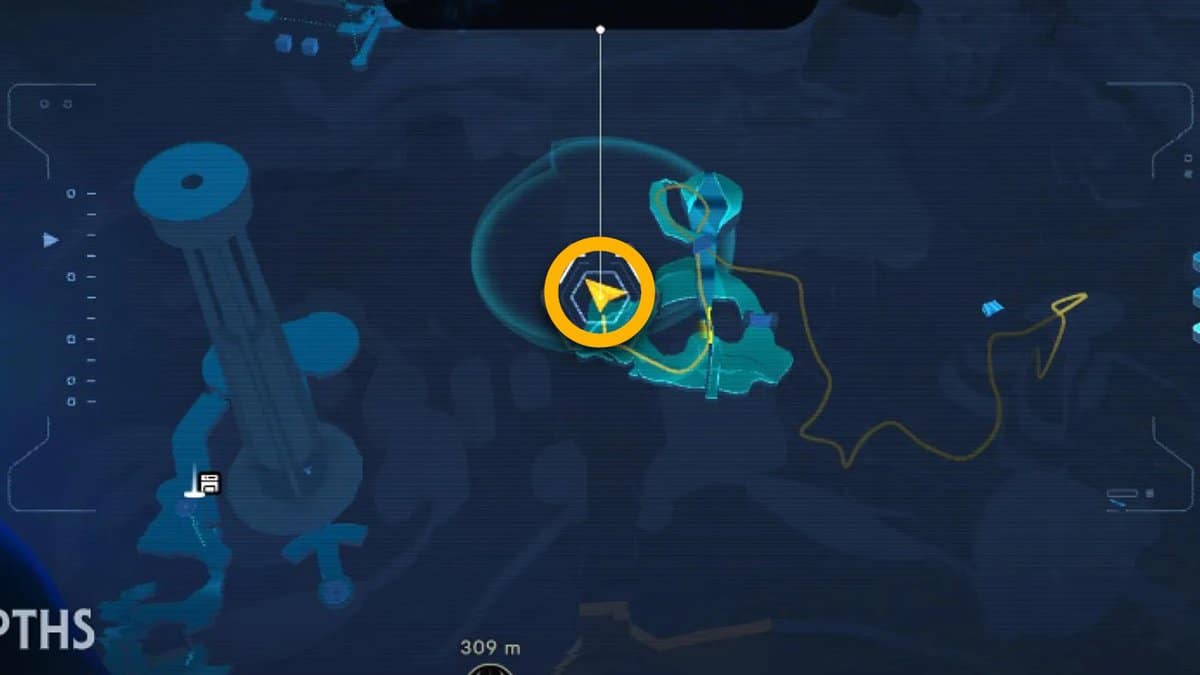
One more Datadisc can be obtained by reaching the Moldy Depths in Star Wars Jedi: Survivor. You can reach this area by unlocking the drawstring door.
The door is located in the area of Harvest Ridge and will take you down toward your Datadisc. Reach the corner of the site; you will also find Gorgers there.
Alignment Control Center
Datadisc #1
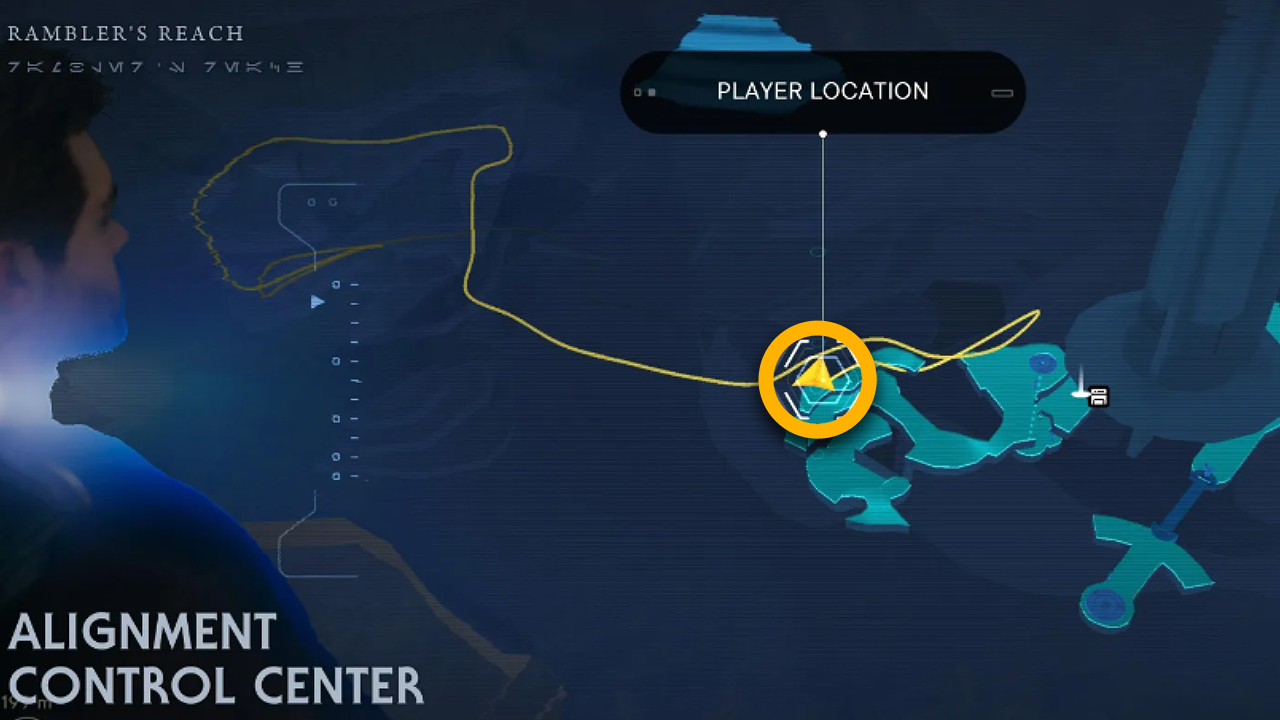
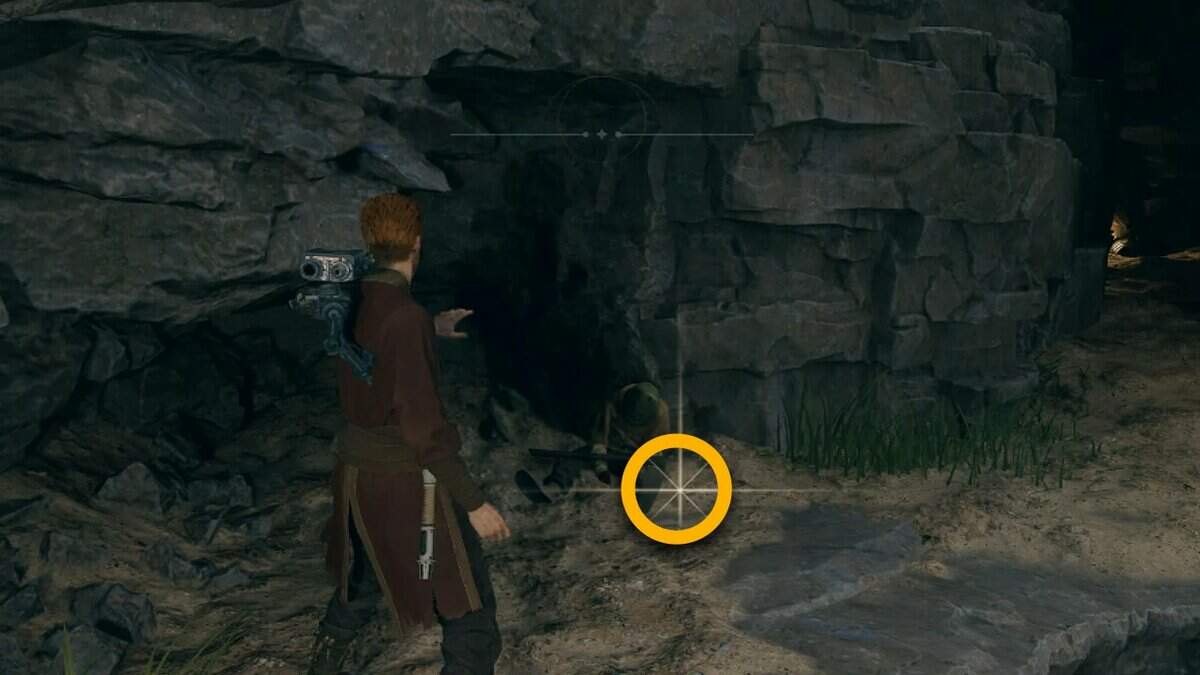
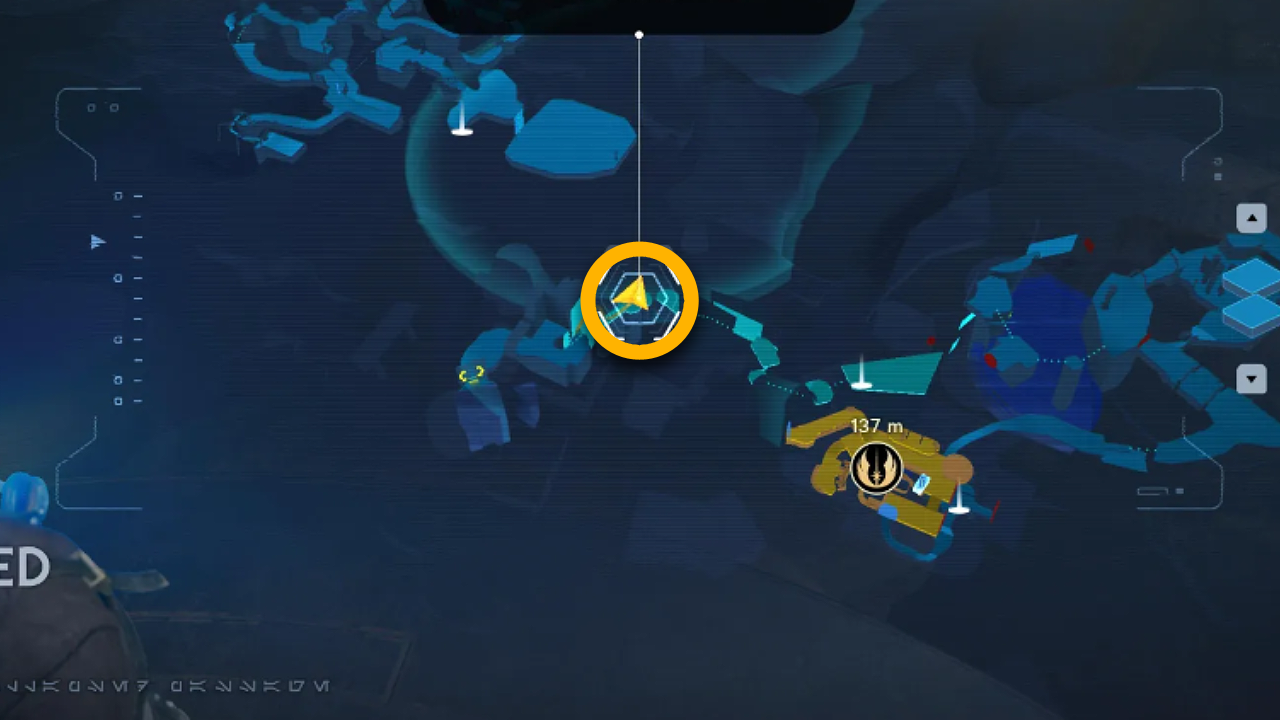
You can find another Datadisc by jumping inside the cave. To do that, you must ride a glider from the corner of Untamed Downs.
Once you reach the central rock, jump into the cave, and one more drop will take you toward a corpse. You can loot the corpse for another Star Wars Jedi: Survivor Datadisc.
Basalt Rift
Datadisc #1
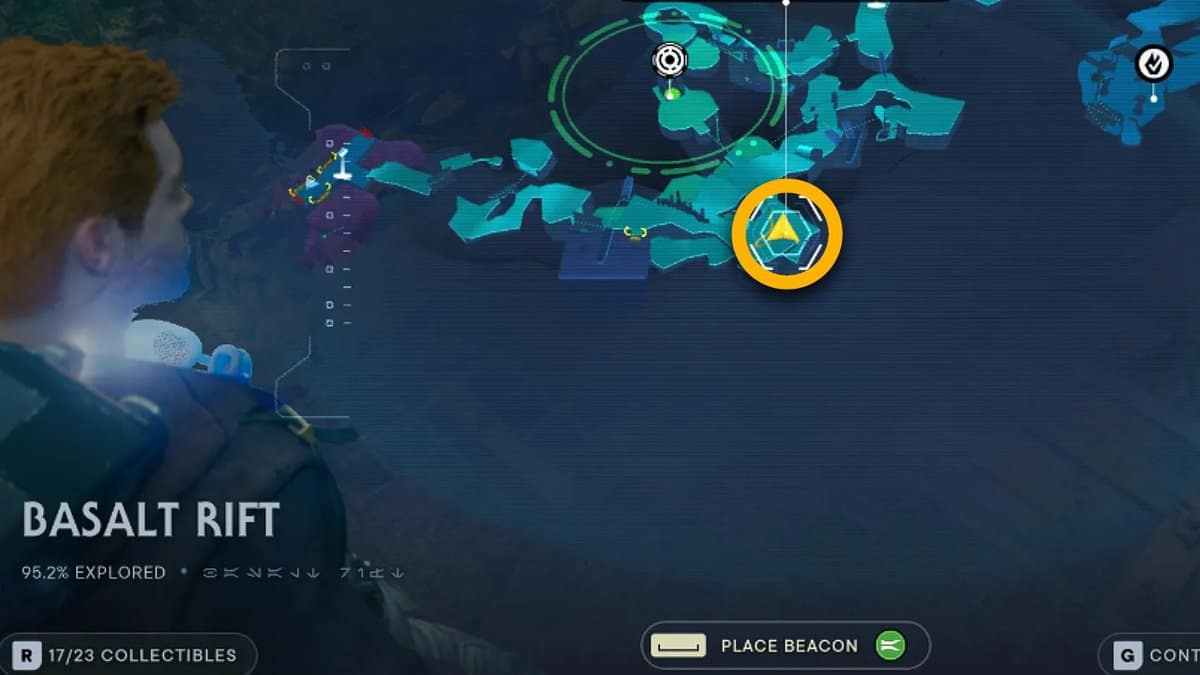
For this Datadisc, you need to align the higher platform by moving the rocks and parkour toward it.
The area is located just above the Sleeping Bilemaw. Now make your way toward the swarm area and look on the right side for a small area that contains the disc.
Datadisc #2

To get the second Datadisc, you have to perform the wall run on the Mogu platform. You will find the Disc next to the edge of the platform.
Rift Passage
Datadisc #1
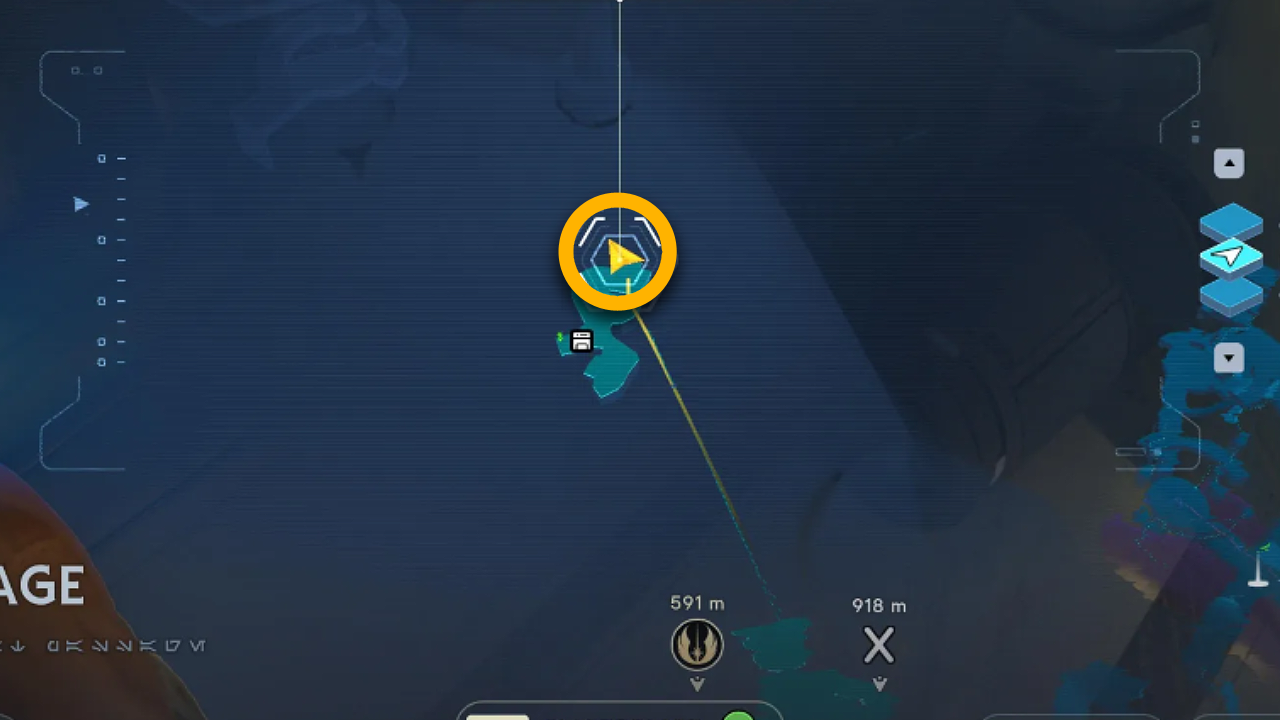
You need to use the long zipline to cross from one area to another. At the end of the ride, you will find a large white drum located on the upper ledge. Get there and pick the Datadisc from the spot.
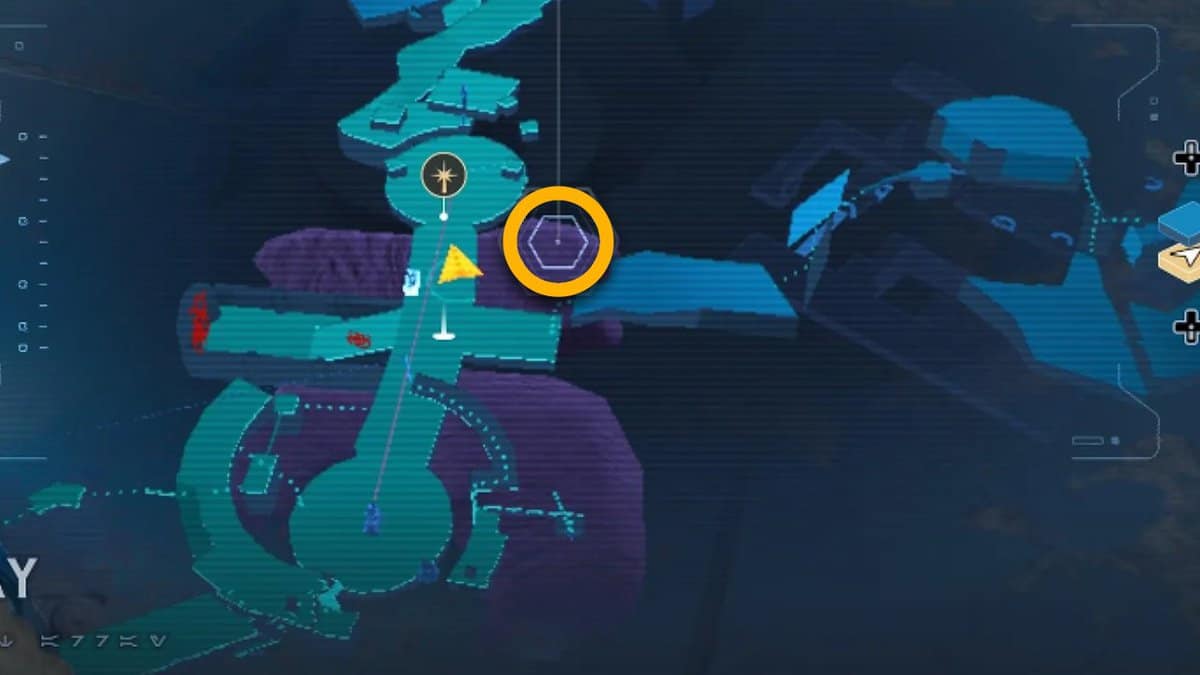
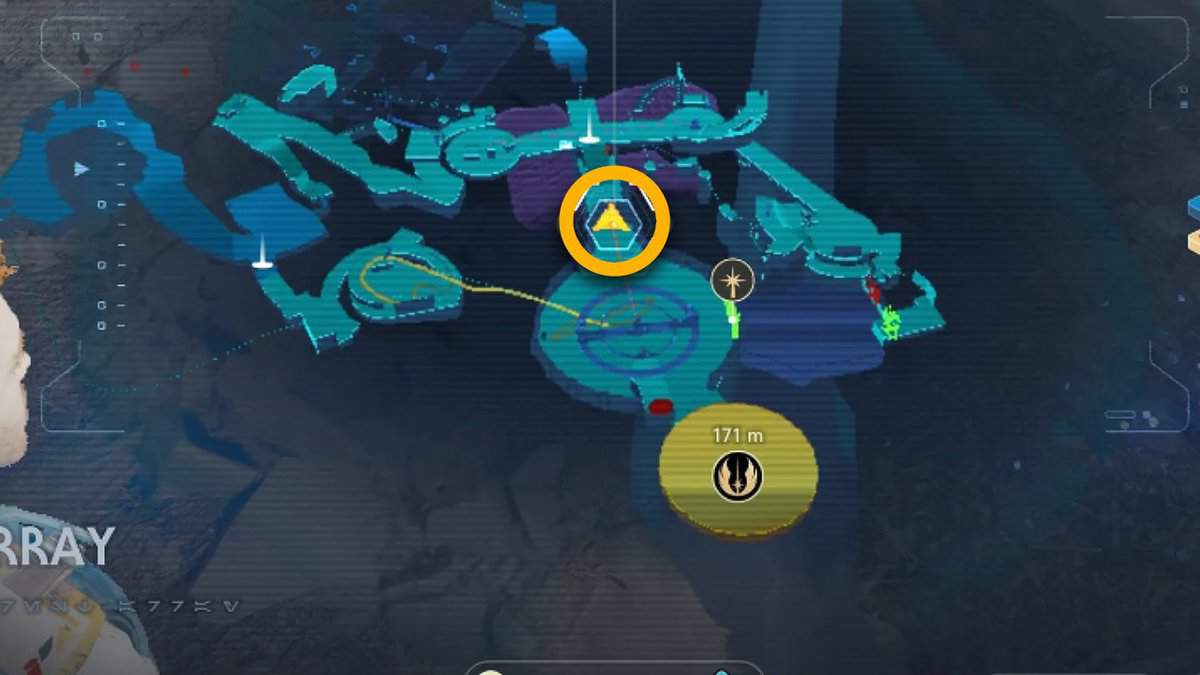
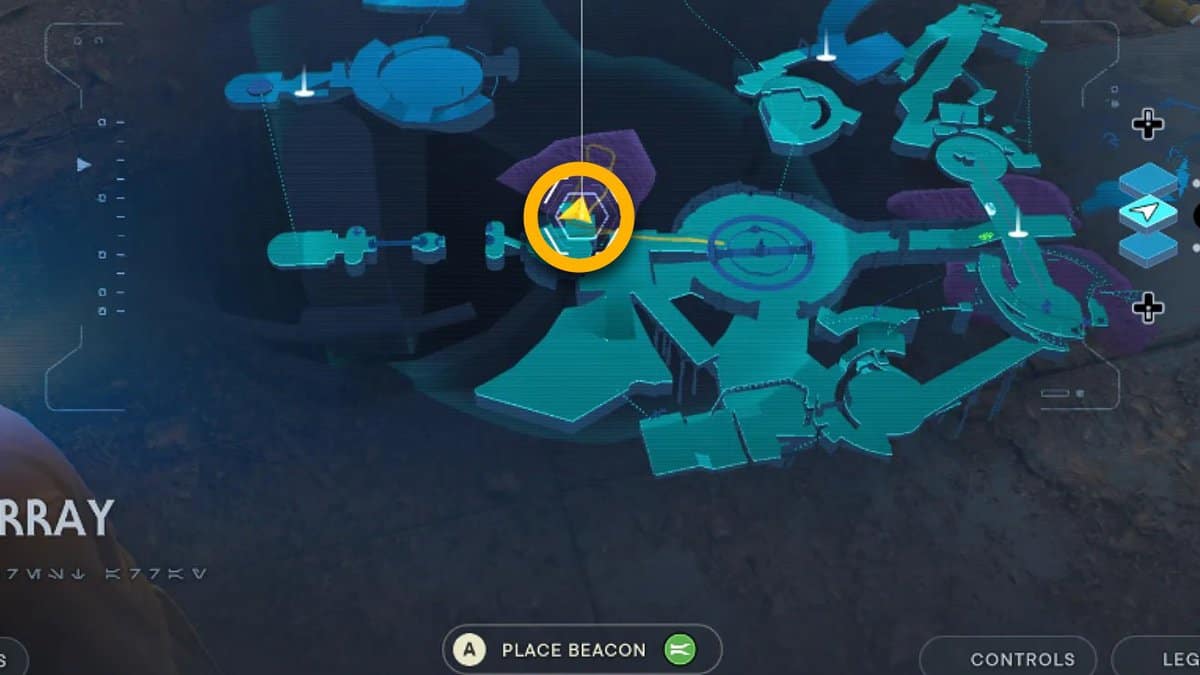
Forest Array
Datadisc #1
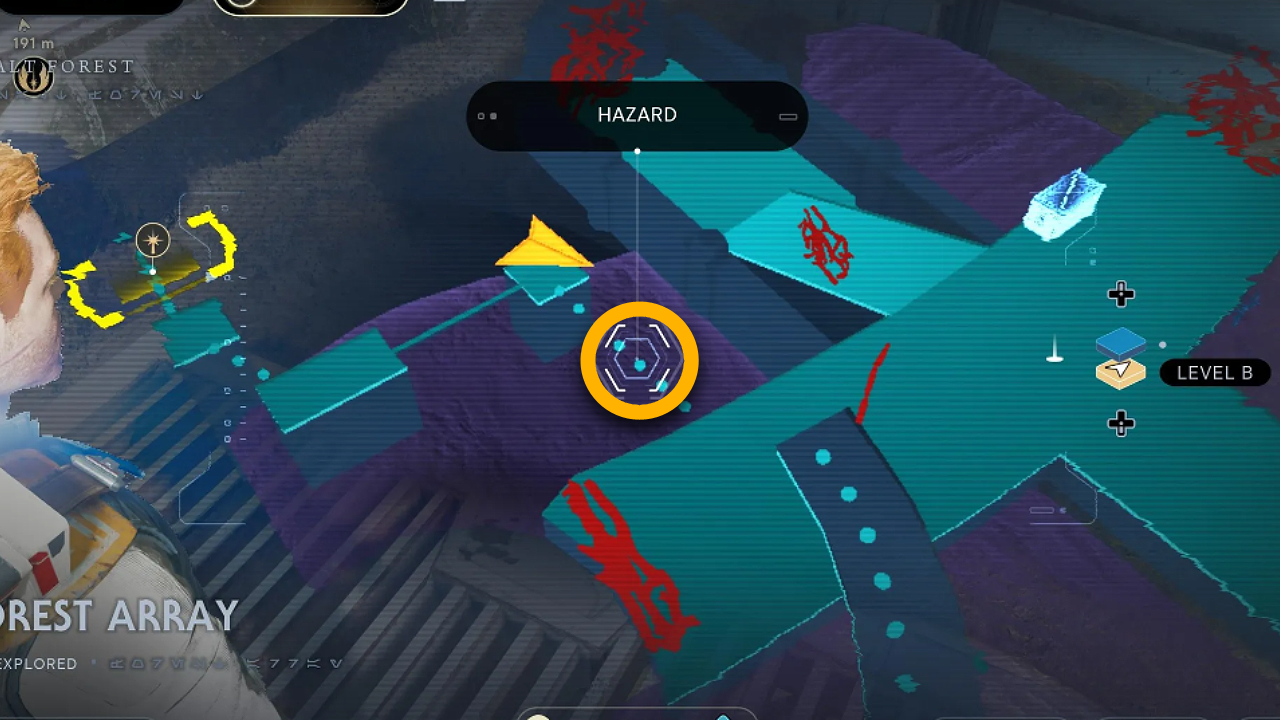
You need to reach the Forest Array Meditation point for this Datadisc. Here you are required to move to the left side and make your way toward the Koboh Dust area, and you will find the Disc in the pile of dust.
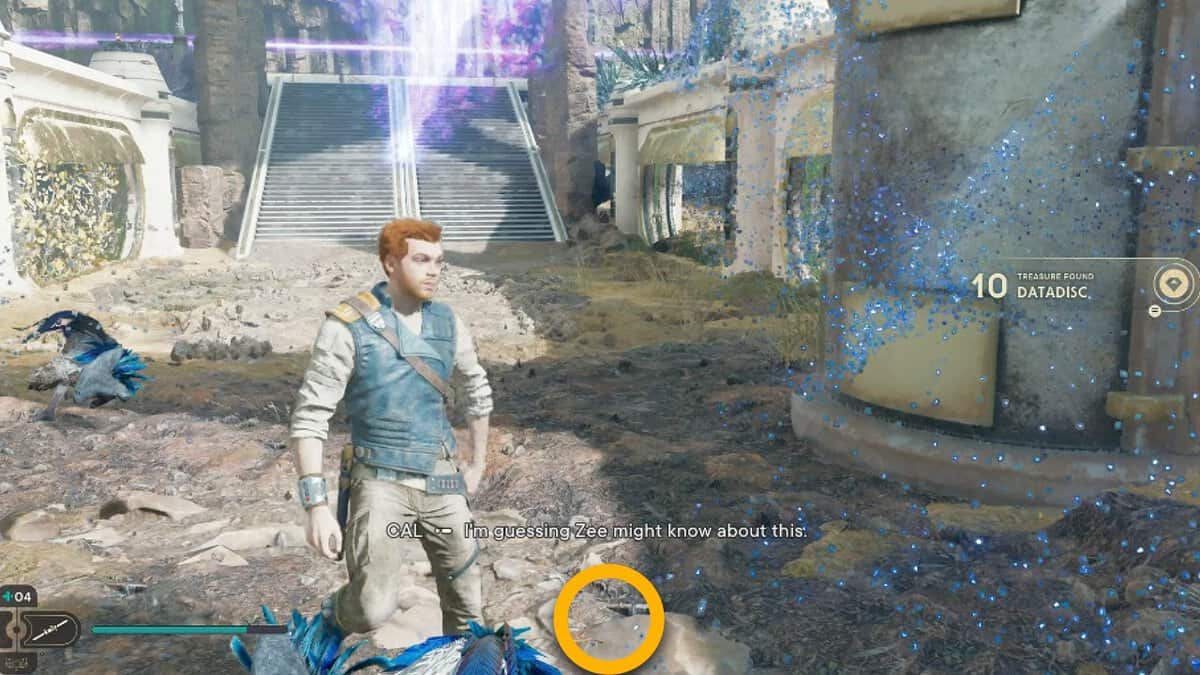
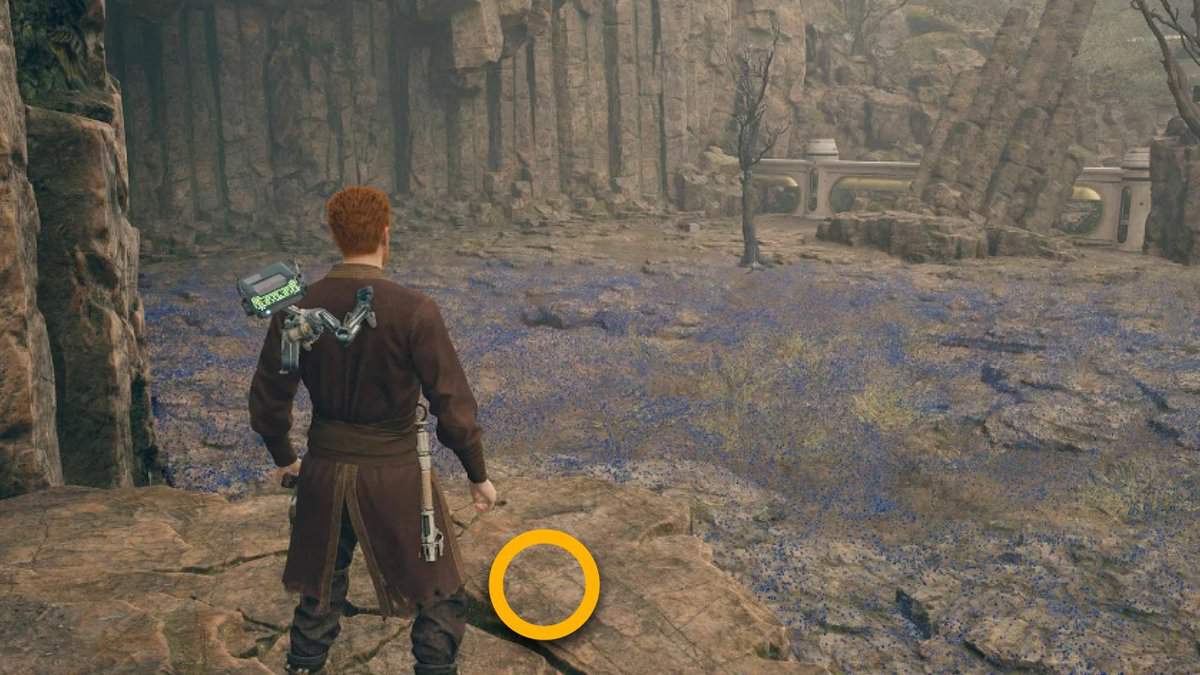
Datadisc #2
From the meditation point, you need to drop on the right side of Koboh Dust. You have to move ahead until you reach the area full of tiny flying creatures. There you will find the Disc in Cog.
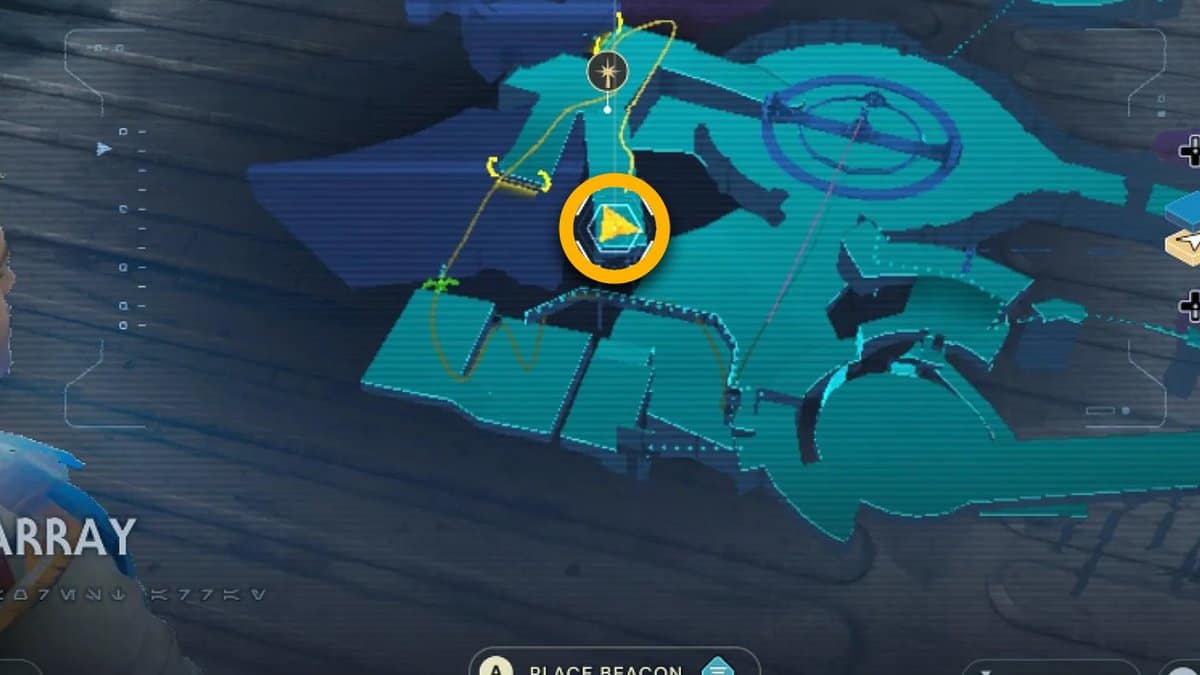
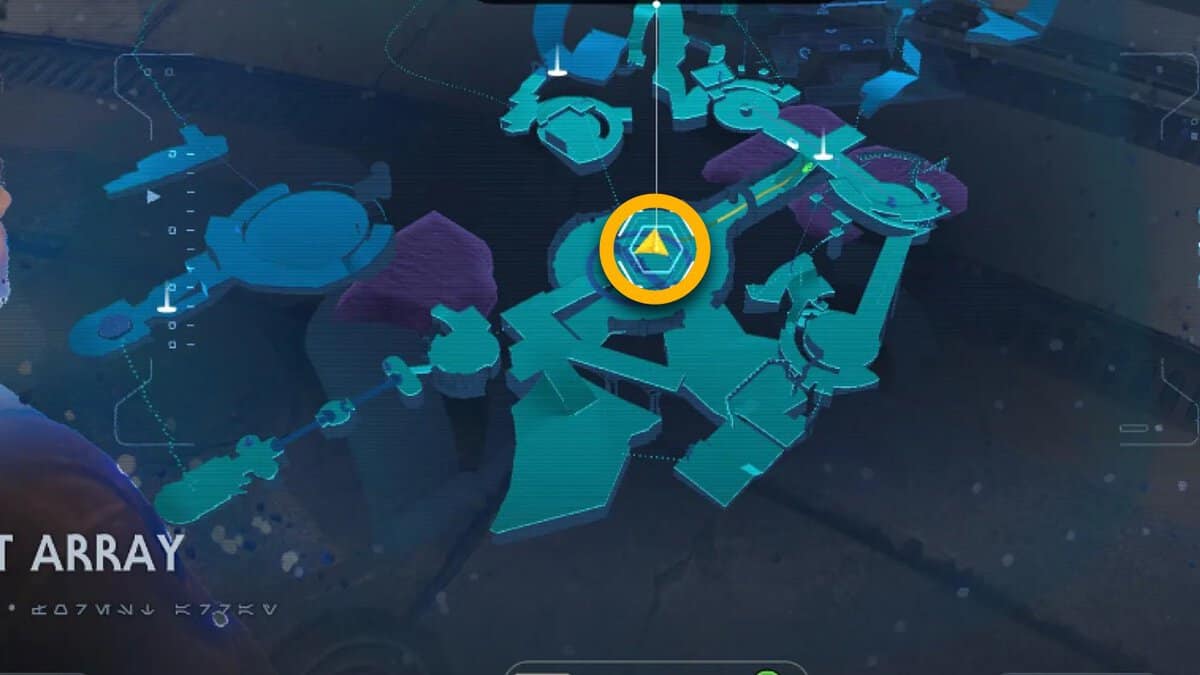
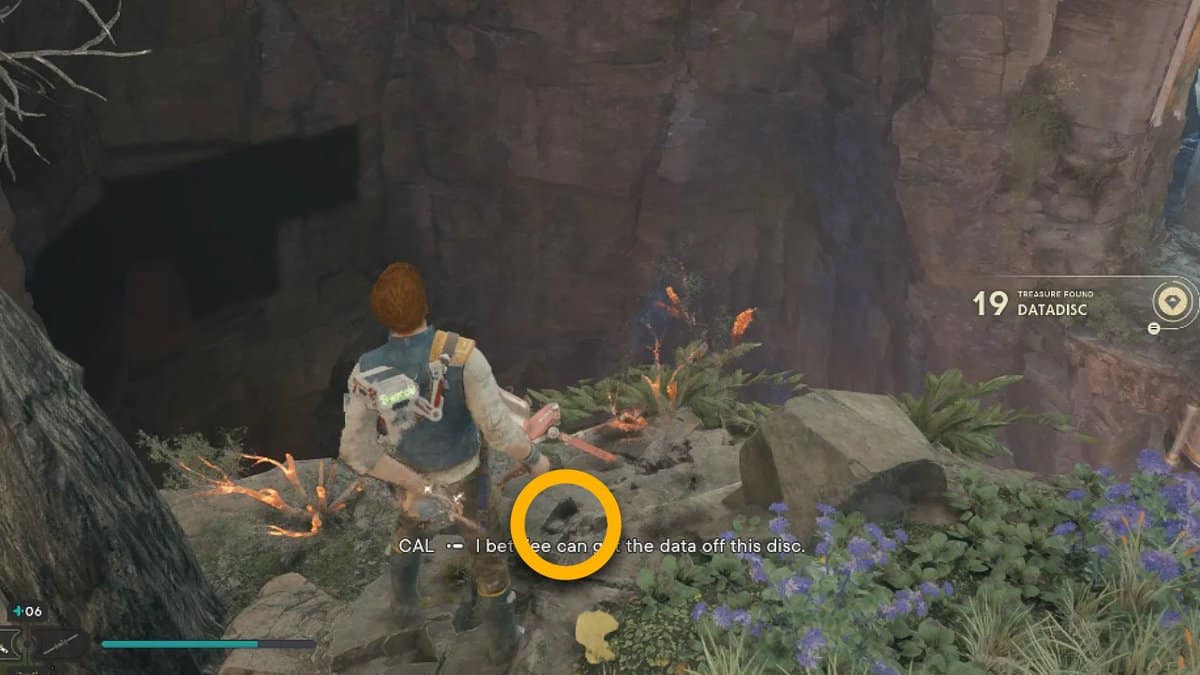
Datadisc #3
You need to remove the Koboh Barrier using the Orb Amplifier for this Datadisc. This way, you can create an opening for climbing the Koboh Dust platforms. You need to swing from one platform to the one that contains the Disc.
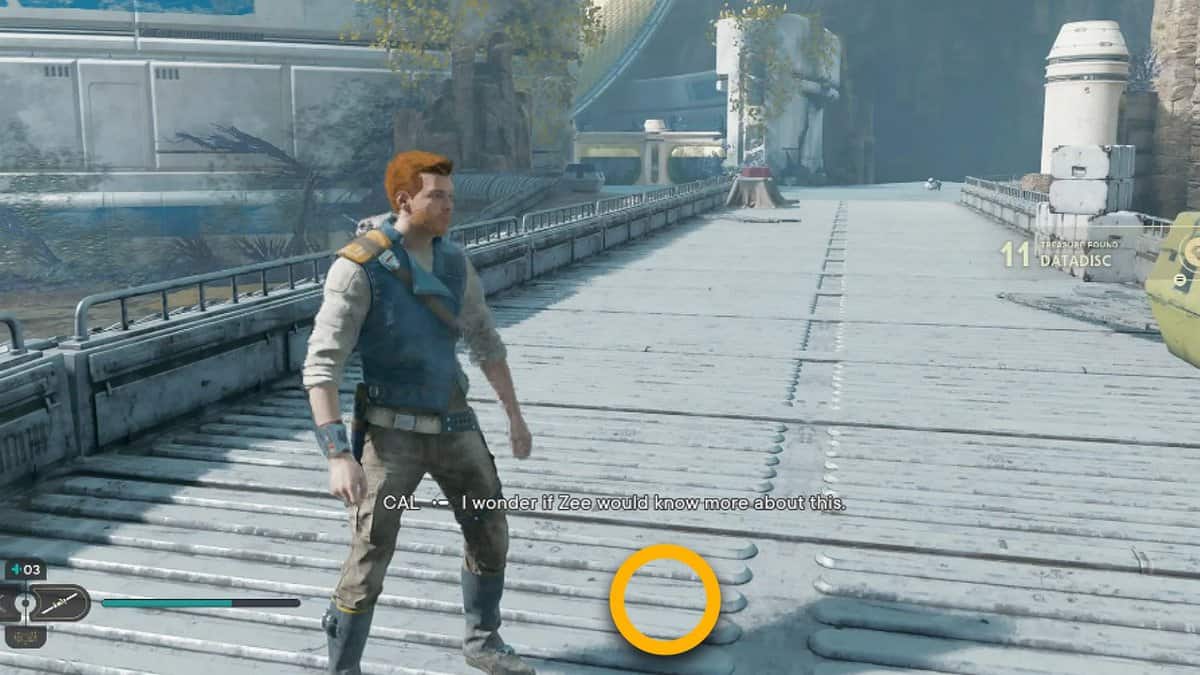
Datadisc #4
For this Datadisc, you need to rotate the orb coupler and run toward the Forest Array meditation point. The Disc is on the path that takes you toward the meditation site.
Datadisc #5
You can obtain this Datadisc only after releasing the big bird found in the Forest Array area.
Here you will encounter several stormtroopers, deal with them, and move back the way you came. You will find the Disc on the walkway.
Datadisc #6

From the Stormtrooper’s location, you need to eliminate Bilemaw to get an opportunity for another Datadisc. After taking care of the enemies, move toward the Koboh Dust, and you will find the Disc on the way.
Datadisc #7
For this Datadisc, you need to join the central beam with the Koboh matter in Star Wars Jedi: Survivor.
Firstly, you need to change the direction of the beam toward the Forst Abbay Meditation point. Then connect the beam with the matter, dropping the Disc on the floor.
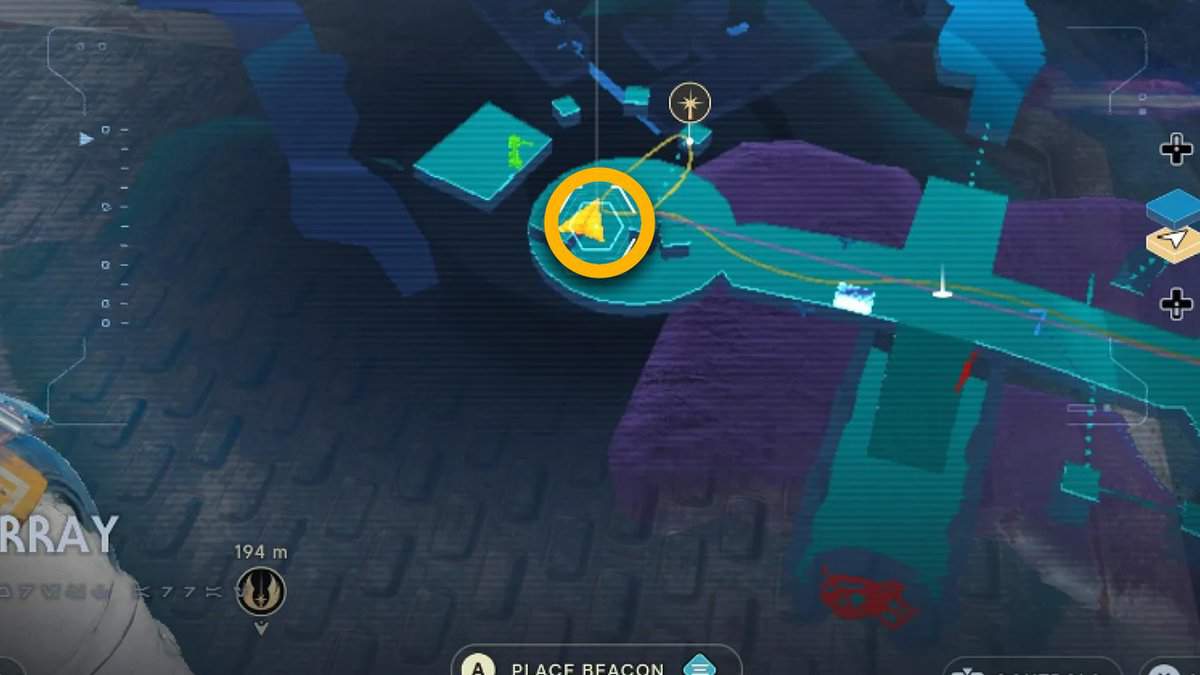
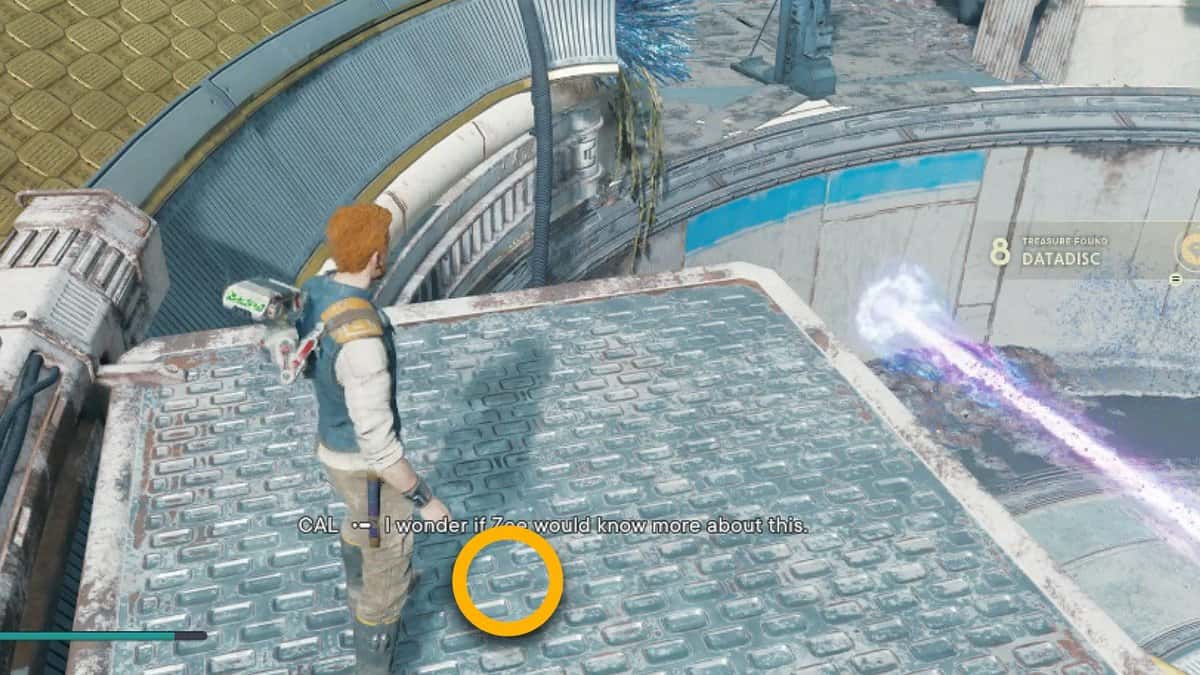
Datadisc #8

Now you need to access the right area of the Koboh Dust. Drop down from the right side of the Workbench and move toward the end of the cliff. Look toward the metal plate, and you will find the Disc on the ground.
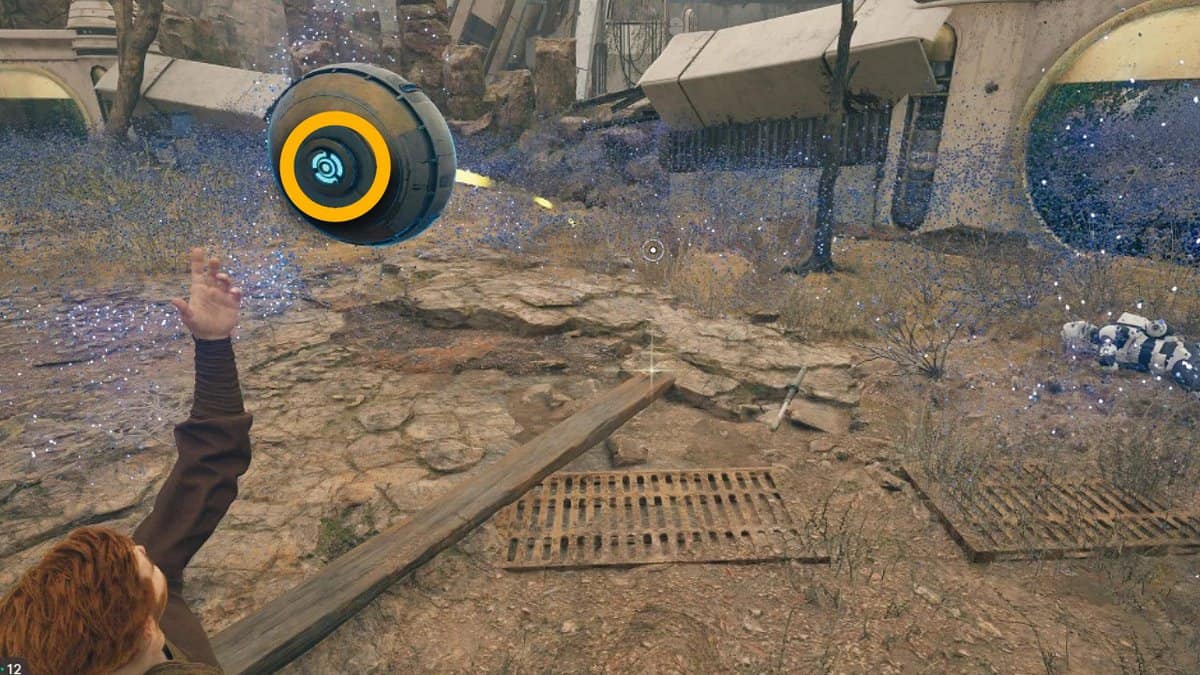
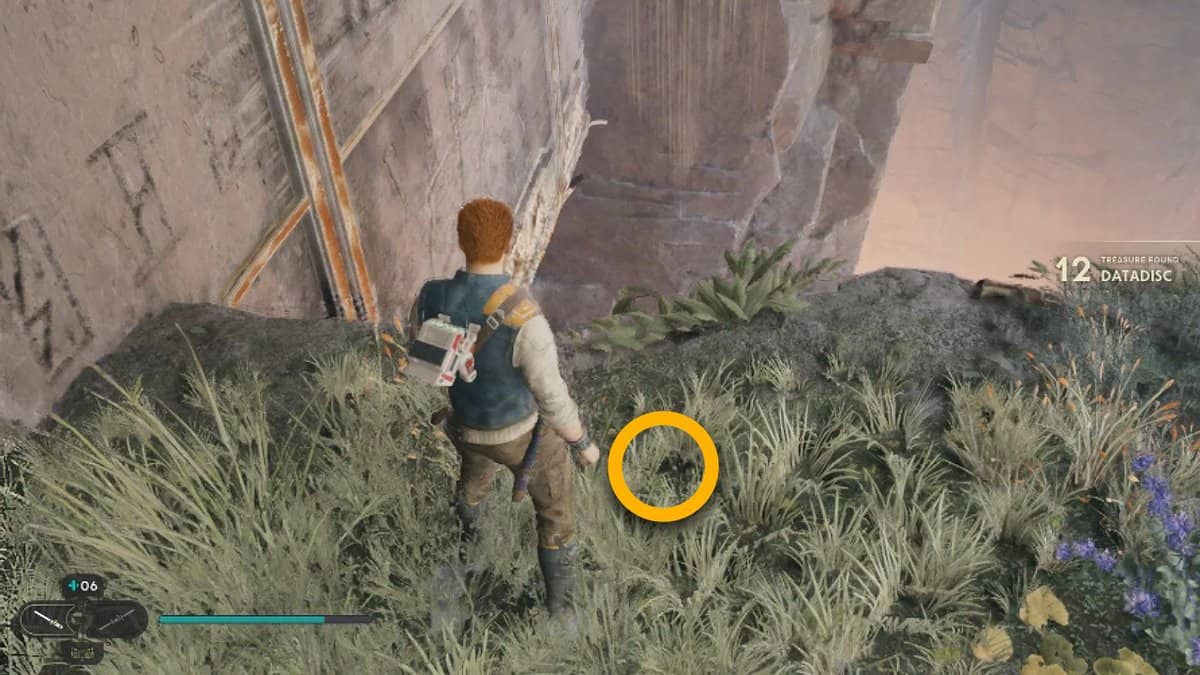
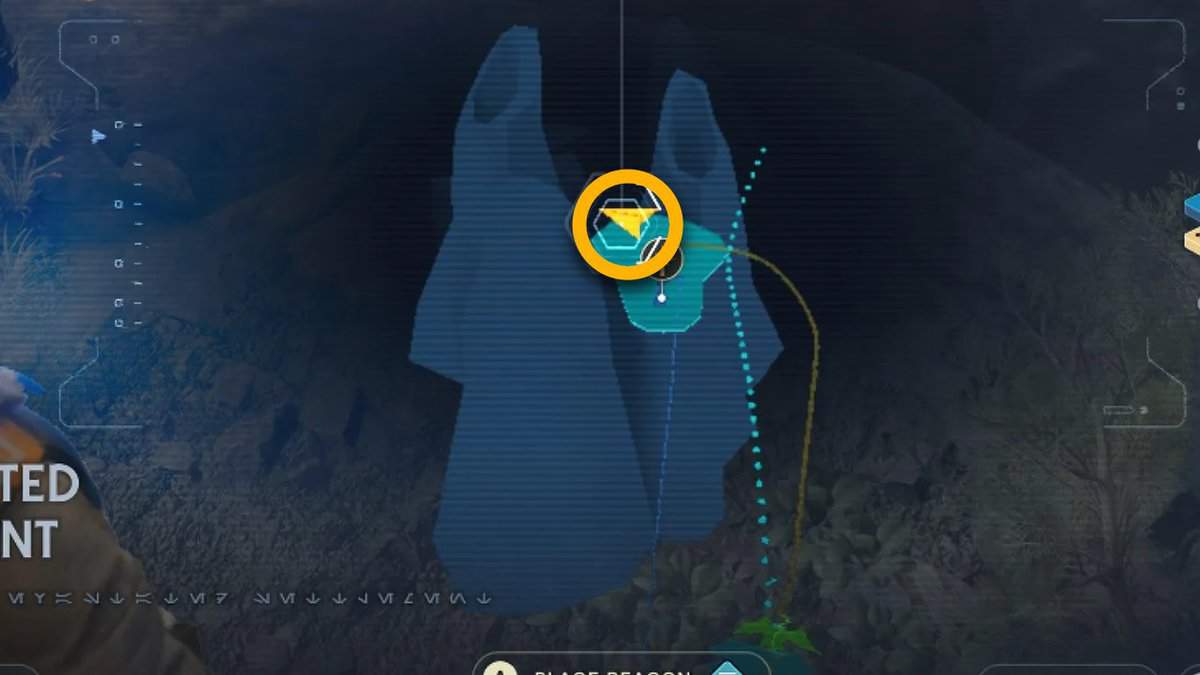
Datadisc #9
You can find another Datadisc by moving toward the base of the tree found in the Koboh Dust area.
The tree is next to the stairs that take you toward the Rehabilitation Wing, so it is easy to identify the location. You will find an Orb that you can hold to repel the dust and get the Disc.
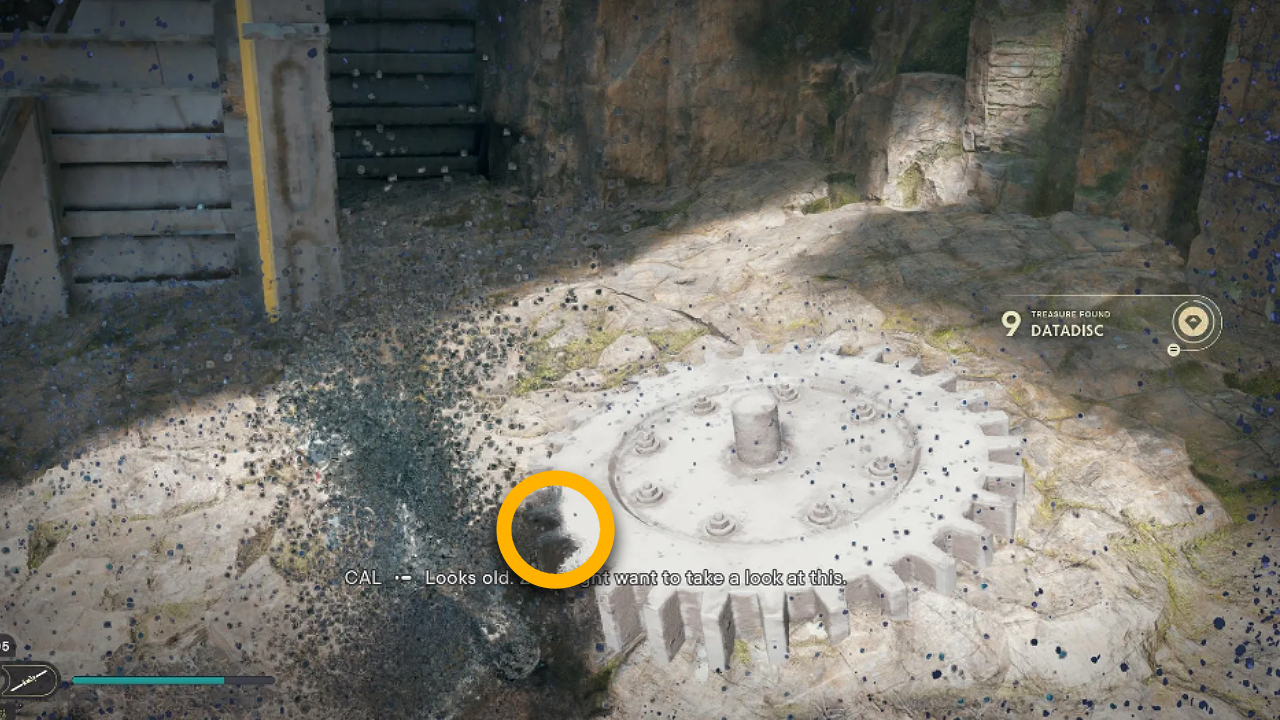
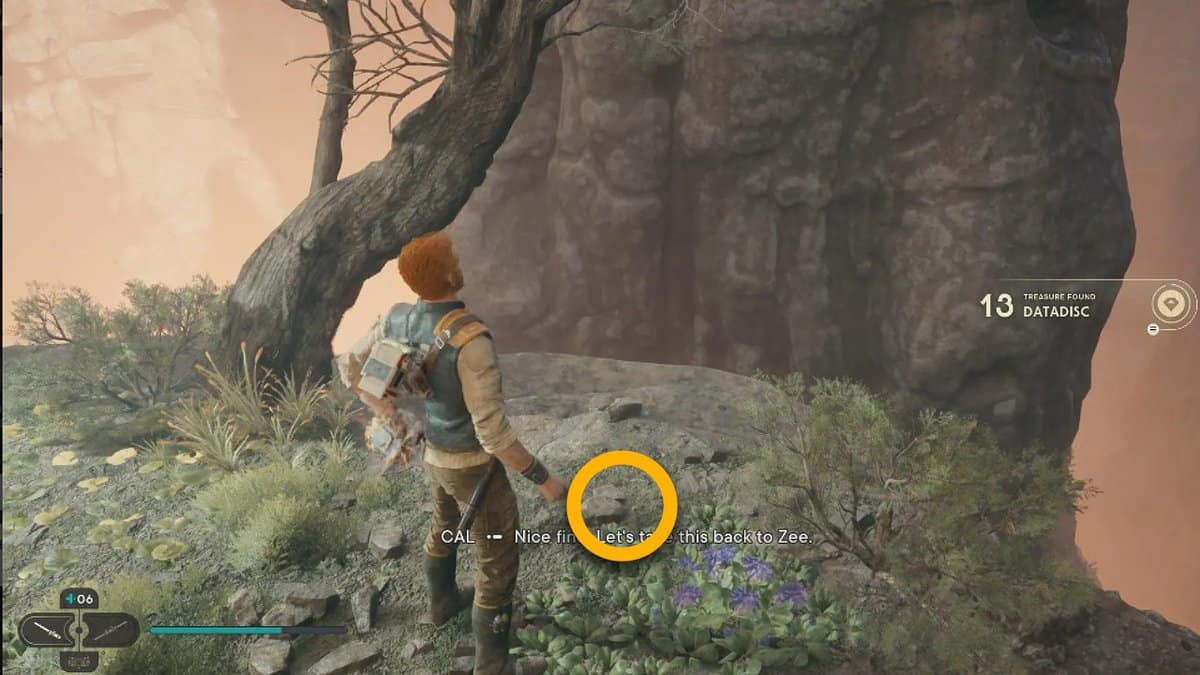
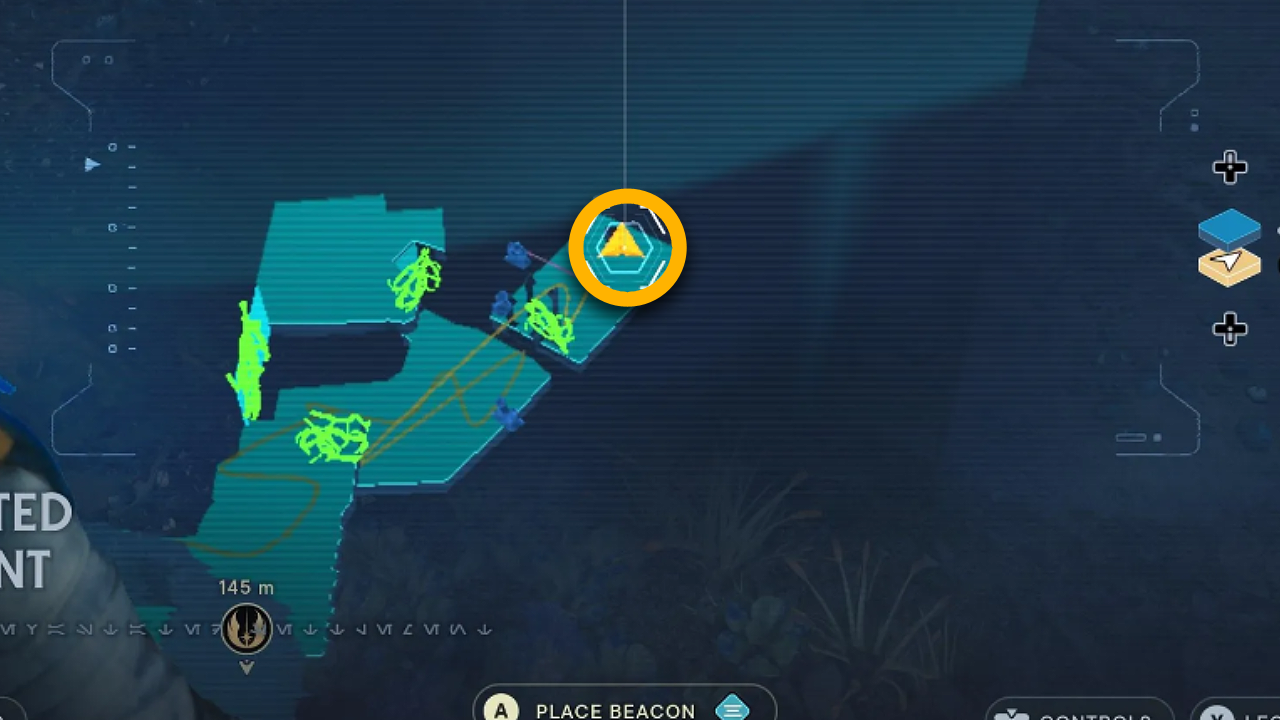
Datadisc #10
The last Datadisc in Forest Array is found by moving toward the central circle that contains an orb. You have to grab the sphere to bring out the data disc.
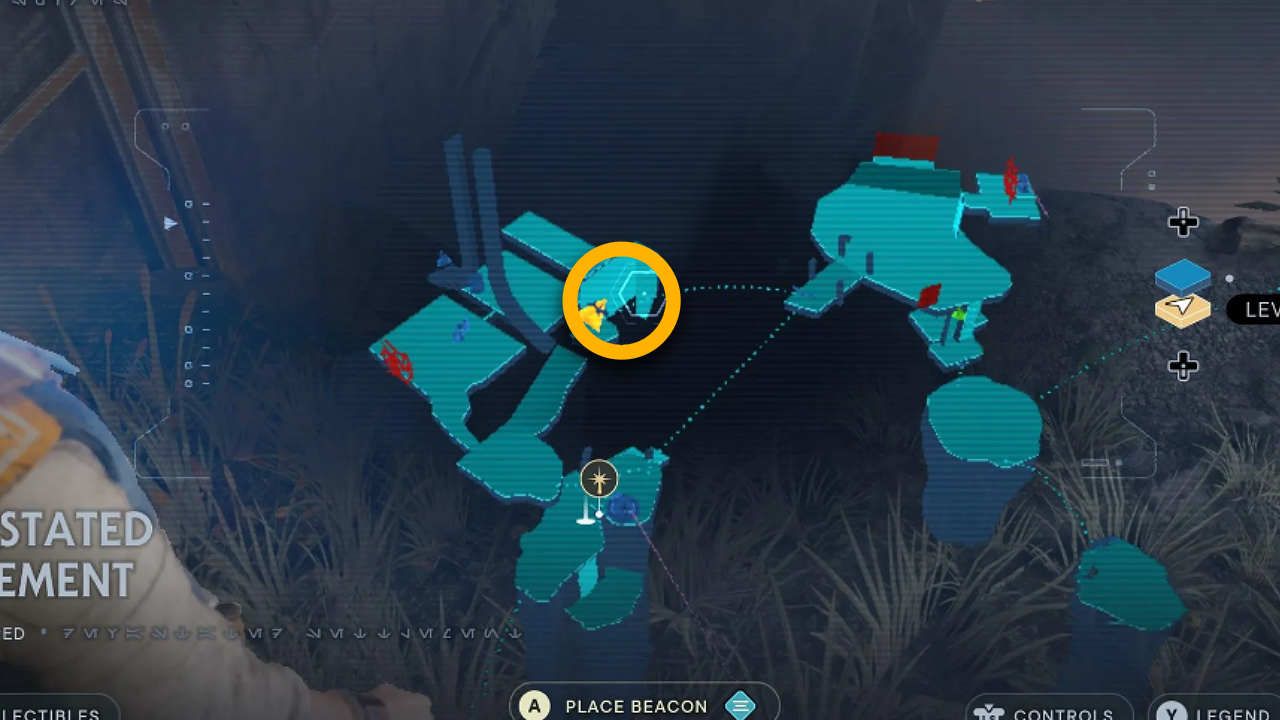
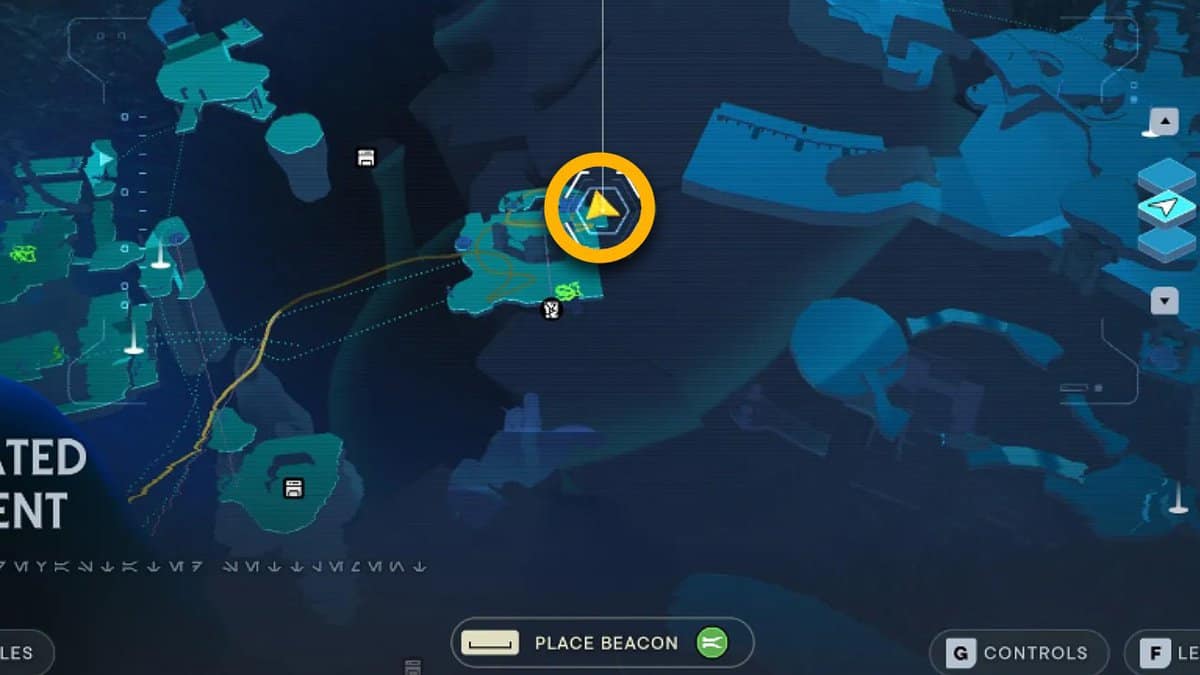
Devastated Settlement
Datadisc #1
You can get the first Datadisc from this area by climbing from Caif and moving toward the right side of the laser door.
You need to utilize the Koboh Grinder to destroy all the destroy before picking the disc from the site next to the orb coupler.
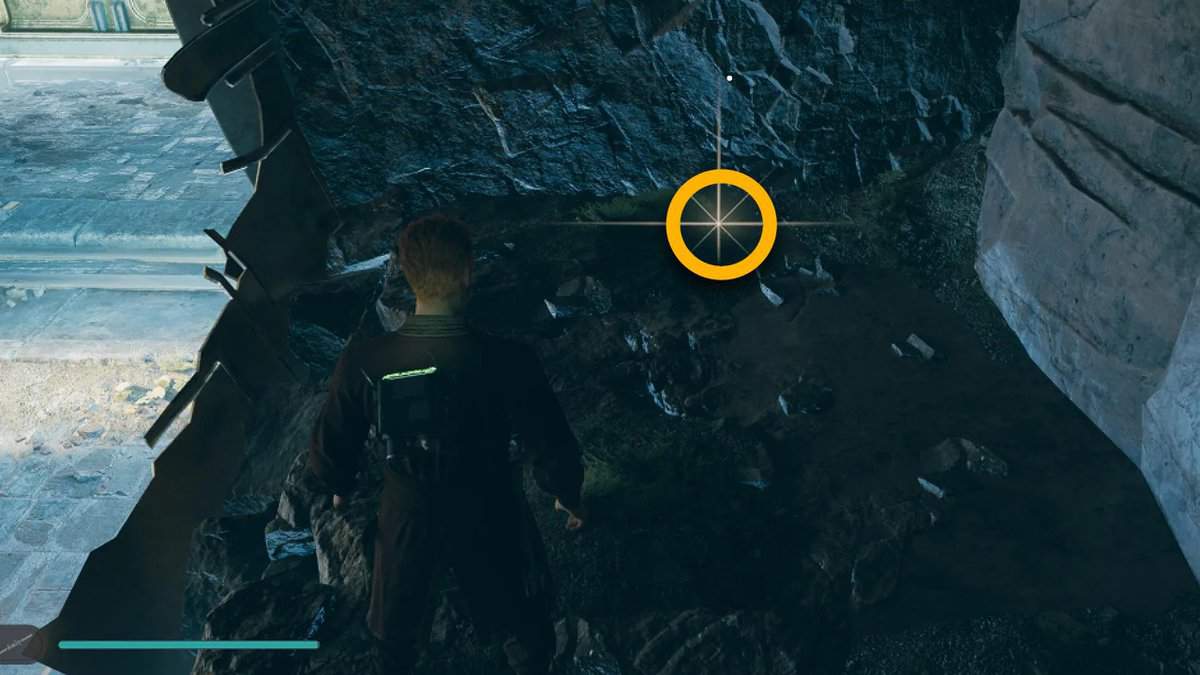
Datadisc #2
For this Datadisc, you must reach the Bx droid chamber by climbing from the Meditation point. Here you have to perform a few objectives, such as placing the orb in the coupler so it can slide toward the left side.
Now burn down all the dust using the Koboh Grinder, and you will find the disc in the same spot.
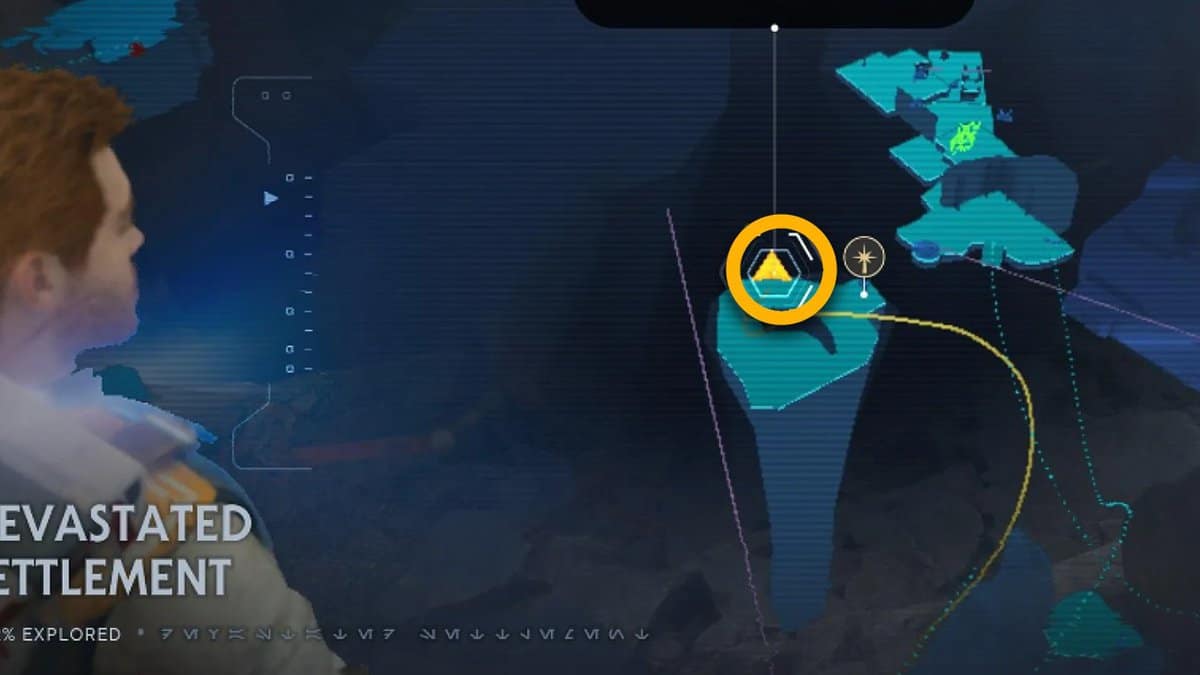
Datadisc #3
You need to move through the gap from the Meditation point before turning toward the right side.
You need to follow the path that takes you toward the glider bird. You have to perform a wall run before sliding to get the disc in Jedi: Survivor.
Datadisc #4
Make your way toward the next platform by gliding from the Meditation point. You need to reach the edge of the platform to grab the data disc.
Datadisc #5
You need to reach the Droid upgrade room for the next Datadisc. Here use the Koboh Dust beam to burn down the glint found next to the chest.
Once the burning is down, the data disc will drop on the floor, and you can pick it up.
Datadisc #6
You must move out of the Droid upgrade room and return the orb to its original position.
Here you have to utilize the Koboh Grinder to unleash dust between the laser and the drop-down area. You will find the Datadisc after setting the site on fire.
Datadisc #7
For the next Datadisc, you must reach the room containing several battle droids and BX.
You can get there by gliding from the Force Tear Platform and just look below after drifting to find the door of the room that contains the disc.
Datadisc #8
You need to ride the two vents to reach the next platform. Here you will find multiple fighting creatures, and you must ignore them.
Find the gap on the left side and squeeze through it to the other side. You will discover several crates in this room, so you must use the force pull to move the container and block the door.
Now just jump on the box and reach where the crates were initially placed to get the disc.
Datadisc #9
For the last Datadisc of this area, you need to activate the remaining vent and use it to reach the Skoova Stev hallway.
You will find a Scavenger Droid at this spot, so killing the creature gives you one more Datadisc in Jedi: Survivor.
Shattered Moon Datadisc locations in Jedi: Survivor
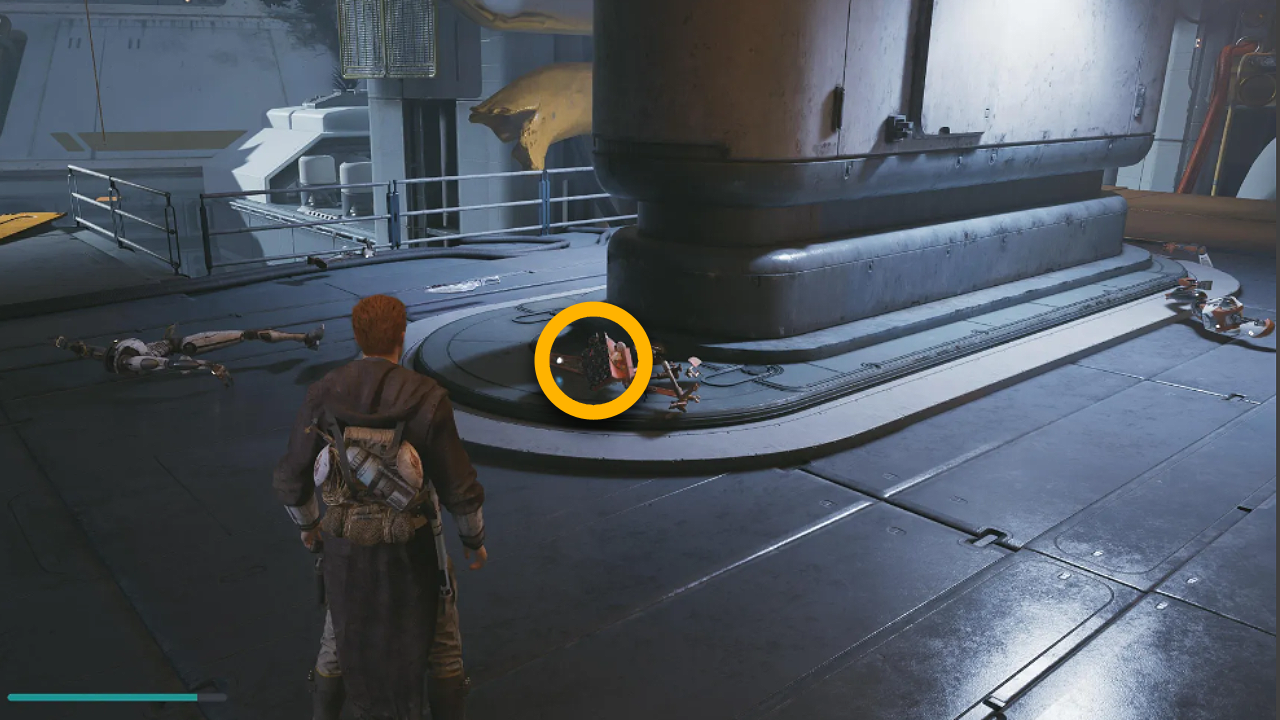
Cargo Loading Deck
Datadic #1
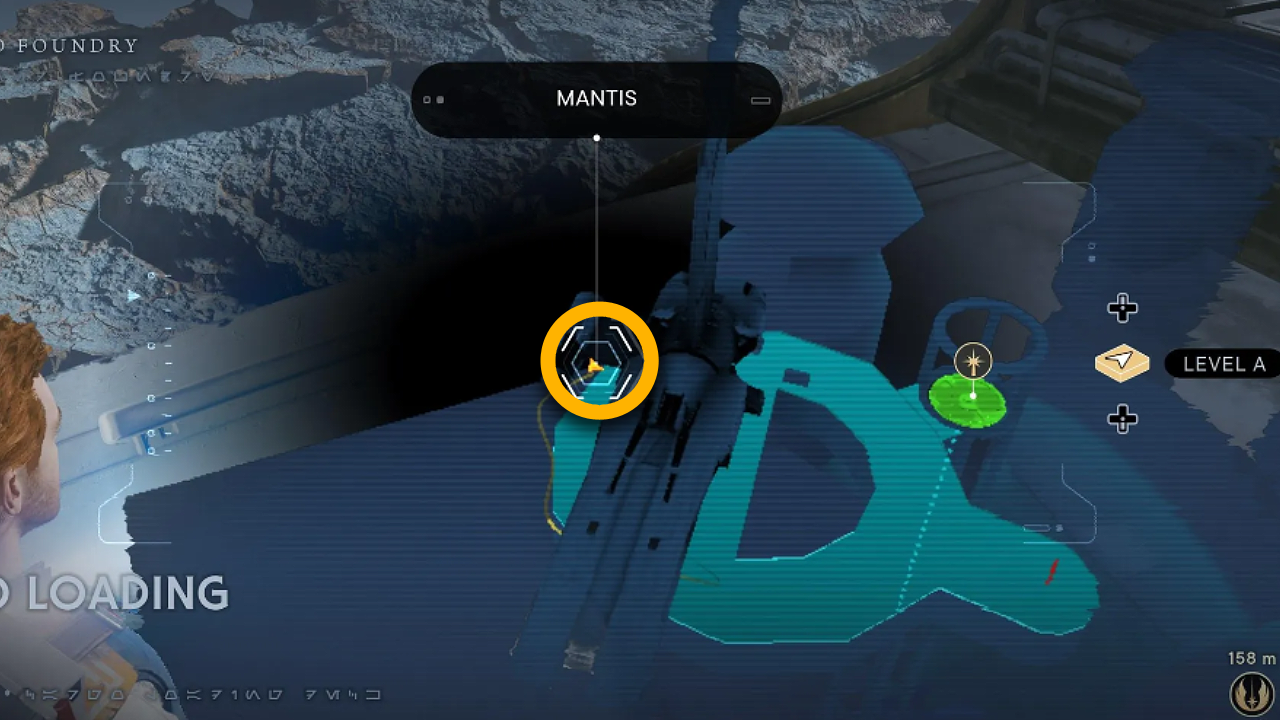
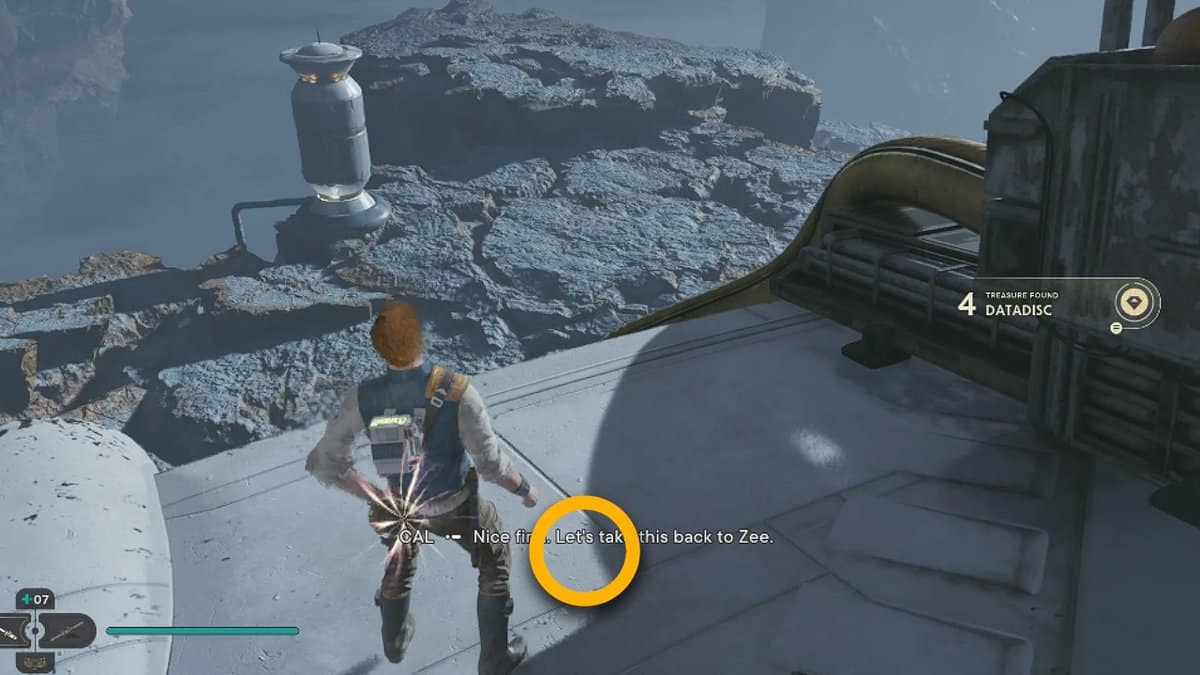
You can find the only Datadisc in this location by going behind the Mantis area right after landing. Toward the end of the landing pad, you will find the treasure you are looking for.
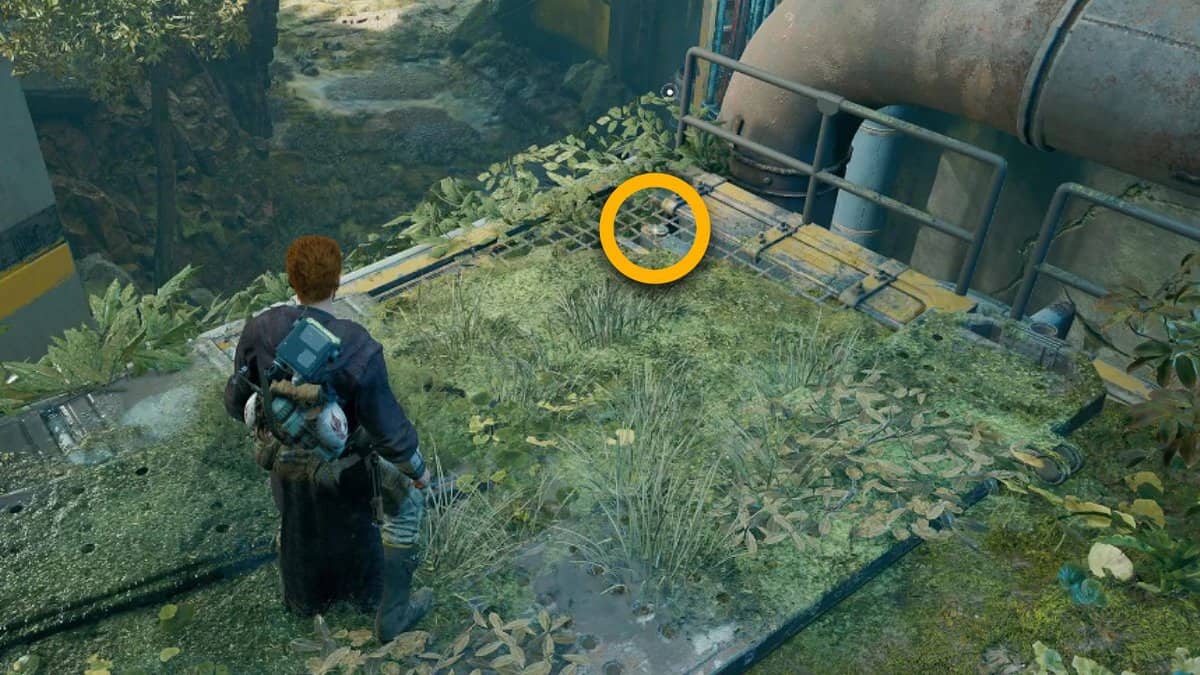
Automated Forge Treasures
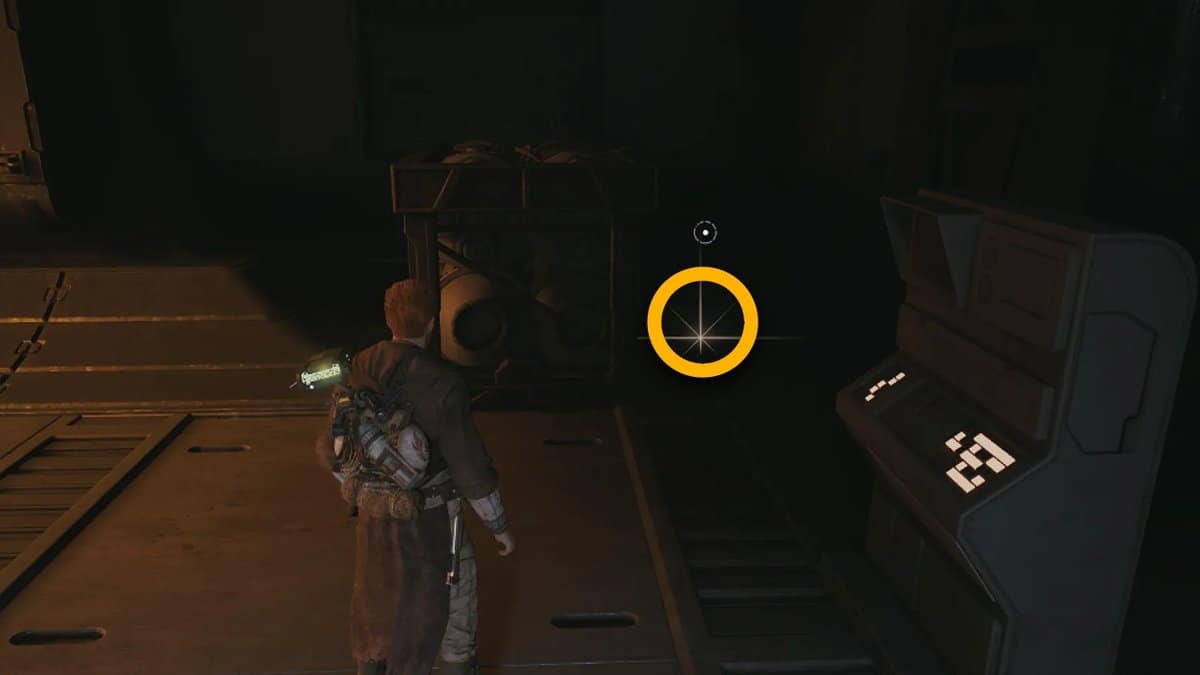
Datadisc #1
For this Datadisc, you have to reach the Maintenance Droid. The best way is to use the BD-1 slice door to escape the Droid room. From here, you need to turn left and look for the Datadisc on the corners of the Maintenance Droid.
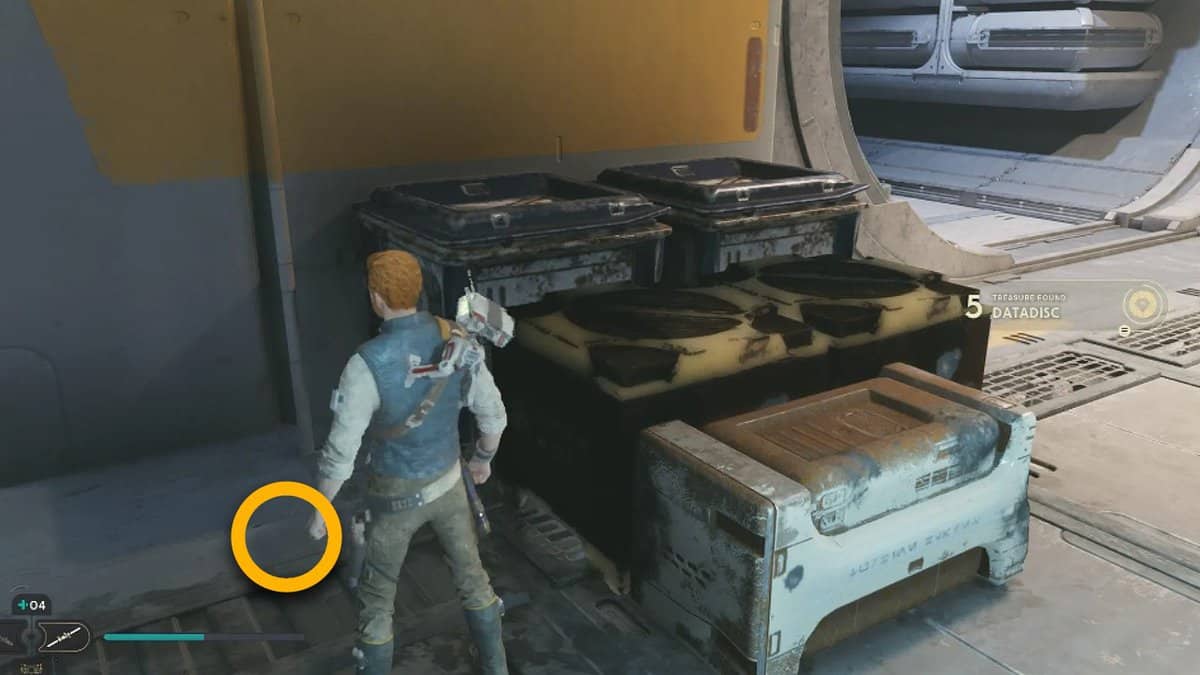
Datadisc #2
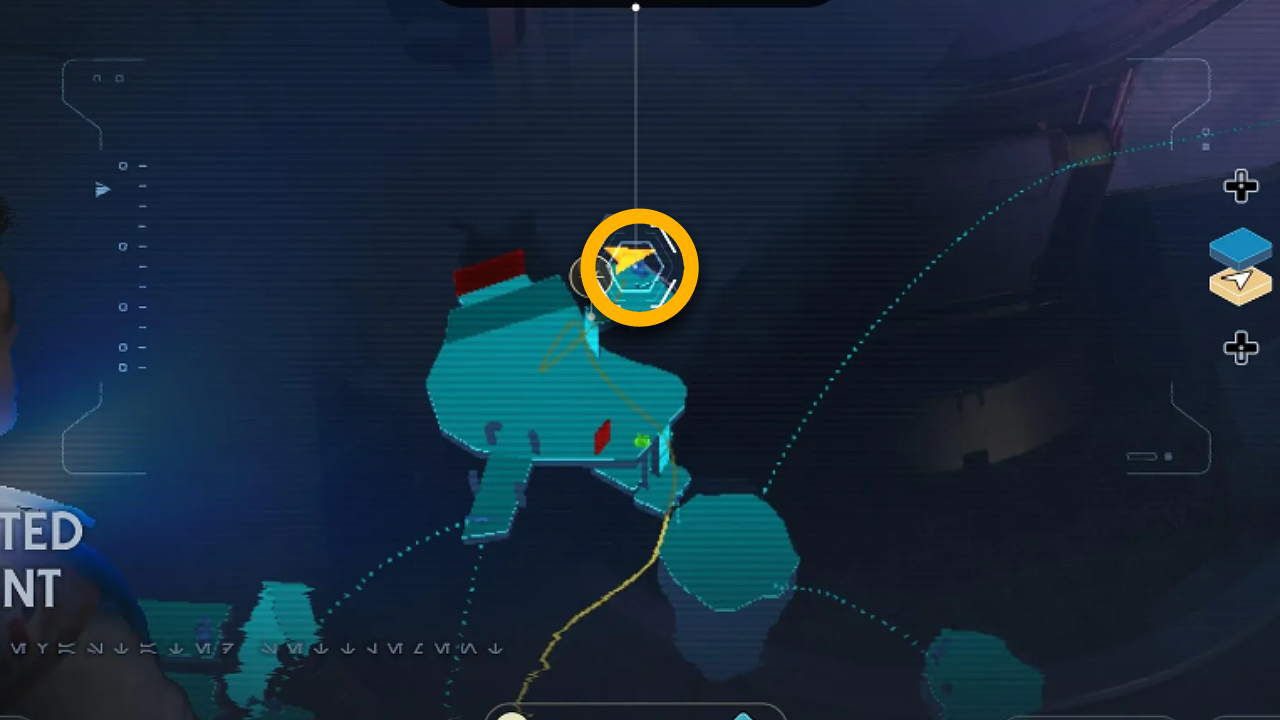
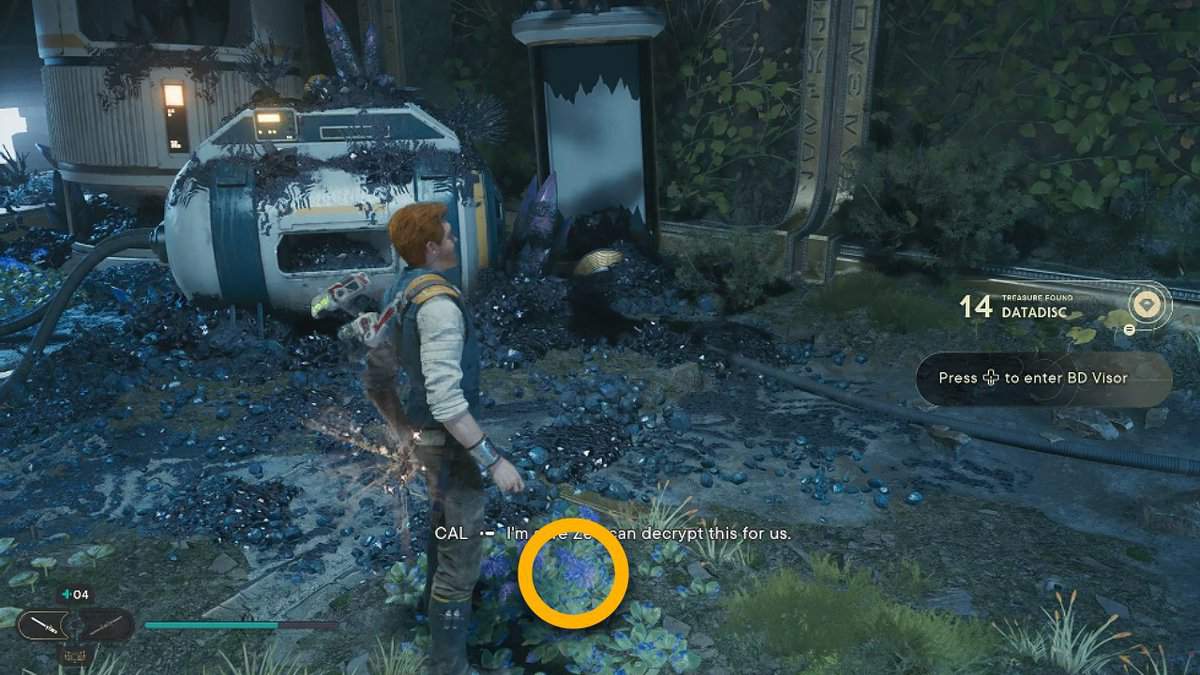
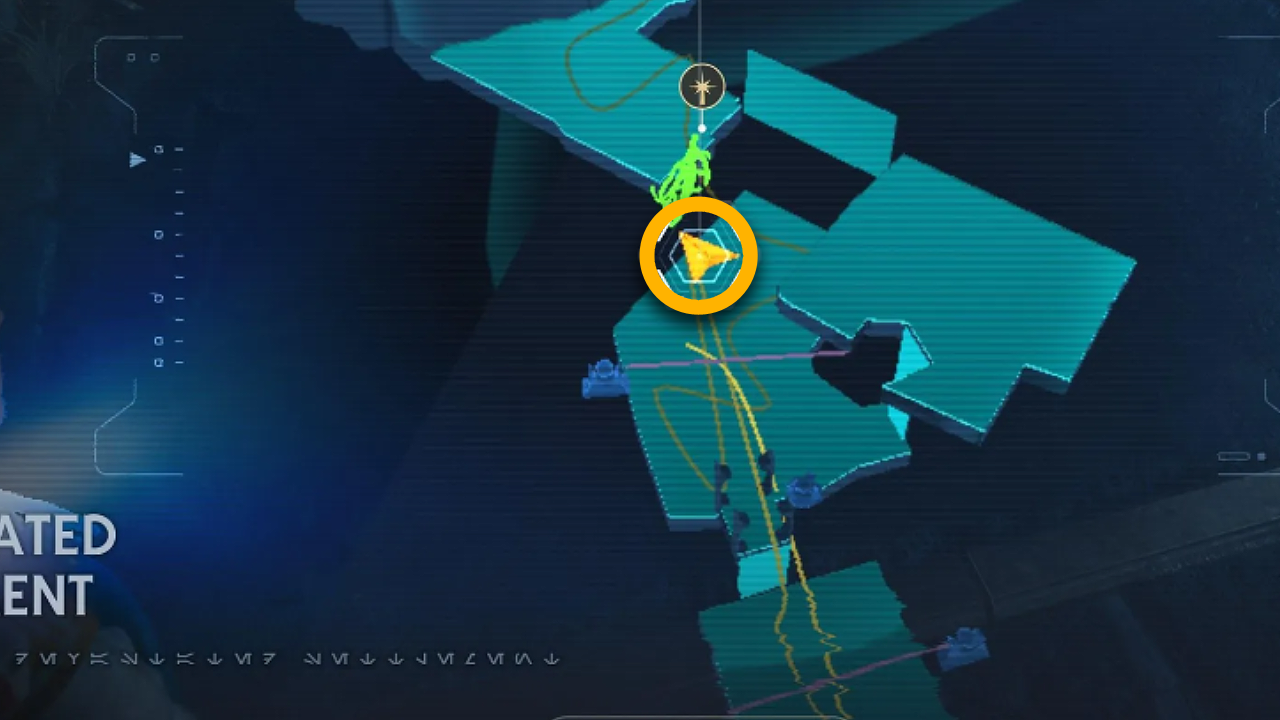
The Second Datadisc is an easy catch as you just have to move toward the opposite area from the Fractured Endurance Force Tear.
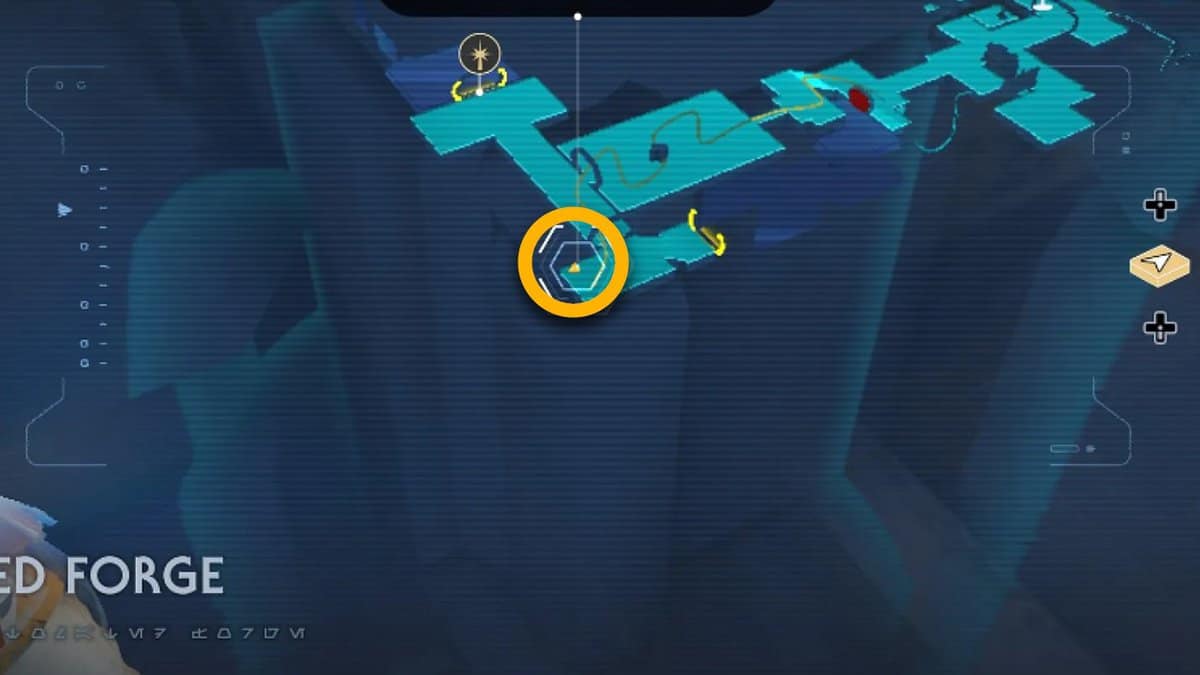
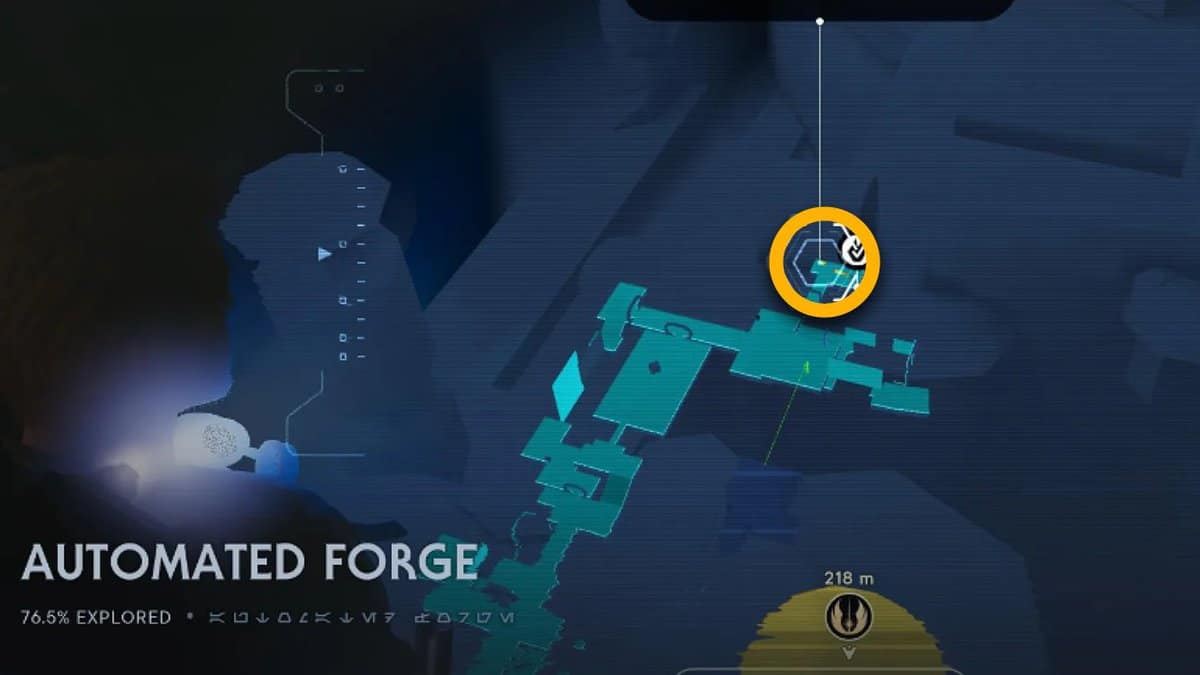
Datadisc # 3-5

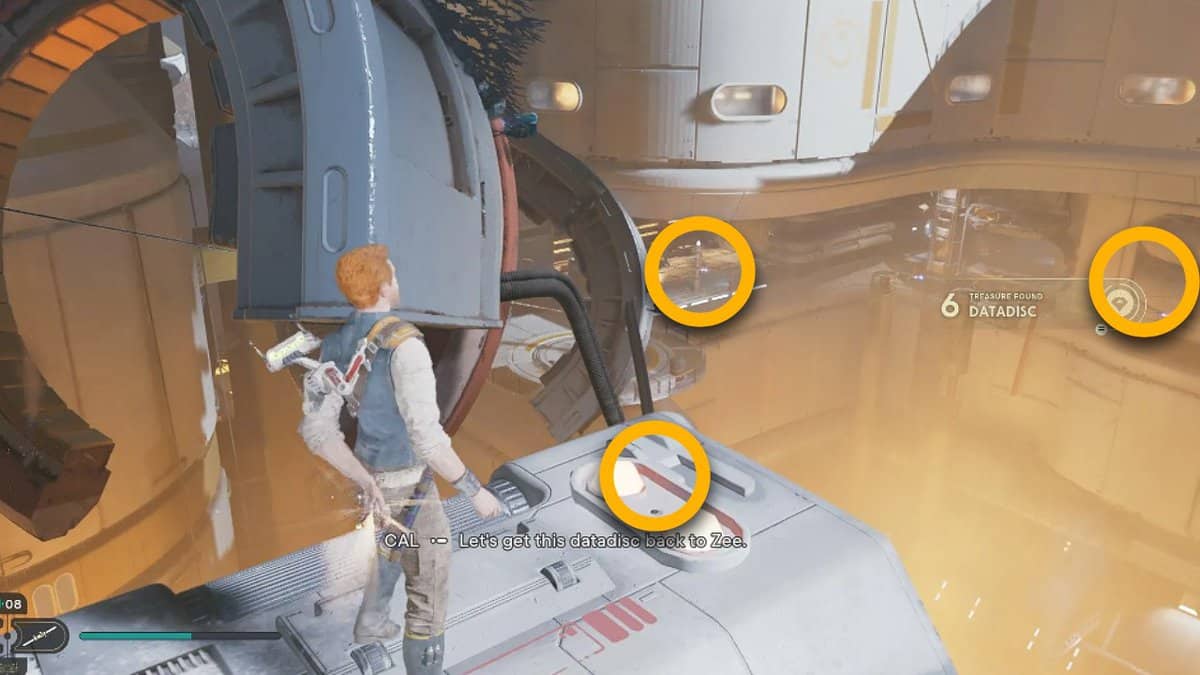
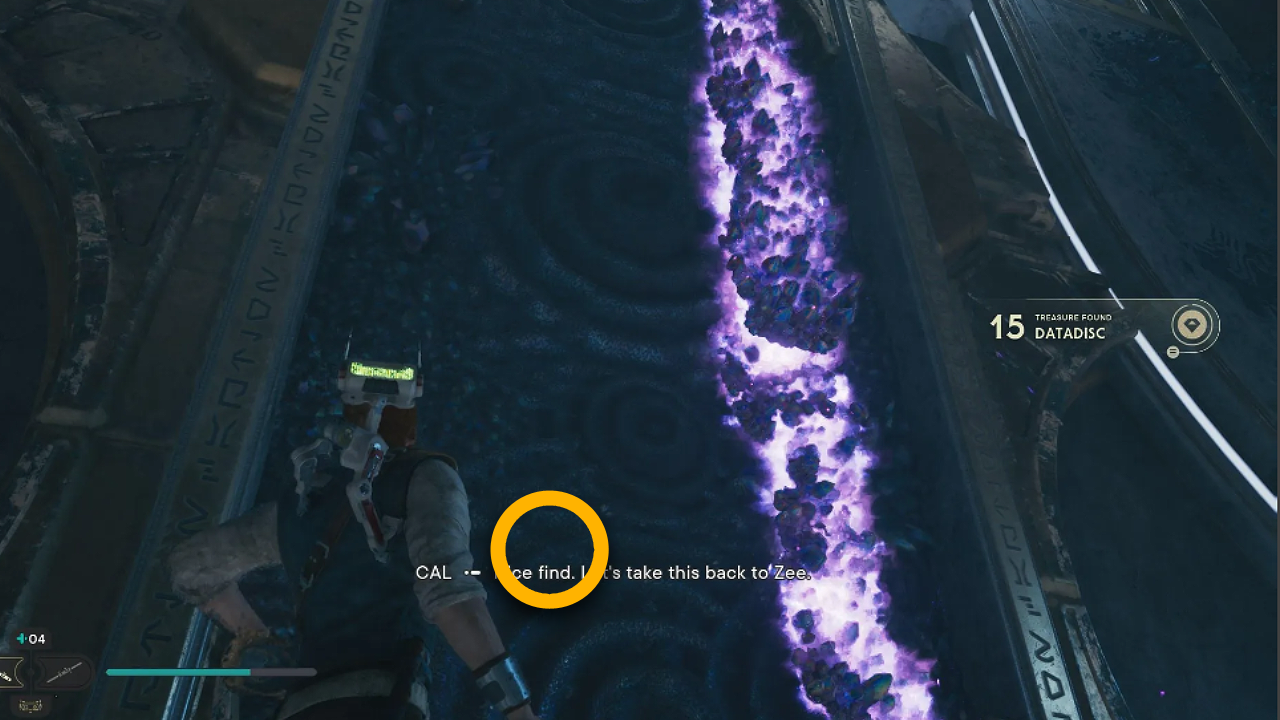
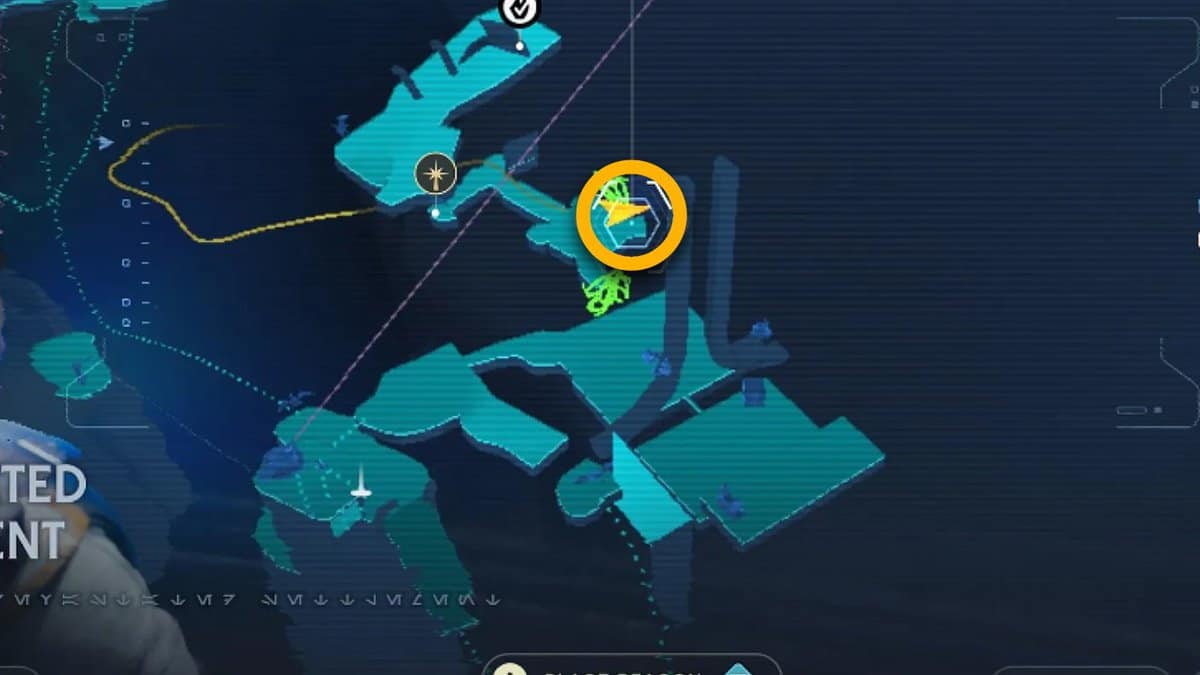
Luckily, you can gather multiple Datadiscs from a single location in Jedi: Survivor. You just have to defeat two droids by climbing a ledge after taking the path to the Assembly Staging area. After your battle, make your way toward the left-hand side to activate the Zipline.
Use the Zipline to move back toward the Automated Forge, and you need to jump halfway through the ride toward a platform. At the edges of the platform, three Datadiscs are available, so add them to your inventory.
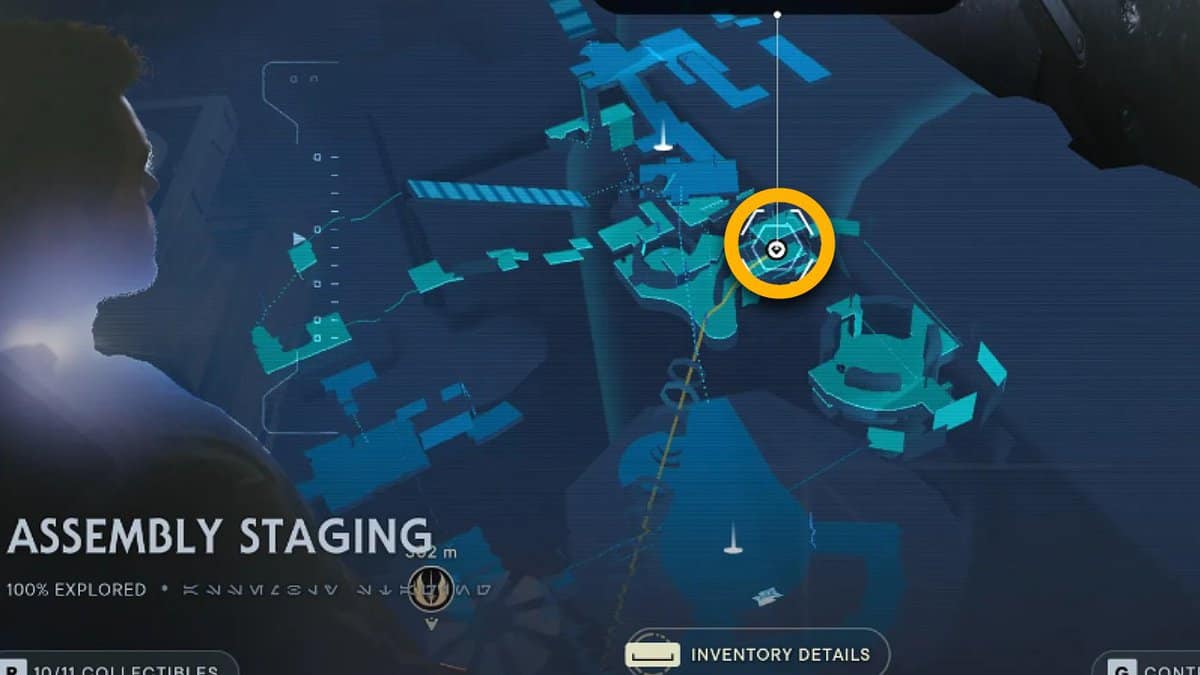
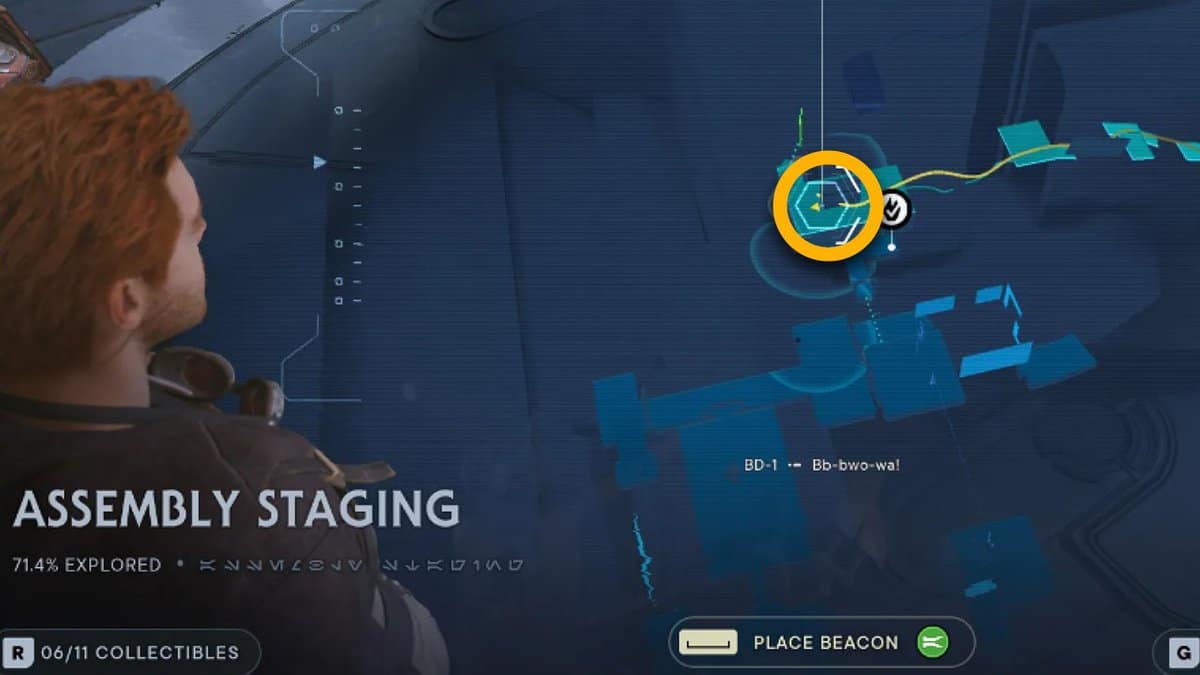
Assembly Staging
Datadisc #1
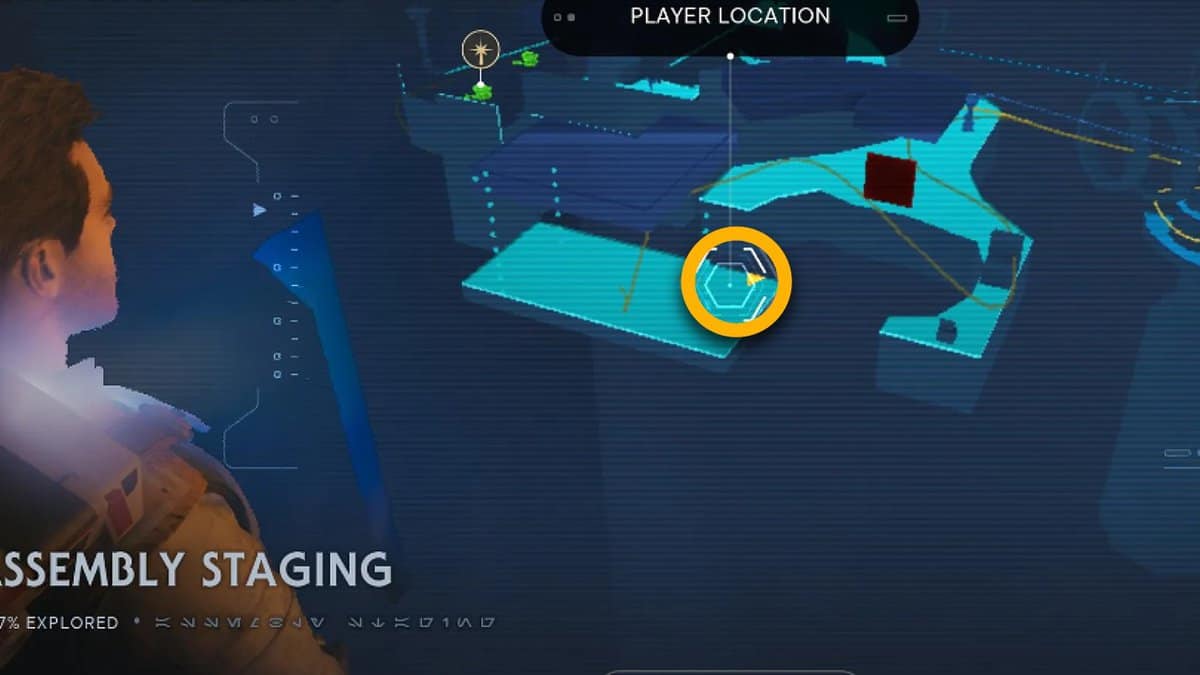
To get the first Datadisc in this area, make your way toward the right side area from the Laser door. You have to jump/fall into the sewage pit to face several enemies. Eliminate each one of them and collect the disc from the edge of the left side of the area where you jumped initially.
Datadisc #2
You can find the second Datadisc by navigating your way back toward the place where you fell. To reach this area, take the Lifter Droid to grapple and use the Yellow Wall to climb back to the site. You will find the second disc for this specific area in Jedi: Survivor.
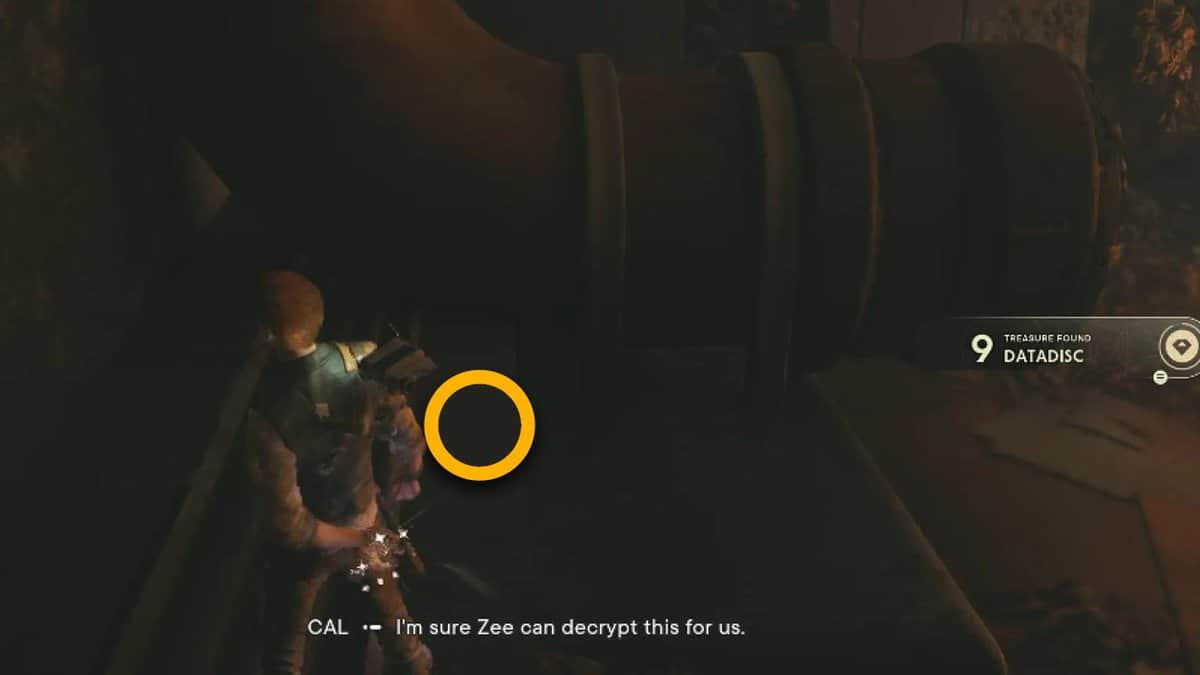
Datadisc #3
For the third Datadisc on the Assembly Staging area, you need to reach the area that lies behind the B1 Droids. A stack of crates will be present there, and you can get the disc from the top of the boxes.
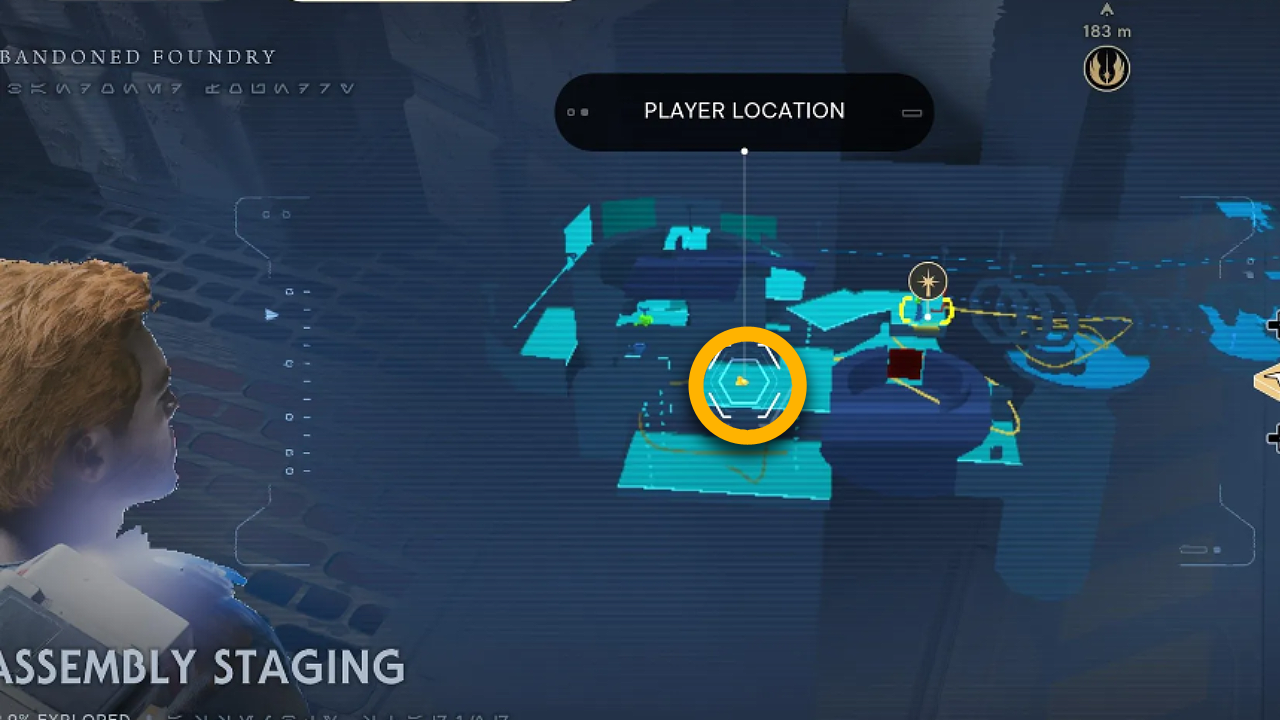
Datadisc #4
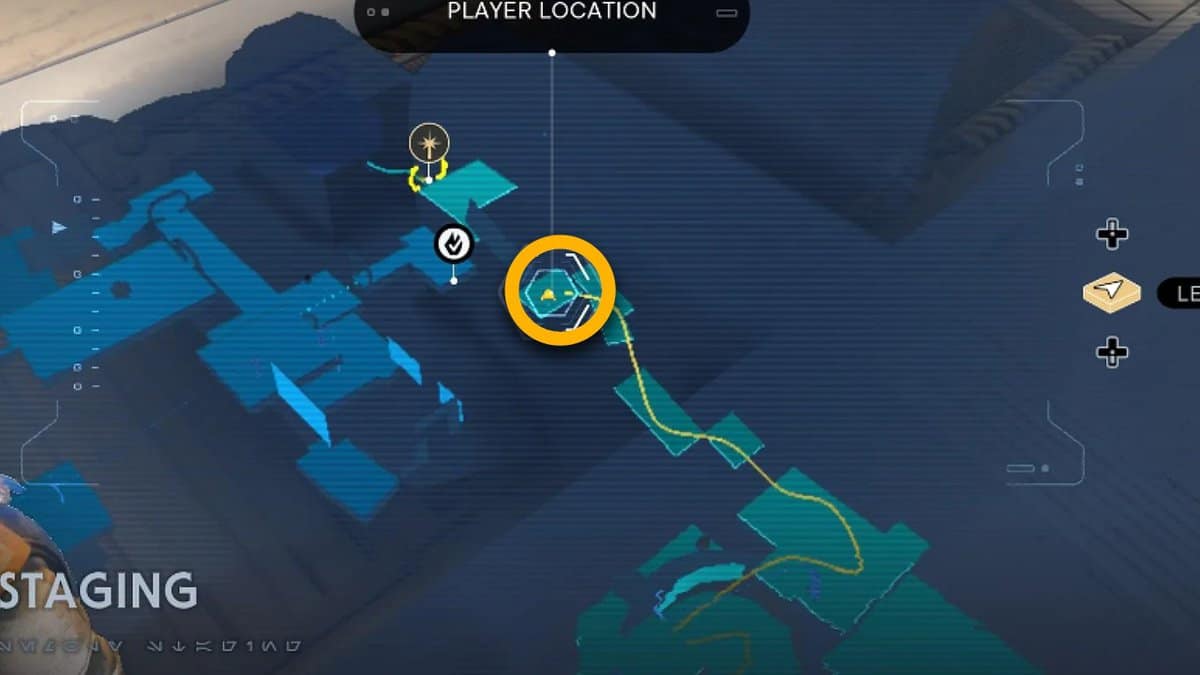
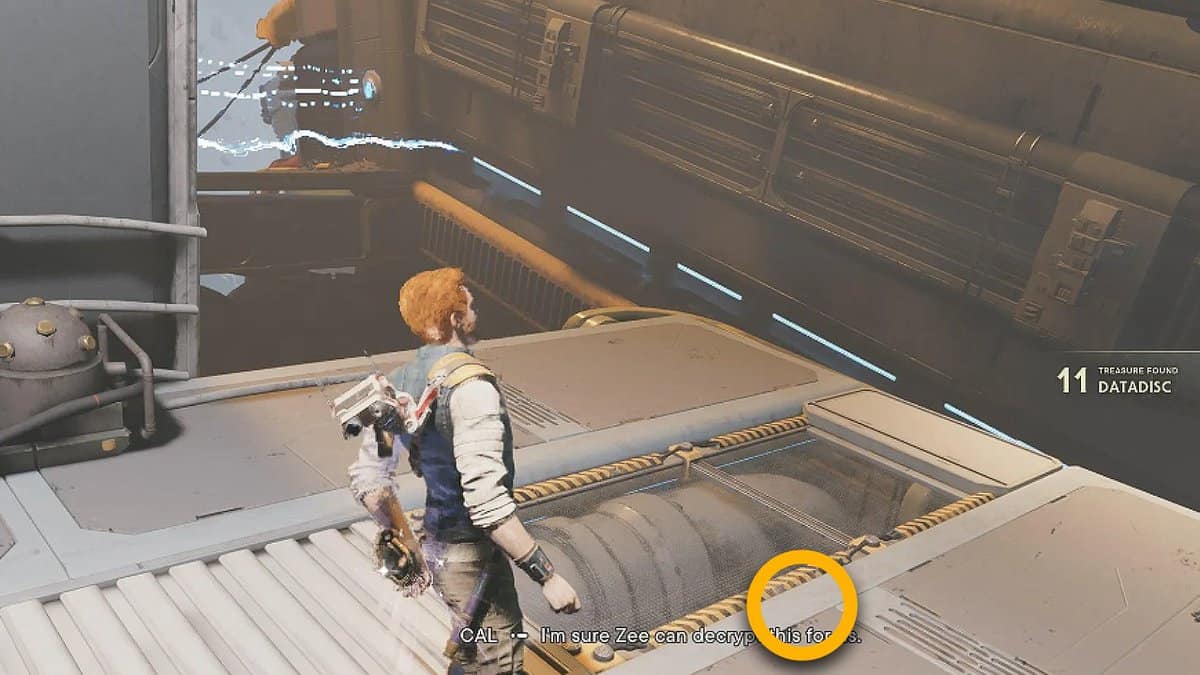
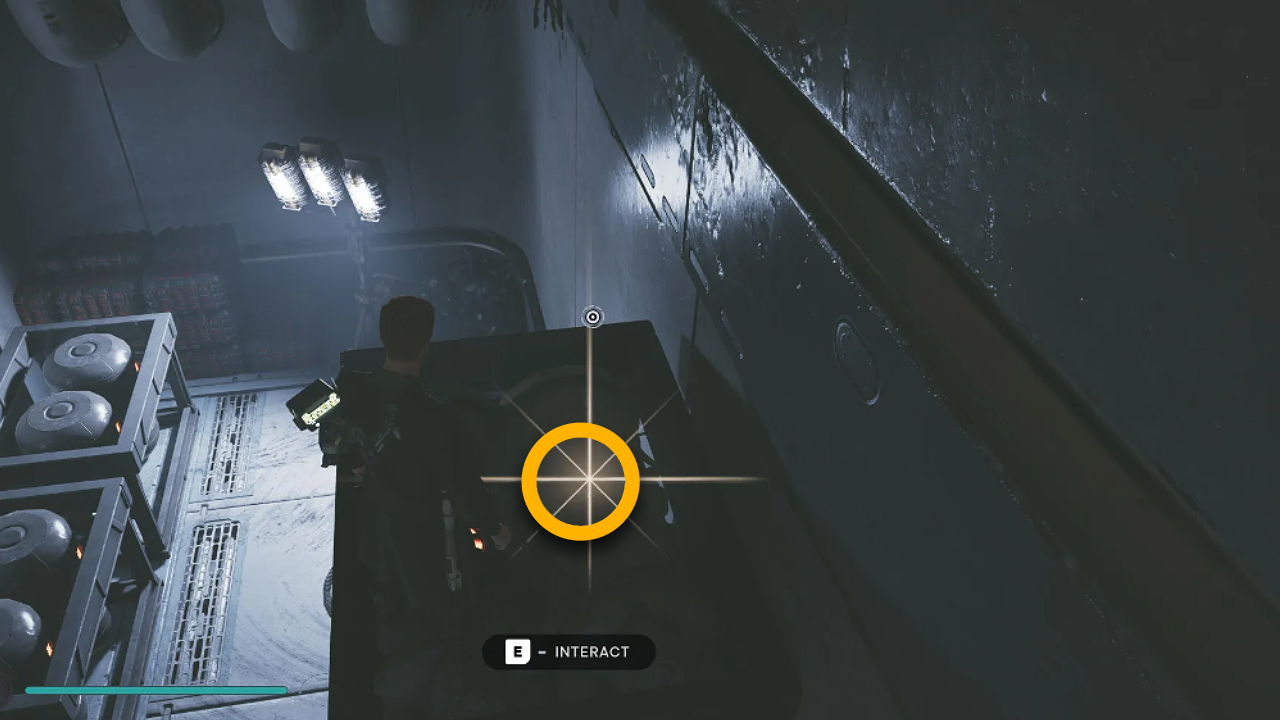
You need to follow the main path until you reach the upward slopes area to get the fourth Datadisc of this area. There you will find sparks traveling back. Look for the Podium and climb it until you reach the midpoint of it. There you will find the Datadisc and a battle droid.
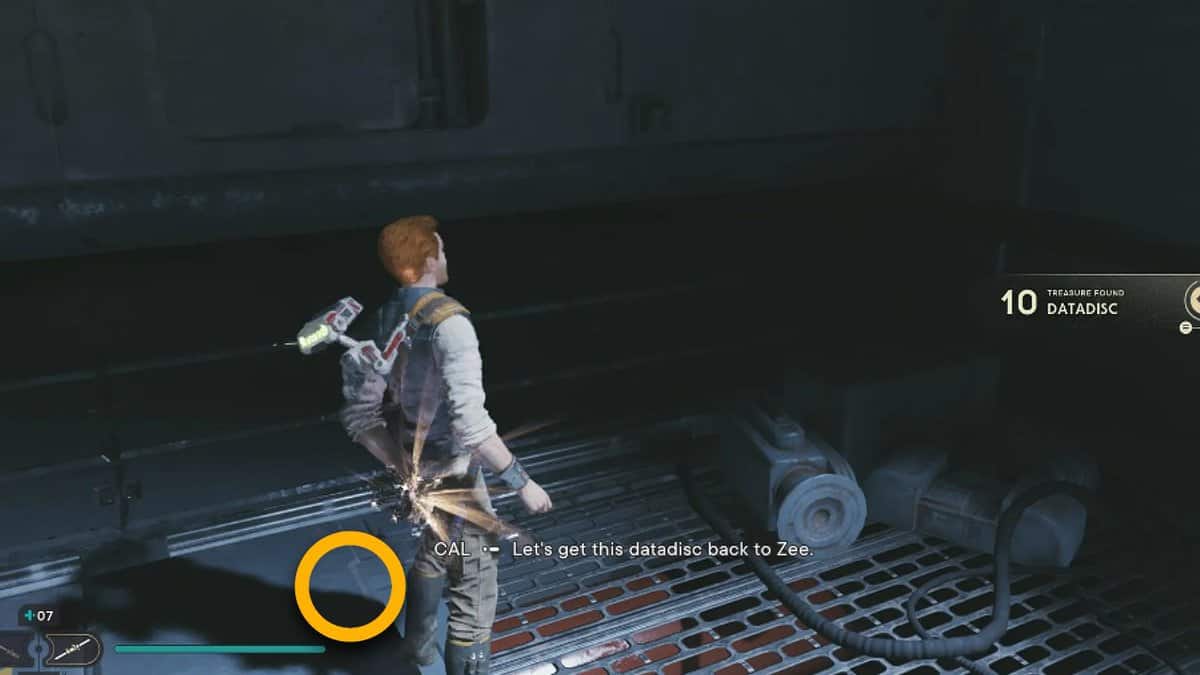
Datadisc #5
For the last Datadisc of this area, you need to fight off several enemies, including a scavenger droid and 3 BX droids. You can find them running at the end of the Electricity area.
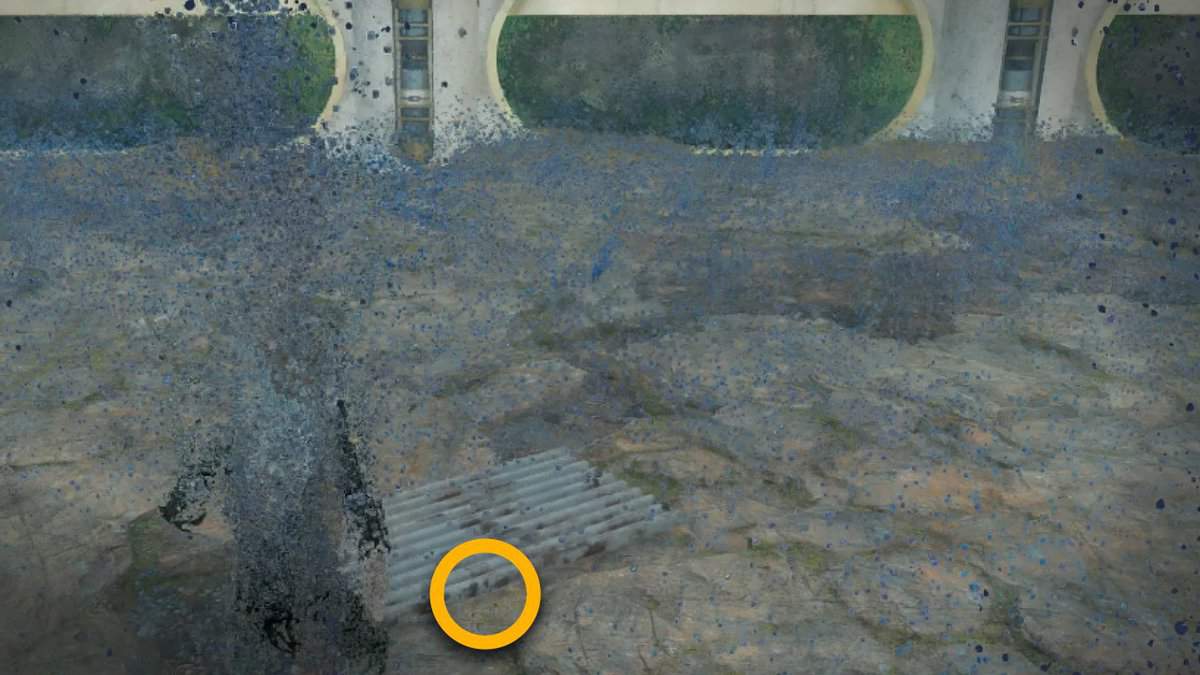
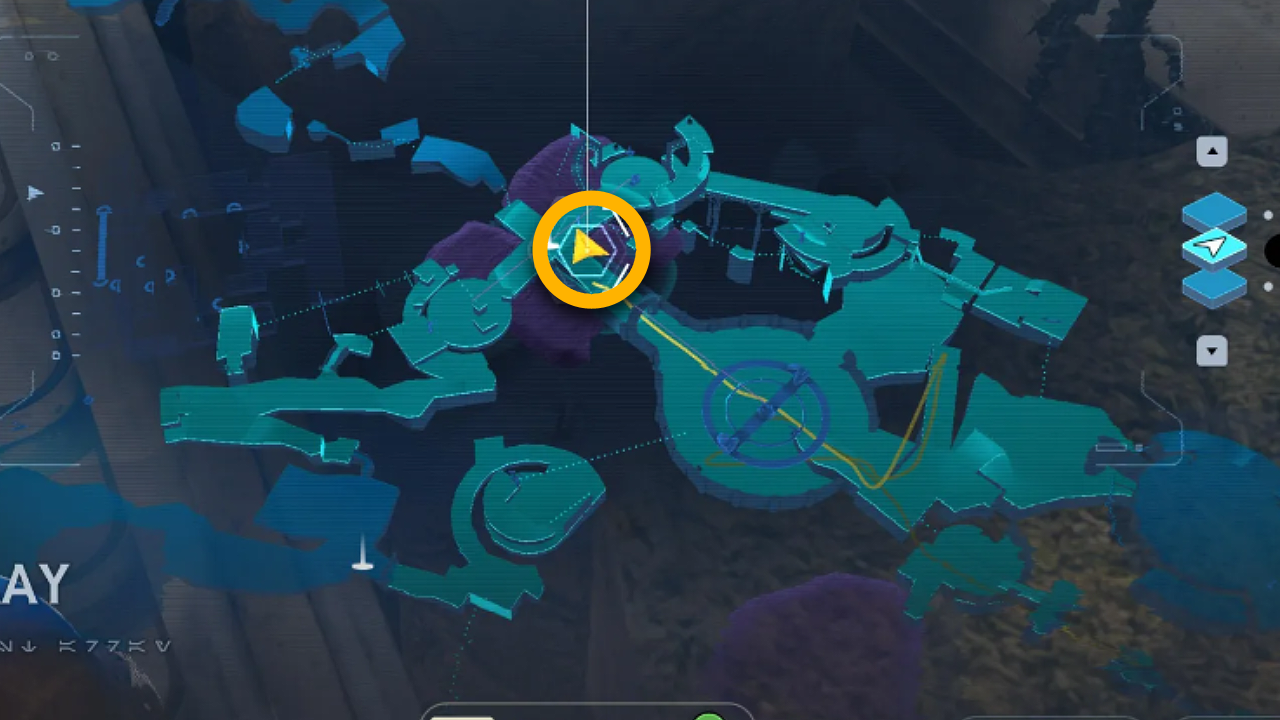
Array Channel
Datadisc #1
You can find one Datadisc in this part of the area. You need to move toward the lowest part of the vertical section to get the disc. This section also contains electricity across it is easy to identify.
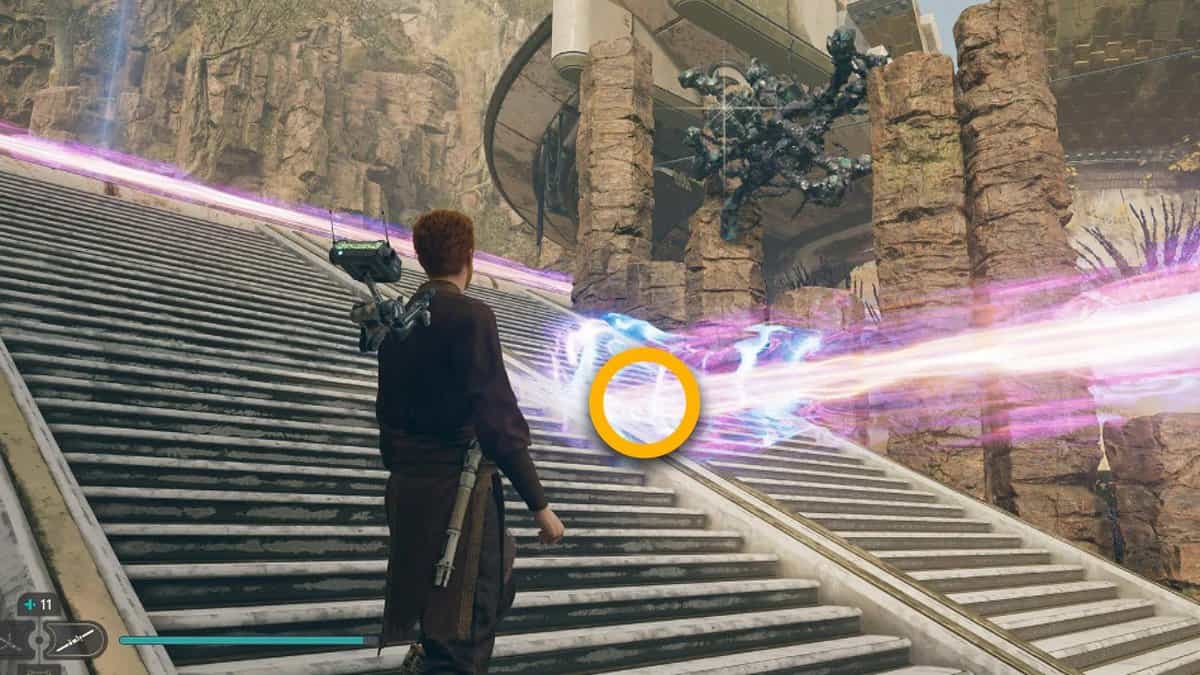
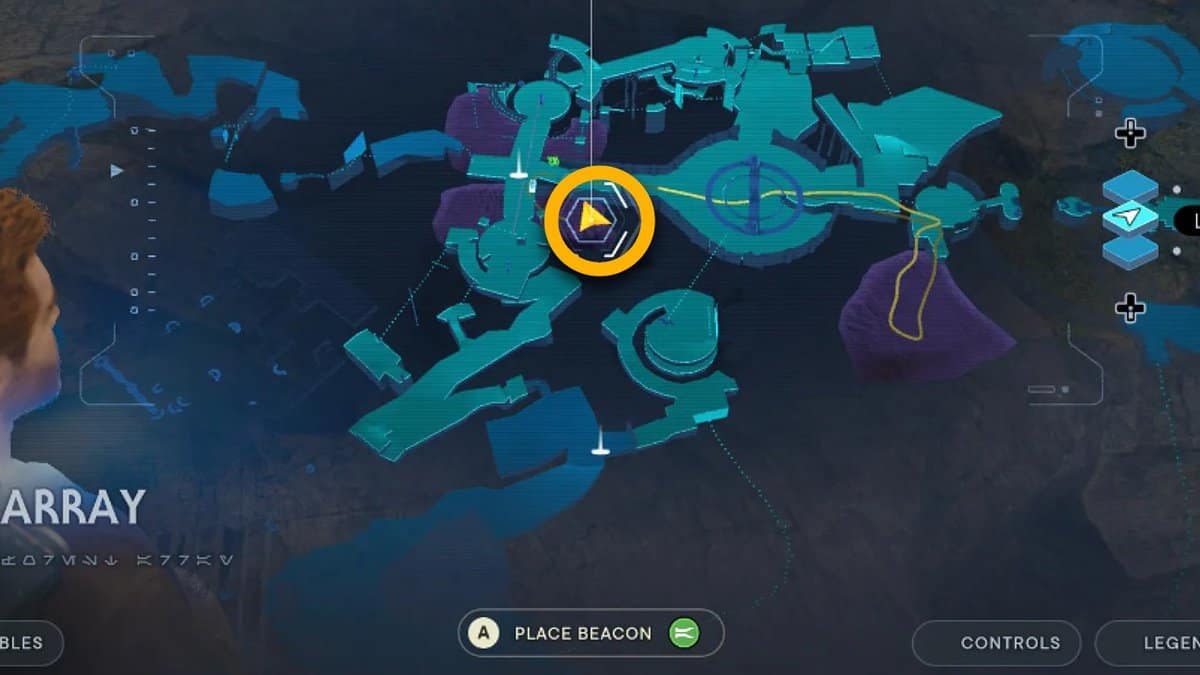
Republic Research Laboratory
Datadisc #1
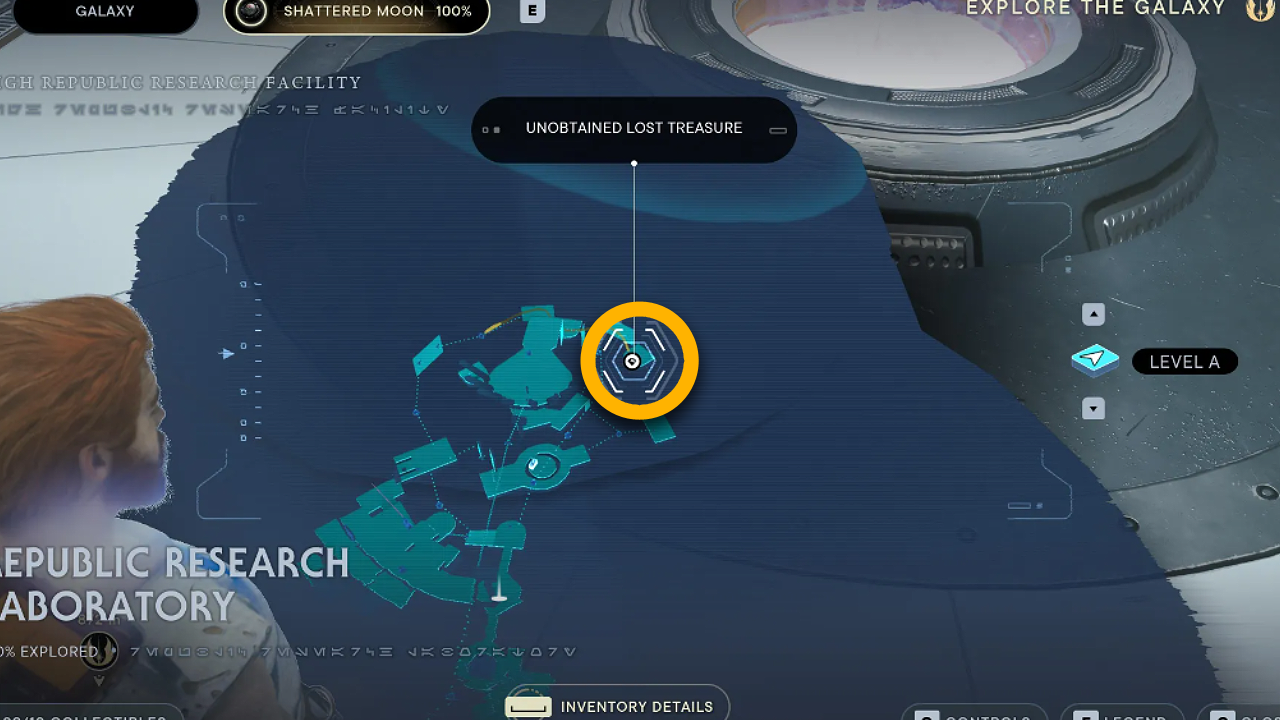
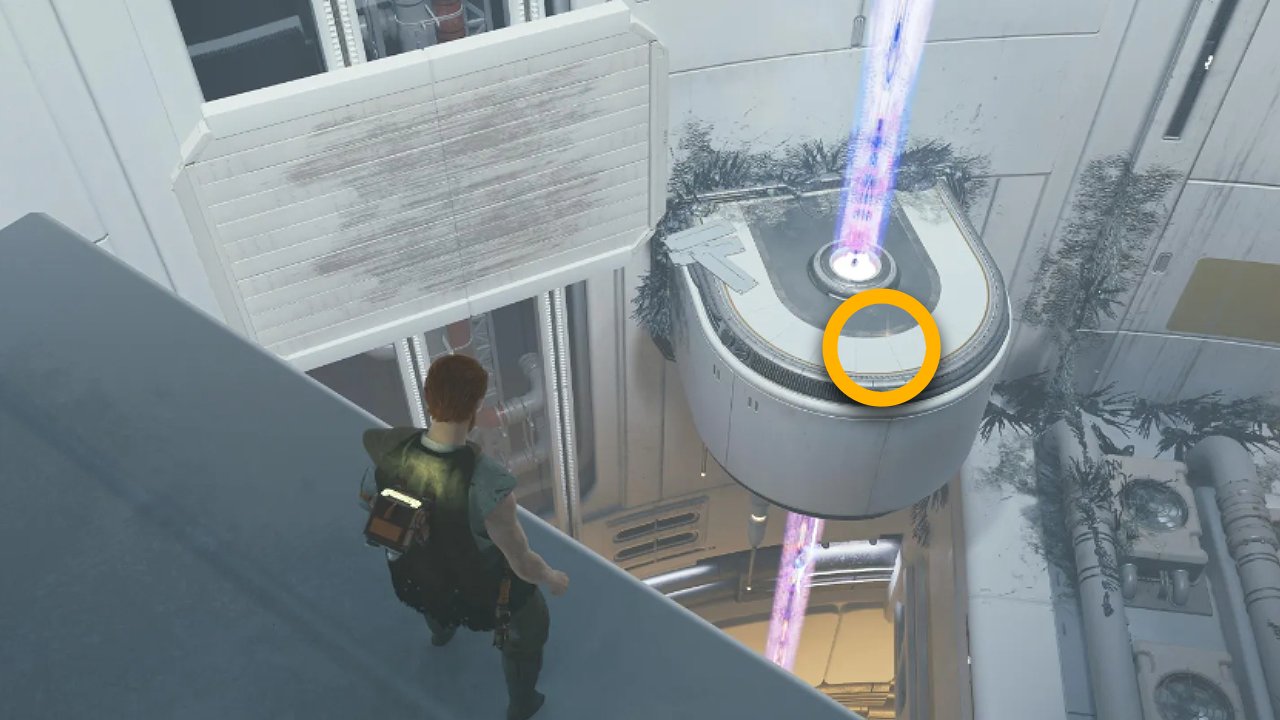
Reach the semi-circle segments to find the Datadisc. These segments have Vertical Beams passing through them, so you have to jump on the platform. There you will find the disc.