In this It Takes Two The Tree walkthrough, we’ll be taking you through the second chapter of the game, showcasing all the puzzles, minigames and boss fights that you will come across in this co-op adventure.
It Takes Two The Tree
As mentioned before, The Tree is the 2nd chapter of It Takes Two, taking place once you escape The Shed and defeat the Toolbox boss.
Fresh Air
Once you’re outside the shed, you’ll see a tree in your path. Cody and May will have a little trouble reaching the tree, but Dr. Hakim will show up to save the day.
He’ll show you how you can swing across using a rope. Press RB when the prompt comes up to reach the tree. Go down the path of the tree, grappling from one hook to another.
You’ll eventually find some bouncy mushrooms on the tree. If you bounce off these mushrooms, you’ll be able to start going upwards using the hooks.
When you reach the end of this path, you’ll notice a red bar hanging from above. Pull down this bar by jumping up and grabbing it. Doing so will uncover a secret entrance that will take you inside the tree.
After the cutscene ends, Cody is given a sap gun and the squirrels will give May a rocket launcher.
Captured
After another cutscene, you’ll find out that Cody and May have been separated. Use Cody’s sap gun to shoot the yellow cargo piece hanging from above. This will open up the door.
Go through the door and then go down the slide. Now, use May’s rocket launcher to shoot the target near the room and go through the door.
You’ll see a door made out of sticks at the base of the slide. Shoot at these sticks using Cody’s sap gun and then shoot at the sap using May’s rocket launcher to blow up the door.
Once you’re inside, you can do some weapon training if you want. If you don’t want to, you can continue moving forward.
Open up the doors in your path by shooting the targets using May’s rocket launcher. Once you get to the yellow bridge, bring it down using Cody’s sap gun. After crossing the bridge, start shooting the yellow circle above you (on the side closet) until it leans towards you.
Now, stand on the edge of the bridge and blow up the sap on it. This will cause the bridge to rise up, allowing you to get on top of the yellow circle.
If you use the rocket launcher to shoot at the target, the circle will be raised up and you’ll be able to proceed forward. Once you reach the top, you’ll find a bridge covered in moss. Blow up the moss using your sap + rocket launcher combo.
Destroy the door in your path and keep moving forward. You’ll find a cage hanging in the next room. Inside the cage will be a yellow wall which you need to load up with saps to make the cage fall down.
When it falls down, get Cody and May to enter the cage and then shoot the sap to make the cage go up. Once you reach the top, exit the cage and keep it there using sap.
Get on top of the cage and shoot it with the rocket launcher to make it go up again. This will allow you to keep moving up and forward.
To the right, you’ll see some yellow cargo with a hook under it. Shoot it with the sap gun and then grapple onto the hook. Once you’re hooked in, shoot the sap to make the cargo go up.
You’ll then be able to jump onto the platform above and then onto the red can. As you start sliding down, use May to shoot the target under the red can to start spinning it.
Cody will then be able to jump across to the hanging can, which will allow him to open up the door. Once you go through the door, you’ll find three yellow X, a yellow box and two sewer lids hanging from above.
Get May to stand on the sewer lid to the right and have Cody shoot the yellow box hanging to the far right. Doing so will raise May up, allowing her to jump to the yellow Xs.
Use the sap gun to rotate the yellow Xs counter-clockwise by shooting the fragments of the yellow X on the left side. As you do this, get May to jump from one X to the other.
When she gets to the end, get Cody to stand on the sewer lid on the far left and then use May’s rocket launcher to shoot the target. This will raise Cody up, allowing both Cody and May to continue moving forward.
There will be a quick torture minigame that you can attempt if you want to. If you don’t, you can proceed forward.
GO down the path in front of the torture chamber until you find the yellow circle with red hinges. Shoot sap into the yellow gaps between the red hinges and then shoot the sap to blow up the lid.
Go down below and keep moving forward until you find yellow pieces of wood hanging. These wood pieces look exactly like flags.
When you shoot the first flag using the sap gun, a tiny train cart will slide down towards you. Get Cody and May to hop in and start shooting the flags with sap and then with the rocket launcher as you’re going down the tracks.
After going through the door, you’ll start combat for the first time in the tree. You’ll get attacked by some wasps. Dodge the wasps and then blow them up with the sap + rocket launcher combo.
After killing all five wasps, continue into the next room. In this room, you’ll find two tin containers which have small yellow cages below them. Shoot sap into the containers and then climb on top of the first one.
Shoot the sap on the first one to get blow up the lid. As Cody was standing on this lid, he’ll be shot up. Get Cody to land on the other tin and then blow that one up too.
Cody will then be able to land on the other side, where he’ll encounter a bridge covered in moss. Blow up the moss to make the bridge fall down, allowing May to cross the bridge so she can be reunited with Cody.
Now, shoot the target through the gate with May’s weapon to be able to proceed forward.
Keep going down this path and then start climbing up by jumping from one wall to the other. You’ll notice a soccer ball at the top, but leave it be for now.
Back to Captured
A minigame called ‘Tug of War’ will start at this point. After beating the minigame, destroy the door made of sticks in your path and then hop onto the rails ahead.
Ride them until your reach the end of the path. Once there, blow up the door and enter the room.
In this room, shoot the yellow wood to the far left above using the sap gun. This will unlock the vault door. Wasps will come out of the vault and you’ll need to take them down.
Then, shoot the vault wheel using sap to unlock the second lock. The Shield Wasp will come out. This will be your first boss fight of the tree.
Deeply Rooted
After defeating the Shield Wasp, hug the wall to the left and go down the path. Takedown the larvae in your path using your sap + rocket launcher combo and then go through the tunnels until you reach the area with the chandeliers.
Get to the other side by grappling from hone took to the other. Blow up the yellow bottle near you and then take out the wasps. At this point, the second boss fight of the tree will begin which will be against the Mortar Wasp.
After taking down the Mortar Wasp, get on top of the two bottles that you took down and shoot the drawbridge with sap. When it falls, jump onto it and then blow up the last yellow bottle to proceed.
Move into the next room and insert yourself into the diorama and get your picture taken to unlock an achievement.
After getting the achievement, head into the area that’s behind the camera. This will lead you to an arena where you’ll encounter multiple wasps that will take the form of a hammer and try to smash you guys.
Start blowing up these wasps. Eventually, they’ll break the floor under you and you’ll fall down onto a tree slide. As you’re sliding down, your path will be blocked by walls of wasps.
You can simply jump over the small walls, but you have to blow up the larger walls. When you reach the end of the slide, you’ll be greeted by a huge swarm of wasps.
Blow up these wasps to proceed to the next area. After the cutscene ends, use Cody to steer the wooden lid and shoot sap in the direction opposite to you to move forward.
There will be explosive larvae falling from above as you’re floating down the river, so you’ll have to use May’s weapon to get rid of them.
When you arrive at the metal wall at the end, shoot the target to the right and continue floating down the river. Evade the wasp tornadoes until you reach the end.
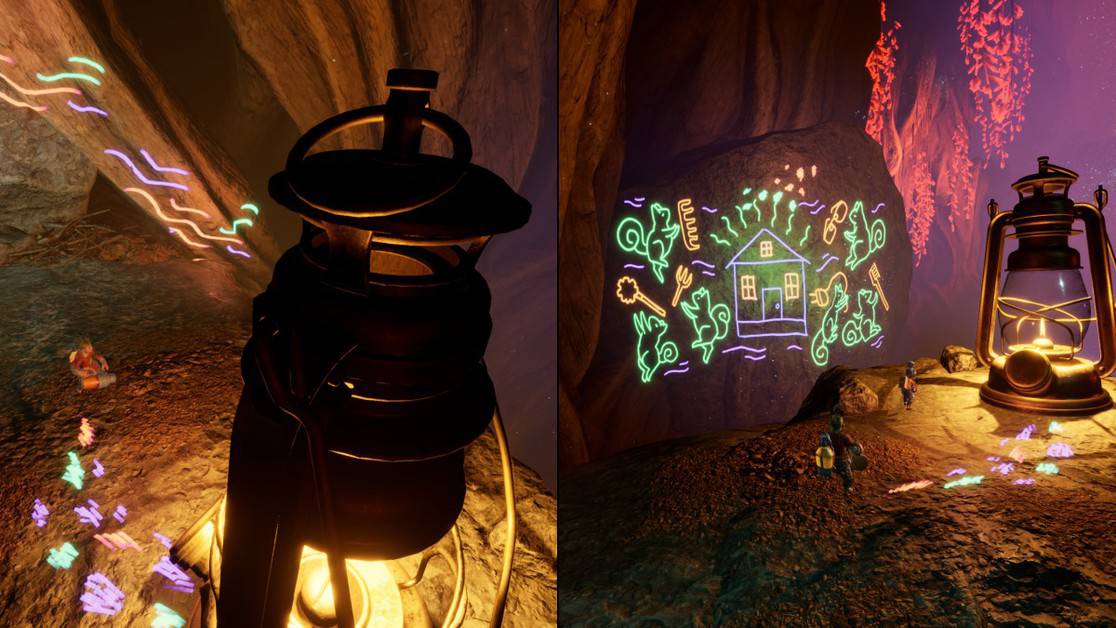
After the cutscene, help the couple float down the river by using the sap gun. When you reach the lantern, fill it up with sap through the hole at the bottom and then blow it up.
Some big blue jellyfish will show up. You’ll have to jump from one jellyfish to another to get to the other side. Once you get there, light up the lantern and go along the trail of green mushrooms. They will take you inside a cave tunnel.
After reaching the third lantern, look down and go down the path of rocks. They’ll lead you to a blue ball of light that you have to jump into. While you’re in the ball, press A/X to be launched into the next ball.
Keep doing this until you reach the white light at the top. From there, fall down and land on the floating fish below. You’ll start floating now and once you reach the next area, a minigame called ‘Plunger Dunger’ will start.
After you complete the minigame, proceed forward until you reach the bridge. Go across the bridge and get onto the circular wooden structure using the blue ball of light at the end of the bridge.
This circular structure will take you up, but you’ll be attacked by wasps as you’re rising. After defeating these wasps, a cutscene will begin. Once the cutscene ends, a boss fight will begin where you’ll be fighting the Giant Beetle.
Once you’ve taken down the Giant Beetle, it’ll actually become your ally. Jump on top of the beetle and start moving forward.
You have to dodge the obstacles in your path and shoot the larvae falling down while on the beetle. Once you reach the end of the path, the beetle will toss you into the wasp hive that you wanted to get into.
Once you’re inside, another boss fight will begin where you’ll be fighting the Wasp Queen. Once the Wasp Queen goes down, a long cutscene will play, after which Cody and May will try to make their great escape on a plane.
Cody’s in charge of steering the plane while May is in charge of the weaponry (just like on the beetle). Shoot down the turrets in the tunnel and moss circles as you fly through.
Once you’re out of the tunnel, you’ll get ambushed by Chief Squirrel. Since Cody is still flying the plane, it’ll be up to May to stop him.
This fight will take place in a Street Fighter style of combat. You can punch him by pressing Y and kick him by pressing X. It’s a really straightforward fight. After taking him down, steer the plane towards the house to finally complete the tree in It Takes Two.