Tuning in Forza Horizon is integral if you want to stand out in multiplayer and compete with other professionals. In this guide, we will get you up to speed with all the options available in the Forza Horizon 5 Tuning menu.
Forza Horizon 5 Tuning
In Forza Horizon 5, there are many pre-made tuned builds, that can be downloaded. However, if you want to get the most out of your vehicle, you should learn how to tune it yourself.
Our guide on Forza Horizon 5 Tuning goes over the different options and which aspect of your car improves in correspondence with the different available options.
Modifying your vehicle can really help you climb the leaderboards through the racing world. It doesn’t matter if it’s a Drift Zone or a race with your friends, with the right parts, you can conquer the racing track!
So, without further ado, let’s begin!
Locked Options
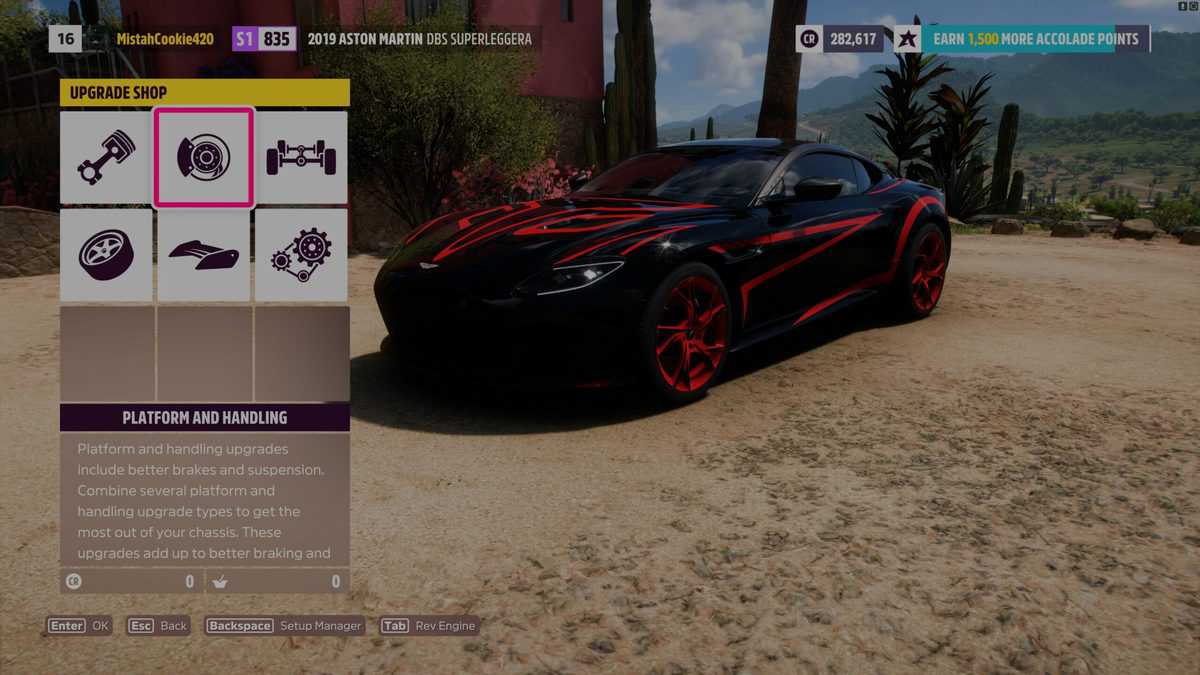
While going over the Forza Horizon 5 Tuning menu, you’ll find that some options are locked due to the corresponding updates not being installed.
You can head to the upgrades windows and find all the relevant upgrades in the yellow box.
Understeer and Oversteer
Understeer and oversteer are two very important terms in FH 5 that you should know about.
Understeer means that the car is not turning as much as you want it to whereas the oversteer is the complete opposite of it, meaning that the car is turning more than you want it to.
Tuning aims to rectify the respective problems, caused by both Understeer and Oversteer.
Differential
Differential controls how much power goes to either the left or the right wheel. A front-wheel-drive car only has a front differential whereas a rear-wheel-drive car only has a rear differential.
As for an all-wheel-drive car, it has all three of the front, rear, and center differentials.
If your differential is entirely locked, the tire of your car, that is in the air, as well as those on the ground will move at the same rate, whereas for the maximum differential, the tires in contact with the ground will spin at a greater rate.
Ideally, you want your inside tires to rotate much slower as compared to the outside tires.
Now, coming to the particular settings of the differential, let’s first go over the rear differential.
Rear differential plays a vital role in the balance of understeer and oversteer. Generally, for the rear differential, you’d want a higher acceleration, ideally between 50-90%; for a high-powered car, you can go much closer to the upper extremity.
Now, coming to the front differential, you’d want its acceleration to be somewhere between 10-50%. For track builds, stay closer to the lower extreme whereas for the rally, go closer to the upper extremity.
For the deceleration setting of both the front and rear differentials, just keep them lower compared to the respective accelerations. The exact value depends upon your personal preference.
As for the center differential, it controls how much power goes to the front and back wheel of the car. Ideally, you’d want it between 50-80%. Keep the rally builds closer to 50% and the track builds closer to 80%.
Brakes
For brake tuning, we have brake balance and brake pressure.
As for the brake balance, a value that is more towards the front means that there is more rear braking force and vice versa. On the other hand, brake pressure calculates how quicker is the locking or the ABS engagement.
We recommend keeping these settings at their base level.
Aero
Aero is adjusted by front splitters and rear wings. Aero is fairly important for cars below B class but can be extremely significant on higher class vehicles.
Keep both the front and rear downforce at base level and make an adjustment only if it suits the specific build you’re using.
Generally, if both front and rear downforce are high, you get more grip, hot tires, and less top speed. If the front downforce is high, you are aided in oversteer. And if the rear downforce is high, you are aided in understeer.
Damping
Damping is defined by rebound stiffness and bump stiffness. It controls how your vehicle responds to imperfect road conditions, bumps, and weight shifts.
Make sure that your overall bump stiffness is between 50-75% of your rebound stiffness.
Springs
Here, you can adjust your spring stiffness and ride height. Drop your front spring stiffness a bit and keep your rear spring stiffness at the base level, only making the adjustments if your build requires it.
As for the ride height, drop it down so that it is only two notches above the minimum.
Antiroll Bars
Antiroll Bars (ARBs) affect body roll. For the front antiroll bars, set the value to 25% of the total whereas for the rear antiroll bars, set the value to around 75%.
Alignment
Alignment is concerned with the camber, toe, and front caster.
Speaking of camber, it adjusts the vertical angle of your car’s wheels when faced head-on. The negative camber means that the top of the wheels will be pointing inwards and the positive camber means the opposite.
Bump camber down a few notches in both front and rear.
Now, coming to the toe, it adjusts the horizontal angle of your car’s wheels. When the toe is Out, it means that the wheels are pointing outwards and vice versa.
Move front toe by 0.2 degrees towards OUT and the rear toe 0.2 degrees towards IN. You can choose to experiment with the values how you will and see what works for you best.
As for Front Caster, it adjusts the vertical angle of your suspension when facing the side of the car. A lower caster angle means that the suspension is more straight up and down while whereas the higher caster angle rotates the steering axis towards the back of the car.
Gearing
For gearing, you’d want to continue with the base settings, except moving the final drive more towards speed, so that its value is around 2.90.
Tires
When it comes to tires, you need to handle the tire pressure appropriately. Generally, you’d want the tire pressure to be between 26-35 PSI for racing.
Running a Test Drive
Now that you have made some fine adjustments to the tune menu, it is time to go out on the road and run a test drive.
Let’s start with understeer and oversteer. These can occur in three places, namely corner entry, mid-corner, and corner exit.
All-wheel drive and front-wheel drive cars are much more likely to understeer whereas rear-wheel-drive cars are more likely to oversteer.
First off, check your car’s behavior at a corner entry. If it feels like that the car just doesn’t want to turn in the corners, that’s corner entry understeer.
Accordingly, adjust the tire pressure, ramp up the toe out, front downforce, and front bump, and ramp down front springs / ARBs, differential decel lock, and front rebound.
Mid corner understeer occurs when your car is unable to fully straighten back after turning in a corner.
Accordingly, ramp up the rear ARBs/spring rate, front downforce, and rear rebound/bump, and adjust the tire pressure/camber/caster.
Finally, talking about corner exit understeer, you can tune it by increasing center differential rear bias and rear acceleration lock, and decreasing front acceleration lock.
If problems occur at corner entry, mid-corner, and corner exit with oversteer, just do the opposite of what you did with understeer.
Now, let’s go over the responsiveness of the car. If you notice that your car is turning well when you have enough time to set up for a corner but it over or understeers from a right or a left bend, for instance, that is mostly all in damping or ARBs.
If your car gets thrown off easily when hitting a curve, try lowering down your bump stiffness.
Furthermore, if your tires are not getting hot enough, increase downforce or try using the toe. Additionally, if the car is too bouncy, increase bump damping and spring stiffness.