This Final Fantasy 7 Remake walkthrough will cover Chapter 14: In Search of Hope. This is the 14th story mission of the game that becomes unlocked upon completing A Broken World.
We will go over all the objectives and side objectives that you will have to do in FF7 Remake Chapter 14 as well as the collectibles that you can find when exploring each area.
Final Fantasy 7 Remake Chapter 14: In Search of Hope
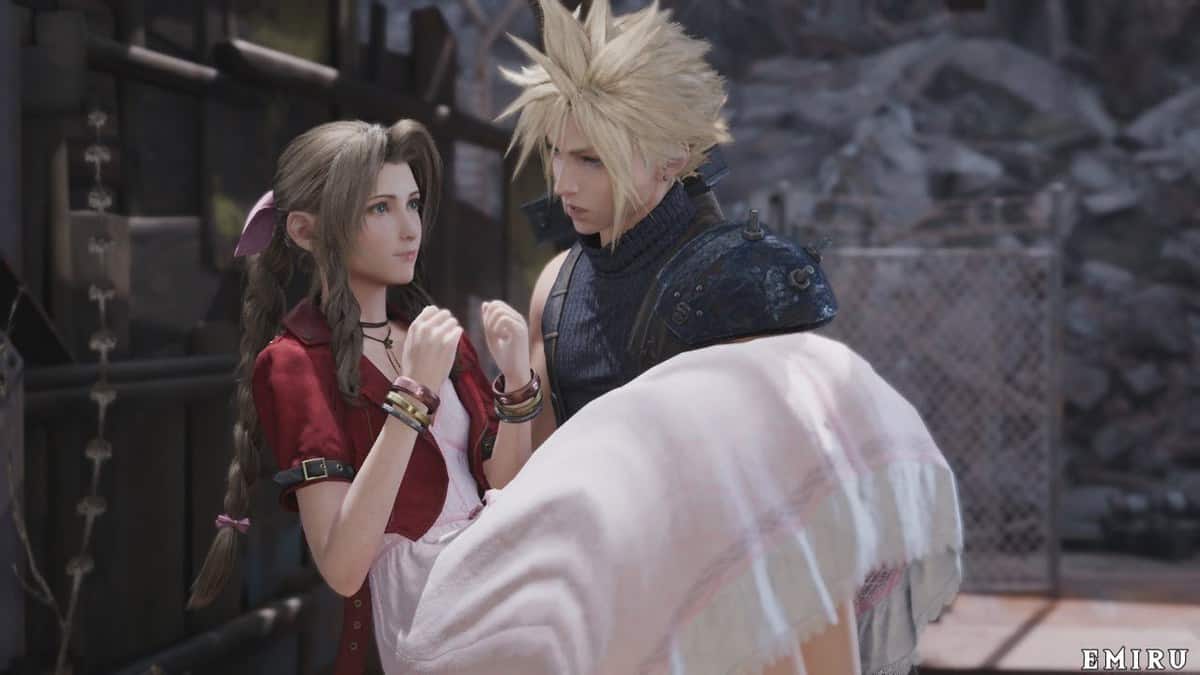
You start off at Aerith’s house. After the cutscene ends, Cloud will wake up in the middle of the night because of some strange noises coming from outside.
Step out and head downstairs to exit the house the head to the left path across the wooden bridge. You will spot someone standing there so go talk to them.
The character standing there depends on your previous choices. In our playthrough it was Tifa. She grieves about everything the group has lost and Cloud comforts her with a hug.
Explore the Town
The following morning the group will set out to reach and rescue Aerith. You can pick up a Pedometer Materia from in front of the house as you leave.
Once you head into town, you will find a girl named Kyrie misinforming the citizens about the incident with the reactor.
This riles up your group so Barret comforts Tifa and she informs him that getting angry won’t solve anything. The game now prompts you that there are odd jobs available in which you can help certain citizens with something.
Odd Jobs: Missing Children (Sector 5 Slums Area – Center District)
If you’ve completed the Chapter 8 side quest “Kids on Patrol” then you can do this one. The teacher informs you that the Leaf House kids haven’t returned after they set out on Patrol so you must find them.
You can find Oates in the cemetery just northeast of the Sector 5 Slums. Talk with him and then take down the two Phantoms you encounter.
You can make quick work of them with Fire magic and melee attacks. Once they’ve been defeated, the kids will reward you with the Time Materia and restore your HP/MP.
Odd Jobs: Chocobo Search (Sector 5 Slums Area – Center District)
Sam will request Cloud to find three chocobos as he needs to them for the delivery service. You can lure them with the three Gysahl Greens that Sam gives you since you can feed them to the chocobos.
You can find the first chocobo by heading north past the cemetery to the top of the Nuts N’ Bolts Hills area. You will have to fight off a Rust Drake before you can feed it.
Tackle this fight by using Barret’s machine gun and your most powerful spells. Take it down and then feed the greens to the to send it home.
The second chocobo can be found on the path north of the train station in Sanctuary Way. You can give it the greens with no issue.
The third one will require you to fight again. Head to the collapsed expressway in the Sector 6 Slums and enter the Old Bypass section.
You will have to take down 3 Trypapolis. They don’t do much damage to you but they take a while to take down because of their tough exterior. Once they’re defeated, feed the green to the last chocobo and send it home.
Head back to Sam and he will give you the Sam’s Delivery Lifetime Pass so that you can fast travel via free chocobo.
Odd Jobs: Malicious Goons (Sector 6 Slums – Wall Market)
Head over to Madam M and she will inform you that Corneo’s goons are at Aerith’s house and Wedge and Marlene may be in danger.
Head over there ASAP and confront the goons. You will have to fight a Tonberry but this fight is no trouble at all. Just hit him with a few physical attacks and he will be taken down.
He will drop an Elixir that you can collect and both your HP and MP will be restored but other than that there is no reward for doing this.
Odd Jobs: Wavering Heart (Sector 6 Slums – Wall Market)
Tifa will enter a pull-up contest against Andrea. You will have to match the button pressing in the required ordered.
Initially, you’ll be doing it much slower but then you’ll gradually build up to a faster pace. Keep up for all the rounds and you will win the contest. This will reward you with the Way of the Fist Vol. III that grants Tifa some SP.
Odd Jobs: The Power of Music (Sector 6 Slums – Wall Market)
Betty wants discs for her jukebox so look for them in the Wall Market.
- The first disc is titled ‘Good Night, Until Tomorrow’, and can be found at the hotel by talking to the guy by the receptionist.
- The second disc, ‘Fight On!’, can be purchased from the Souvenir Shop in the Colosseum for 50 Gil.
- The third and final disc, ‘Stand Up’, is in the possession of a girl in the back alley left of the Honeybee Inn entrance. Talk with her and she’ll give it to you.
Take all 3 back to Betty and play them all on the jukebox. You will be rewarded with the Sharpshooter’s Companion Vol. III and your HP/MP will be restored.
Odd Jobs: Secret Medicine Components (Sector 5 Slums Area – Center District)
The town doctor will task Cloud with finding 3 secret medicine components. Collect the three items on his list. The doctor will give you hints about their locations.
- The Moogle’s Mortar can be purchased from Moggie at the Children’s Secret Hideout for one Moogle Medal.
- The Medicinal Flowers can be found on the ground inside the church in Sector 5.
- The Behemoth Horn is given to you automatically when you defeat the Type-0 Behemoth in the underground lab during “Subterranean Menace”
Bring these to the doctor and he will give you the Telluric Scriptures Vol. III manuscript and restore your HP and MP.
Odd Jobs: Tomboy Bandit (Sector 5 Slums Area – Sector 5 Undercity Station)
Johnny’s wallet has been lifted by Kyrie so you need to get it back for him. Head to the church and speak to her there.
She says she won’t give you the key unless you fight the Hellhound and Beastmaster in the Colosseum in Wall Market. Go there and select ‘Special Match’ from the Gatekeeper.
Hit Beastmaster with your physical attacks and he will be downed in no time. However, the Hellhound requires you to initially attack it with Ice magic and then Cure magic.
Once the red and purple flames have been extinguished, you can start hitting it with your physical attacks. Watch out for its rage attacks that you will have to dodge. You will take it down after a few staggers.
Head back to the church and tell Kyrie. She will give you the Corneo Vault Key and Johnny’s Wallet. Head to Johnny and return the wallet to him.
Corneo’s Mansion
Head to Corneo’s mansion and go through the third door on the upper floor first. You can find a chest down the stairs into the underground area.
It contains an Otherworldly Crystal that you can collect.
Head to Corneo’s office which is the middle door. Head right through the door that takes you downstairs and you will find Kotch stuck on a table at the bottom.
Free him and he will flee but not before dropping a Chakra Materia. Rendezvous with Leslie on the top floor and talk with him to enter the sewers.
Follow Leslie through the Sewers
Leslie will tell you to go up ahead and take care of the enemies blocking the path. You will encounter a bunch of Blugus, Sahagins and Scissorclaws.
When you come to the split in the pathway, you will enter the door marked by a red and gold logo. You will find a chest containing an Ether a little ahead.
Once you get past the circular tunnel, you’ll find yourself in the room from where you drained the water. You’ll rendezvous with Leslie up ahead.
You will encounter a bunch of Scissorclaws so take care of them and then open the door for Leslie to proceed forward. You will find a bench to rest on next to a vending machine containing disc 13; The Chase. Rest up here before following Leslie.
Recovering the Key
A baby Abzu will snatch the door key and run off so you must catch it. Take out the Wererats you encounter and then loot the chest nearby for 2 Hazardous Material.
Go into the next hallway and fight off the Sahagins before following Leslie up the ladder. Cross the bridge and you will find a chest containing 2 Phoenix Down. Loot it and then head to the next area.
You will have to fight a different Abzu Shoat than the one that stole the key. You will encounter a couple more in the next area along with a Blugu. The Blugu can cause your party to fall asleep so take it out before dealing with the Abzu. You can find some Poison Materia in the South-West corner of this room.
Enter the next room and fight off the two Abzu Shoats and Sahagin you encounter. The room next to that contains two Scissorclaws, one Abzu Shoat and a chest containing 2 Mega-Potions.
Go to the next area below you and battle the two Blugu, Scissorclaw and Sahagin. Once they’re dealt with, go through the door and loot the chest to collect an Ether.
Eventually, you will corner the Abzu in a room and have to battle the Mischievous Shoat.
This variant has higher HP than the ones you previously encountered but you should still tackle this fight the same way you did with the others while fight off the Abzu Shoats that it summons into the room. Once you recover the key, exit via the door near Leslie.
When you reach the next room, drain the water in the last area by using the switch. You can find another chest when heading back. Look in the corner before you turn back to the main tunnel.
You can loot it for the Protective Boots. Climb up the ladder in the room with the switch and then follow Leslie to get back to Corneo’s place.
Rest up on the bench before proceeding through the door because it’s time for the main boss fight of Final Fantasy 7 Remake Chapter 14.
Boss Fight: Abzu
A cutscene will play in which Leslie will pull a gun on Don Corneo. He will disarm him and then do his villain monologue in which he explains that Shinra is going to abandon Midgar and build something close to paradise apparently. He then tries to shoot Leslie but the group intervenes.
They are then interrupted by Abzu’s arrival. Get in close and deal a bunch of melee damage while also hitting his skull with Fire attacks such as Firaga.
After you’ve staggered him enough, he will flood the area through the drainage system.
During this phase of the fight, you must watch out for its attack in which it charges at you while also dealing with his minions that will attack you.
Try to stay close to the boss and deal melee damage while your allies hit him with spells and machine gun fire. His close range attacks are often telegraphed so you can dodge them easily.
After staggering him once more, you will have to watch out for his ground slam attack which does a lot of damage. You should counter his melees with Punisher Mode while attacking him with Fire attacks. Keep consistently attacking and eventually you will beat him
Winning this fight will reward you with a tuft of phoenix down.
For the Reunion
Head through the door out of the room and a cutscene will play in which Leslie vows to track down Corneo but the group convinces him otherwise by giving him the locket.
Go through the door with the green symbol on it and then destroy the boxes you find to collect two Hi-potions. Then go back to the room and interact with the ladder to head back to the surface.
Over the Wall
Leslie will give you grappling guns and then inform you that you cannot go back once you proceed from here.
This means that if there’s any business you want to take care of; now would be the time to hop to it. The group parts ways with Leslie from here.
Whenever you feel you’re ready to go, you should head down the path to the end of the Urban Advancement District.
If you’ve tackled all the side quests up to this point, you will come across letter from the Guardian Angel on the ground. Picking it up also grants you an Elemental Materia, along with the Divine Gratitude tropy.
End the chapter by going to the end of the path and telling Barret you’re ready to proceed. This will wrap up Chapter 14: In Search of Hope in the Final Fantasy VII Remake.
You will now start FF7 Remake Chapter 15: The Day Midgar Stood Still.