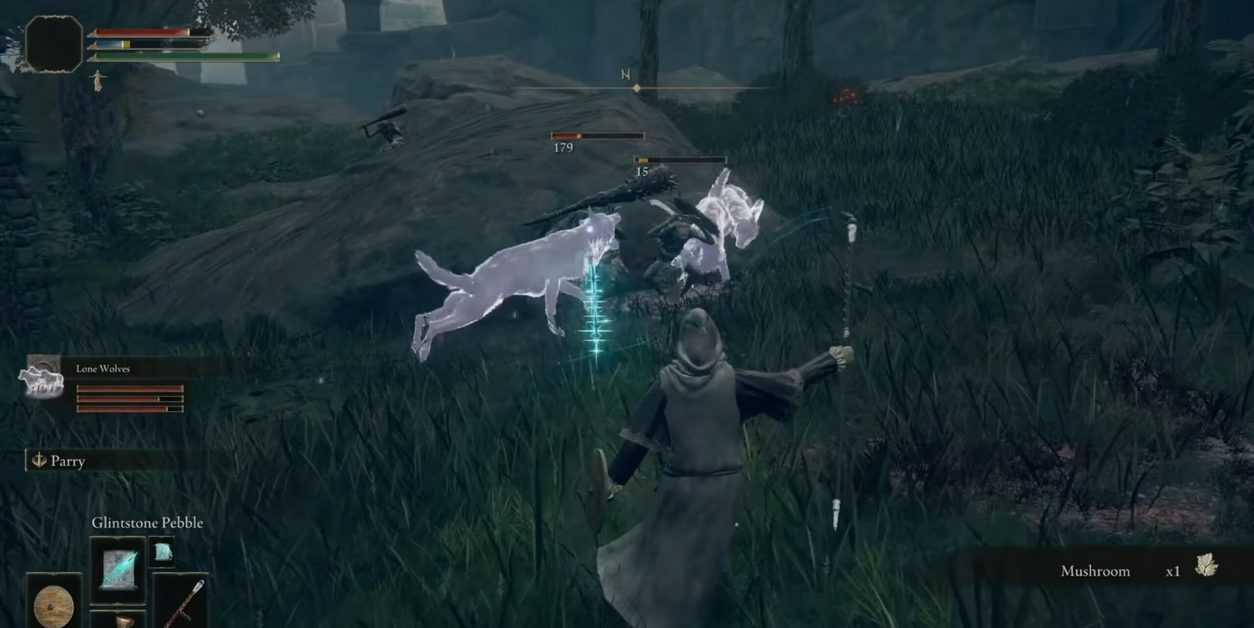
In this Elden Ring Sellia Crystal Tunnel Walkthrough, we will tell you each and everything related to the Sellia Crystal Tunnel in Elden Ring including its location, the enemies and how to get out of the tunnel if you get stuck in it.
How to Get to Sellia Crystal Tunnel in Elden Ring
Sellia Crystal Tunnel is in Caelid, a bit north of Sellia, Town of Sorcery and can be accessed either by opening the chest in Dragon-Burnt Ruins in Lake Agheel, Limgrave or by exploring the Caelid region and finding this tunnel.
The Chest at the Dragon-Burnt Ruins is a bit of a trap and will transport you to a really oppressive dungeon and area for an early level Tarnished.
If transported this way, you’d want to sneak out downwards towards the site of grace as fast as you can. If you’re brave, you can grab some of the items we mention in this walkthrough first before you leave.
Already in Caelid? From this region, you can travel to Sellia Crystal Tunnel by traveling diagonally northwest from Sellia, Town of Sorcery. The cave’s entrance is hidden in the cliff facing Sellia’s westernmost walls but can be found if you look for a Brazier.
Entrance will be right next to the Brazier. You’ll emerge into a cave with a Site of Grace after passing through a brief tunnel.
In Sellia Crystal Tunnel, you will encounter Digger, Lesser Kindred of Rot, Prawn Miner and Fallingstar Beast Boss.
The notable loot that you will come across in Sellia Crystal Tunnel includes many regular and Somber Smithing Stones, the Faithful Canvas Talisman and the Sombertone Ball bearing.
Elden Ring Sellia Crystal Tunnel Walkthrough
You would find yourself in a storage shed if you got here through the Dragon-burnt ruins. But if you have come here by naturally exploring Caelid, then you will find yourself near the Site of Grace.
This area is full of Cracked Crystal deposits, Smithing Stones and Golden Runes. There are dozens of Cracked Crystals, some Smithing Stone (5) found on the left side of the area and a Golden Rune (5) found on a corpse, in a wooden shack down to the left.
Clear out this area first which is full of enemies including Lesser Kindred of Rot, Digger and Prawn Miner. Lesser Kindred of Rot should be your priority as their ranged projectiles are quite deadly.
You will find Crystal Miner and 2 Lesser Kindred of Rot if you head up into a large cave. Keep moving forward on your right and you will reach a shed with a Lesser Kindred of Rot on top of it and a Crystal Miner nearby. There is another Lesser Kindred of Rot on your left and a corpse as well. The corpse will have a Rune Arc on it.
There will be another Crystal Miner right below where you found the corpse. There will be another corpse on top of a shed having Glintstone Scrap x6.
One more Lesser Kindred of Rot can be found overlooking the area from a wooden scaffold up above. Eliminate them first. Now pick up the Cracked Crystals and Smithing Stone (5) along the cave walls.
Once you have eliminated everyone in the area, go to each and every corner of the area to collect the Cracked Crystals, Smithing Stones and Golden Runes.
Jump on the shed, then to the adjacent platform and then drop down. You will encounter a Crystal Digger in the tunnels ahead with a Smithing Stone (5) nearby. Find a ladder and climb it and move around the path to find a Somber Smithing Stone (4) on a corpse. Head north to find a Lesser Kindred of Rot on top of a shed and a digger near the shed.
You will find the Rock Blaster spell inside the shed. There will be a ladder if you move around the shed. Climb it up to find a Golden Rune (4) on a corpse. Eliminate the Crystal Diggers nearby and head west towards a tunnel. You will find a Somber Smithing Stone (4) to the right of the Tunnel’s entrance.
You will be ambushed by a Lesser Kindred of Rot in the tunnel. Pick up the Dragonwound Grease outside the room and a Somber Smithing Stone in the room. Eliminate the two Lesser Kindred of Rot on the platform to the northeast. Collect the Faithful’s Canvas Talisman from a corpse by the wall and Smithing Stone (5) nearby.
Now head down and go through the tunnel to the south. You will see a large gate. Make sure to heal yourself completely before engaging with this gate to trigger the Boss fight.
How to Defeat Fallingstar Beast
Fallingstar Beast is a huge animal that looks like a bull that is covered in Crystals and is extremely difficult to beat. You have to be on move constantly and dodge as the arena is small and he can hit you easily if you stay in one place for longer.
The trick to fighting this monster is to stay on the move as much as possible and strike during its lengthy recovery animations.
An attack you need to watch out for is the head swipe combination. In this, it flails its head around can quickly drain your stamina if you’re blocking them all.
Another notable attack is its charge; The Fallingstar Beast charges thrice and you need to dodge out of the way or be overrun!
To top it all off, the Fallingstar Beast charges up and releases a shockwave into the ground. This is particularly deadly, so you need to either time a jump or be as far away as possible, which is difficult given the small space.
Once you have defeated the mighty Fallingstar Beast, you will get Somberstone Miner’ Bell Bearing, Smithing Stone (7) x5, Somber Smithing Stone (6) and Gravity Stone Chunk x4.
