
Elden Ring has a large variety of weapons with different skills and stats. Each of these weapons can be upgraded to further boost their damage output and overall effectiveness. In this Elden Ring guide, we’ll let you know how you get your weapons to the max level upgrade early in the game
How to Get Early Max Level Weapon in Elden Ring
Getting a weapon to max level in Elden Ring isn’t very easy as it’s locked behind hefty resource costs. These resources are spread far and wide in the Lands Between and are designed to be acquired as you explore more and more of the map.
To get to Max Level early, you’ll first need to know what you need and then get to those resources. Below we’ve outlined the requirements to upgrade your weapons to the max level in Elden Ring.
Elden Ring Weapon Upgrade Material Requirements
Weapons in Elden Ring can be divided into two types, Normal and special. Normal weapons mainly require Smithing stones and Runes whilst Special Weapons require Somber Smithing Stones and Runes.
You need to take the required materials and runes to a blacksmith. You can visit Iji in the Overworld or Hewg at roundtable Hold.
Normal Weapon Material Requirements
Upgrades to normal weapons require Smithing stones. Certain levels require certain types of somber smithing stones. The requirements for specific levels are detailed below.
Smithing Stone [1]: Required to Upgrade a normal weapon for levels 1-3
Smithing Stone [2]: Required to Upgrade a normal weapon for levels 4-6
Smithing Stone [3]: Required to Upgrade a normal weapon for levels 7-9
Smithing Stone [4]: Required to Upgrade a normal weapon for levels 10-12
Smithing Stone [5]: Required to Upgrade a normal weapon for levels 13-15
Smithing Stone [6]: Required to Upgrade a normal weapon for levels 16-18
Smithing Stone [7]: Required to Upgrade a normal weapon for levels 19-21
Smithing Stone [8]: Required to Upgrade a normal weapon for levels 22-24
Ancient Dragon Smithing Stone: Upgrades normal weapons to level 25
You’ll find many of these stones scattered around the early game, especially in the mines in Limgrave. You can also buy smithing stones once you obtain a specific Bell Bearing and Give it to the Twin maiden Husks (more info on this below).
Smithing Stone [1] Locations:
- The players can visit Nomadic Merchant which is found at West Limgrave. You can buy 3x by trading away 200 Runes.
- Players can find 9x stones by approaching Limgrave Tunnels.
- Reach the location that is to the south of Warmaster’s Shack. The stones are hidden inside the core, so lure the trolls and make them swing to break the statue to grab 5x Smithing Stones [1]. You can also grab a Smithing Stone [2] at this point.
Smithing Stone [2] Locations
- Go to South Warmaster’s Shack and break open the statue with trolls to find a Smithing Stone [2].
- Approach the center of Mistwood Ruins and you will find a Smithing Stone [2] in the chest placed right in the center of this location.
Smithing Stone [3] Locations
- Players can find 8x stones by going to Raya Lucaria Crystal Tunnel.
- 3x of the Smithing Stone [2] can be found by approaching the gazebo found southeast of Academy Gate Town Grace. Towards the south a Giant Crayfish can encounter you, so be careful.
Smithing Stone [4] Location:
- Players can find 13 stones by going inside the cave which runs through Ruin-Strewn Peripice.
Smithing Stone [5] Locations
- Approach the Raya Lucaria Academy and reach the end of cut out steps of the Iron Ball trap. You can find the stone on a corpse.
- Moreover, you can find the stone on a body by going to southern part of Wyndham Ruins.
Smithing Stone [6] Location
- 2x stones can be found in Nokstella, Eternal City: One can found at the corner of the base of building on a corpse. The other one can be found at the side of building on a corpse again.
Smithing Stone [7] Location
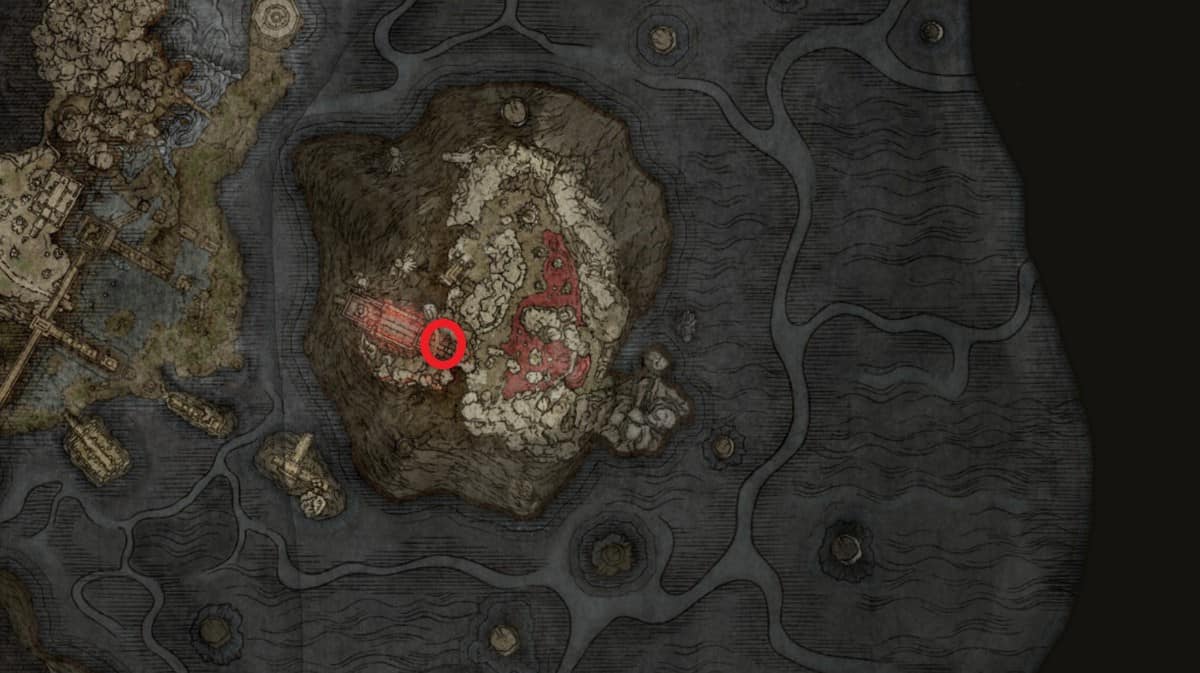
- Approach Sellia Crystal Tunnel and defeat Fallingstar Beast to grab 5 stones.
Smithing Stone [8] Location
- 5 stones can be found by approaching the Consecrated Snowfield: First one can be found on a body found right next to the tree. Second one is on a body found behind the big tree. Third one can be obtained by breaking the statue using Giant Crab found right next to the statue. This statue is at the Cave of Forlorn.
Smithing Stone [9] Location
This stone can be found on a raised platform resting on a corpse in Lake Rot.
Bell Bearing [1] Drop Location
Dropped by the Crystalian Boss which is found when you reach the end of Raya Lucaria Crystal Tunnel.
Bell Bearing [2] Drop Location
This one is inside a chest found in the first hidden chamber of Sealed Tunnel. To approach this location, move past the Site of Grace to get to the western wall. You will find the chest towards the west of the lower section of this place.
Bell Bearing [3] Drop Location
The bell bearing can be found in the Zamor Ruins which are situated in Mountaintops of the Giants area. The chest is placed in a cellar at the tip of these ruins. Now, use Torrent to move south of Zamor Ruins Site of Grace and jump the cliff. Approaching the western cliff, you can obtain this bell bearing secretly moving away from the guard.
Bell Bearing [4] Drop Location
This one can be found by going to Crumbling Farum Azula inside Dragon Temple Area. You need to defeat Godskin Duo, and he will drop the Bell Bearing.
Special Weapon Material Requirement
To upgrade special weapons, one needs to have Somber Smithing Stones instead of regular ones. The upgrade levels of special weapons go up to +10 which appears to be less impressive than a +25 but are in practice better because of the nature of special weapons.
Like the normal Smithing Stones, Somber Smithing Stones have different levels and each of them upgrades the weapons successively.
Somber Smithing Stone [1]: Required to Upgrade a special weapon to level 1
Somber Smithing Stone [2]: Required to Upgrade a special weapon to level 2
Somber Smithing Stone [3]: Required to Upgrade a special weapon to level 3
Somber Smithing Stone [4]: Required to Upgrade a special weapon to level 4
Somber Smithing Stone [5]: Required to Upgrade a special weapon to level 5
Somber Smithing Stone [6]: Required to Upgrade a special weapon to level 6
Somber Smithing Stone [7]: Required to Upgrade a special weapon to level 7
Somber Smithing Stone [8]: Required to Upgrade a special weapon to level 8
Somber Smithing Stone [9]: Required to Upgrade a special weapon to level 9
Somber Ancient Dragon Smithing Stone: This upgrades special weapons to level 10
You can get Somber Smithing Stones from Iji by going on the road that leads to Caria Manor. Iji can serve you as a blacksmith or you can also make your way towards Smith Master Hewg in the Roundtable Hold.
Many enemies in Caria Manor will be dropping these Somber Smithing Stones as well.
How to Get Ancient Dragon Smithing Stone Early
If the players want to get Ancient Dragon Smithing Stone quickly, their best shot is to get it from the Beast Clergyman Gurranq. You can get it by either trading it for 9x Deathroot or by Killing him.
Now, to get 9 Deathroot means you’ll already be in late game areas, so to get one early, you’re left with no choice but to defeat the Clergyman. This locks you out of his questline though so do it at your own risk.
How to Get Somber Ancient Dragon Smithing Stone Early
To get Somber Ancient Dragon Smithing Stone quickly, you need to get to Dynasty Mausoleum Entrance. Once here, move up the stairs to find some zombies. Avoid them by running away from them and keep moving up the gravestones to reach the tunnel entrance.
Enter the tunnel and move towards the site of grace at the other side of the doorway to reach Mohgwyn Dynasty Mausoleum. Here, you can find Somber Ancient Dragon Smithing Stone inside a treasure chest placed next to a statue. There are other locations as well but this is probably the earliest you can get one.