Somewhat Damaged is a main story mission from the Phantom Liberty expansion of Cyberpunk 2077 that is unlocked if you make a specific choice during Firestarter. At the end of Firestarter mission, you have the option to side with Songbird or betray her to Reed. Choosing the option to betray Songbird and side with Reed will start the Somewhat Damaged mission after you defeat Hansen and escape the stadium.
Turns out that Songbird expected you would try to subdue her, but she gets angry, defeats you, and escapes the stadium. Unfortunately, if you decide to side with Reed, it will result in Songbird warning Hansen who ends up killing Alex. So be prepared to lose a comrade if you wish to unlock the Somewhat Damaged mission in Cyberpunk 2077 and the endings that come with it.
Gain access to the sealed-off area
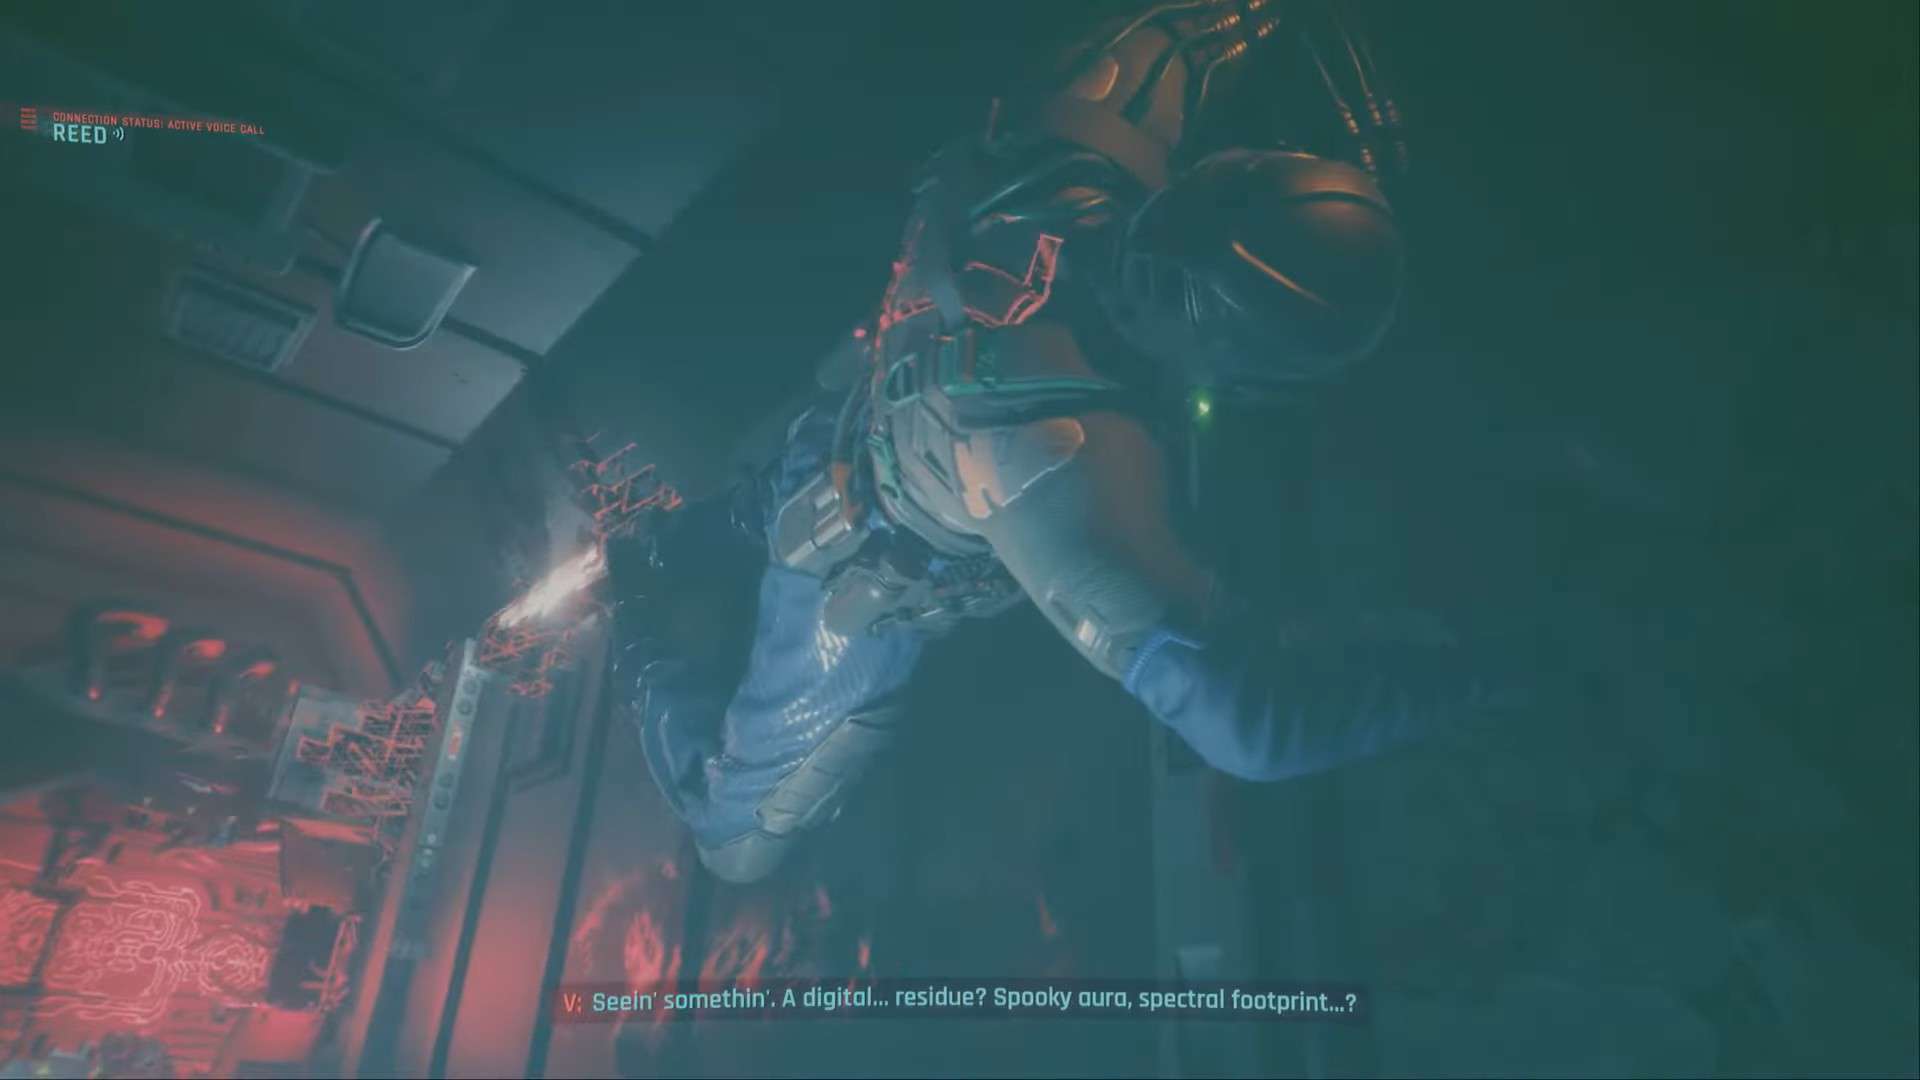
You’ll kick off the Somewhat Damaged mission in Cyberpunk 2077 with a bang, a MaxTac transport truck ends up ramming through a wall, and you have to follow the path toward the crashed truck. Just enter the hole and progress down till you see the truck.
Interact with it once you do for a cutscene to play out with V commenting on the strange digital residue and Reed commenting that’s a Blackwall bleed that can lead you straight to Songbird.
As you follow the Blackwall stains, you will come across a locked door. If your Strength is 20, then you can easily force this as well as the following locked door open within a minute.
If you don’t, then you’ll have to take a little detour. Turn around 180 degrees from the door and look to the ground. You should see an exit hatch that you can open and drop down into. These sections will be underwater but the path is very linear. Simply follow the path till you see a ladder then ascend over the water surface.
After this, follow the path to the end and you will find yourself in another, longer underwater segment. About halfway through, the path opens up and you can follow the light to the left to rise above the water and take a breather if oxygen is low. Or you can keep going straight ahead.
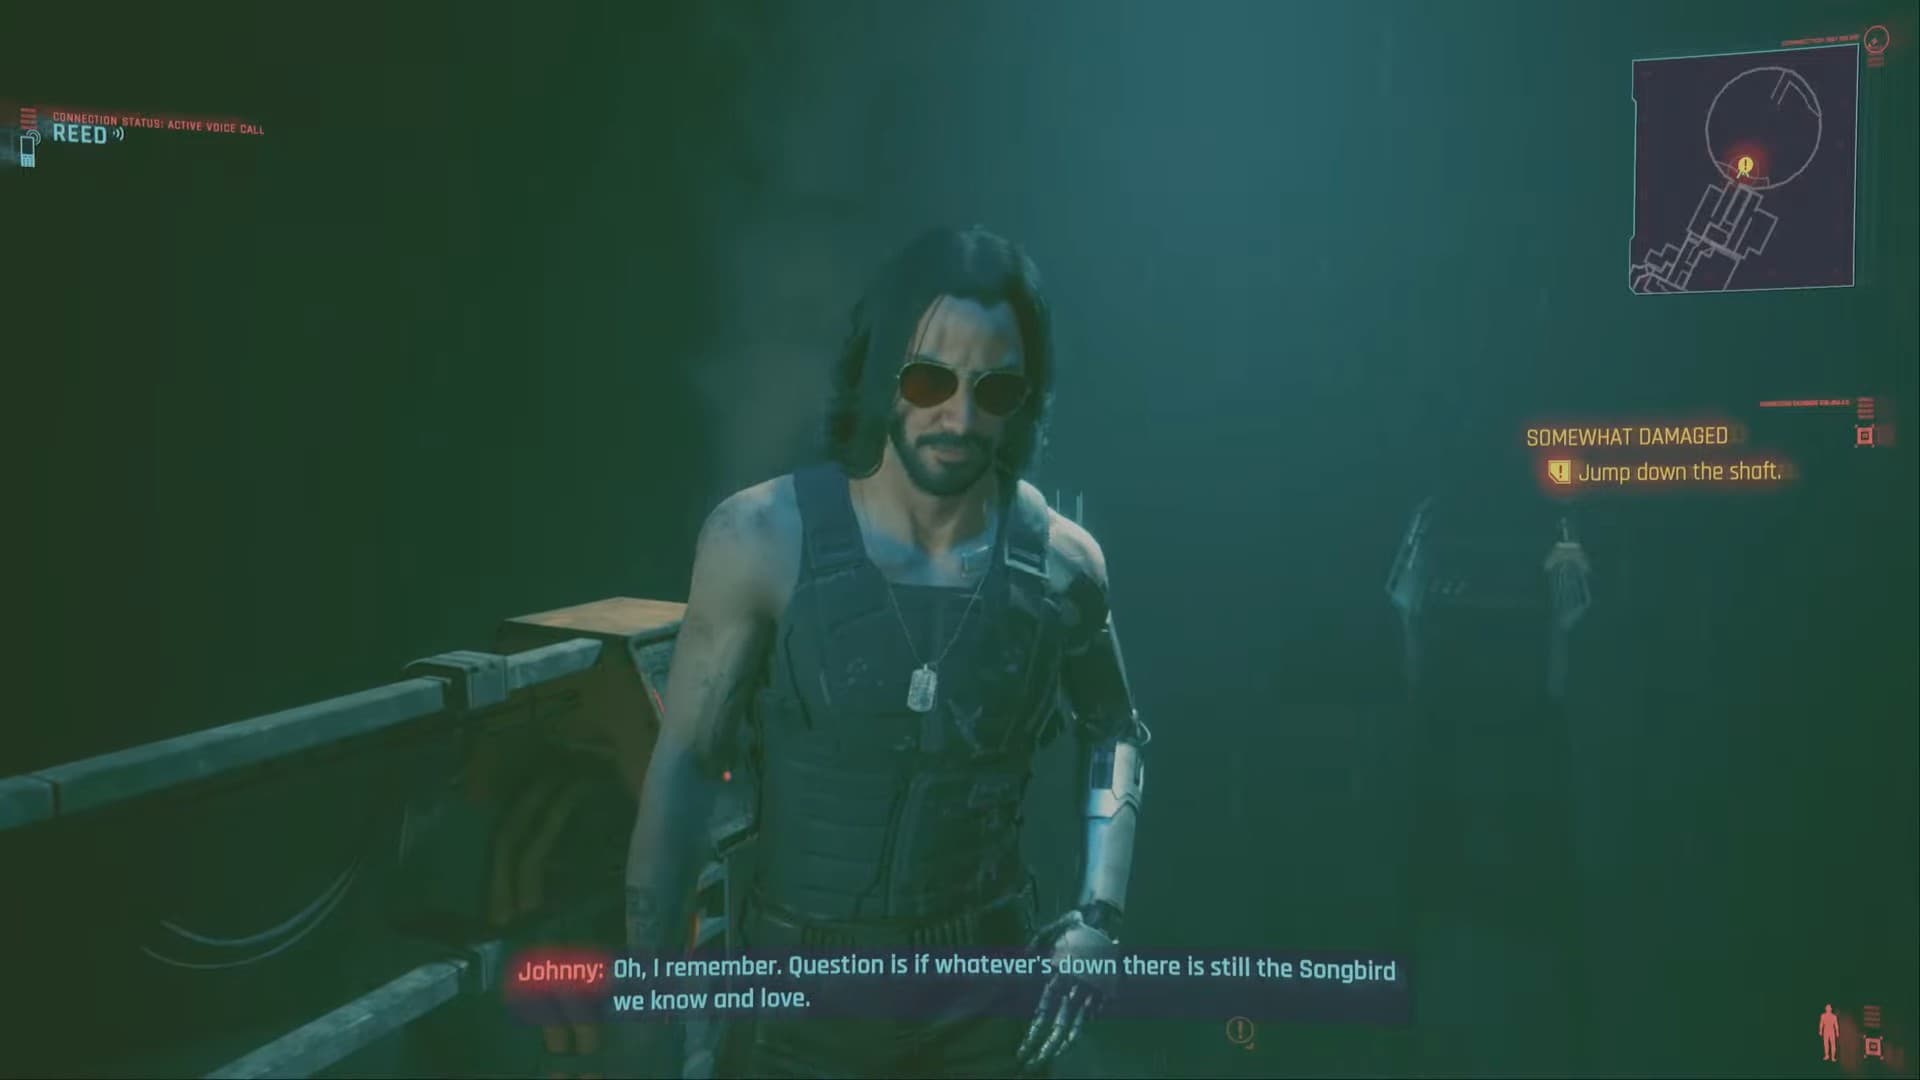
Once you enter the room with an orange light hue, look to the right to see a ladder that you can climb to finally gain access to the sealed-off area. Proceed forward to where Johnny is standing and after a brief exchange, you’ll have to jump straight down.
Once down in the water, get out and follow the quest marker. You’ll find yourself passing through a hole in the wall into a closed tunnel where V comments on an out-of-place Militech logo. Reed will ask you to find a terminal to jack into.
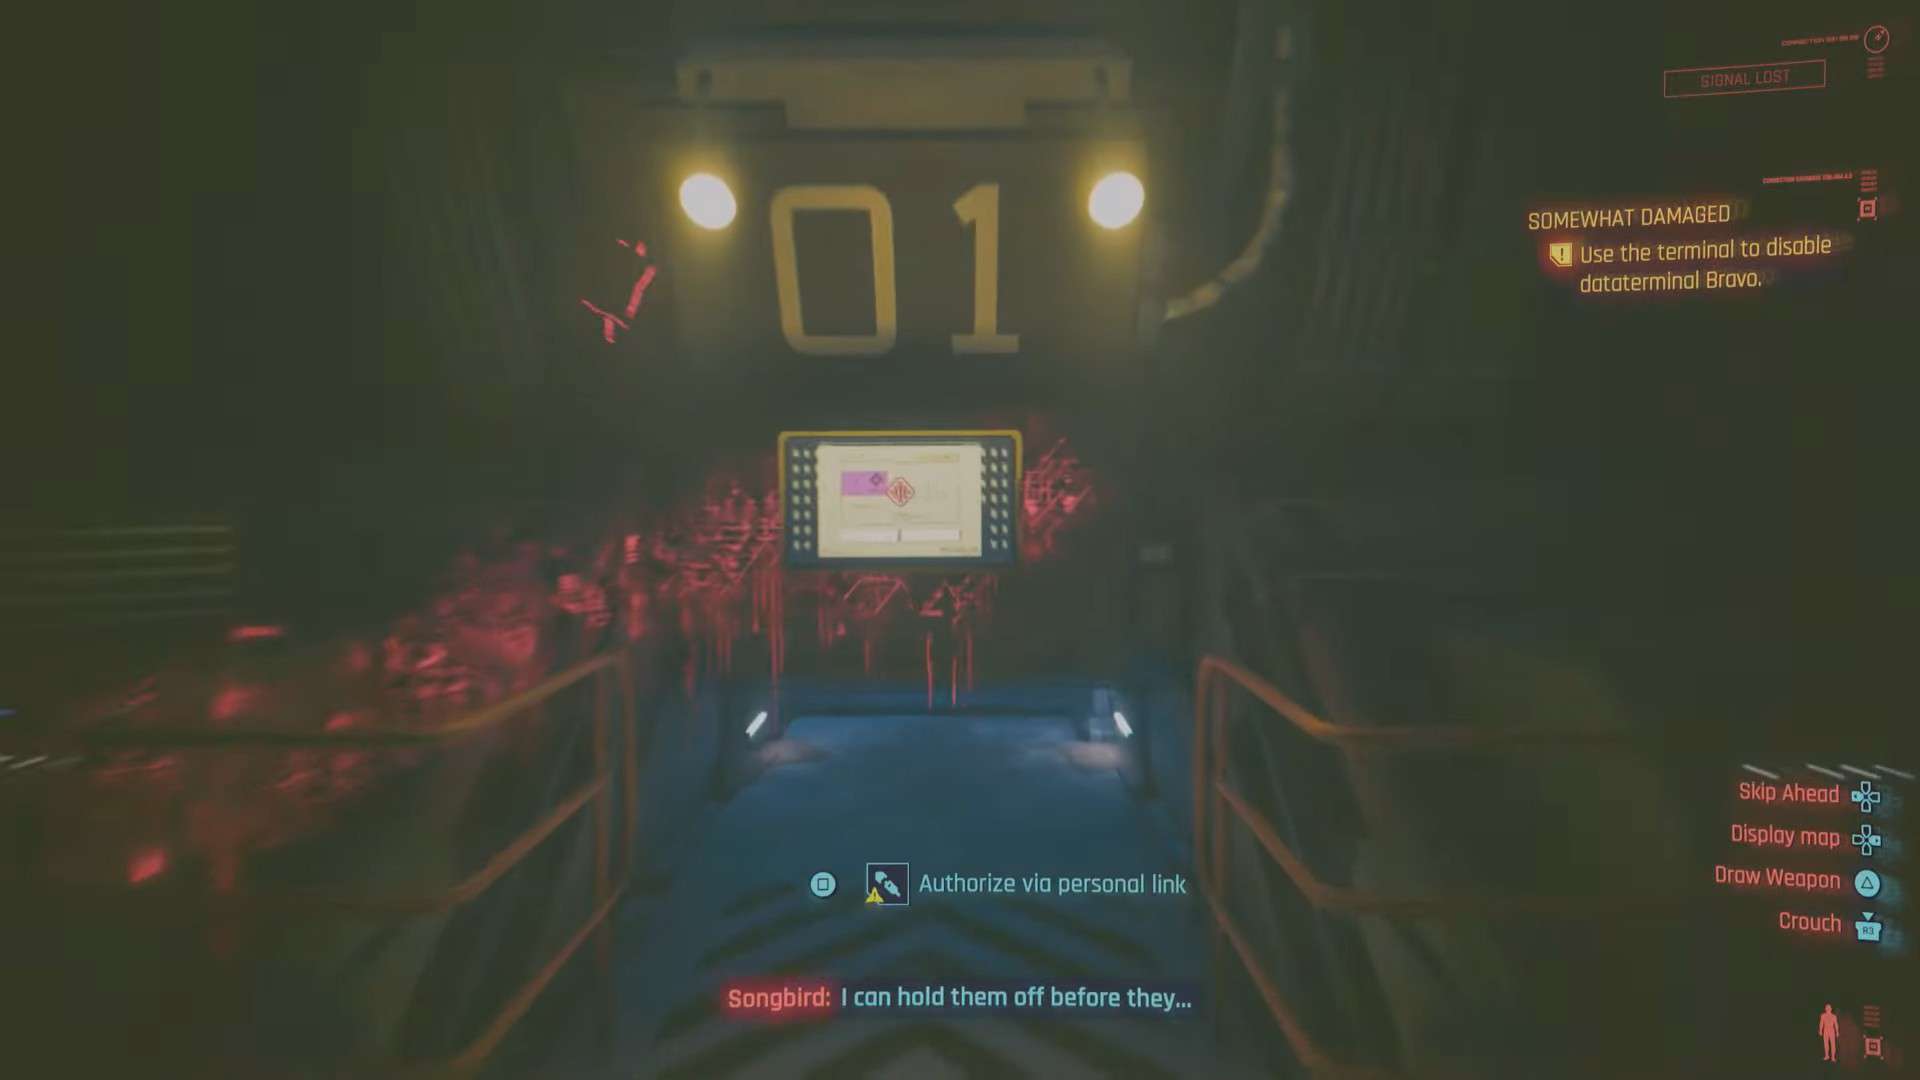
From where you entered this tunnel, shift your sight to the right and keep walking straight down the tunnel. On your left, you should notice a small opening that drops down into the sealed-off facility. Now simply walk up to the terminal with the lights on and jack in for a cutscene to play out.
Partway through the conversation with Reed, Songbird will interrupt, and from there she will talk in a semi-delusional state. You will have to talk with Songbird here as dialogue prompts are made available. Eventually, she will sever the connection and you’ll have to open the locked door on the opposite end of the room from the terminals you jacked into.
In this room, there is a lift in the middle that can take you to the restricted area. Ride it to the bottom and talk with Johnny if you want. Once you reach the bottom though, Songbird will have hacked into the Relic and cut off your connection with Johnny too.
At this point in Cyberpunk 2077 Somewhat Damaged quest, the lift will have completed its journey so now you’ll have to dash straight to get to your objective. However, once you reach the gate you were meant to pass, Songbird will cause a blackwall glitch that will shut this door off, forcing you to find another way through.
Find a way around the gate
With the gate locked, the workaround is quite simple. Just turn around and you’ll notice a door to the left a little ahead that was obscured by an object while you were running down the hall. Simply go through this door and you’ll see a vent shaft that you can enter.
Climb up, and follow the path to the end until you must drop down, at which point your UI will momentarily glitch out and a memory of Songbird will play out in the next room. Listening to this conversation will give you some insight into Songbird’s dilemma and once it ends, she’ll momentarily reach out to you.
At this point, go past this room and open the locked door ahead. You’ll enter this large open area with some boxes to the right. Move past them and look to the left of the open corridor ahead where you’ll see a silhouette of Songbird walking through a large open door with a bright light.
When you get close enough, Songbird will close the door on you and force it shut ‘For your own safety’.
At this point, you can interact with the nearby terminal which will show you the data terminals you must shut down to bypass the locked door.
Data terminal Alpha and Bravo
Data terminal Alpha is very close. Simply backtrack a bit and to the left side of the corridor, you will find a door that you can force open and beyond it, Data Terminal Alpha. Interact with it and you’ll have to manually jack in and hack it like normal.
Once you do, the door behind you will be locked, but a small shaft on the ground will be open. Drop down through this and follow the path. Eventually, you’ll come across Data terminal Bravo which you can hack in a similar fashion.
Once you do this, your health will plummet significantly and your UI will glitch wildly. Once you regain control, move close to Data terminal Bravo till you get the prompt to crawl under it. Do it and you’ll then be prompted to detach the cable connected to it. Once you do that, another cutscene plays out, only this time you have to contend with a much more physical threat.
Hide from the robot
This robot will grab you and attempt to kill you before an intervention via Songbird causes it to toss you away. Once you regain control of your character, proceed down the hall and enter the open door to the left.
Once in this room, take another left immediately into the open shaft which you can drop down. Turn 180 degrees and run down this open path, taking the first right you can, vaulting over the pipe.
Then take a left and you’ll see a ladder leading upward. In this room, take the door next to the light with a blue hue and you’ll witness another one of Songbird’s memories nearby.
Data terminal Sierra
In this open room, if you have 20 strength, go straight to the locked door and open it. Data terminal Sierra will be beyond the door ahead. Otherwise, take a left past where Songbird’s memory was playing out and open the door. In this long corridor, turn right, proceed down, and take the first right path you see. The same door to engineering will be here.
Open the door and immediately take a right to enter the room with Data terminal Sierra. Hack in like all the terminals before. However, don’t stand around idling, immediately hide behind one of the pillars directly behind you since the robot from earlier will show up at the doorway and scan the room for you.
From hereon, it will take an active roll in hunting you down so always be sure to keep an eye out for a spot where you can hide.
After hiding a bit, the robot will move on, so quickly exit the room and backtrack to the open corridor again.
Data terminal Victor
Now that you’re back in the open corridor, proceed forward and look to your left. You should see a door with a sign above clearly reading “Security Room”. Go through this door and through the door to the right. Proceed straight forward and you’ll enter the room housing Data terminal Victor.
Hack into it like before and move a little ahead to hide next to the blinking white light since the robot will enter the room in a bit. Wait for it to leave then exit the room and make your way back to the open corridor.
At this point, go back to the door that Songbird closed on you and which housed a terminal showing you the 4 other Data terminals that were active. Interact with this terminal to open up the door and proceed forward.
You’ll now enter a much larger corridor but you’ll need to start running immediately since the robot will be pursuing you here. Keep an eye out to your left a little further in and you’ll see a door that you need to enter.
Press the control pad to the right to open it and immediately enter. Right as you enter, there will be another door and an airlock control panel next to it. Activate it immediately to close the door behind you and prevent the robot from getting you.
From here you will follow a linear path, with more of Songbird’s memories playing out. Just keep following the trail of Blackwall leakage until you see it lead to a door that reads “Core Control”.
Proceed into this room and interact with the terminal ahead to attempt to shut everything down.
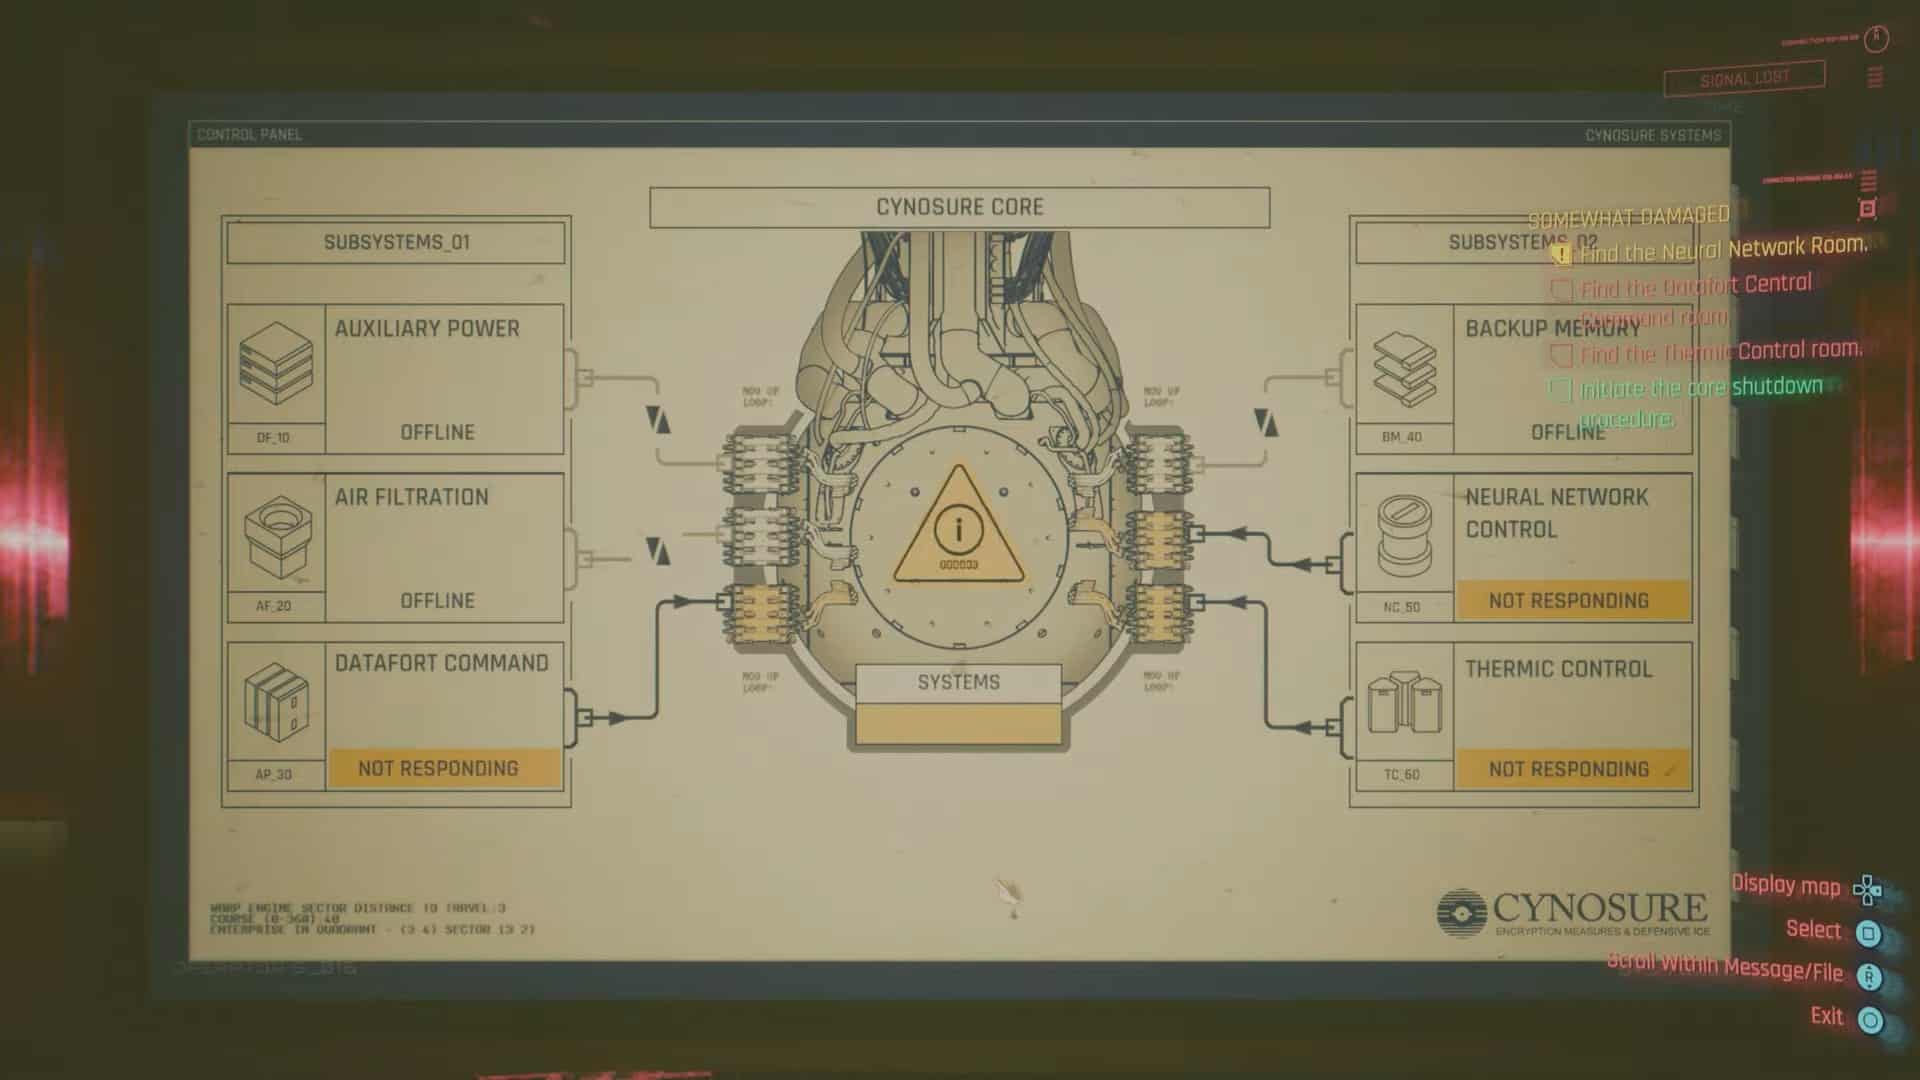
Of course, since things can’t progress smoothly, only half of the relevant systems have been shut down and you’ll have to manually shut down the rest.
Datafort Central Command Room
Exit the Core Command room and take the first right out. Follow this path down the corridor through a door ahead that reads “Observation Room”. Go through and to the left you’ll see another a little to the left side that leads to Datafort Central Command. From this door just keep following the path and you’ll eventually arrive where you need to.
Once in the room, interact with the terminal in the middle, then proceed to scan the nearby area. You will see some firewall devices in the four corners of this room which you can destroy manually. Just shoot to destroy 4 firewall devices here.
Once you do, immediately dash out of the room and take a right where 2 of the other firewalls are in the two corners parallel to the pillar in the middle.
It’s important to hide behind here and destroy the two firewalls since the robot is hot on your tail now. Wait a bit for it to move on, then take the right path past the pillar to the door that reads “Observation Room”. Go through this door and you’ll see the “Neural Networking Control Room” sign up ahead.
Neural Network Room
Simply go past the door mentioned previously and take the first right you see. From here, enter the room and interact with the terminal right below the holographic display to the left.
Hacking it will not yield results so you must scan the hologram, the terminal, and the open wiring to the left of the terminal, under the floorboard in order to interact with this wiring and disconnect the connection to the Neural Network.
Once you do this, the robot will appear and start scanning the room from the window in front. Stay crouched and look for similar open wires near other panels in the room and disconnect them one by one. A total of 3 in here. Once you do that, the robot will then take the same entrance into the room you did and slowly walk around.
Hide behind one of the terminals in the middle and move in the opposite direction that the robot does while still crouched. Eventually, it will circle back and exit the room and after a while, you should do the same.
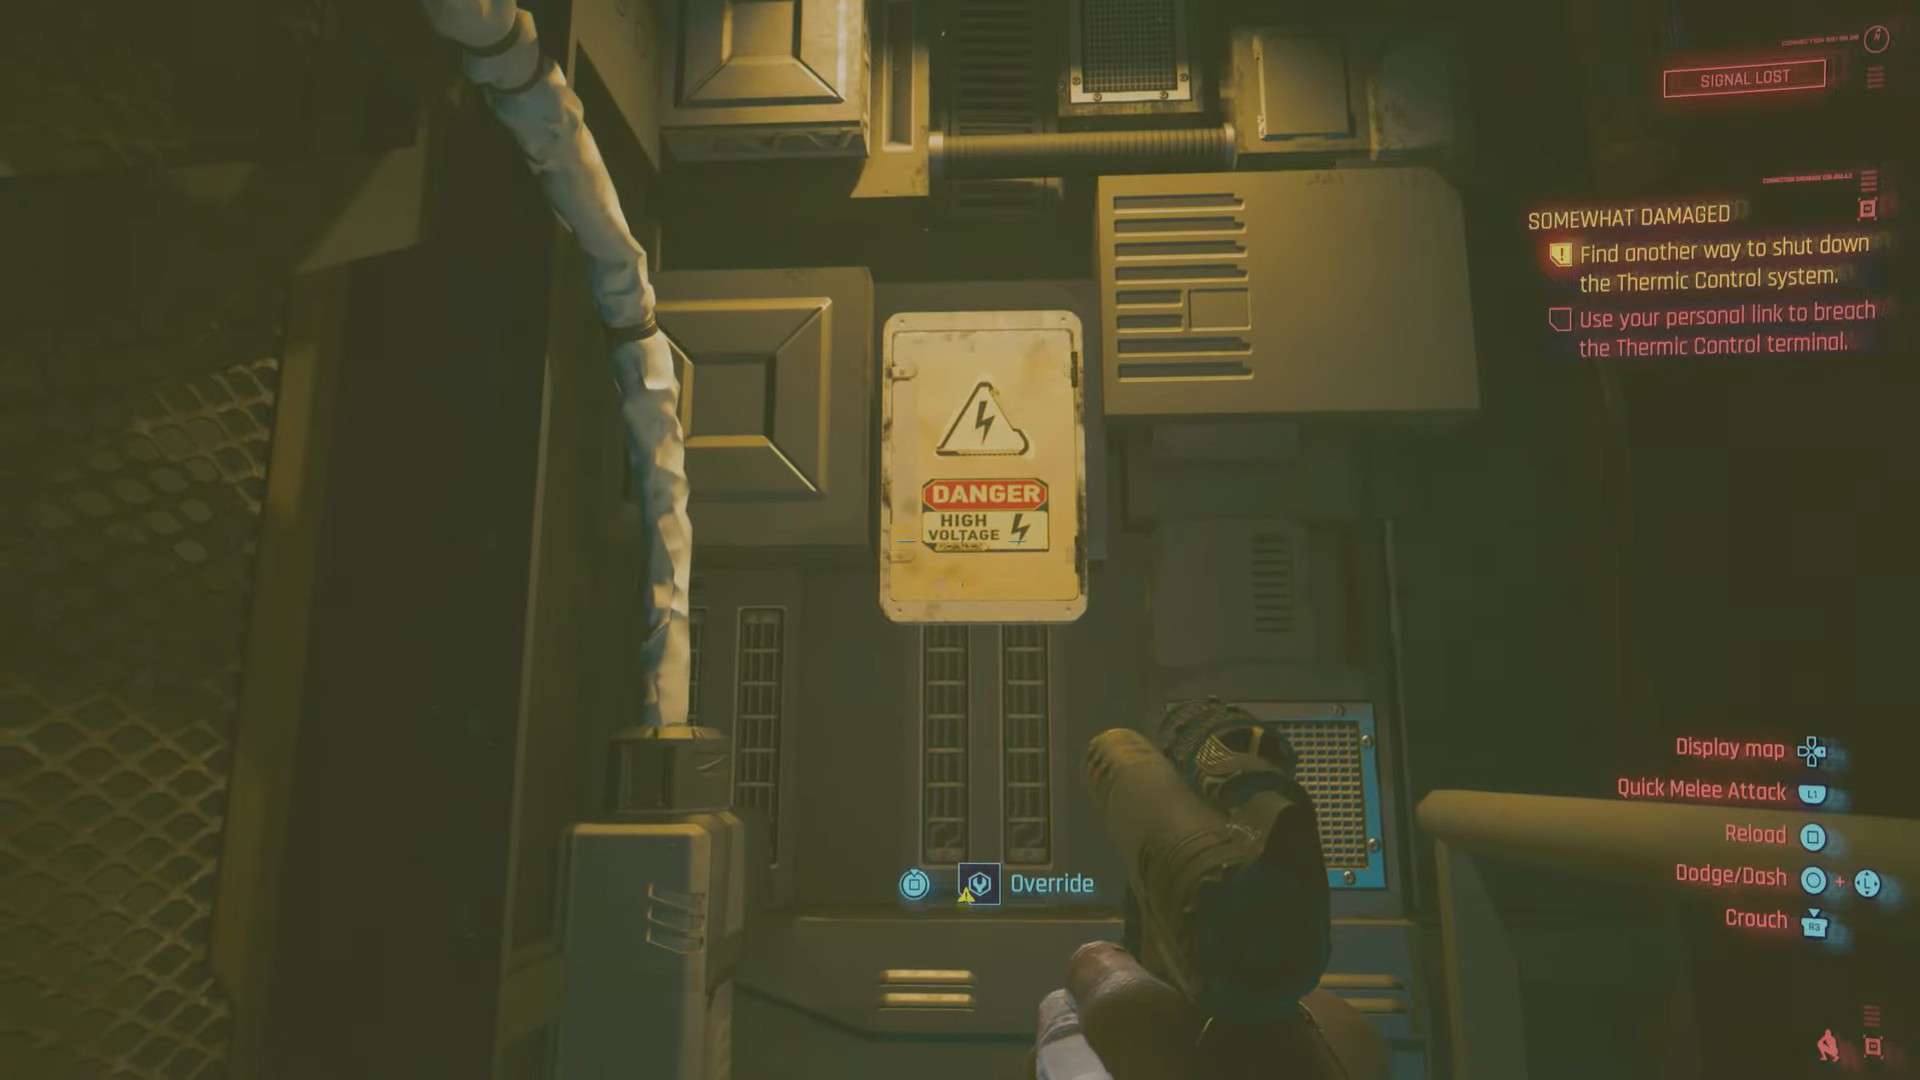
Thermic Control Room
Now out of the Neural Network Room, you should take a right, followed by a left, past the door with a sign reading “Observation Room”. From here, you’ll see the same Datafront Central Command room to the left. This time, go straight down the path to enter the Thermic Control Room. Progress till you see the control terminal and jack in to try shutting it down. This does not go well however and the Blackwall drains your health, while also booting you out of the system.
The robot will be arriving shortly from the door to the left, so look to the left corner of this room behind you to see a pillar with 2 entrance paths that you can crouch to go through. Hide by utilizing this space, making sure to stay on the move here to keep out of the robot’s line of sight. Once it leaves, scan the terminal as well as the cable protruding out of it from the top.
This will lead you to scan some Industrial Shutters on the other side of the room which you can open up and leap past to find yourself on a small pathway.
At the end of this path, you will find an electrical switch that can shut down the Thermic control systems so go ahead and do it.
Once you do, backtrack out of the Thermal Control Room. You’ll face some more memory replays along the way.
In any event, once you exit the Thermal Control Room via the door that reads “Observation Room” and enter the long corridor with the entrance to Datafort Central Command and the large hologram to the left, you’ll need to hide behind the boxes to the right as soon as you enter this room since the robot will spawn in shortly up ahead.
Don’t let the robot detect you
At this point, you will have to play a game of patience as the robot will stay in this room longer than the preceding instances. As you hide behind the box to the right, the robot will near your location, but proceed to go the opposite direction, down to where the large hologram is.
At this point, dash to the door that leads you out of here but don’t interact with it yet as the robot will kill you. Instead, hide behind the pillar to the left with the stairs that lead down since the pillar will obscure the robot’s vision and you can easily keep tabs on its location.
Keep repositioning yourself based on the robot’s movements. Going down when the robot comes up, circling around the pillar as the robot circles the hologram room, etc.
After a while of this game of cat and mouse, the robot will return to the point where it spawned after saying “No Contact Established” before leaving the same way it came from.
With that done, simply go to where the robot left from and exit the nearby door that reads “Neural Network Control.” Simply walk down the path through the door that reads “Core Control” and go back to the terminal where you initially began this whole shutdown procedure.
Once you do a cutscene plays out with the robot catching you and attempting to drill into you. After that, the screen fades to black and you’ll see a different memory of Songbird’s play out.
Finding Songbird in Somewhat Damaged
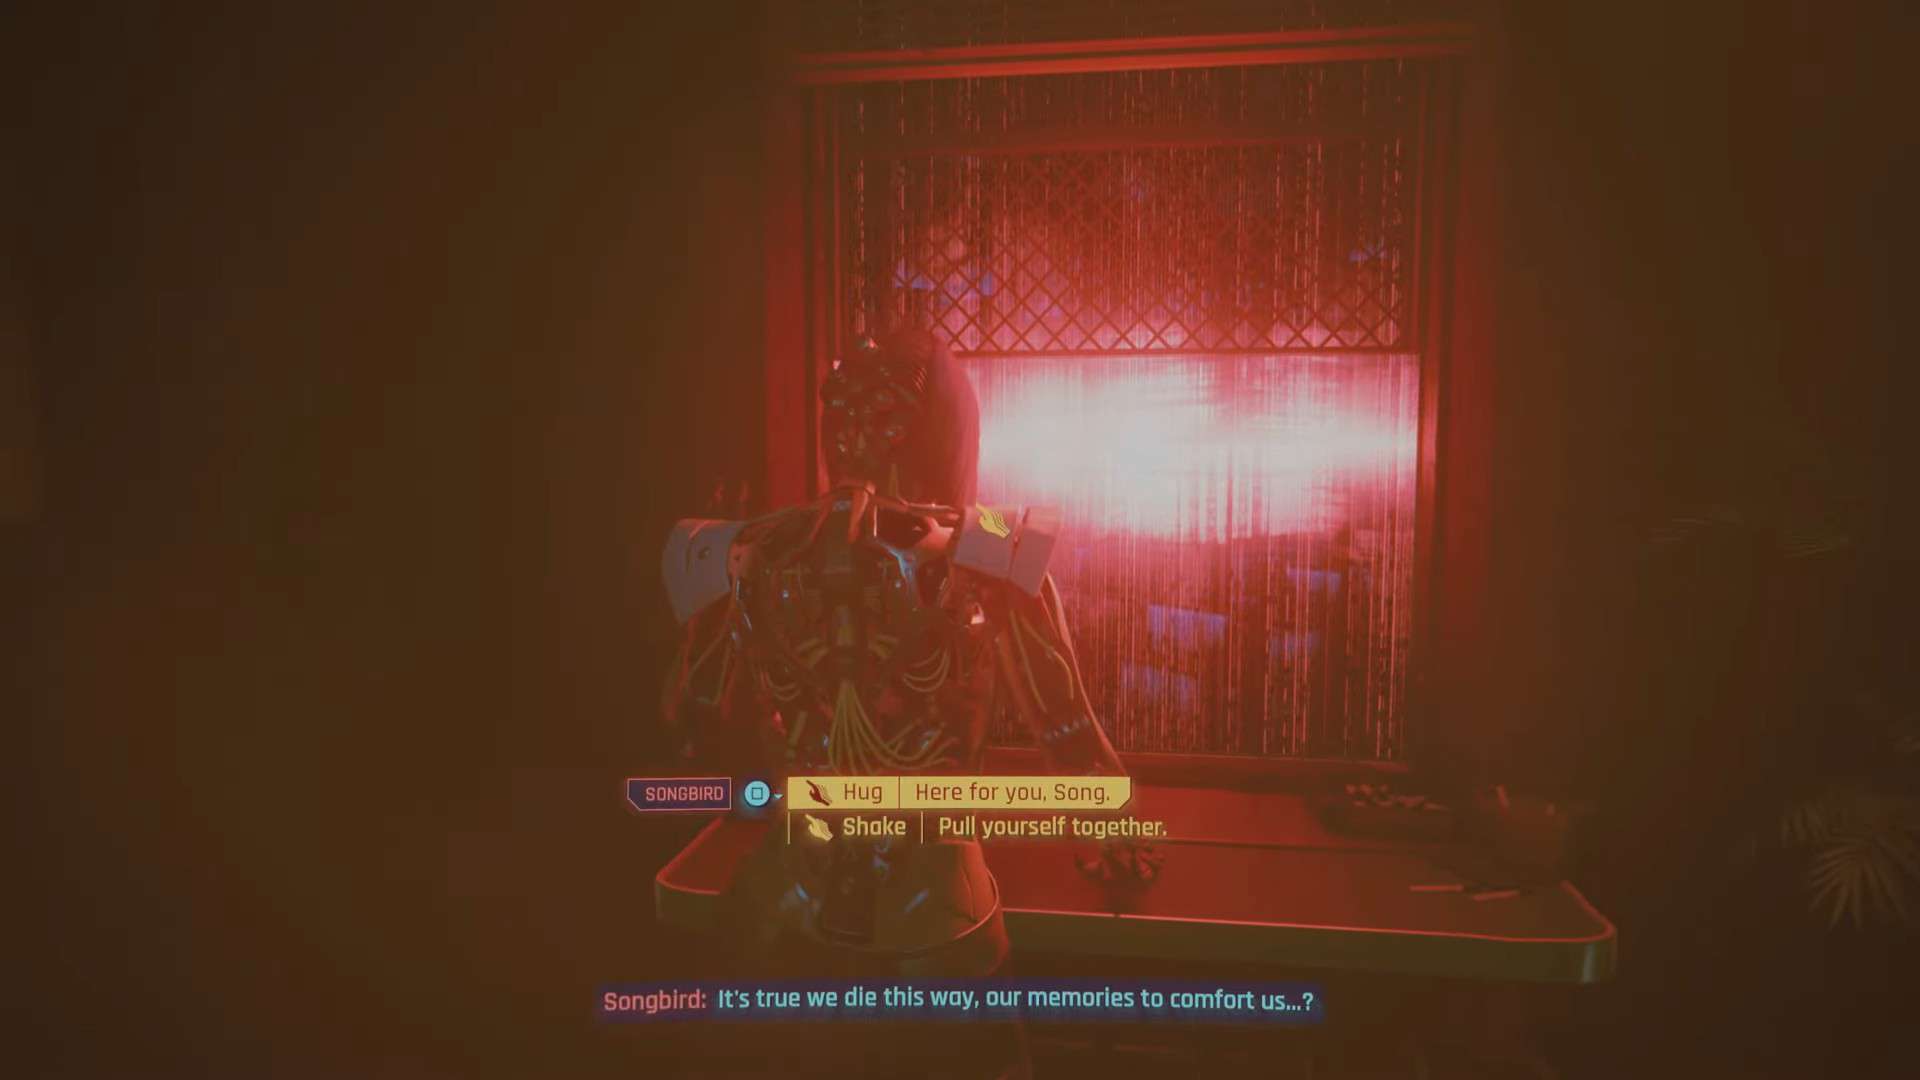
You’ll then regain control and talk with Songbird for a while, going over various instances of her past, causing this memoryscape to further deteriorate. You can exit this memoryscape by hugging Songbird when the opportunity presents itself.
After this, you’ll snap back to reality with the robot letting you go. Now, simply take the path to the left, descending the stairs, and take the first left you see to open a door that will lead you to the Core. Open the door at the end and enter the core where you will find Songbird in very poor condition.
Talk to her now and after a bit of back and forth, you will be faced with your last choice on this route in Cyberpunk 2077 Phantom Liberty.
Should you Kill or Spare Songbird in Cyberpunk 2077 Somewhat Damaged?
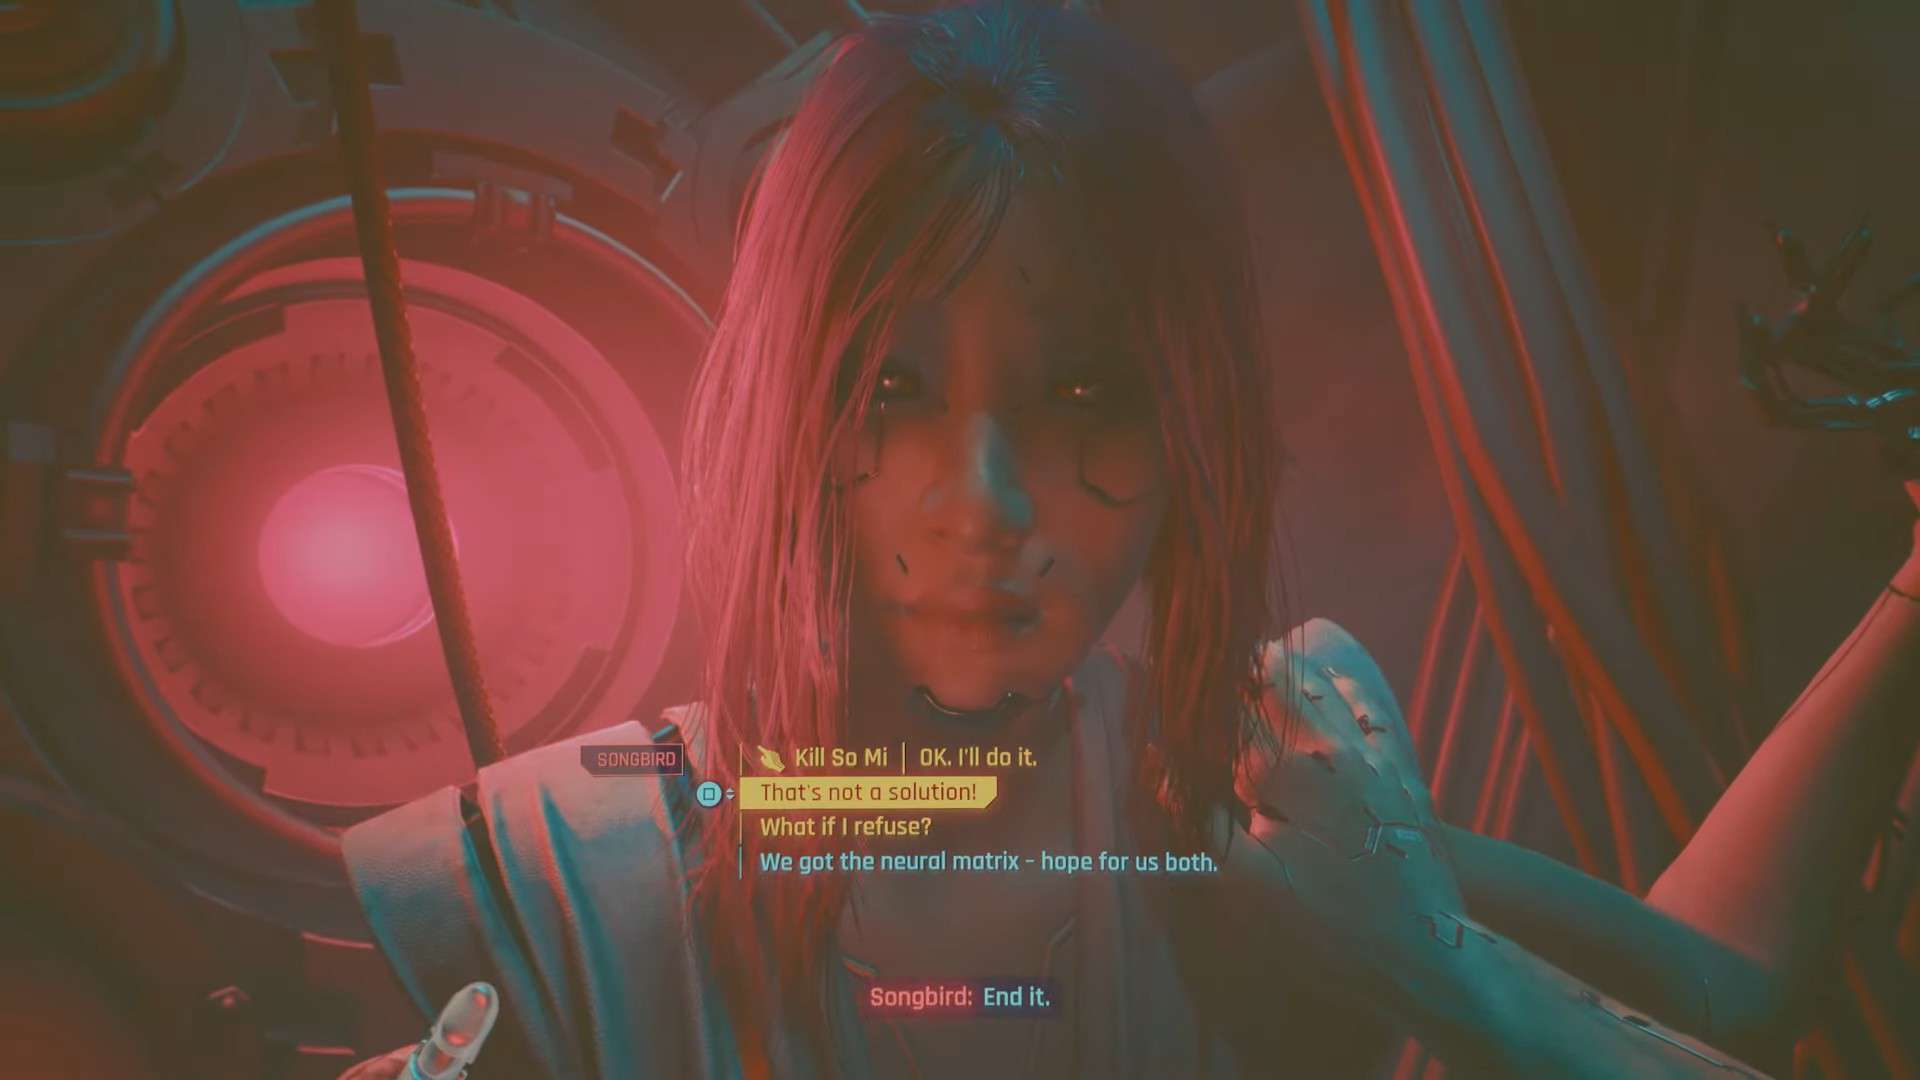
This is a choice that depends largely on the player’s personal preference and feelings. On one hand, seeing So Mi’s memories throughout the quest show a rather bleak and troubled past under President Myers authority, having faced much hardship on a moral level, though not entirely devoid of happy moments.
Should you choose to honor So Mi’s request and kill her in Cyberpunk 2077 Somewhat Damaged, Reed’s relationship with V will sour somewhat with him claiming you never tried to convince her that life could be worth living. Killing Songbird will also unlock the King of Cups ending for Cyberpunk 2077 Phantom Liberty.
Moreover, the President will only reward you with 5,000 Eddies and call off the deal on finding a cure. Myers only agreed to find a cure for you if Songbird was captured alive, which she wasn’t.
On the other hand, if you decide not to kill Songbird even though she asked for it, she lives but gets taken into custody by NUSA. There’s an assurance by President Myers on curing both of you as well as rewarding you with 30,000 Eddies and a Presidential Medal.
Refusing Songbird’s request to kill her in Somewhat Damaged will unlock the King of Pentacles ending for Phantom Liberty as well as Leave in Silence, Four Score and Seven, Who Wants to Live Forever and Things Done Changed quests for a new ending to Cyberpunk 2077 base game.
Reed will mull over whether what they did was the right thing considering So Mi’s disposition to not live but will believe there’s always a chance to turn it around so long as you’re alive. Whether So Mi will ever find happiness in her life from hereon or be condemned to a worse fate is up in the air, especially with how there are hardly any happy endings in Night City. But you’ll never know if you die before it plays out to the end, right?