
Shot by Both Sides is a new side job introduced in Cyberpunk 2077’s Phantom Liberty DLC. Shot by Both Sides quest becomes available after completing The Damned. At this point, you will have received a message from the fixer known as Mr.Hands.
Respond to it and after agreeing to take up the job, Hands will give you additional details on the mission, primarily an investigation on an individual known as Bree Whitney, who works as a journalist. You will be given directions to her apartment and an unconventional location for her access card which is what you need to go and pick up.
Go to Bree’s apartment in Night City
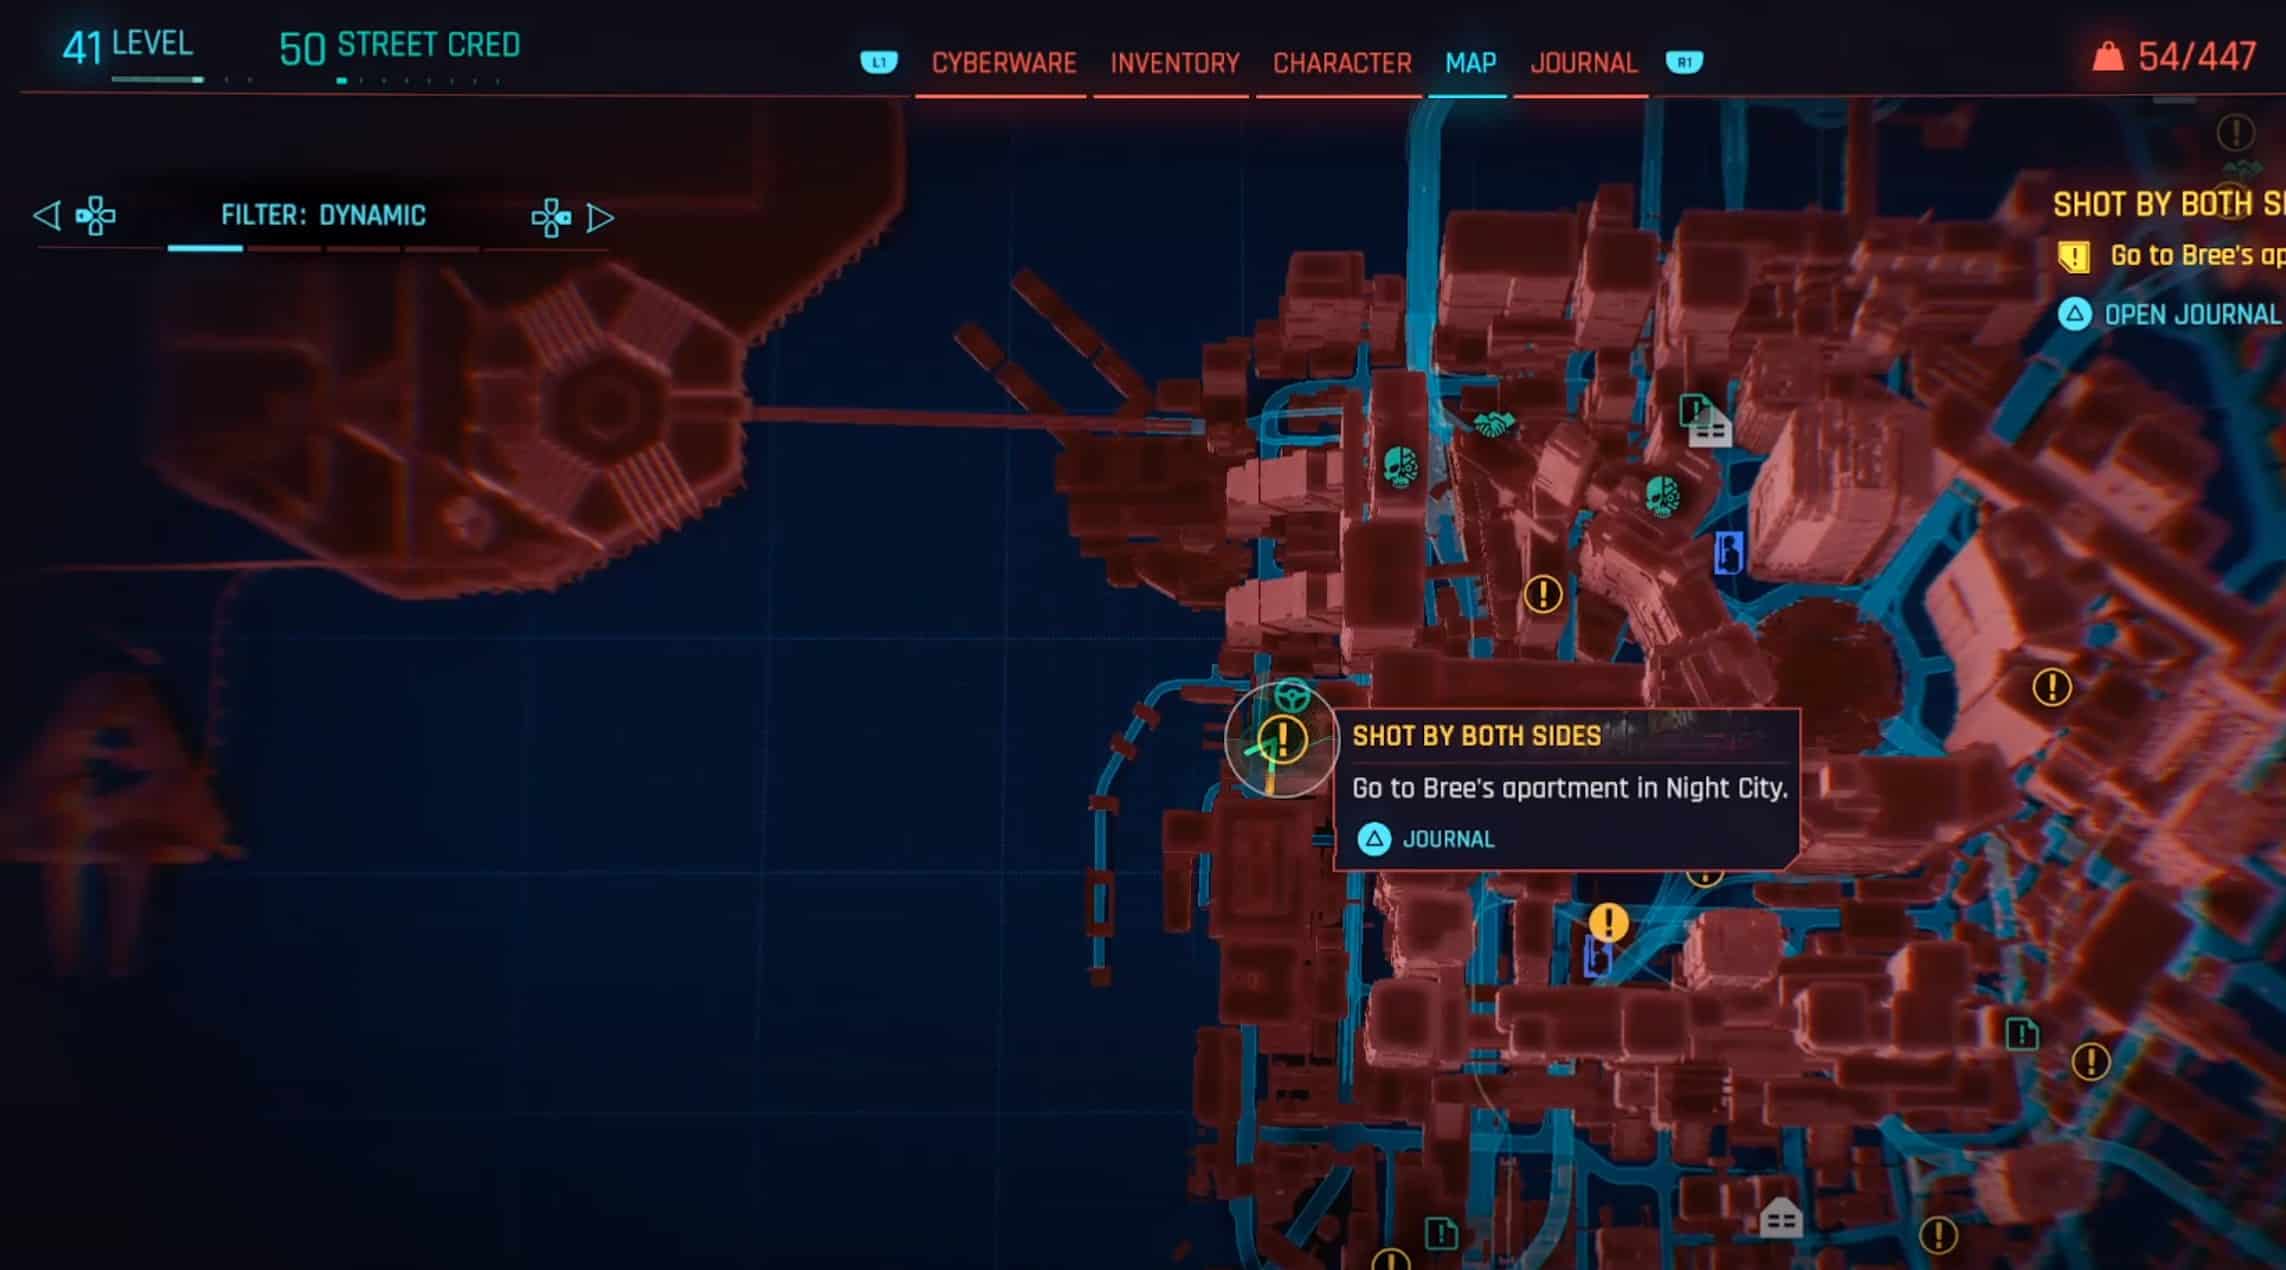
After following the Shot by Both Sides quest marker in Cyberpunk 2077 that leads you to Skyline West, enter Bree’s apartment and you’ll notice Johnny make some offhand remarks about the luxury feel of the place. In any event, just like the details Mr.Hands provided, take the door to the left.
Upon entry, look to the right corner of the room past the computer terminal beside you and you will find the bamboo plant that Mr.Hands mentioned. Walk up to the plant and interact with it. Once done, you will get a prompt to open the cabinet.
Do so and look down to find the cabinet drawer open and a Militech Access Card which you can take. Johnny will comment on how the logo is over 60 years old, indicating our journalist here is in the middle of some very shady activity.
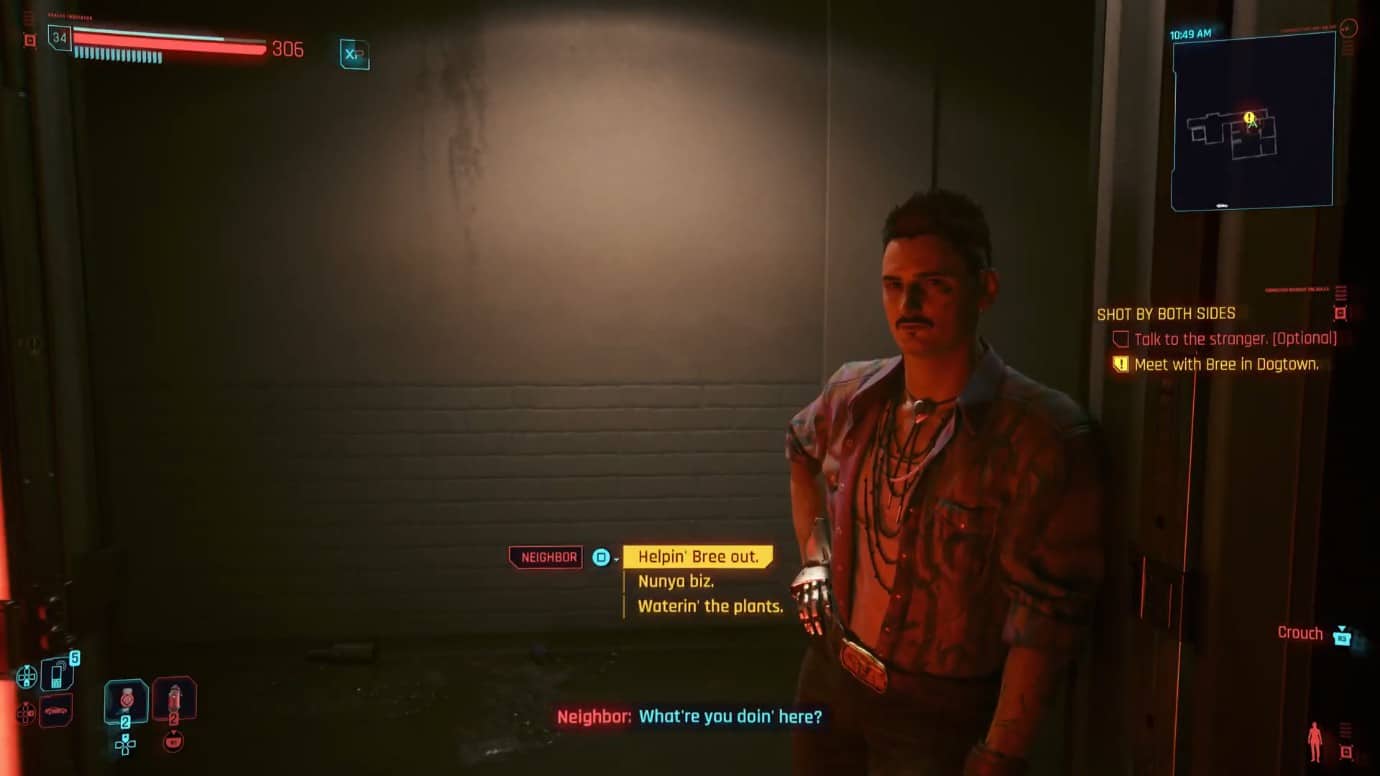
In any case, with that done, write a message to Mr.Hands indicating you’re done and he will instruct you to meet a client in Dogtown after dark. On your way out, Bree’s neighbor will be at the door and inquire about your presence here.
You can de-escalate the situation by telling him you’re a friend of Bree’s and he’ll buy the story, commenting on how some shady people have been stalking the premises lately.
Meet with Bree in Dogtown
In any event, go back to Dogtown and ride the elevator to the lower levels. Past the lift, and ahead of where Johnny is standing, dash forward until you reach an open area where the quest marker will no longer direct you automatically. You can scan the ground and find sets of footprints which will clue you in on where to go.
From the moment you enter this new area, take a left and keep moving until you see a door to your left. Enter this door then take a right and go through the door there. Past here, avoid the door in front of you, and follow the path to the side.
As you move forward here, you will notice an open metal door, which leads into a narrow path with a collection of pipes. Crouch and move along this path down the pipes, until an opening emerges to the right near the end.
From here go straight and when you notice a small cart holding a large stack of wooden bars, go right from it and once pass it, take a right again, down the long path ahead. Near the end to the left, you will notice an opening between two stacks of cement pipes.
Go through this opening and take a right through a narrow metal container. From here, keep going straight till you notice an opening to the left. Go here and drop down to the open floor below.
Down here, you will notice another opening that you can crouch to get through. As you do, your contact i.e., Bree will appear and hold you at gunpoint.
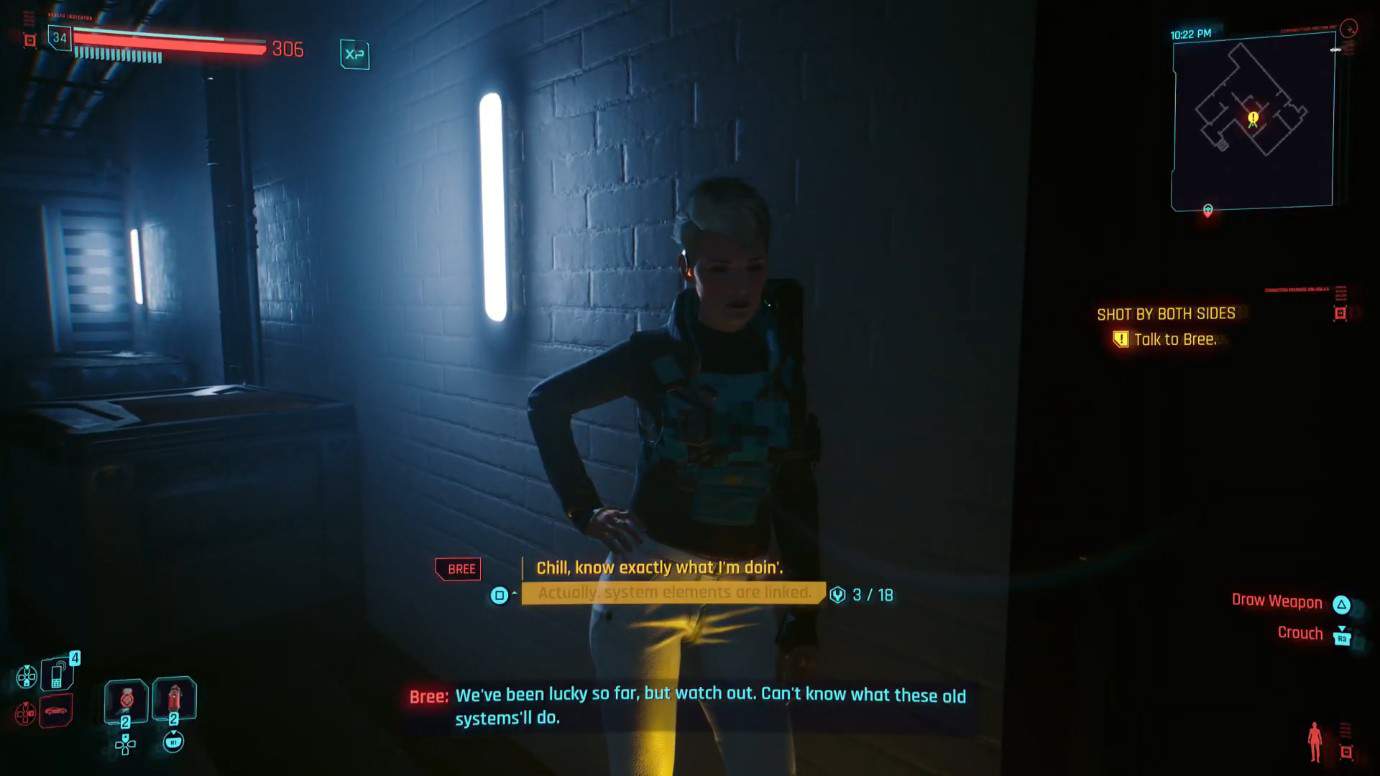
Talk to Bree
A quick timed dialogue prompt will pop up so tell her to ease off. After this, she will ask you to show her the access card for proof that you are who you claim to be, after which she will calm down. After this, follow Bree as she leads you into some old facility underneath.
Details will be scarce here so just play along with her despite her paranoia. Once inside you will have to scan the area for threats and slowly progress along with Bree. At one point, Bree will comment on how everything’s going good so far but to be on guard just in case.
Deactive the defense systems
The next area of Cyberpunk 2077 Shot by Both Sides quest will have you making your way through an activated security system, so you will have to fight past automatic turrets. There will also be some Laser proximity mines here so deactivate all security here to progress.
Something to note here is that you can quickly hack and deactivate cameras to avoid being detected and immediately triggering the security system. This also allows you to deactivate the turrets more easily.
In any event, the next room will be packed with even more security. Try deactivating whatever you can as soon as possible to avoid the hassle.
Do note that in the door near the camera to the left, there’s a main computer which can disable the security. If you want to just disable them all manually, you can opt for that, but it is a nice choice to keep in mind.
Once you’ve cleared the threats here, make your way to the next room with a deactivated turret and just follow Bree as she enters the mainframe room.
Here, Bree will ask you to view three different video recordings from the past, ending in the revelation that Militech was using a rogue AI in a bid to augment their old weaponry.
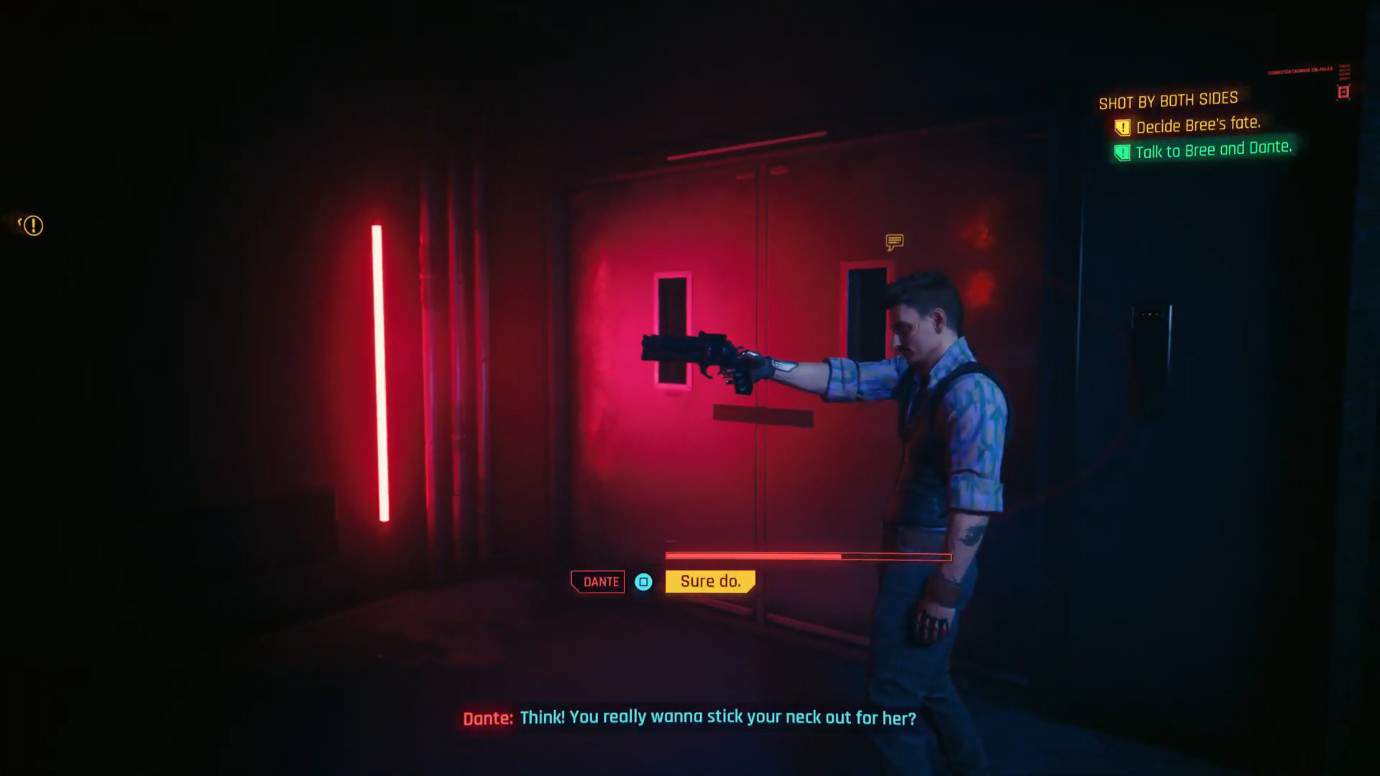
With this revelation, you now turn to leave but lo and behold the ‘neighbor’ at the beginning of the quest, a Special Militech Agent by the name of Dante Caruso shows up, gun in hand. He reveals a bit of Bree’s history as a Militech employee, which she confirms.
At this point, Dante will try coercing you, claiming Bree intends to sell the data and run away with money as part of a deal. By doing so, everyone who caught even a peep of the project will be killed, even you, to tie up loose ends.
Should you kill Dante or Bree in Shot by Both Sides?
You will have a limited time choice between siding with Bree in Shot by Both Sides or letting the timer go down and letting Dante kill Bree. In my opinion, it is better to side with Bree as not only will you successfully complete the task given to you by Mr. Hands but also gain extra rewards.
If you choose to side with Bree, you will have to kill Dante, which shouldn’t be that hard. Killing him allows you to pick up a few items such as some voice notes that detail his routine leading up to this point and some personal thoughts.
Nearby you can also pick up his weapon, Ol’Reliable, a tier 5 Iconic Power Revolver. Go back to where Bree is hiding and after talking to her, she will mention how she plans to publish the article and leave Night City for a long while. She’ll then put down her pistol and go back to the terminal. You can pick this weapon up, a tier 5 Iconic Power Pistol called Riskit.
Once that’s done, leave the facility and you should receive a message from Mr.Hands, congratulating you on a job well done.
If you choose to side with Dante, he will shoot Bree and that will be the end of it. You can loot her body to receive the Riskit Power Pistol. He’ll comment on how if she had published the data, a modern witch hunt would have ensued. And how she sold out the one previously in charge of this operation, leading to his death.
Dante will then give you a shard that details Bree’s conversation with Adam Naoki, promising an out in exchange for the data, thus solidifying his claims. He’ll then thank you and pay you for your troubles while also advising you that you can believe in people, but never to trust them.
Afterward, as you make your way out, Mr.Hands will call you and express disappointment at how you failed the job as Bree died, thus marking the end of Shot by Both Sides in Cyberpunk 2077.