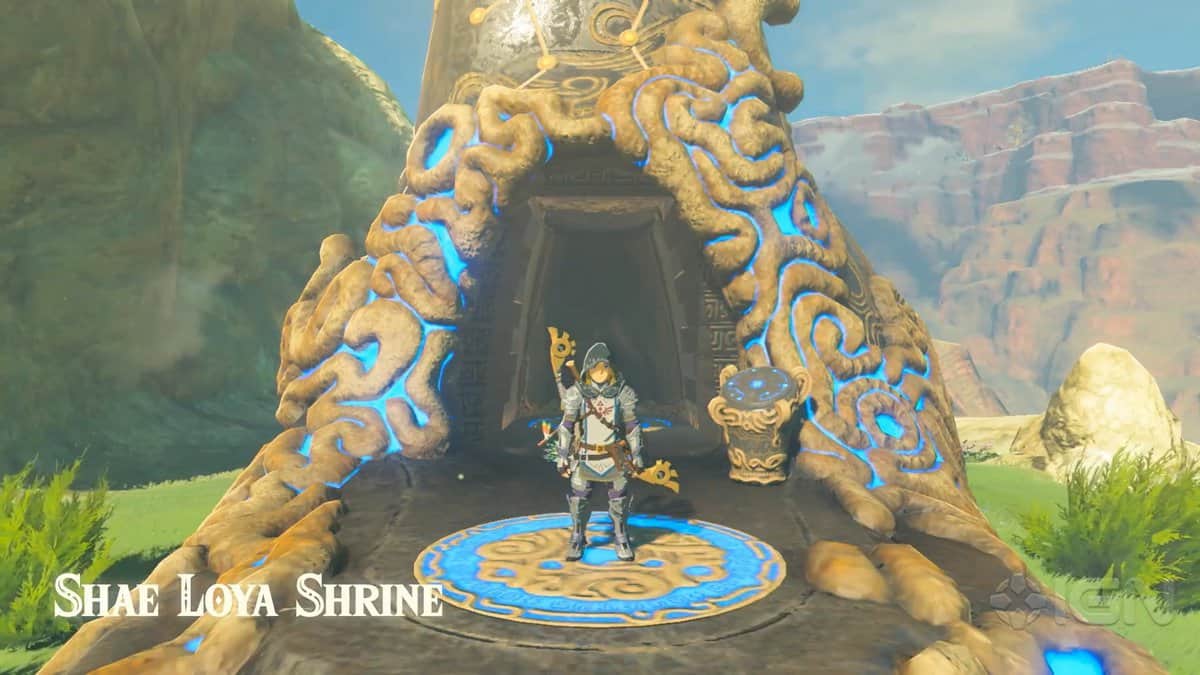
Zelda: Breath of the Wild Shae Loya Shrine is one of the easier shrines to find and complete in the game. As a part of the main 120 shrines, Shae Loya Shrine in Zelda BOTW presents you with a spirit orb as a reward for completing it.
Where to find Shae Loya Shrine
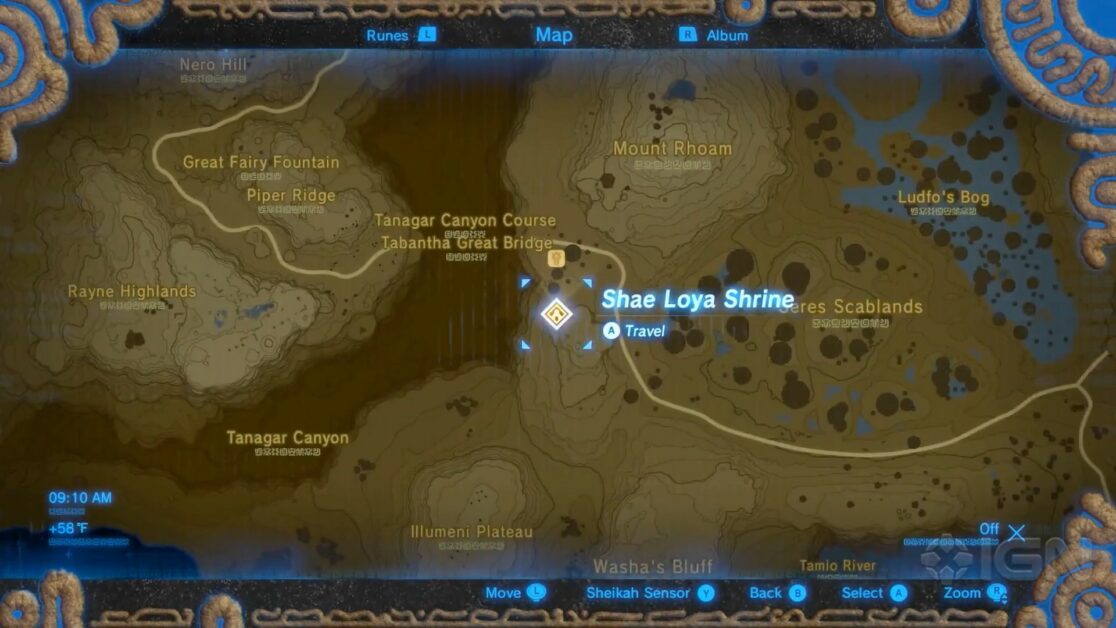
Shae Loya Shrine is located near Hyrule Ridge. The exact location of Shae Loya Shrine is to the West of Seres Scabland and South of Mount Rhoam. It is near Tabantha Stables, south of the bridge.
Shae Loya Shrine doesn’t have any prerequisites to enter but you will need the Stasis rune and bow to complete the puzzle of this shrine. The Trial of Shae Loya Shrine is called “Aim for the Moment“.
Zelda Breath of the Wild Shae Loya Shrine walkthrough
After entering Shae Loya Shrine in Zelda BOTW, you will see a platform right in front of you. Stand on this platform and look to your right. You will see a blocked-off area with a glowing orb and a receptacle. The glowing orb will be thrown into the air over and over again by a stone column.
The mission here is to make the glowing orb go down the ramp into the receptacle.
Bring out your stasis rune and freeze the stone when it is above the barricade. Take out your bow and start hitting the glowing orb with arrows (minimum 3) for it to gain momentum. This will push the glowing orb forward and it will fall down on the ramp.
The path to the receptacle will be opened as soon as the stone pillar goes down the depression in the floor.
This will unlock a new mechanism in the hall of the Shae Loya shrine. The platform on which you are standing will be turned into a moving pillar. It will throw Link into the air. Look to the left side of the platform and you will notice a locked room with a Shaman inside.
There is a gap in the wall above this locked door containing a switch. As soon as the pillar throws you up, take out your bow and shoot the orange switch inside the hole. This will open the locked room in Shae Loya Shrine.
Before going into the room make sure to collect both treasures present in the main hall. Look up to the right of the platform to find a wooden ledge held upright by two strings. Break those strings using arrows.
This will make the ledge collapse and the treasure chest on it will fall down to the ground. Open it and collect Falcon Bow.
Go back to the platform and let it throw you into the air again. Glide forward towards the blockade with the glowing orb. There is another treasure chest in this area containing Topaz.
Come back to the main hall with the help of another moving column. Go into the room and interact with Shae Loya Shaman to finish “Aim for the Moment” in Zelda BOTW and receive Spirit Orb.