There are several steps that you need to follow to complete the story-based easter egg of Shadows of Evil. It can be done solo for the most part but we still recommend bringing a whole team to make your quest easier. You will have a pretty tough time facing the final boss alone.
Step #1: Complete the four rituals
There are a total of four rituals that you need to complete for the first step. Before starting the rituals, you need to acquire the Summoning Key from the truck in the narrow alleyway.
The Summoning Key is the basic item that allows you to perform the rituals in Shadows of Evil for the PaP and hence the whole Easter Egg.
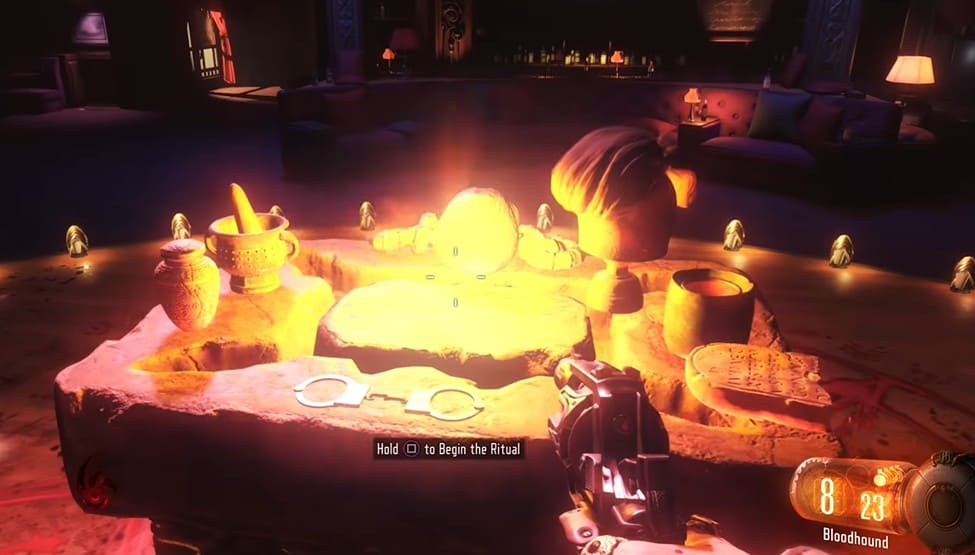
The rituals revolve around finding four ritual items and placing them in special altars inside four ritual rooms. Once they are placed in their respective altars, you will need to defeat a wave of zombies to complete the ritual.
Once all four rituals are completed, you should have four Gateworms which are required for the next step. Following are the locations of all four items along with the locations of the ritual rooms:
- Get a Promoter’s Championship Belt from the Waterfront District and do the ritual in the boxing ring.
- Get a Detective’s Badge from the Canal District and do the ritual in the strip club/whorehouse.
- Get a Lawyer’s Pen from the Junction and do the ritual in the house above the starting narrow alley.
- Get a Producer’s Toupee from the Footlight District and do the ritual in the tall building in the main square.
Step #2: Find the Pack-a-Punch Machine

Get the four Gateworms from the previous step and head inside the rift which can be accessed from any of the three districts.
Once you’re inside the rift, head towards the Pack-a-Punch machine by destroying the wall with weird symbols all around it. Once you’re inside the area, you need to place the four Gateworms in four fountains in the area.
By placing these Gateworms, you’ll see many intersecting blue lines above which you’ll have to complete by interacting with another alter –- technically a fifth ritual.
Here you’ll be able to upgrade your weapons and hear the Shadow Man about some sacrifice.
Step #3: Find the Elemental Sword
To get the sword, you need to read the map at any of the train stations and memorize the locations of three ‘?’ signs. After this, travel to all three districts via train and look outside to see three symbols at the locations represented by ‘?’ signs.
You need to look out for three signs that glow red, which are either seen through windows or open spaces.
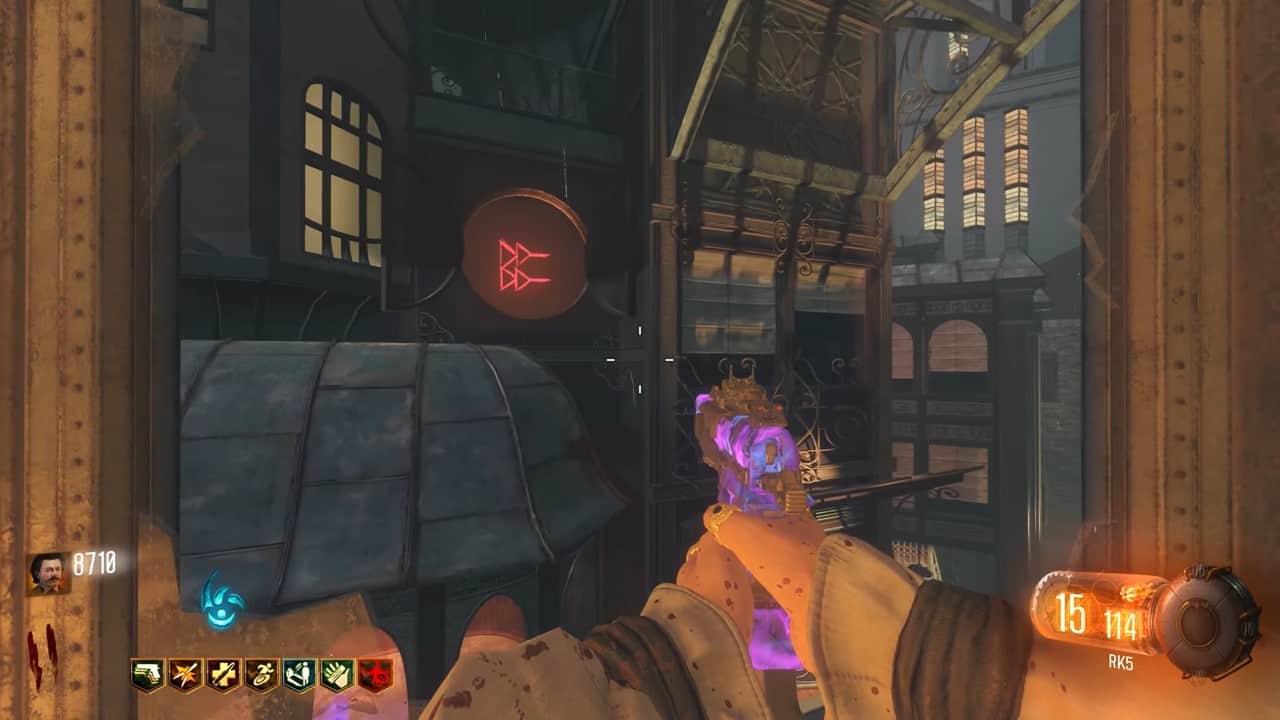
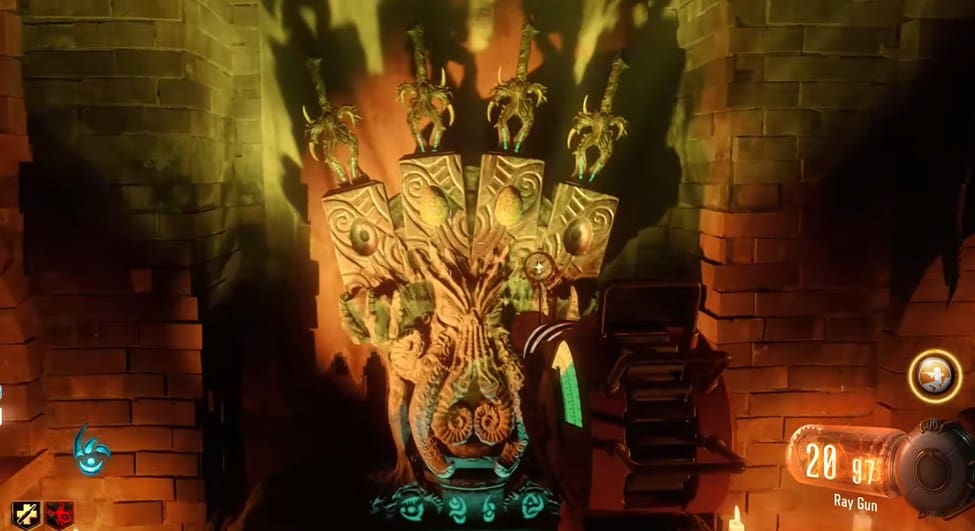
After memorizing these signs, head down to the rift area and find a wall having all these symbols. You need to use the beast mode to power up only those symbols that you saw earlier.
Then, break open the box that you see behind this wall. By doing so, you will get an egg which you’ll need to charge by placing it on the altar revealed under the box.
There will be four eggs on the stand revealed behind the wall, along with three other gargoyles/altars scattered in each district, which means that you have to place all four eggs in each gargoyle to complete the step.
The locations of these are as follows:
- Ruby Rabbit entrance, Canal District
- Near the Perk-a-Cola machine in the Footlight District
- Near the entrance of the Waterfront District.
Do note that placing the egg will cause zombies to appear who will charge the egg upon getting killed. Once the egg is completely charged by collecting enough souls, take it back to the rift to get the Elemental/Apothicon Sword.
Step #4: Upgrade the Apothicon Sword
To upgrade the sword, you need to head to the ritual room corresponding to the character you’re playing and get an egg from the altar. These will be as follows:
- Nero: Junction room
- Jackie: Ruby Rabbit
- Floyd: Boxing Ring
- Jessica: Black Lace Barlesque
After obtaining the egg, you need to charge it by placing it on four different red platforms scattered around the city. Once again, the egg will get charged after you kill spawned monsters. These platforms consist of concentric red circles with symbols in between.
The locations of these platforms are as follows:
- Outside of the Junction
- Outside of the Boxing Ring
- Outside of the Burlesque
- Outside of the Ruby Rabbit.
Once the egg has been charged, take it back to the respective ritual room and offer it to get your upgraded sword – the Reborn Sword. After that, a brand new book will spawn in Nero’s room on the ground.
Step #5: Get and charge the Flag
Once you’ve acquired the upgraded sword, head down to the subway area below through the rift and acquire the flag. To summon the flag, you need to head to Nero’s room and interact with a book beside the bookcase which will make it drop.
Once you’ve found the flag, you need to carry it to the platform at which you charged the egg for the upgraded sword.
After placing the flag on the platform, you’ll have to protect it from getting destroyed by killing all spawned zombies –- failing to do so will force you to repeat the step all over again.
Once the flag has been protected, you’ll see several purple platforms on the ground. At this point, you need to run to each district while putting the flag on these purple platforms to charge it.
Once the flag has been completely charged, you need to carry it all the way to the ritual room corresponding to your character and kill the wraith here using the flag.
If you’re playing the game solo, you will have to repeat the steps involving the flag i.e. getting the flag, protecting the flag, charging the flag, and using it to kill the wraith in the ritual room.
You’ll have to do these steps thrice since the Shadows of Evil is supposed to be a four-man mode. Also note that you’ll have to take the flag to all four ritual rooms and kill all wraiths there.
For more information on how to get to all ritual rooms, you can check the sections above!
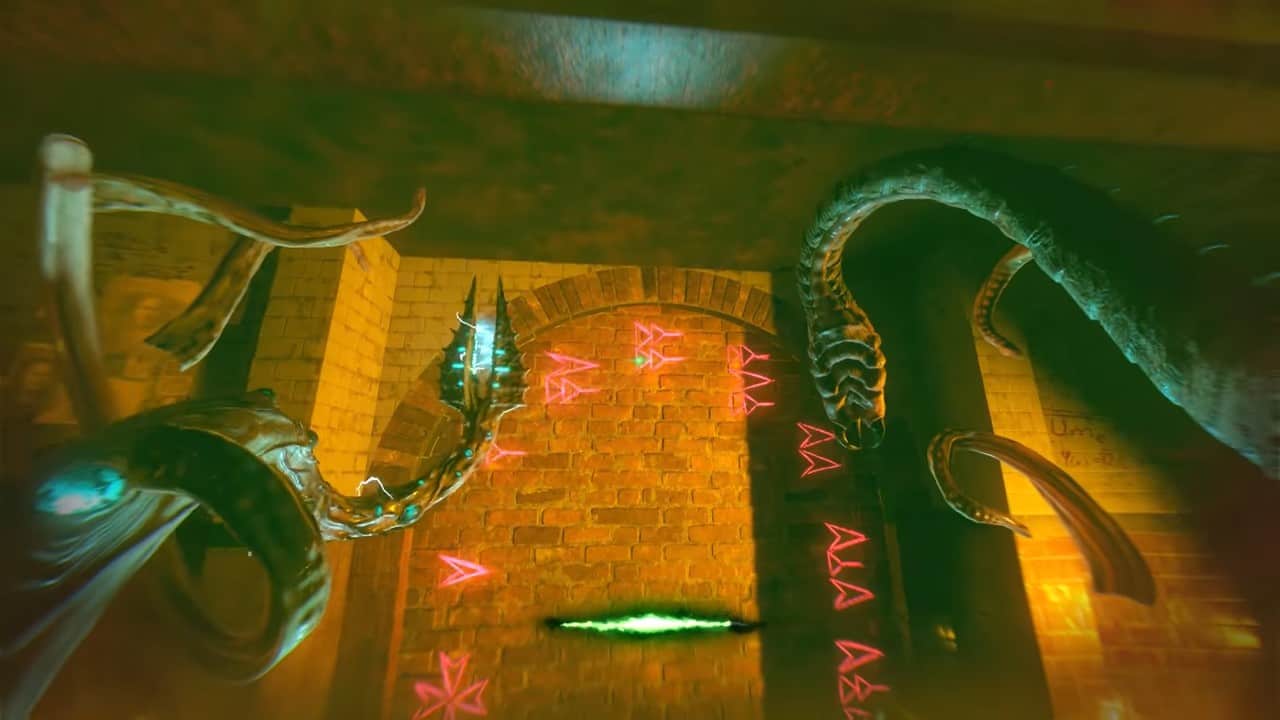
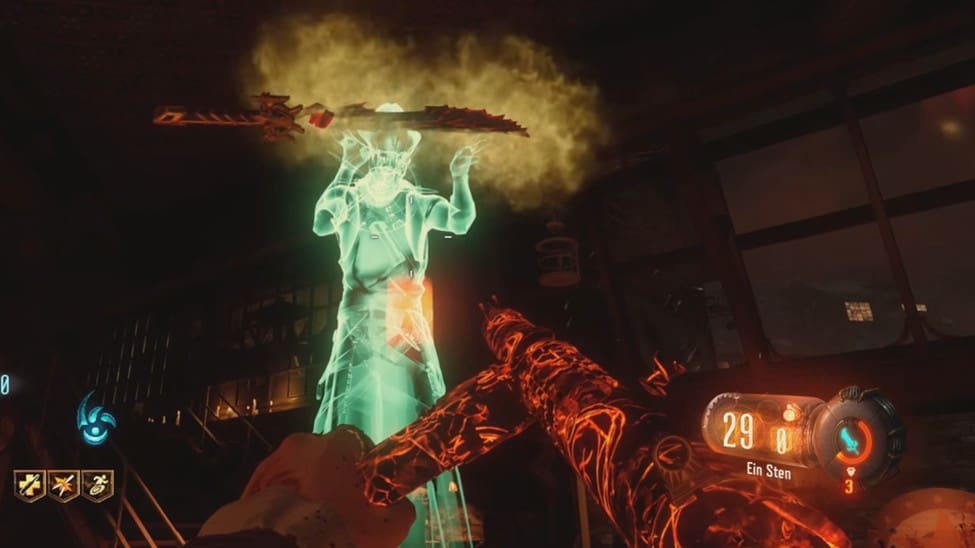
Step #6: Kill the Shadow Man
It’s time to deal with the final boss of Shadows of Evil Easter Egg. To find the Shadow Man, you need to head to the area where you located the Pack-a-Punch machine.
Once inside, you’ll see the Shadow Man surrounded by four wraiths or keepers. In here, you’ll have to complete a round to proceed ahead. Do note that you won’t be able to head outside because the door will lock itself.
After completing a round, go ahead and interact with each of the wraiths surrounding the Shadow Man to bring his shield down.
You’ll have to complete this step about 4 times which involves killing the spawned zombies to bring Shadow Man’s shield down and attacking him.
Continue to attack the Shadow Man and he will eventually be trapped by the ritual area and die.
From here on out, the solo path for completing the Zombies Shadows of Evil Easter Egg has ended, and you will require a team to move forward.
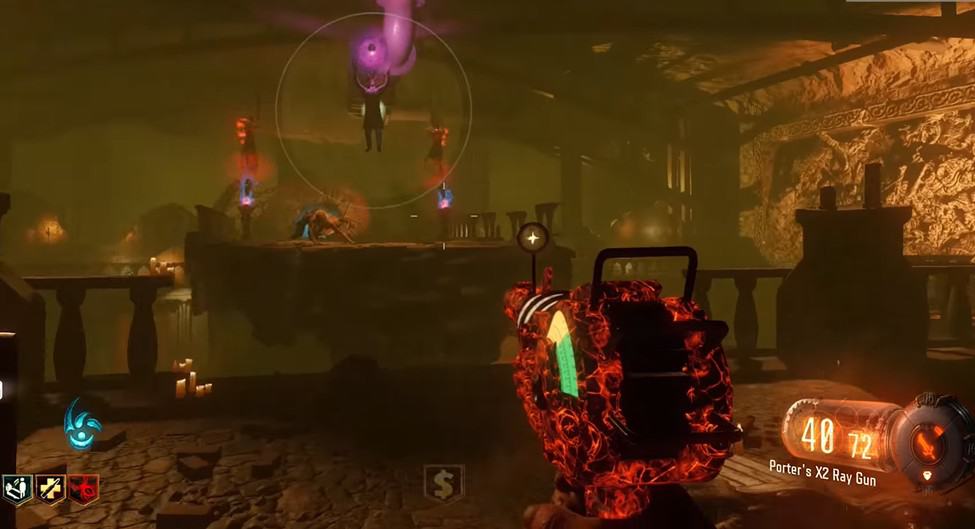
Step #7: Summon the Worm
In order to proceed from here, you need to have a complete party otherwise a large worm won’t appear in the middle of PAP room and you won’t be able to continue forward.
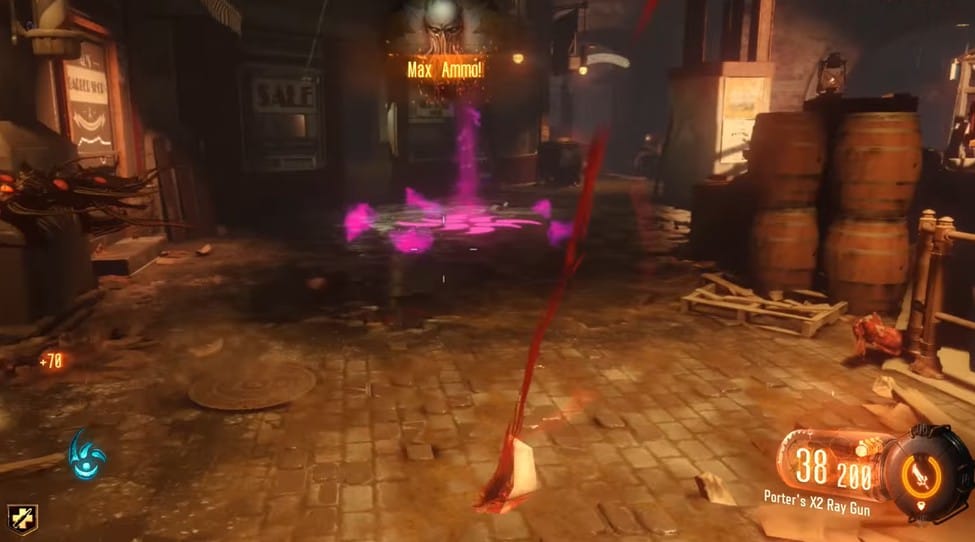
At this point, only Margwa will appear on the entire along with small white orbs scattered around the area. After every 30 seconds, all players will receive damage and must collect the white orbs in order to stay alive.
You’ll also notice that Margwa will have purple eyes instead of yellow ones and killing them will summon a purple fountain in the middle of the area which will grant players with unlimited beast mode, however, do note that at this point, Margwa will be able to damage you in the beast mode.
Finally, you’ll also notice the large worm in the Junction area with three gatekeepers. Once again note that you must complete all these steps with a complete team.
Step #9: Shock the Worm
For the final step, you will need 4 members on your team in total – no less. You need one member of your team at each of the train stations in the game with the last one holding the Junction.
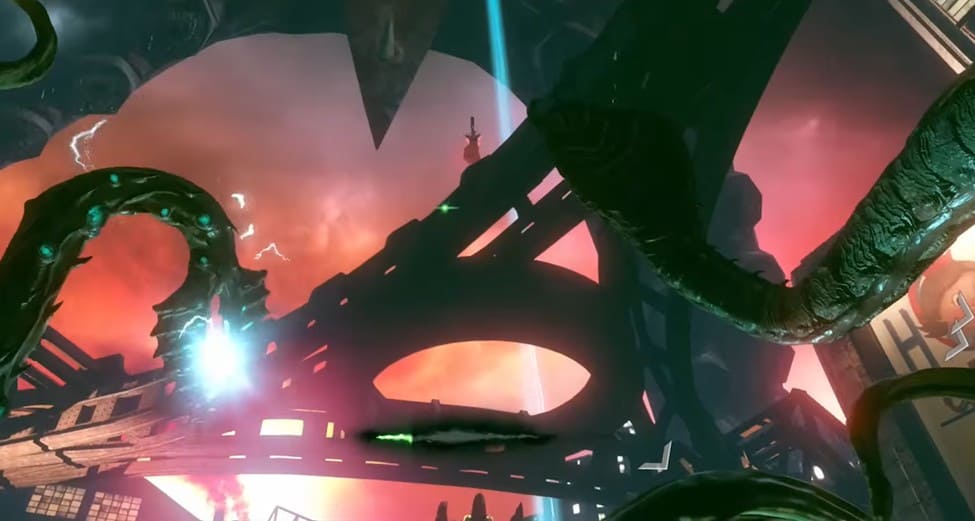
One of the members of your team needs to call the train and make it cross the Junction area in such a way that it successfully hits the worm. Once this is done, the three members assigned at the station must change into the beast mode and electrify a small white machine placed in a corner of each of the stations; near the staircase.
After this is done, the player holding the Junction area [also in the beast mode] needs to electrify the three gateworms (keepers) around the central large worm which will summon a laser from the sky and complete the Shadows of Evil Easter Egg.