Gorod Krovi has a massive easter egg that requires extensive map knowledge and multiple steps to complete. To make it even more interesting, you will be dealing with countless waves of zombies, dragons, and a boss while making your way to the end.
Do note that other known activities like building the Pack-a-Punch machine in the map, upgrading your weapons, and finding key items are all part of the easter egg steps in Black Ops 3 Zombies.
Steps to complete the Gorod Krovi easter egg in BO3 Zombies
Something important to note which many players often wonder is that you can complete the easter egg solo. However, it will take a considerable amount of time and skill.
We highly recommend going after the easter egg as a duo or a full team given the number of enemies and boss battles you have to survive throughout the map in BO3 Zombies.
Step #1: Turn on the power
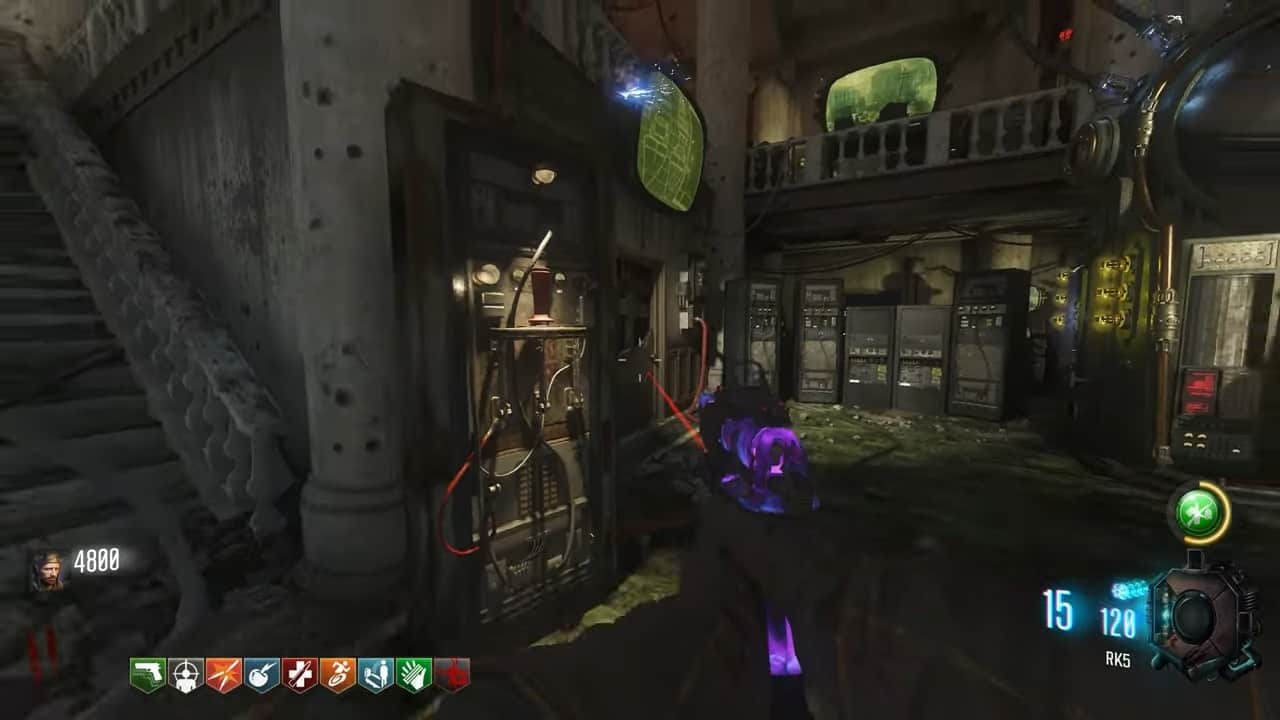
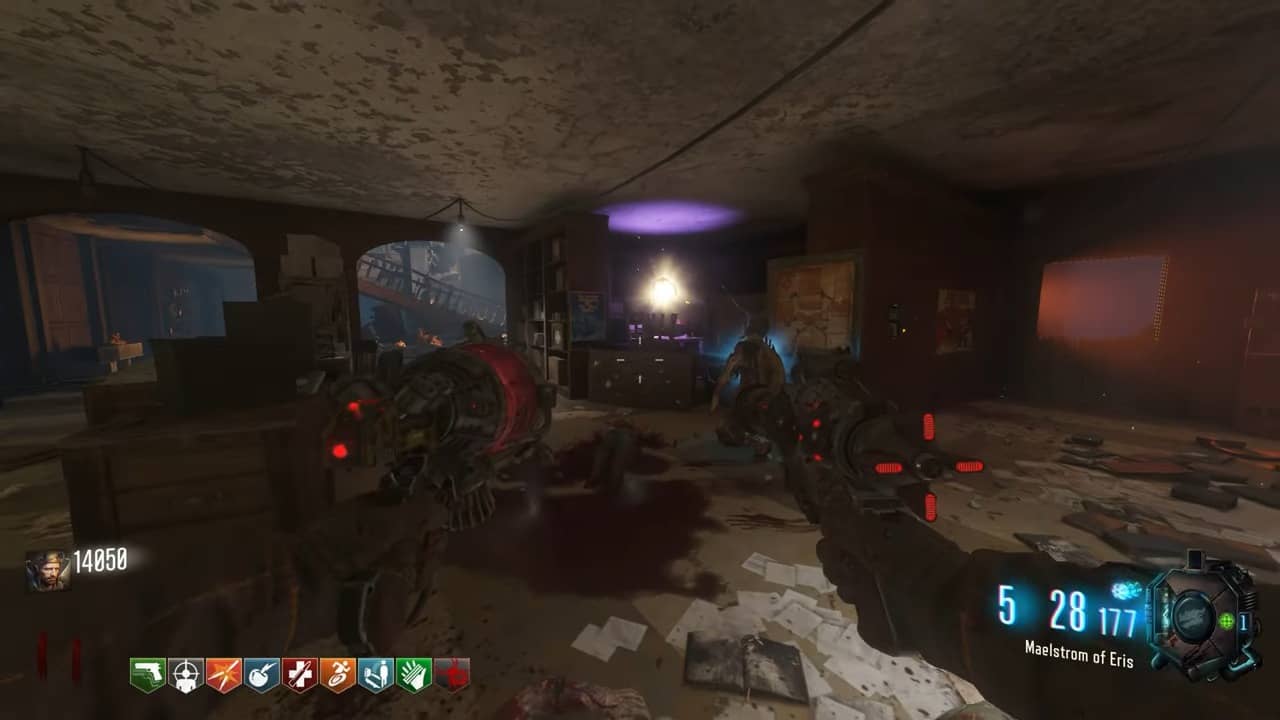
The first step in completing the Easter egg for this map is to turn on the power. To do so, you need to head inside the area with the green monitors on the wall. You will find the area inside the building with a star outside. Once inside, simply hit the switch to turn on the power.
Near this area, you can also find a store with a sofa that has a vodka bottle on it. You can interact with it to complete the secret Easter Egg song.
Step #2: Insert the Code Cylinders into Groph Module
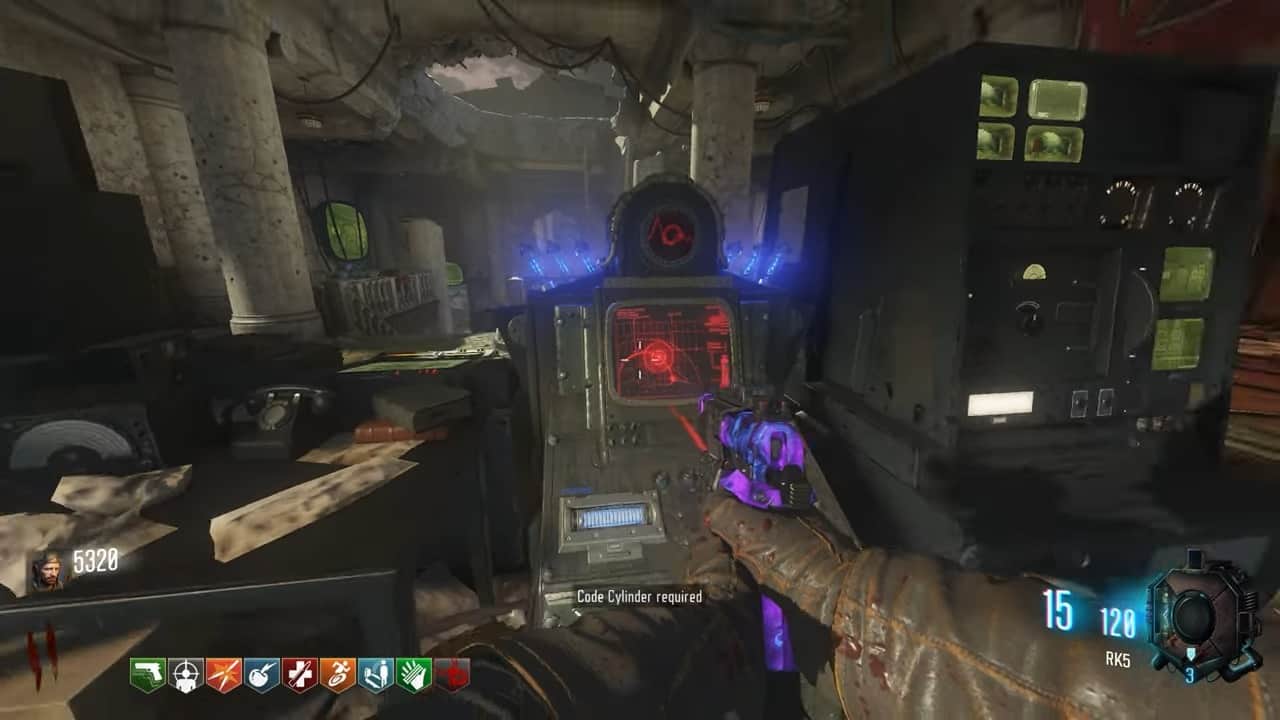
After turning on the power, you need to begin killing enemies who will drop cylinders. You need to insert these cylinders into red, blue, and yellow consoles (Groph Modules) one by one and defend them for roughly 30 seconds.
Make sure that insert the Code Cylinder into the Groph Module in the area which you acquired it from – it won’t work for other Groph Modules. These can be located in:
- Tank Factory
- Dragon Command
- Supply Depot
Once done with all three, you should have three Dragon Network Circuits in your inventory. Insert them into the machine inside the Operations Bunker.
Step #3: Ride the Dragon to the Pack-a-Punch
After inserting the Dragon Network Circuits into the machine, head to the area near the blue console and jump onto the upper platform – Dragon Command.
Once there, jump onto the dragon’s back to head over to a new area – the Hatchery. In the new area, head down, where you will find the Pack-a-Punch machine.
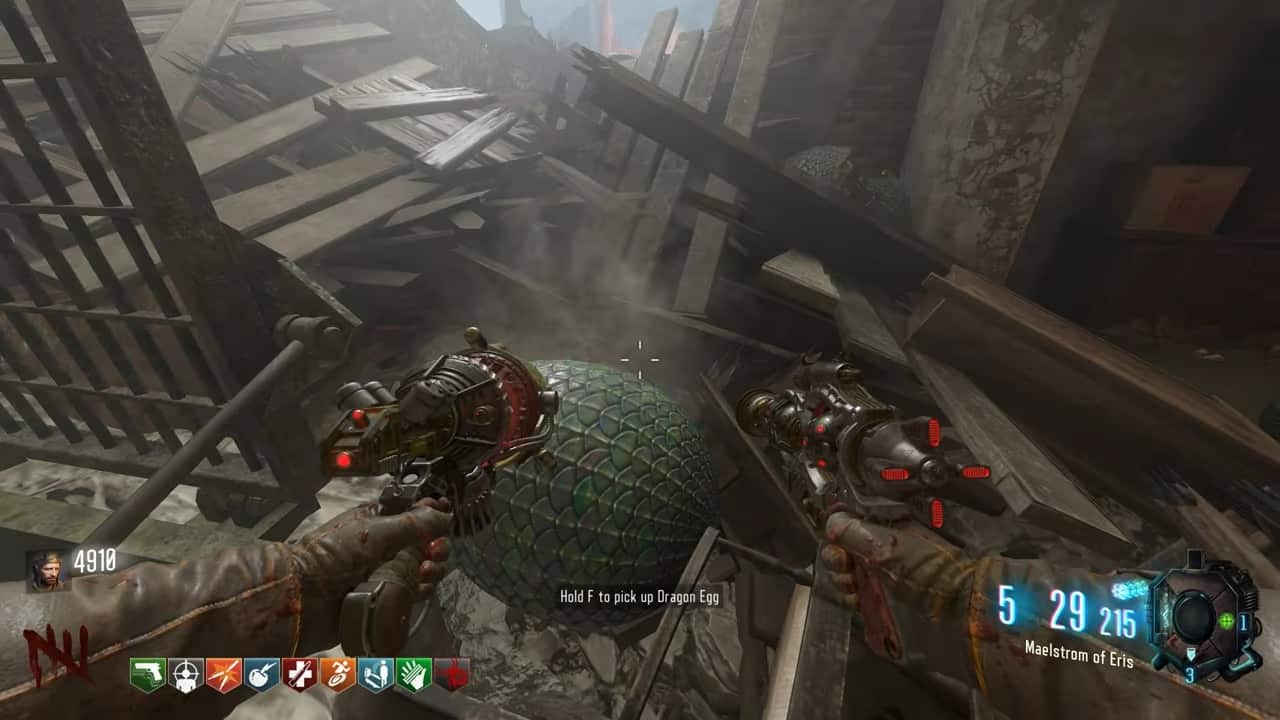
Step #4: Pick up the Dragon Egg
From the Pack-a-Punch area, head up to find the Dragon Strike weapon and a long fight. Do note that you will not be able to leave the area during the fight and must complete it to progress ahead.
After the fight, head down to the secret entrance leading back to the main area, shoot the dragon egg on the top-left side of the sewer entrance, and pick it up.
Step #5: Charge the Dragon Egg
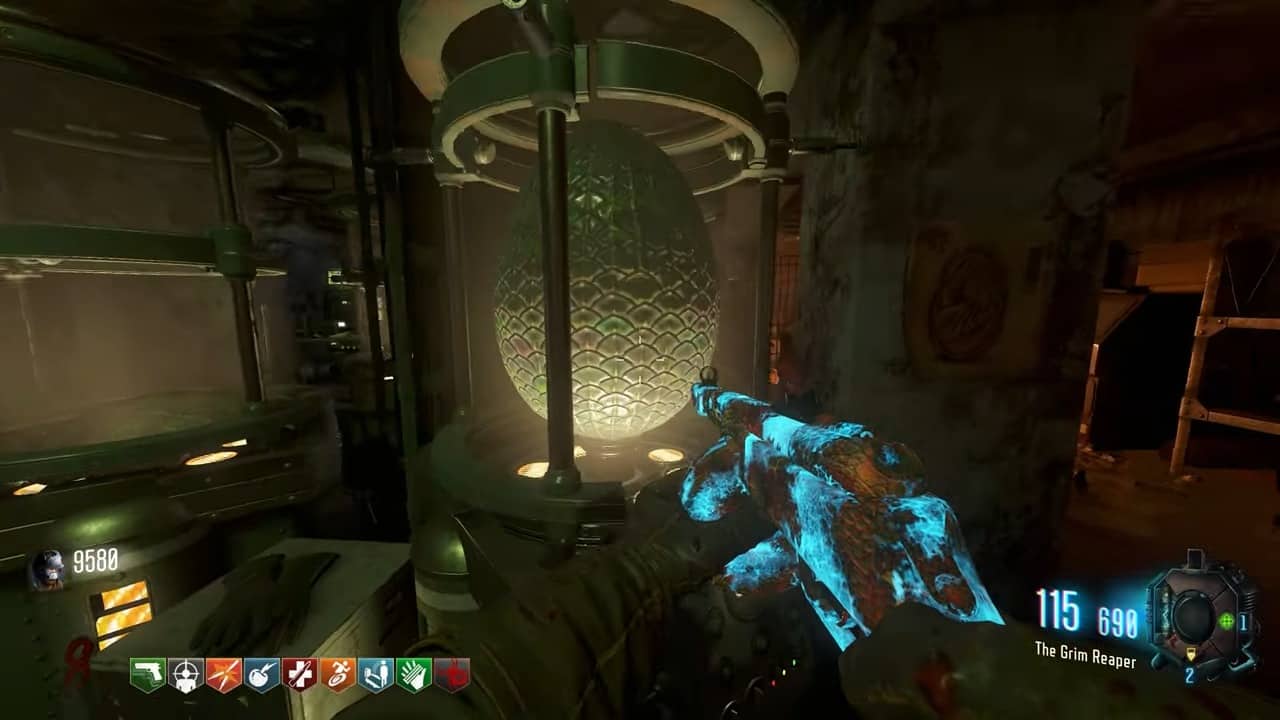
After completing the challenges, you need to carry the Dragon Egg to the Pack-a-Punch area and place it inside the incubator. To charge the egg, you must continue to kill the zombies in the area.
Once fully charged, you will not be able to pick up the egg and must survive another wave of undead to cool the egg down after the dragon breathes fire on it. Once the Dragon Egg is fully cooled down, pick it up from the incubator, and head back to the main area using the sewer exit.
Step #6: Get the Guard of Fafnir and the Gauntlet of Siegfried
Now you have to get your hands on the Shield or the Guard of Fafnir. For that, you will require three Shield Parts, each spawning at a different location. You can find one in each of the following:
- Infirmary
- Armory
- Operations Bunker
You must then combine each Shield Part at a workbench to build the Guard of Fafnir.
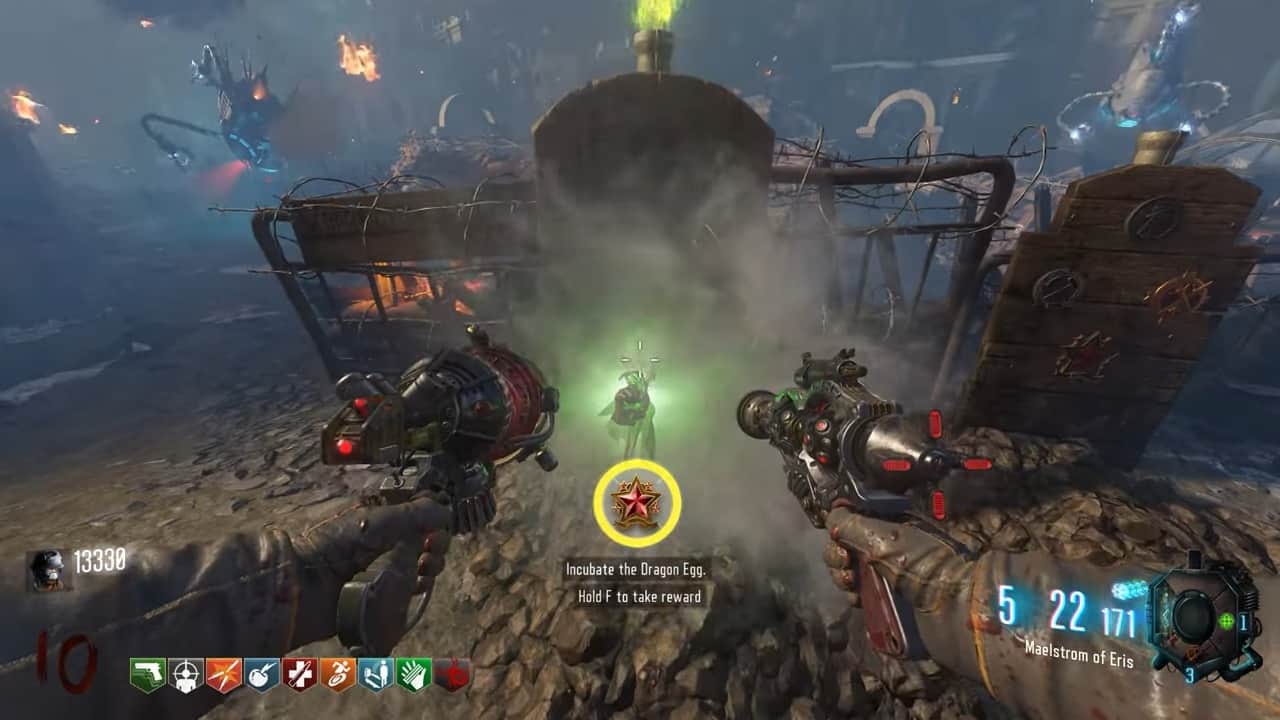
With the Dragon Egg at your disposal, head over to the tombstones from where you received the challenges. You simply need to interact with it to get the Gauntlet of Siegfried which is a new wonder weapon in Black Ops 3 Zombies.
Most players tend to complete the Gorod Krovi easter egg by this point. The new wonder weapon is just too good to pass.
Step #7: Power up the generator
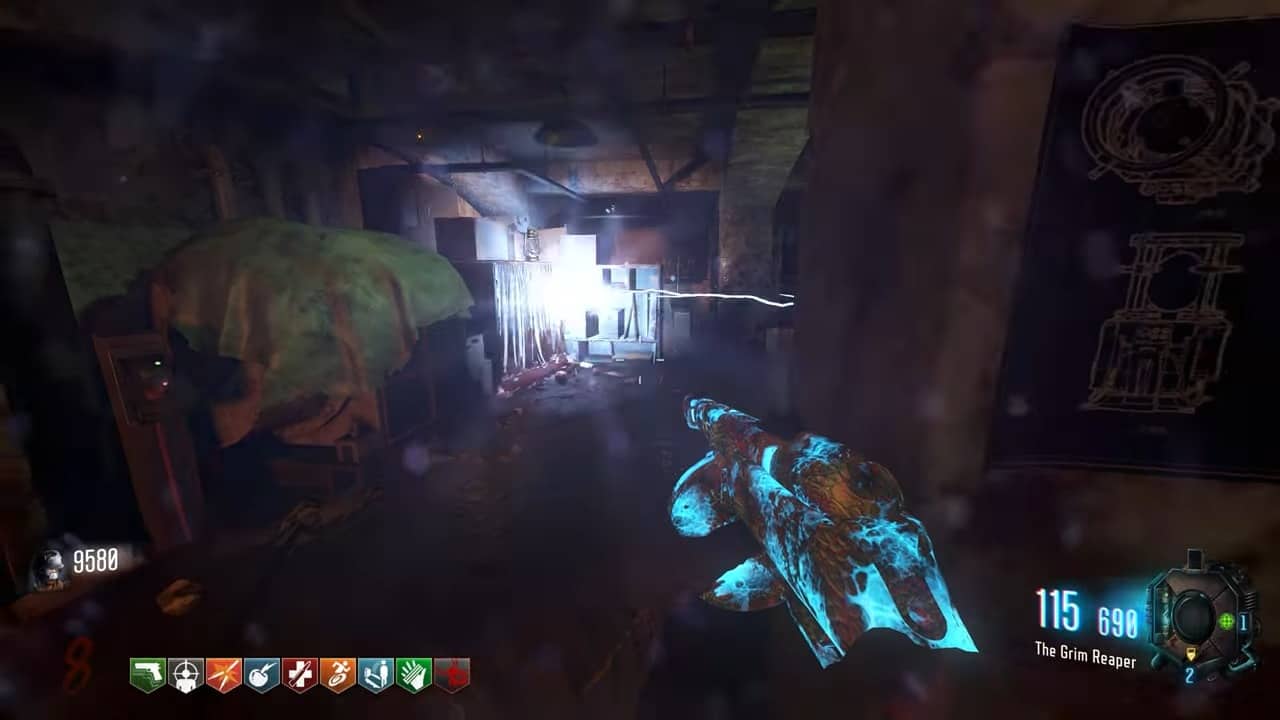
From where you picked up the incubated dragon egg, you will also notice a generator in the same area. Stay there and wait for drones to appear. Next, lure them into firing at the generator which will start it up.
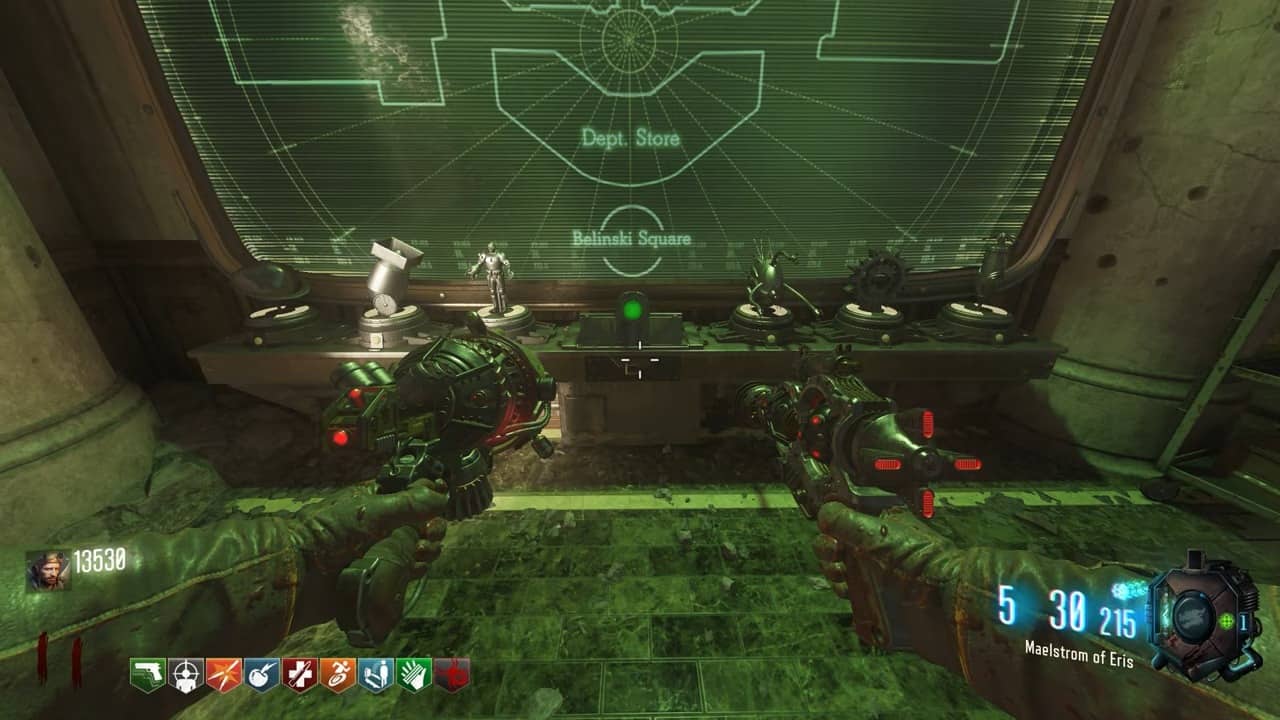
Step #8: Complete the valve puzzle

After powering up the generator, you will need to find a total of 6 valves. These valves can be green, blue, or white depending on the airflow in them. Green signifies the initial point, blue signifies air flow, and white signifies no airflow.
You need to have one valve green and the other five valves blue. Here are the locations of these six valves:
- In the upper area of Dragon Command
- Below the bookcase in Supply Depot
- Near the Bridge Control
- On the first floor of the store on the opposite side of Kuda
- Just outside the tank factory
- Below the Stamin-Up Perk-a-Cola
Once you have solved the puzzle, pick up the cylinder from the last machine, and insert it inside the SOPHIA Machine in Dragon Command. Use a gun to shoot the cylinder to the left of the machine so that it spells out KRONOS.
Step #9: Get the Statues
After the valve puzzle, you will need to find a total of 6 statues scattered around the map. Once you do, you’ll need to head over to the machine opposite SOPHIA and place them all on the computer module.
- Shoot the red light inside the sewer exit from the Pack-a-Punch area and get the statue from the toilet near the Pack-a-Punch
- Melee attack the vault inside the Operations Bunker using the Gauntlet of Siegfried WW
- Look in the opposite direction while standing in front of Dragon Command and shoot at the statue on the high wall
- Use Dragon Strike on the puddle outside the Supply Depot
- Interact with the Gigant Lazer Beam Trap outside the Supply Depot
- Head to Tank Factory, use shield’s dragon fire attack on the pipe outside
Each statue correlates to a different challenge that you need to complete. Interacting with the computer will spawn a different challenge and you must complete all three to progress further.
These challenges are one of the hardest steps to complete in your quest to complete the Gorod Krovi easter egg.
Challenge #1 – Gersch Module Defense
For the first challenge, head over to the Tank factory and look towards your left. The module will spawn here. All you have to do is defend it for 90 seconds. Once the zombies stop spawning, use the Gauntlet to send out the dragon, who’ll then pick up an item which you can then give to SOPHIA.
Challenge #2 – Escort the Russian Mangler

For the second challenge, you need to escort a Russian Mangler from the Tank factory to SOPHIA. He will try to attack you the entire way, you have to avoid his attacks and also avoid the onslaught of the other zombies to successfully get him to SOPHIA.
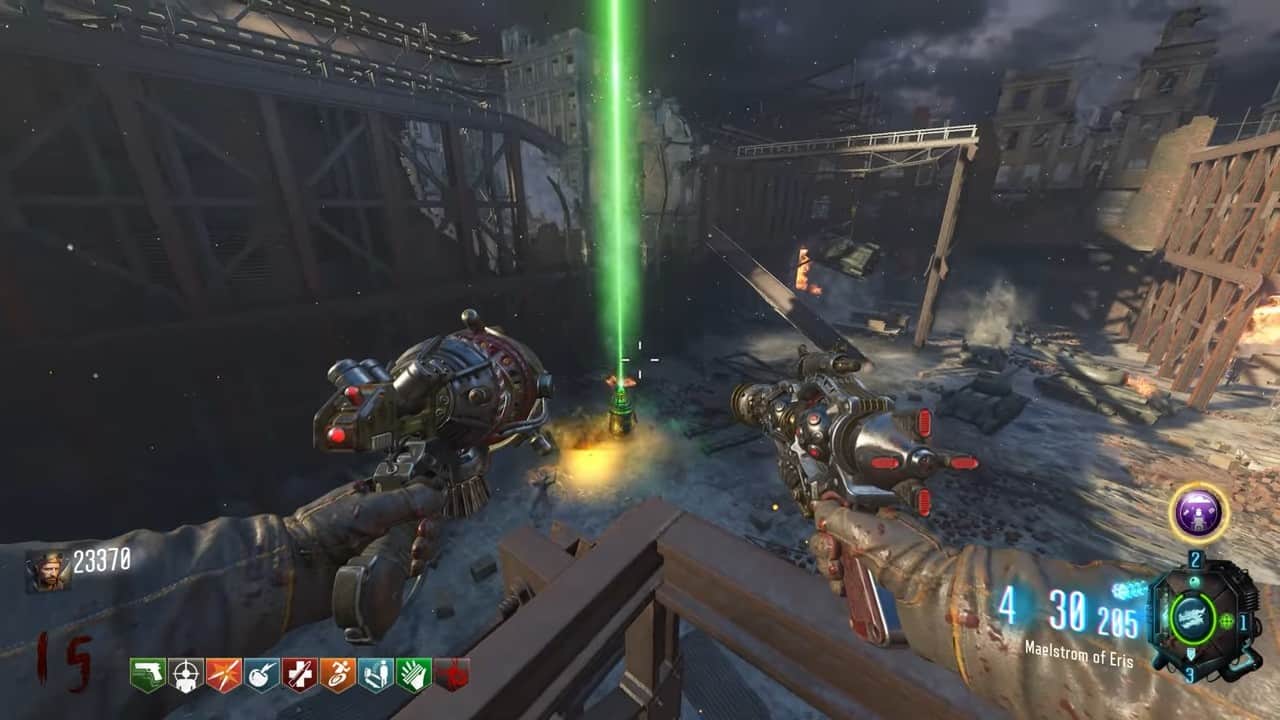
Challenge #3 – Yellow Orb Challenge
The third challenge involves you having to listen to audio cues. These cues will eventually lead you to a yellow orb that you have to destroy. The orb moves around and flies away fairly quickly so make sure you complete this challenge as quickly as possible.
Challenge #4 – Drone Escort
Similar to the Russian Mangler escort, you have to guide a Drone to SOPHIA. The drone has nearly zero health so the margin for error is low. simply stand next to the drone and defend it until you reach SOPHIA. The drone can be found in the initial spawn area.
Challenge #5 – Bomb Defuse

In this challenge, you have to defuse a couple of bombs in a specific pattern. The screen behind the statues will flash in the order in which you have to defuse them. Keep a pen and paper handy to note down the order in which you have to defuse the bombs. Since this challenge is randomized the order will be different for every run.
Challenge #6 – Mangler Holdout
While the first five challenges will occur randomly, the Mangler Holdout is the last challenge everyone will face. Interact with the computer and once the screen stops flashing, pick up a key card from the drawer in front of the statues.
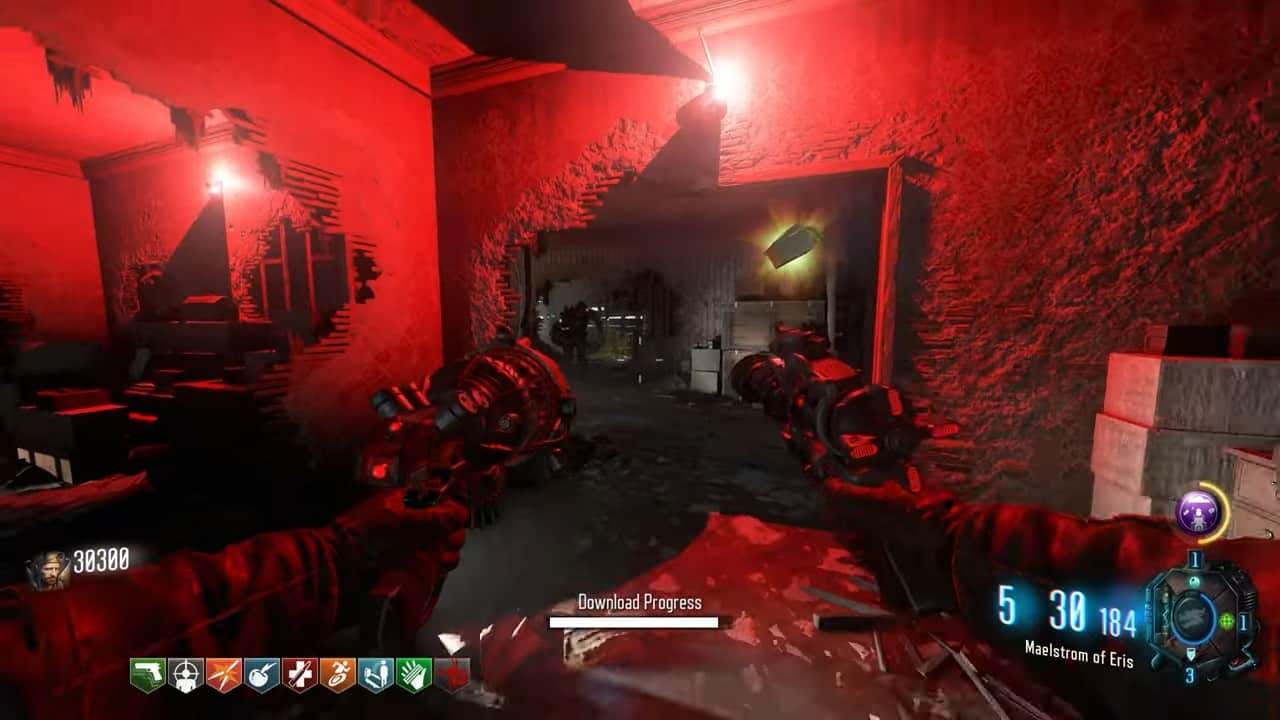
Important Note: Every player must press the button to activate the Information Download.
Once you reach the bunker, make your way to the main floor, and across from the toilet, you’ll find the terminal. Insert the key card to start the challenge and hold out the Manglers until the download progress is complete.
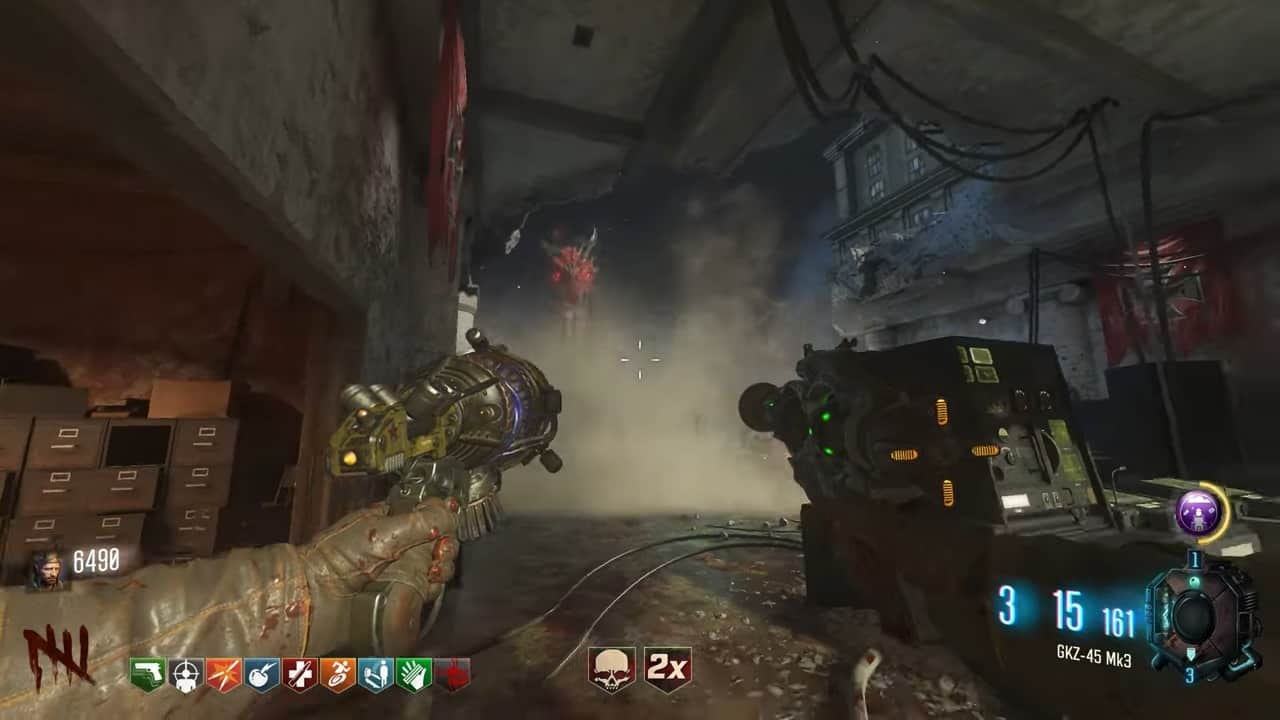
Step #10: Start the power core and defeat Nikolai
You are finally one step away from completing the Gorod Krovi easter egg in BO3 Zombies. Take the key card and give it to SOPHIA, she’ll give you a power core in exchange.
Head to the spawn area, and use the Gauntlet of Siegfried to let the dragon fly freely. Once done, dash towards the sewer gate in front of SOPHIA – the one with a red star – and stand on it to be sent down to the boss area.
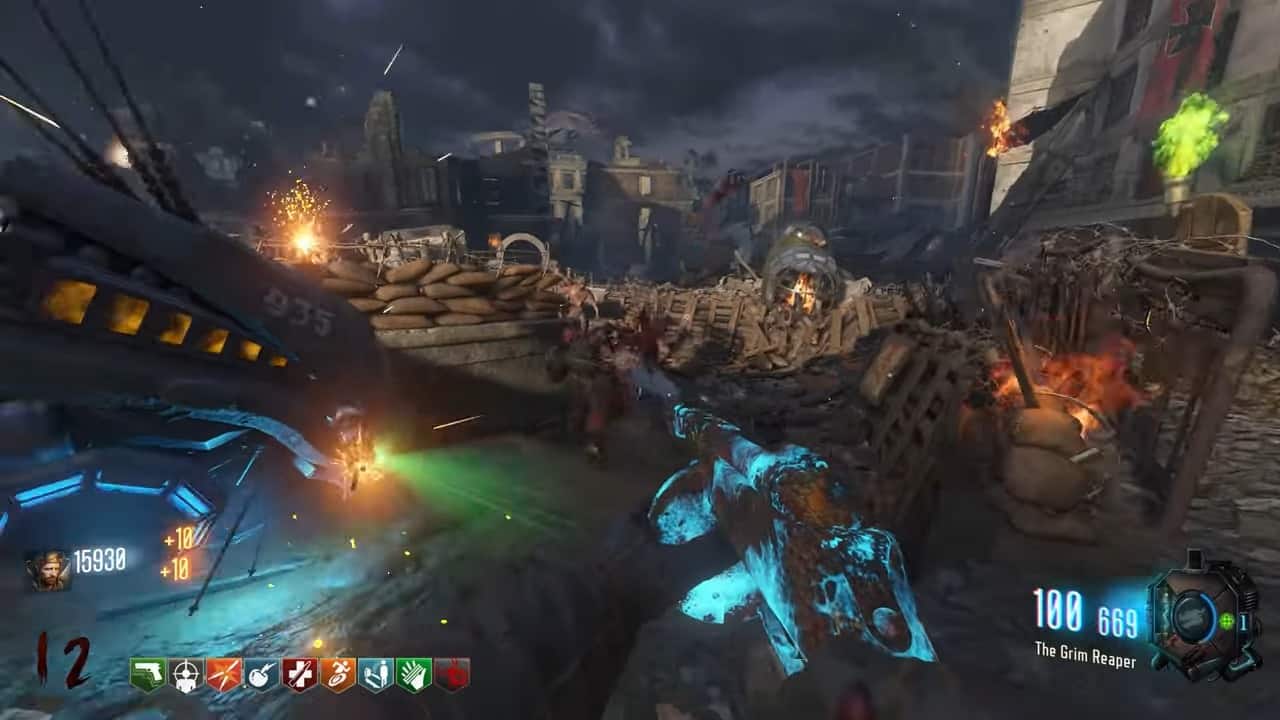
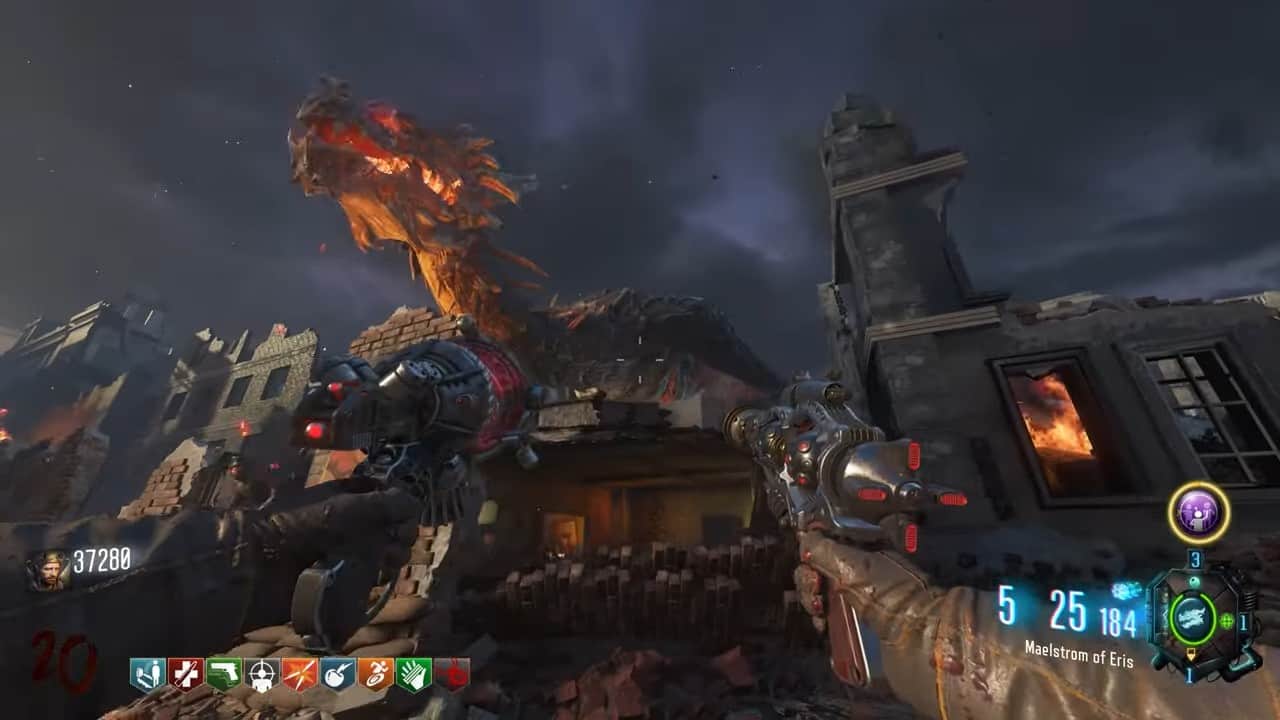
After you head down into the boss arena, you will face a behemoth dragon along with Nikolai. In addition to the dragon, you will also have to survive against the undead. After you are done with the dragon, Nikolai will turn against you.
It is a good strategy to run around the area and avoid his attacks. If you have Pack-a-Punch upgraded your weapons, you should have no difficulty taking him down by targeting his yellow weak spots.
If you have a player with an MK3 or an L4, make sure to hit the two yellow spots on Nikolai’s cheeks, then the two power cores followed by the one in the middle. This way, you can defeat Nikolai within seconds in BO3 Zombies.
Once you have defeated the boss, sit back and enjoy the cutscene. Congratulations. You just completed an extensively long easter egg in Gorod Krovi.