Riddler’s Revenge is the most extensive Most Wanted mission in Batman: Arkham Knight in which you must complete a series of challenges to save Catwoman.
You will get the opportunity to encounter the Riddler early on in the first chapter, but it will not be until the third chapter when you lower the Mercy bridge that the Riddler reveals his diabolical plan to prove his mental superiority.
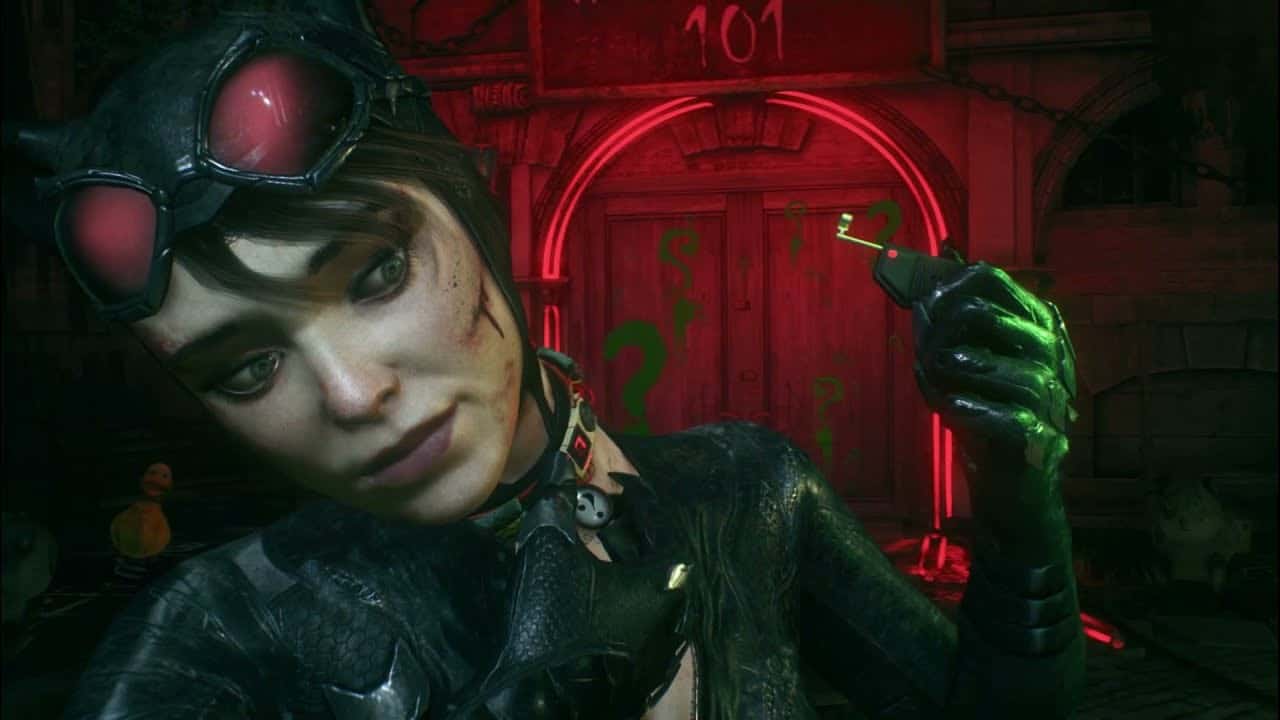
You will get to know that the Riddler has placed an explosive collar on Catwoman. The only way to save her is by obtaining nine keys to unlock the collar. The keys, however, are rewards for completing Batmobile-themed races and solving puzzle rooms.
Riddler Challenge #1 – Mental Blocked
Location: Bleake Island – The Cauldron, west of Falcone Shipping
Type: Race
Head over to The Cauldron on Bleake Island and look for the Gotham Water Company elevator near the GCPD. You will find a shutter under the bridge with the Mental Blocked banner above it. Drive the Batmobile inside the elevator and ride the elevator to the very bottom and you will find a red blockade in front of you. Wait for the Riddler to finish his monologue to start the race challenge.
You need to complete three laps of an obstacle course within the allotted time. You must manipulate the obstacles, ramps, and platforms to your advantage. The first two laps are pretty straightforward but the third lap will have a couple of tricky jumps involved. You must time each blockade or ramp precisely or you will have to start the lap all over again. Luckily you can make as many attempts as you need.
Once you have completed all three laps, you see a pressure pad activated. Stand on the pad to reveal a maze of red and green lights. The lights on the wall coincide with the key pedestals in front of Catwoman. Now you just observe the green light in front of Batman, switch to Catwoman, and find the corresponding pedestal. Picking the right pedestal will unlock one of the keys for Catwoman to pick up.

Riddler Challenge #2 – Balancing Act
Location: Bleake Island – Chinatown, near ACE Chemicals
Type: Puzzle
For the next Riddler challenge, head to the ACE Chemicals building in Chinatown on Bleake Island. Look for a garage behind Ace Chemicals with a similar banner as the first challenge except, this one should read “Balancing Act”.
Ride down the elevator and you will find a ramp with the familiar blockades in the way. Your goal is to get the Batmobile onto the raised platform in the room. Drive up the ramp, exit the Batmobile, and step on the pressure pad. From there, use the remote to drive the Batmobile. This is not a race and you will have to navigate some tight pathways, so we recommend using the Battle Mode of your Batmobile.
Manipulate the red and white blockades and platforms to drive across. Drive to the second balance board and use the red/green blockades to reach the far end.
Do note that you will need to hit the Afterburner to jump across the green platform. To power up the board, drive around the lift and fire the Power Winch at the switch on the right side – rev up the engine and keep the needle inside the orange section.
Now once that is done, the pressure pad near the entrance will be activated. Once again stand on top of it and identify the correct key pedestal by switching between the two characters.

Riddler Challenge #3 – Numeracy 101
Location: Miagani Island – Pinkney’s Orphanage
Type: Puzzle Room
Head inside Pinkney’s Orphanage to find three question marks on the gate in front of you. If you hit each one with a Batarang, it will rotate a portion of the large question mark on the floor.
You need to line up the circles in such a way that they all light up and form an upright question mark. Once it is done, adjust your view in a way that the reflection in the mirror forms the dot and scan the whole question mark to solve the riddle.
Head through the gate and talk to Catwoman before heading inside the green door titled Numeracy 101. Switch characters to make Batman stand on the blue pressure pad and Catwoman on the red pad.
On the wall between the two characters will be five question marks and a screen that will display a series of numbers on each side. The numbers on Catwoman’s side describe the order in which Batman must hit the question marks on his side and vice versa. You need to hit the question marks in the following order to solve the puzzle:
- Batman: 3, 1, 4, 5, 2
- Catwoman: 1, 3, 5, 2, 4
After completing the puzzle, fight a wave of Riddler robots and acquire the third key from the pedestal in the room.
Riddler Challenge #4 – Crushonator
Location: Miagani Island – Bristol, underneath Elliot Memorial Hospital
Type: Race
For the next Riddler Challenge in Batman: Arkham Knight, head over to the Elliot Memorial Hospital on Miagani island and head inside the door named Crushonator. Ride the elevator down and approach the start line for the race track.
This race is a lot more interesting than the last one but can be a lethal task if you mess up the timing. Once again you need to complete 3 laps in the given time while manipulating the blockades to open up your way. And like the previous race track, you can attempt each lap as many times as you need.
The blockades in this challenge can be a bit tricky. You need to be careful about activating the blockades as an unnecessary activation might result in you getting crushed. Also, avoid the green glowing lights on certain floor panels as those indicate that a blockade will hammer those points.
After completing the race, follow the same old drill to identify the pedestal containing the correct key by switching between Batman and Catwoman.

Riddler Challenge #5 – Flight School
Location: Miagani Island – Kingston, beneath Gotham Casino
Type: Puzzle
Drive to Kingston, head inside the Flight School Garage, and exit into another puzzle chamber. The goal of this Riddler Trial is to hit three green panels on the walls inside the puzzle room.
The first target is a pressure pad mounted on the wall directly across from you. You will need to build up momentum to glide into the target. To do this, enter the Batmobile and back up a bit, and then speed up using the afterburner. Eject just before reaching the end of the road and glide straight into the target. Right after you hit the panel, jump and glide back to the Batmobile.
This should unlock the second panel which will require even more momentum as it is located on the other side of the wall to your right. So back up once again, speed up, and eject at the last moment. Glide and turn right 180 degrees for the pressure pad.
For the last pressure pad, back up as far as you can and then once again accelerate to reach the maximum momentum you can achieve. And glide in the same direction as you did for the second one.
Be sure to glide upwards to increase the distance you can travel. Now just to the right of the second target, you will see a narrow passage that you need to pass through to reach the last pressure pad. While avoiding the walls of the circular passage, turn right once again to hit the last target.
Make your way back to the entrance to find another pressure pad and identify the correct key by switching to Catwoman to complete another Riddler Challenge in Batman: Arkham Knight.

Riddler Challenge #6 – Intro to Physics
Location: Miagani Island – Pinkney’s Orphanage
Type: Puzzle Room
Inside the orphanage, head inside the door labeled Physics. Start the challenge by standing on the left switch and throwing a Batarang on the question mark on the left side. Make Catwoman stand on the second pressure pad and move Batman to the third switch after the electric charge has passed. The counter-weight is moved further by the pressure pad Batman stands on. Use this strategy to guide the electric charge through the series of pipes until it reaches the end.
After the electric charge passes Catwoman, move her with Batman on the third pressure pad and remove Batman after the charge switches back. Move Batman to the second pressure pad and Catwoman to the first one after the electric charge passes her. Once the charge passes Batman, move him right next to Catwoman on the first pressure pad to complete the puzzle.
To acquire the key, make Batman jump on the pressure pad on the right side and send Catwoman to acquire the key. She will be interrupted by the upgraded Riddler robots.
Catwoman can only fight the red robots while Batman can deal with the blue ones. Avoid or repel the robots that are not compatible with your character and deal with the others before switching characters.
Once all the enemies have been dealt with, you can switch to Catwoman to acquire the 6th key and beat another one of Riddler’s Trials in Batman: Arkham Knight.
Riddler Challenge #7 – Drain Pain
Location: Founders’ Island – Otisburg, near Divinity Church
Type: Puzzle
The next Riddler Challenge in Batman: Arkham Knight can be found in a garage below the end of Penitence Bridge on Founders’ Island. Enter the Drain Pain Garage inside Divinity Church and head inside to find another puzzle waiting.
Once inside, shoot the Power Winch at the anchor point and descend the wall right next to the spinning blades. Keep on moving along the right side until you see the opening over the hole in the wall on the far side.
Eject out of the Batmobile and glide through the opening. Step on the Pressure Pad to lower the water level. Now, drive the Batmobile to the right side to the Number 2. Once again, shoot the Power Winch at the anchor point above and lower the Batmobile above the water.
Keep on moving to the left side until the opening is over the weakened wall which you need to destroy using the Heavy Cannon. Eject out of the Batmobile and glide inside the hole to step on another pressure pad and lower water to another level followed by taking on four metallic humanoids.
Head back inside the Batmobile and drive until you see the spinning blades right next to you and drive up the wall. Find the Number 3 and lower the Batmobile three levels from the Winch Anchor Point. Keep on spinning the wall until you are on the very top of the reserved parking plate.
Once again, eject out of the Batmobile, glide inside the hole, and stand on the pressure pad. This will spawn a couple of Gun Turrets which you need to destroy using Batmobile Remote. Lastly, step on the pressure pad at the bottom of the pit. Look at the ceiling to observe the red and green lights to identify the location of the key and switch to Catwoman to acquire it.
Riddler Challenge #8 – Advanced Deathtraps
Location: Miagani Island – Pinkney’s Orphanage
Type: Puzzle Room
Head back to Riddler’s hideout in Pinkney’s Orphanage to find another puzzle room waiting for you and go through the green door. To solve this puzzle, have Batman stand on the pressure pad on the right side and have Catwoman climb the ceiling to reach the pressure pad inside the next room.
Do note that the light on the board represents the other character’s first move – more lights light up if the other character steps on the appropriate panel. Try and memorize the path and move the second character to the particular spot.
Another important thing to consider is that the dot of the question mark represents the start. Keep up with the back-and-forth movement until both characters reach the pressure pad at the end. This will cause another wave of Riddler robots to pop up. Defeat the red with Catwoman and blue robots with Batman to acquire the collar key and complete another one of Riddler’s challenges in Batman: Arkham Knight.
Riddler Challenge #9 – Condamned
Location: Miagani Island – Kingston, underneath Ranelagh Ferry Terminal
Type: Race Track
For the next challenge of the Riddler Most Wanted mission head to the Ranelagh Ferry Terminal on Miagani Island. Head inside the cave to find the final race with new obstacles. The race follows the same rules as all the previous ones so you should have had enough practice with these by now. Once again you need to complete each lap within the allotted time limit to complete the challenge and remember you can only manipulate the red obstacles.
After 2 laps Riddler will become enraged and take control of the mechanisms for himself. This doesn’t necessarily make things harder per se, as now you can just focus on avoiding all the obstacles. Complete the race and step on the pressure pad to identify the correct collar key

Riddler Challenge #10 – Final Exam
Location: Miagani Island – Pinkney’s Orphanage
Type: Puzzle Room
The final Riddler Challenge features three puzzles for you to solve in Batman: Arkham Knight. Head inside the Final Exam Door and go past the first room to find the puzzle. Inside the room, you will find 5 x 5 pressure pads with a row of generators at the end of each row.
You can fire the Remote Electrical Charge at a generator placed next to an opening to either repel or attract the row of pads in front of it – a full row of pads does not move.
Another important thing to note is that you cannot walk onto the pressure pads and must drop down from the ceiling using Catwoman. You can solve the final puzzles in more than one way. Solve all three puzzles in the room to acquire the final key.
Note that you will need to have the Remote Electrical Charge gadget to solve this puzzle otherwise the Riddler will not let you enter the final room saying you are missing a certain gadget. Thankfully you can grab the REC from the evidence locker room of GCPD at any point in the story.

Puzzle #1 – Laser at B2
- Catwoman on A1 and repel Generator A1
- Catwoman on C2 and attract the Generator 2
Puzzle #2 – Lasers at A1 and D3
- Repel Generator 1
- Catwoman on E2 and attract Generator 2
- Catwoman on D4 and attract Generator D
Puzzle #3 – Lasers at C5 and E5
- Catwoman on B3 and repel Generator 3
- Attract Generator 1
- Attract Generator C
- Attract Generator E
Once you have solved all the puzzles and collected the last key, you will be interrupted by Riddler in his new mech suit when you attempt to leave. This will throw you and Catwoman into a boss fight.
Riddler Boss Fight
After completing the final puzzles, Riddler will appear in a mech along with his red and blue robots. There is no point in fighting him directly so focus on the bots in the area and avoid the green laser at all costs.
Once again, do note that you need to fight the red robots with Catwoman and the blue ones with Batman. After dealing with his squad of robots, the Riddler will retreat if you haven’t collected all 243 Riddler Trophies and Riddles.
Come back to the orphanage after collecting all the Riddler trophies/riddles to start the second phase of the battle. During the second phase of the battle, you will primarily have to deal only with blue humanoids using Batman. To deal with occasional red humanoids, fire the REC to knock them back until Catwoman joins the fray.
Once Riddler thrusts his fists into the ground, keep on attacking him. Once again, be wary of the colored glow and attack with the right character. Once he has been taken care of, drive him to GCPD and complete the Most Wanted Riddler side mission.