Animal Crossing New Horizons features a ton of customization options for your furniture, buildings, and other items. To take this customization a step further, there is also an option to import your pictures and turn them into custom design patterns in ACNH. However, to create these custom design patterns from photos in Animal Crossing New Horizons, you will have to do a bit of legwork outside the game.
If you are interested in creating a pattern in ACNH of a family member or a pet so that even when you are in-game, you can see them all around your village, a simple image converter tool for Animal Crossing can allow you to achieve that.
How to upload photos for custom design patterns in ACNH
The first step to converting your photos into patterns for Animal Crossing New Horizons will be to select your image file. It can be any photo that you wish to convert into patterns, but keep in mind that it should not contain too many colors. Since the custom design will be pixelated, if it has too many colors once it translates into the Patterns, the end result won’t be too pleasant.
Step 1: Crop the image into the required dimensions
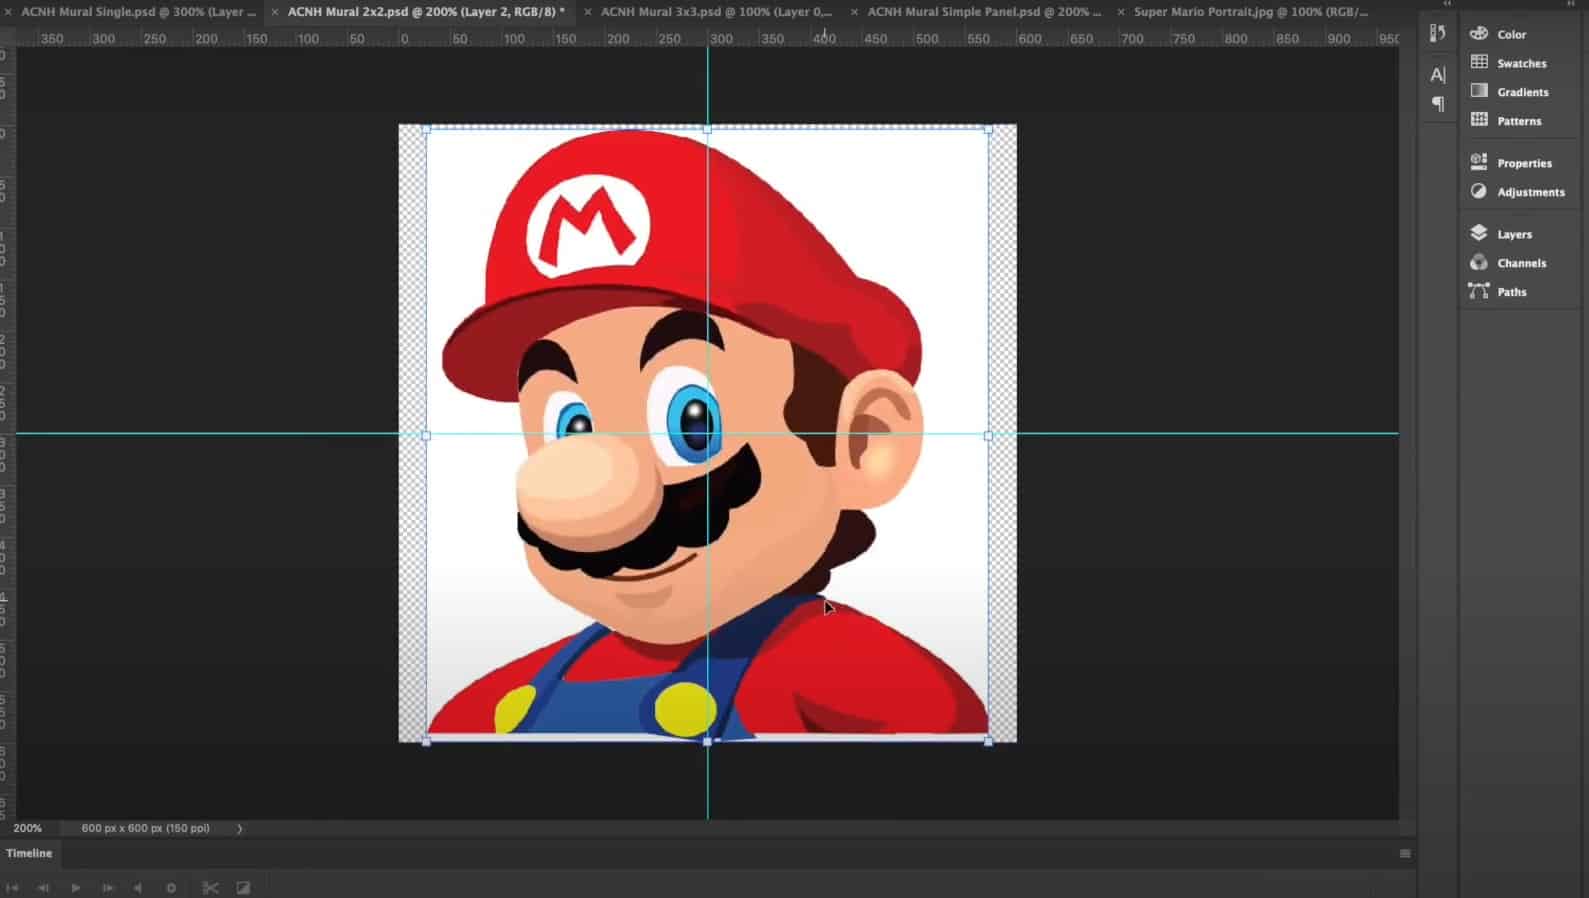
Once you have selected your image file, the next step will be to crop that particular image into four equal square sections. The dimensions for each of these pixel squares will be (300 x 300). This is quite a crucial detail that you need to work on, as squares with lower dimensions will not be converted into patterns.
You can upload the desired photo on photo editing software such as Adobe Photoshop, etc., to split it into the required four equal pixel squares, and when you are saving these, make sure to change the picture format to PNG.
Step 2: Convert your image pieces into patterns using the ACP tool
Now that you have successfully cropped the photo according to the required dimension into smaller square pieces, the next step will be to simply convert those four photo pieces into patterns. This step is relatively easier, and you can simply head over to the website called Animal Crossing Pattern tool and use their ACNH image converter.
There, you can import these pictures in the form of cropped photo squares and select the second option, Convert, to change the pictures into custom designs for ACNH.
Step 3: Generate the QR Code for each pattern
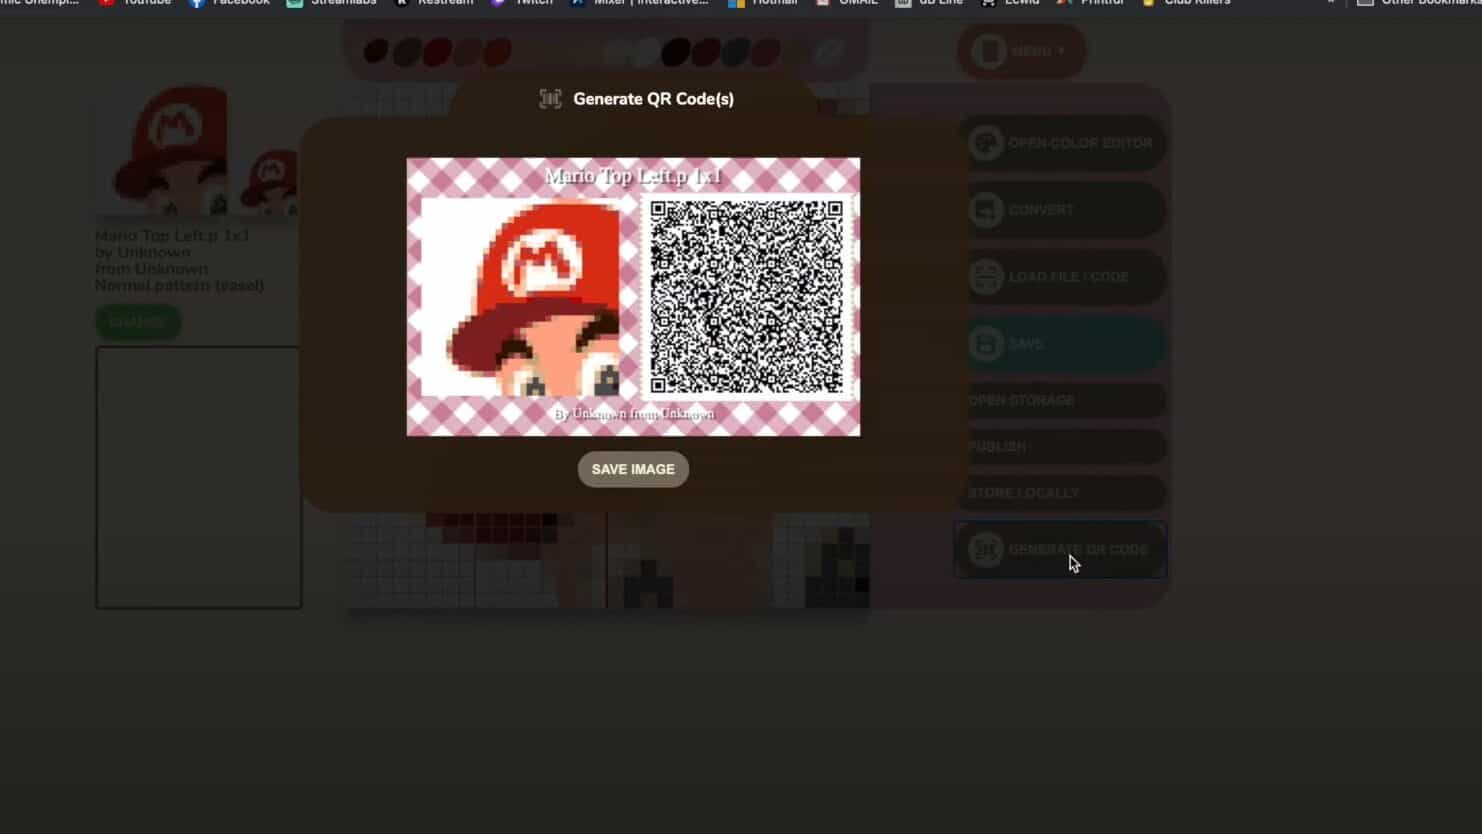
After you convert all four photo pieces into Patterns, you can save them locally and then choose the last option, which says Generate QR Code. Now, you will observe that each square pattern piece will have a QR code, and since you had 4 pattern pieces, each of these will have its own QR codes to be used. To upload the complete photo, you will need to scan the QR code for all the patterns.
Step 4: Scan the QR codes for each pattern in ACNH
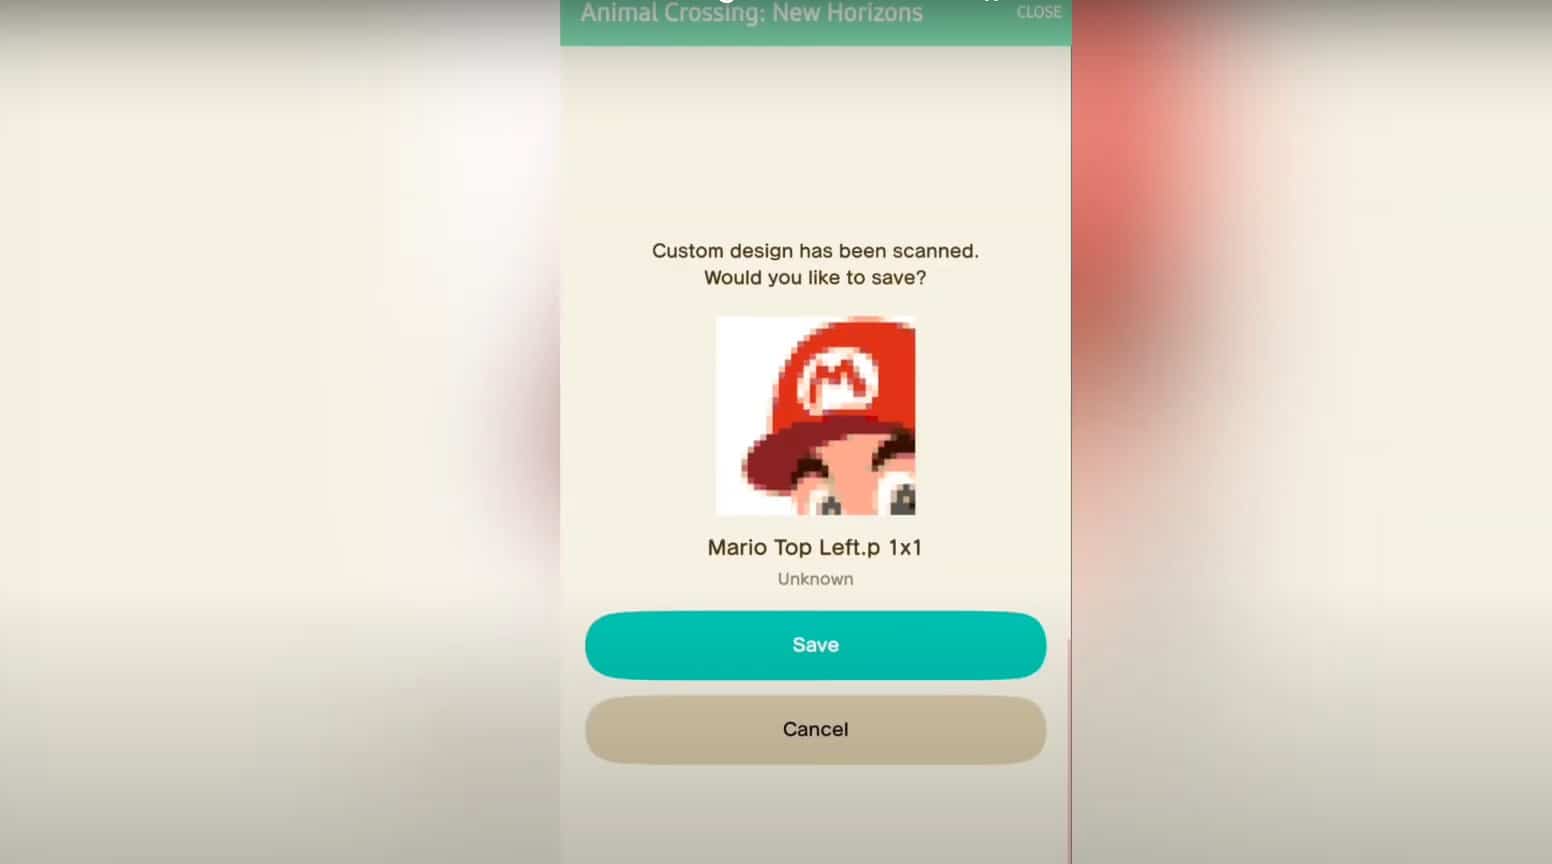
To upload your custom images to Animal Crossing New Horizons, you will need to scan each of these QR codes using the Nook Link on your Nintendo Switch Online app on your mobile phone. On the app, you can scroll and find ACNH, which will be present underneath the Game-Specific Services section.
You can then simply tap on it, and the NookLink app will initiate. Inside this application, you will observe five options, so tap on the one that says Design. Then, you will be given the option to scan a QR code. Press on this option and then proceed to scan the four pattern-piece QR codes that you generated earlier for your custom images for ACNH.
Step 5: Download the custom design in Animal Crossing: New Horizon
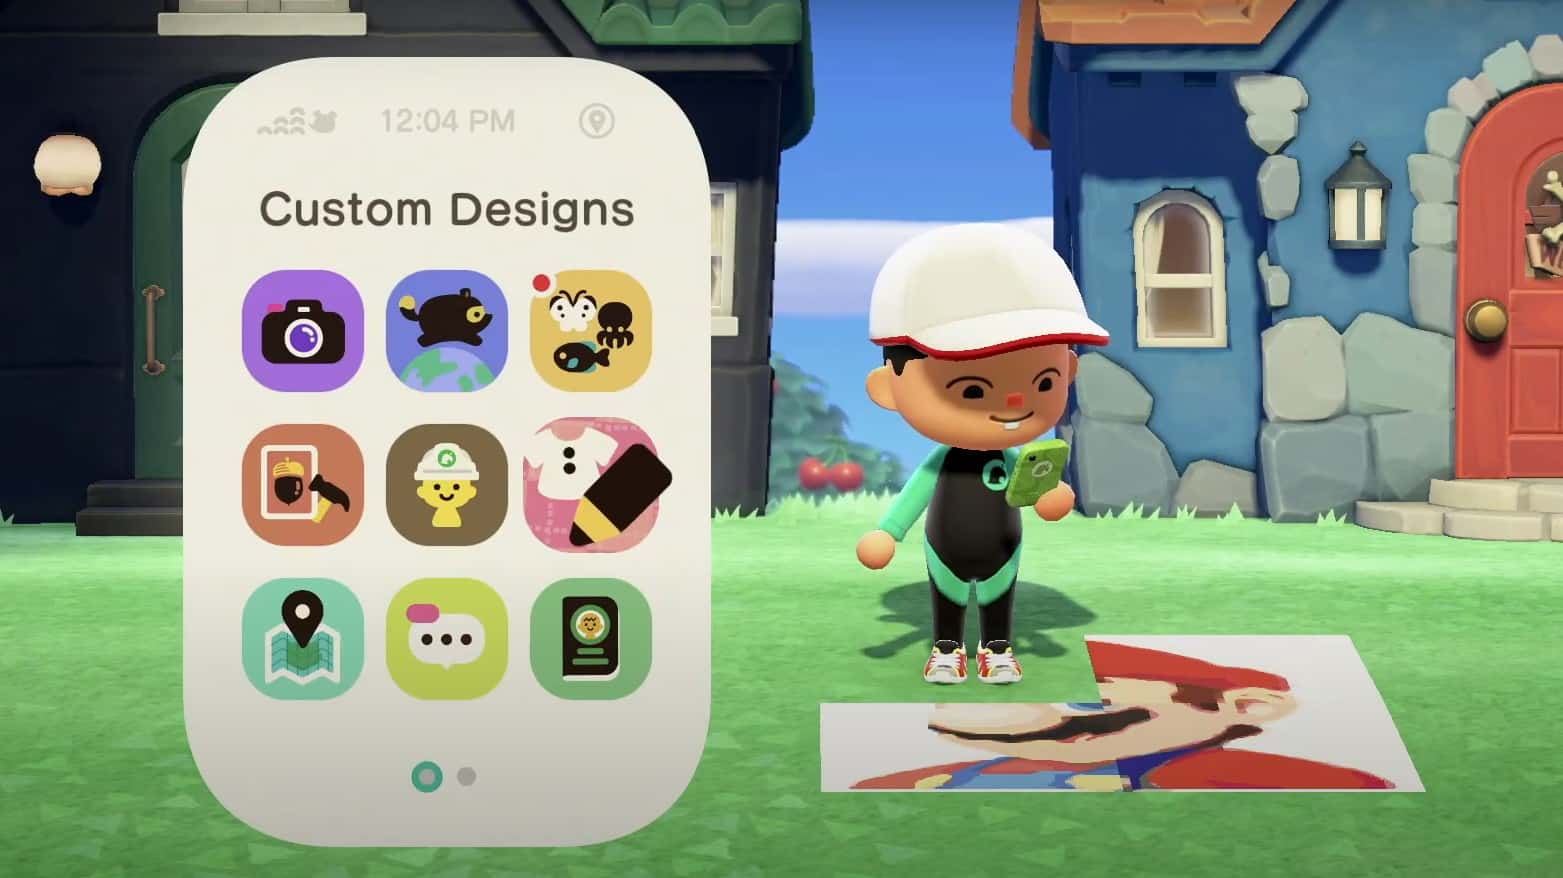
Once all QR codes for your custom design pictures have been scanned, start the Animals Crossing: New Horizons and open up your Nook Phone in the game. Choose the option that says Custom Designs app and then go to any blank design pattern there, select them, and choose the download option to download the custom design made for Nintendo 3DS games.
Make sure that you are connected to the internet, and you will be able to download a custom design of the photo that you were planning on turning into a pattern. You will get a message which will include the image file name 1×1 and you can simply save it on that specific slot in ACNH. Repeat this step three more times to save the rest of the patterns on the other three slots.
Step 6: Arrange the pattern pieces to form the complete photo
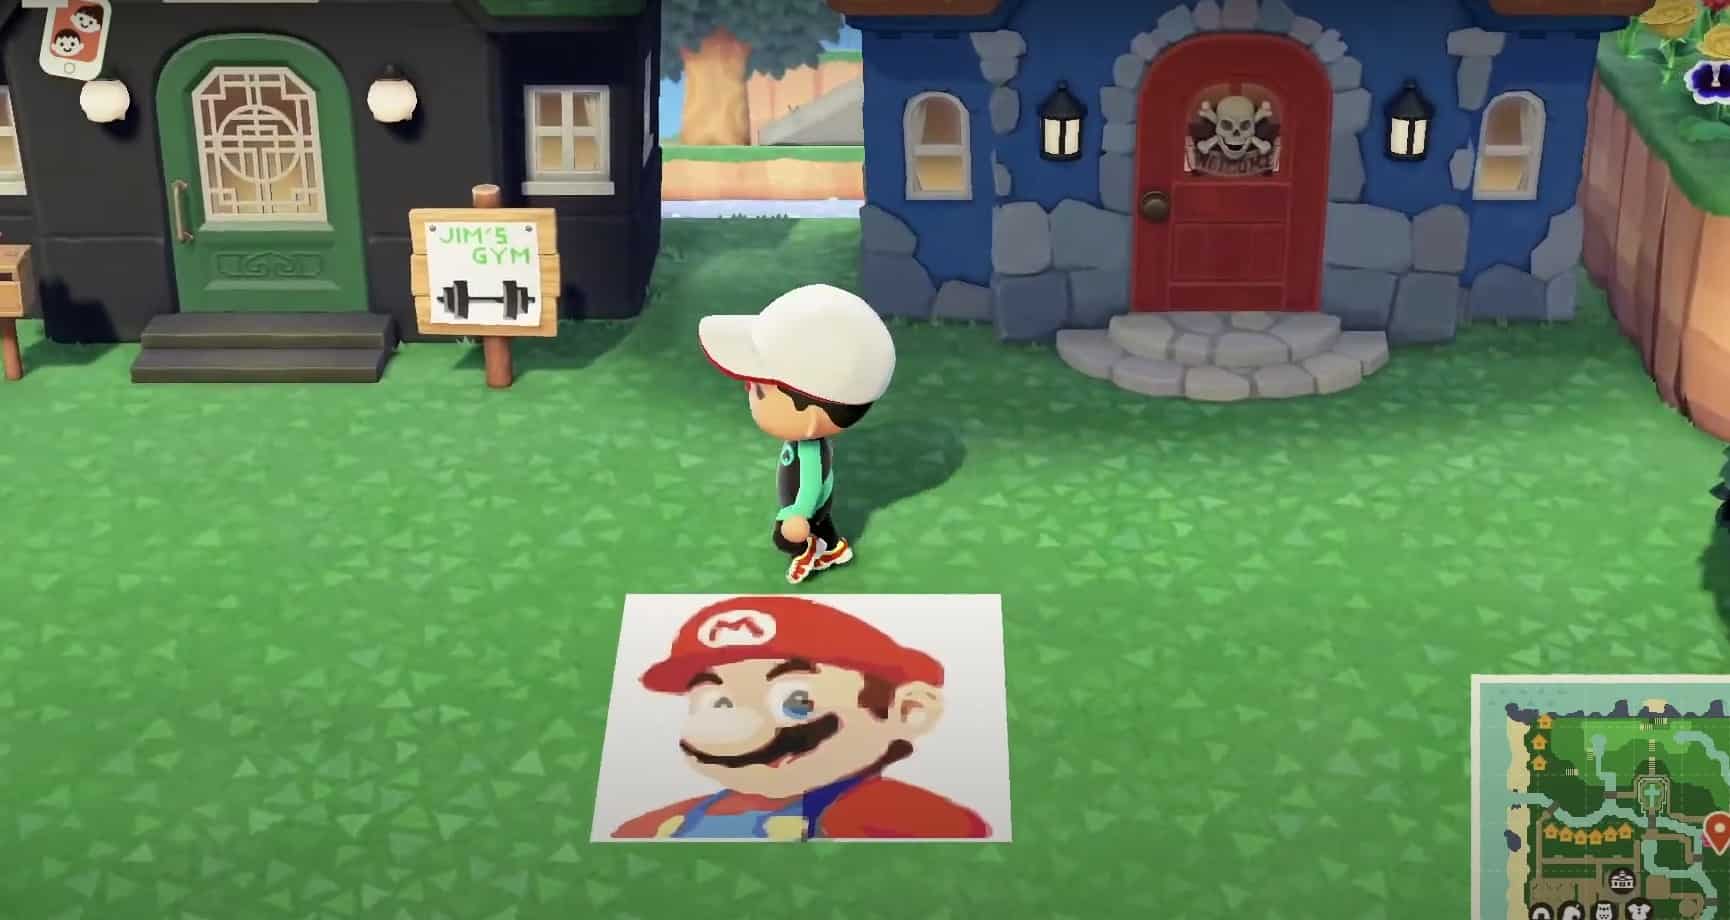
The next step will be to place that particular pattern anywhere that you wish. It can be on the ground, wall, etc. If you want to display it on the ground, you can select that option for the custom design tab, and this way, you will notice that the pattern will be imprinted on the ground underneath you.
You can arrange these Animal Crossing New Horizons custom picture patterns one by one by holding onto the A button. It should be an easy drag-and-drop process for you.
An easy tip for placing the pattern on the ground is to stand on the exact angle that you intend on placing it, and you will get the placement right without having to erase it. Compared to setting the photo pattern on the wall, it will look like four different panels with a visible separation.
You can also customize a simple panel on your Workbench with your mural/ pattern. You can go to custom design there, but here, you can select only one photo/pattern to go on both sections of the simple panel in ACNH.