In this Final Fantasy 7 Remake Whisper Harbinger Boss guide, we’ll be walking you through the Whisper Harbinger boss fight which takes place in Chapter 18 of Final Fantasy VII Remake.
Final Fantasy 7 Remake Whisper Harbinger Boss
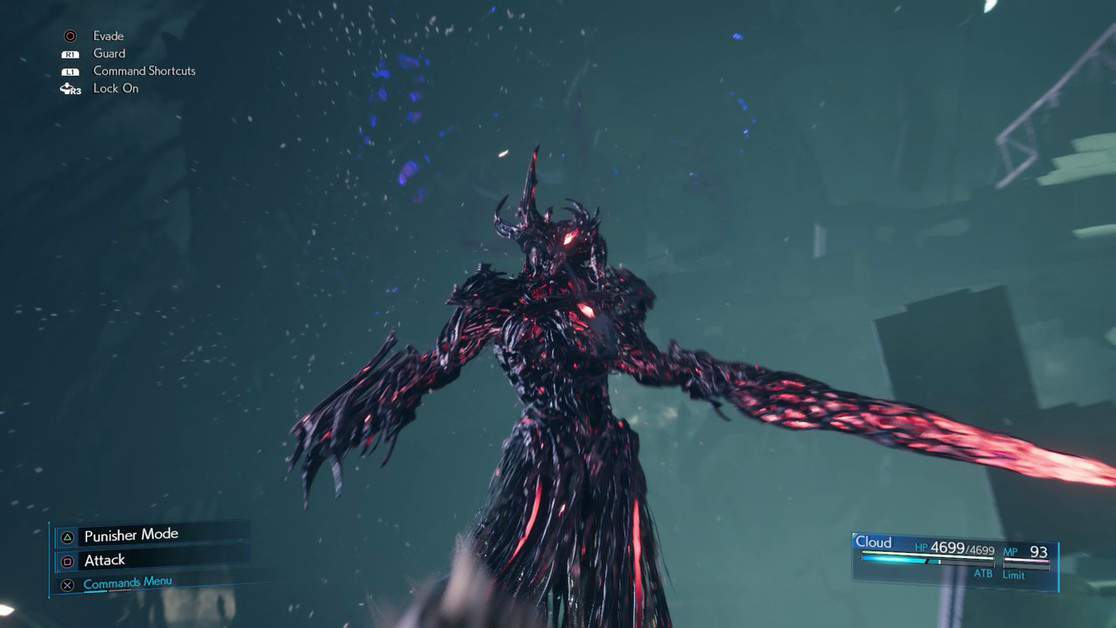
The 22nd boss you’ll face in Final Fantasy VII Remake is known as ‘The Whisper Harbinger’.
You’ll get to fight him in the mission called ‘The Turning Point’ which takes place in Chapter 18 – Destiny’s Crossroads.
Before we walk you through the boss fight itself, let’s take a look at the stats of Whisper Harbinger and the three entities he spawns.
- Immunities: Berserk, Fixed Damage, Fire, Ice, Lightning, Magic Damage, Physical Damage, Proportional Damage, Poison, Silence, Slow, Sleep, Stop, Wind
- Abilities: Reformation (Physical), Correction (Magic), Inviolate (Magic: Fire), Indomitable (Magic: Lightning), Intercession (Physical)
The Whisper Harbinger himself has no weaknesses or resistances.
In this boss fight, Whisper Harbinger will send three unique Whisper entities to attack you. Each of these entities have their own unique absorbed elements and abilities, but they share the same resistances and immunities.
Whisper Rubrum (Fire) Abilities
- Crimson Arc – Magic/Physical
- Firaga – Magic: Fire (Can be Silenced)
- Flurry – Physical
- Sweep – Physical
Whisper Viridi (Lightning) Abilities
- Azure Wave – Magic
- Azure Plume – Magic
- Azure Burst – Physical
- Thundaga – Magic: Fire (Can be Silenced)
Whisper Croceo (Wind) Abilities
- Aeroga – Magic: Fire (Can be Silenced)
- Amber Whirl – Magic
- Erode – Magic
- Scatter – Magic
Whisper Rubrum, Viridi and Croceo all have the following resistances and immunities:
- Lesser Resistances: Silence
- Greater Resistances: Proportional and Fixed Damage
- Immunities: Berserk, Poison, Sleep, Slow, Stop
Recommended Loadout
Cloud
The most important Materia you need to give Cloud for this fight are Chakra, Deadly Dodge and Steadfast Block.
The idea is to make him more powerful on his own, so he won’t need to rely on the help of the other party members.
To tank him up a bit, you should use Elemental Ice on your weapon to increase its damage and Elemental Fire/Lightning on your armor to increase your defenses. You’ll be taking a lot of damage in this boss fight so having sufficient defense is very important.
Aerith
You’ll want to boost Aerith’s healing ability as much as possible while also increasing her damage a bit so she can help out with chipping away the boss’ health. This will require Materia like Magnify Healing and Ice.
Tifa
For this fight, you’ll want to increase Tifa’s damage and support. You can do this by using Materia like Item Master, Haste, Synergy Ice, ATB Boost etc.
Barret
You don’t need to do anything special with Barret; his usual support loadout will work. This includes Provoke, Barrier, HP Up, Revival, Prayer etc.
Boss Fight
The Whisper Harbinger boss fight in FF7 Remake will take place in waves. Each wave will serve as a separate phase in the fight. There will be 6 different phases, and you’ll have to switch up your playstyle for each phase.
Before starting the fight, one important thing to note is that Whisper Rubrum is not affected by Fire Damage, Whisper Vridi is not affected by Lightning Damage and Whisper Croceo is not affected by Wind Damage.
This means that you’ll have to be conscious of what weapon you’re using throughout the fight.
Since none of them absorb Ice Damage, you should use Ice as your main elemental damage spell during this fight.
Phase 1
Once the boss fight starts, start off by going after Whisper Rubrum first. This is because Rubrum deals more physical damage as compared to the other entities, so you’ll have a much easier time attacking him in close range with Punisher Mode.
Using Barret, cast Lifesaver, Manawall and Steelskin. After that, use Tifa to caste Haste. During this, you can use Cloud’s Counterstance or Punisher Mode to counter the Sweep and Flurry attacks of Rubrum.
Rubrum will then try to attack you with his Firaga and Crimson Arc.
If you block these attacks, you’ll gain a considerable amount of ATB. So much so that you’ll be able to mount an attack right after you finish blocking.
Charge up Barret’s ATB gauge and heal up your squad using his Prayer ability. If Cloud’s HP has taken a significant hit, then use Chakra on him instead.
Remember to keep switching between your party members to charge up each of their ATB gauges as quickly as possible. You can then land combinations like True Strike or Starshower.
If you keep up this rotation and get the Whispers’ HP below certain threshold, Whisper Harbinger will cast Correction and your whole squad will get knocked down. This will take a chunk off your squad’s HP.
After getting knocked down, move on to the next platform by running up the tunnel to your right.
Phase 2
After you travel through the tunnel and reach the next platform, the second phase of the boss fight will start.
In this phase, all three Whisper entities will switch to using elemental attacks. You can continue using the same strategy as before, but you’ll have to dodge and block all of their elemental attacks as you’re doing so.
A few minutes into this phase, Whisper Harbinger will cast Indomitable.
When this happens, the whole arena will start getting struck by bolts of lightning. Take your focus off the Whisper entities and dodge these lightning bolts before continuing.
At the end of this phase, Whisper Harbinger will cast Intercession. This will break off any attack that you were landing on the enemies.
After this happens, Berret will lead you through the tunnel on the left and you’ll arrive at the next arena.
Phase 3
In the third phase of the fight, you’ll be fighting a single Whisper. However, this Whisper will have much greater damage due to the fact that they’ll cast Temper at the start of the fight.
That said, you can continue to use the exact same playstyle as before. You’ll just have to be more careful and patient because this Whisper will be much more aggressive than the ones you’ve faced before.
When you get the HP of this Whisper down to zero, the other two Whispers will get staggered for a short period of time. Focus on Rubrum and deal all the damage you can to him before the stagger timer runs out.
Once the stagger timer runs out, Aerith will show up in the arena and a cutscene will play.
Phase 4
Once the cutscene is over, phase 4 of this boss fight will begin. In this phase, you’ll lose Tifa from your party as she’ll join Aerith instead. This means that you’ll have Cloud, Barret and Red left in your squad.
Use Barret at the start of the fight and immediately activate Steelskin and Lifesaver again. Focus on Croceo first and try to keep the HP of your team above 65% at all times.
Whisper Harbinger will cast Correction in this phase, so you’ll need to have high HP throughout this phase. The Whispers will also cast Temper, so you’ll need to be very careful as they might start fighting extremely aggressively.
Croceo and Virdi will pretty much just use Magical Attacks during this fight, so just block these attacks to build up your ATB gauge and then use it to perform an attack right after you finish blocking.
When you eventually stagger Croceo, focus all your damage on him. After he’s destroyed, do the same with Viridi. You’ll end up destroying both of them in this phase.
Phase 5
After you destroy both Croceo and Viridi, a cutscene will play. After this cutscene, phase 5 of this boss fight will commence.
In this phase, Red and Barret will leave your party to fight Whisper Harbinger on their own. This leaves Cloud, Tifa and Aerith in your party.
Unfortunately, Rubrum, Viridi and Croceo will all come back to life and you’ll have to take them back down once again.
The difference in this fight will be that you won’t have Barret, so you’ll have to use Tifa and Aerith’s spells very efficiently to keep your party alive.
Use Tifa’s Haste ability and then use Aerith’s Arcane Ward to improve the effectiveness of her Cure spell. This will double its healing capability.
Focus on one Whisper at a time, like you did before, and keep healing your party at all times.
At the end of this phase, all three of these Whispers will merge together, forming a new Whisper called ‘Whisper Bahamut’.
Phase 6
Unsurprisingly, Whisper Bahamut will be the strongest Whisper you’ll face. His damage will be much greater than the other Whispers and he’ll also be much more aggressive.
This will make your healing even more important than it already was.
You should now summon whatever high-level summon you’ve been saving.
Whisper Bahamut’s first attack will be the Umbral Strikes. With this attack, he’ll toss a pair of purple fire balls at the floor, which will explode and knock you down, while also dealing some significant damage.
He’ll also perform several airborne attacks where he’ll dive to the ground and attack you. You can use Punisher Mode to counter these attacks.
Remember to keep your team’s HP at 80% or more at all times because his next attack, Megaflare, will take a chunk off your entire team’s health and you can’t even dodge it.
He’ll then perform his Umbral Inferno attack which will spawn a whole army of fireballs which will chase after you. You can’t ignore this attack, so you’ll to either dodge the fireballs or block them before you can continue attacking Whisper Bahamut.
When you finally start pressuring Whisper Bahamut, land your most powerful attack on him and/or use your Limit Breaks.
After you defeat Whisper Bahamut, he’ll separate back into Rubrum, Croceo and Viridi. You’ll have to take them out one last time.
Barret and Red will use their Limit Breaks on Whisper Harbinger every time you deal enough damage to destroy one of the three Whisper entities.
When you destroy all three of them, Whisper Harbinger will have very little HP left. Use your strongest spell to finish him off and end the Final Fantasy 7 Remake Whisper Harbinger boss fight.