Chapter 18, Destiny’s Crossroads is the final chapter of the story in Final Fantasy VII Remake. In this Final Fantasy 7 Remake Chapter 18: Destiny’s Crossroads walkthrough, you’ll finally face Sephiroth and fulfill your destiny.
To help you easily complete Chapter 18 and get done with the story of FF7 Remake, we’ve made this guide to walk you through it step by step.
Final Fantasy 7 Remake Chapter 18: Destiny’s Crossroads
Flying Through the Night
This chapter starts off with you on the highway, riding a bike. You need to use your Buster Sword to kill all the Shinra Soldiers that are following your squad on their bikes. Some enemy trucks also show up which you need to destroy as well.
After you reach a certain point, a helicopter will show up and it’ll start dropping bombs on you. Where it’s about to drop its bomb will be signified by a red arrow, so keep an eye out for them.
When you get to the tunnel, several Slug-Rays and a M.O.T.H drone will appear. You have to be very strategic with the Drone as it can only be attacked when it’s in a cooldown after it tries to attack you with the blades on its back.
Once you exit this tunnel, the helicopter will be able to target you again and more soldiers on bikes will show up.
You don’t really need to attack the soldiers that much because they’ll mostly keep their distance from you because of the bombs dropped by the helicopter.
After Cloud destroys the helicopter, a boss fight will start
Motor Ball Boss Fight
Motor ball is a large robot that travels on six wheels and has several weapons up for him to use. He does a bunch of unique attacks, with the first one being a stomp with his wheels.
This stomp is very easy to avoid as he lifts up his wheels and keeps them up in the air for quite a bit before he smashed them down, giving you a lot of time to evade. A
fter he does his stomp, he won’t really do anything for a few seconds you get as much damage on him as you can in this time-frame.
Motor Ball will get staggered once you smash all of his wheels, allowing you to target his body and deal serious damage.
When the stagger wears off, he’ll do his next big move which is a rotating flame-throw. Basically, he’ll spin in a circle and shoot fire all over the place.
You can easily dodge this by just moving back and creating distance from him. After it does this attack, its wheels will get back to normal and you’ll have to destroy them all over again.
This time around, he’ll start throwing electric balls everywhere which you need to carefully evade.
Also, he’ll shoot out a powerful laser beam at you when you come close to its wheels so move back when you see him charging it. After you destroy all six wheels again, it’ll be staggered once more but you won’t be able to finish him off, so he’ll repair his wheels again.
When you stagger him for the third time, you’ll finally be able to finish him off; that is, if you deal enough damage in time.
The Turning Point
After defeating Motor Ball, rest at the bench and buy whatever you want from the vending machine. Run up the highway a bit and you’ll come face to face with Sephiroth.
After a series of cutscenes, you’ll be given a warning to stock up on everything and be fully prepared before crossing the barrier of Whispers. So, make sure to do that if you haven’t yet.
Whisper Harbinger Boss Fight
After some cutscenes, you’ll be thrown on some floating debris which you need to parkour on to get back to your squad.
You’ll now fight Whisper Harbinger (the giant monster) but he won’t attack you directly; instead, he’ll use his Whisper minions to attack you. Dealing damage to them will deal damage to the Harbinger.
The minions will go away after you get their health down to a certain point. Run up the broken tunnel and the Whisper enemies will come back again, but they’ll again disappear after some time.
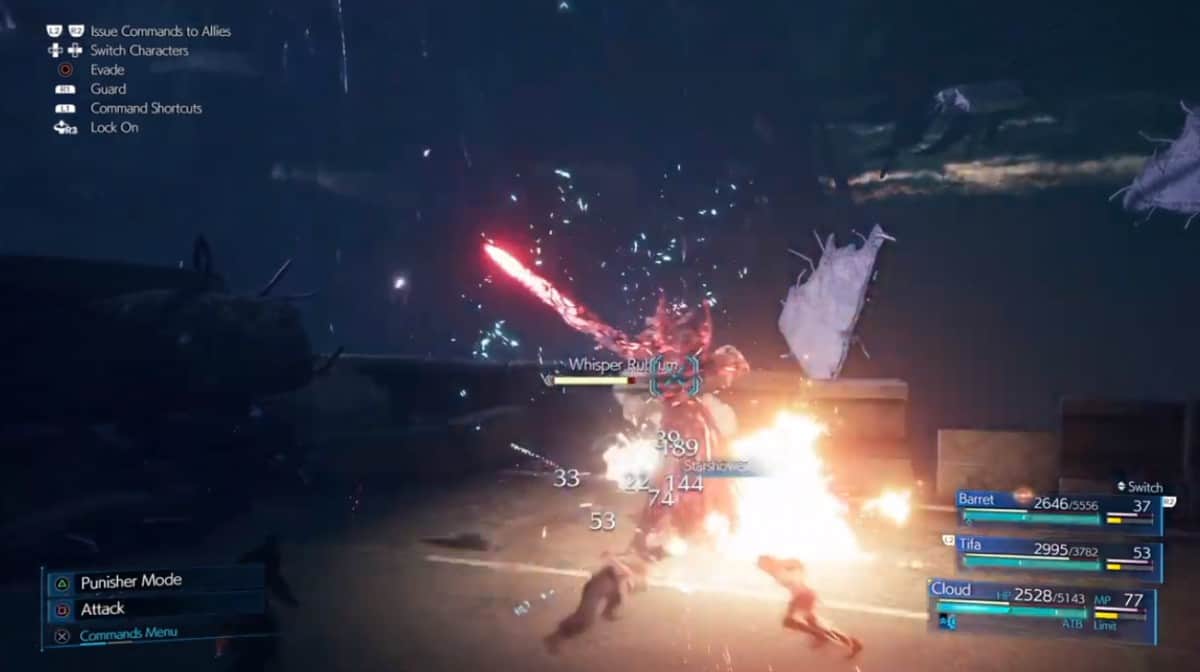
Run down the same broken tunnel to your left and only Whisper Rubrum will appear. After you take him down, a cutscene will trigger and then you’ll have to fight Whisper Viridi and Croceo. After you defeat them, another cutscene will trigger.
After this cutscene, you’ll have to fight the trio of Whisper enemies one more time but this time, they’ll fuse together into a flying creature called the Whisper Bahamut.
Even though it has wings, the Bahamut stays close to the ground and swipes at with its claws. It also throws energy beams and charges at you sometimes.
Its worst attack is when it grabs you and shoots an energy beam straight at your face.
Use Tifa to summon Ifrit and he’ll help you out quite a bit. He’ll distract Bahamut so you can unload your spells and attacks on him and once you deal enough damage, he’ll split back into the three minions; who are much easier to defeat.
After you defeat all three of them, you just have to deal a speck of damage to the Harbinger to finally defeat him.
Sephiroth Boss Fight
Finally, you’ll get to now fight Sephiroth. He seems to take no knockback and casually slices at you with his sword.
He doesn’t chain up his attacks at all so he’s vulnerable for quite some time after he performs an attack.
Tifa will join you after you nudge his health a bit and Sephiroth will start to get a bit feistier. Once you get his health down to about 50%, he’ll start doing more fire attack but Barret will be there to help you.
He’ll then start using electric attacks after you get his health down further. Summon Ifrit again as soon as you can.
Overall, he shouldn’t be all that hard to defeat, especially considering you’re at the last fight of the game and have all the items/spells in the world.
After you get his health all the way down, a long series of cutscenes will start and then the story of Final Fantasy 7 Remake will conclude.