While you’re in the Pentelas Region during Chapter 3 of Xenoblade Chronicles 3, you’ll encounter a powerful boss named Consul J. This level 29 boss may not have that intimidating of an appearance, but it’d be very unwise to take him lightly. To help you prepare for the Consul J boss fight in Xenoblade 3, we’ve made this guide for you which will show you exactly what you need to do to take Consul J down.
Where to Find Consul J
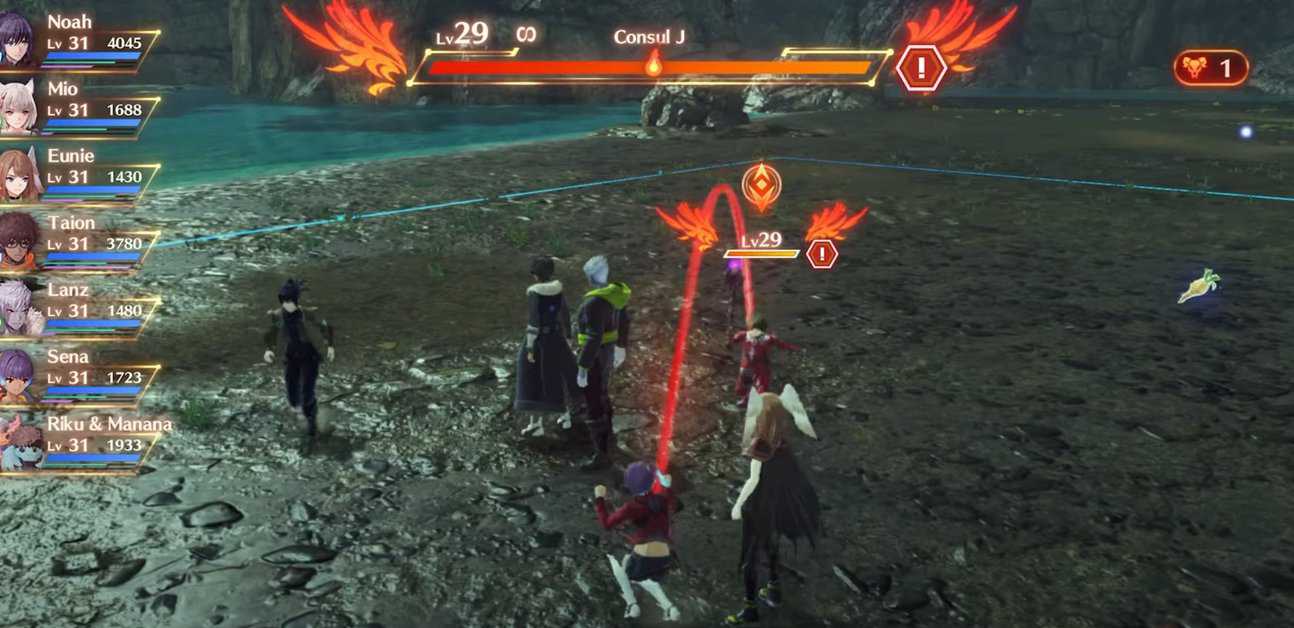
You’ll encounter Consul J during the third chapter of XC3, Saffronis. During this chapter, you’ll be in the Pentelas Region, which is where you’ll find Consul J
Consul J Attacks
Before you start the battle with Consul J in XC3, it’s crucial that you learn his moveset beforehand. This will help you prepare for what’s to come so you can counter it.
Consul J has a very impressive set of Arts up his sleeve. Below, we’ve listed down the function of each one of Consul J’s Arts.
Fatal Pierce – Consul J performs a jab with his whip. This attack inflicts Bleed on all the opponents it hits.
Whip Crash – Consul J slams his whip down onto the ground, dealing damage to all opponents present within a small radius. This attack inflicts Daze on all the opponents it hits.
Valiant Deed – This Art increases the Attack and Critical Rate of Consul J.
Ruined Marionette – Consul J goes up into the air, floats for a while, and then slams his body down onto the ground below him. This attack inflicts Blowdown on all the opponents it hits.
How to Defeat Consul J in Xenoblade Chronicles 3
An important mechanic to note in this Xenoblade 3 boss fight is that Consul J will go into an Enraged state once you deal enough damage to him. When Consul J is Enraged, he becomes significantly more powerful. So this boss fight can be divided into two sections: before and after Enraged.
Before Enraged, Consul J will be quite an easy boss to fight. He won’t perform any chain combos and his resistance won’t be that high.
The Arts you need to watch out for are Fatal Pierce and Ruined Marionette. Fatal Pierce inflicts Bleed on its targets, so you need Arts like Cure Bullet to get rid of the Bleed.
Ruined Marionette will be very easy to dodge for you, but not for your teammates. If it hits your teammates, it will inflict the Blowdown debuff on them.
This means that when Consul J performs the Ruined Marionette attack, you need to go in aggressively to buy time for your teammates until the Blowdown debuff wears off.
While you’re doing all of this, you need to build up the Interlink of any two of your characters. Ideally, you’ll want to build it up to Level 3. And once the Chain Attack is ready, instead of using it immediately, you have to save it. It’ll come in extremely handy once Consul J becomes Enraged.
When Consul J enters his Enraged state in Xenoblade 3, things will start to get serious. You’ll need to start playing more defensively as Consul J will now start chaining his Arts together to perform crazy combos.
But if you’ve followed this guide, you will have your Chain Attack ready to go and your chosen characters will have an Interlink secured.
You can now have the Interlinked characters perform a Chain Attack. If you do so successfully, you’ll be able to perform an Ouroboros order without having to finish your Chain Attack.
This will deal an incredible amount of damage to Consul J. And if you did enough damage to him in the first half of the battle, it may even completely take him out. If not, Consul J will be left with very little health and you’ll be able to finish him off easily.