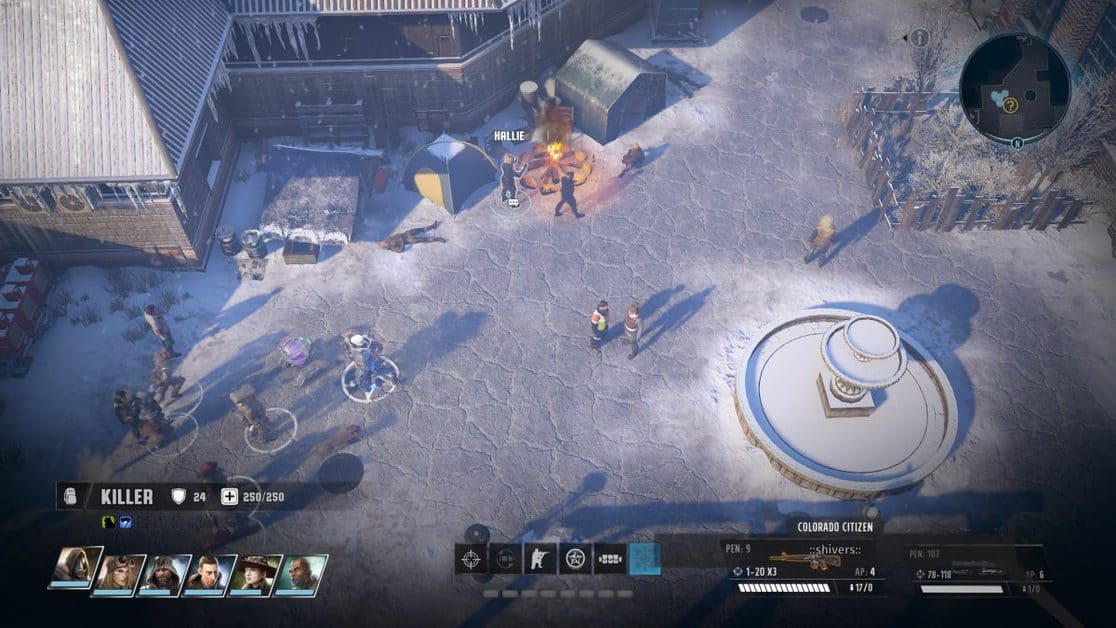
The Wasteland 3 Ranger HQ is the first area of the game, which follows the tutorial level of the game called the Ambush Site. There’s lots to do in this level, which can get confusing if you don’t know where to go.
Wasteland 3 Ranger HQ
To help you out with completing both these sections with ease, we’ve prepared this Ranger HQ guide to walk you through this Wasteland 3 location, step by step.
Ranger HQ serves as your base of operation that you will visit multiple times throughout the story to deal with certain events and incidents.
The Ambush Site
You will begin your playthrough of Wasteland 3 at the Ambush Site, which serves as the tutorial level of the game.
The first thing you need to do in this level is to eliminate the walker bot. To do this, the Kodiak’s weapon will have to be charged up. This will happen after a few turns.
One thing you need to remember is to not use the medkit you have, even if you need to. It’ll come in really handy in a bit.
After destroying the walker bot, make your way up the slope to encounter Pvt. Jodie Bell. An ambusher will be holding her at gunpoint.
To rescue her, you can either take out the ambusher from a distance using a sniper, or get near her for speech checks (Hard Ass 1 or Kick Ass 1).
If you save Bell, you can use that handy medkit and a First Aid 1 on her. If you don’t manage to take out the ambusher, she’ll kill Bell.
Saving Bell will allow you to recruit her to your team later on in your playthrough of the campaign.
Now, move on to the next area in the Ambush Site and eliminate all the Dorseys, then talk to Pvt. Beltran.
To disable the warbot, interact with the terminal and select ‘Nerd Stuff 1’ or use the generator and select ‘Mechanics 1’.
Use Lockpicking 1 and Explosives 1 on the locked gate and mines respectively to get some free loot.
Make your way into the huge room and take care of the Dorseys with the help of Major Vera Prasad. Grab all the loot and then talk to Prasad.
Recruit Maj. Tomcat to your team by simply interacting with him and then use the Kodiak to exit the Ambush Site and move on to the Ranger HQ.
Ranger HQ
As soon as you enter the Ranger HQ, you’ll come across Colorado’s leader, The Patriarch. Having First Aid 2 and Leadership 2 will give you more dialogue options.
Control Room
After talking to the Patriarch, enter the Control Room. There will be a few servitor bots here, but you can just sneak past them.
Upload yourself as ‘Command’ by interacting with the main terminal.
After you do this, The Patriarch and his team will show up and they’ll give you your first mission called ‘The Psychopath’. For this mission, you need to travel to Aspen and arrest Vic Buchanan.
Talk to Marshal Kwon to have him join your team as a companion and then get new recruits by talking to Sgt. Greatski.
After recruiting your custom Rangers, grab the Toaster Repairman’s Badge and Tarjan Token from the Mess Hall and then head to the Archives.
Here, you can use the terminal to gain some easy XP by accessing the logs.
You can also grab a Creepy Doll from the container sitting in the corner. There are 15 dolls in total to be found. These dolls will grant your whole team useful bonuses.
Brig
When you enter the brig, you’ll see some dead bodies lying on the floor. To examine them, you’ll need to have First Aid 3 and Perception 3.
After examining the bodies, access the logs using the terminal and then grab the Brig Master’s Key from the container.
This key can be used to free the prisoner from the cell. This doesn’t affect the story at all, it’ll just allow you to find a note that says ‘Thank You’ by a body in the Colorado Spring’s museum.
Lockers
When you head inside the Lockers, you’ll encounter Del Hackett accompanied by some Wastelander Refugees.
What dialogue options you choose here will determine how your relationship with the Wastelander Refugees faction will turn out.
If you want to change your custom rangers’ appearance, you can use one of the lockers here to do that.
Med Bay
When you arrive at the Med Bay, you’ll find some more dead bodies. To examine these bodies and figure out what killed them, you’ll need to have First Aid 1-4.
You’ll also find the Ranger HQ Vault here, but it’ll be locked for now.
After examining the bodies, head into the Armory and disable the traps using Explosives 4 and then grab the Molotov Cocktail from the container.
Garage
The garage is the place where you’ll be able to upgrade your Kodiak with new features.
You’ll find the Sliver Dicer robot in the garage. It’ll be rusted and out of order, but you can repair it using Mechanics 3.
After you repair it, you’ll have to fight it. Defeating the Slicer Dicer robot will grant you a Slicer Dicer Self-Assembler and a Pulse Gun.
Once the Slicer Dicer has been defeated, you’ll have completed the Ranger HQ. Head south from here to travel to the Downtown Colorado Springs.
