Devil by the Well is one of the first contracts that you can complete in the starting area of White Orchard in The Witcher 3: Wild Hunt.
The recommended level for this quest is just level 2 and is meant to introduce you to the contract system in the game. Hence, you should not find completing Devil by the Well too challenging.
Nonetheless, the following guide will take you through the Devil by the Well contract in case you are finding the quest a bit tedious in The Witcher 3: Wild Hunt.
How to start the quest
You begin the quest in two ways; either find and talk to Odolan himself or head toward a notice board to look for the quest contract.

Odolan can be found in the White Orchard region and is the person who put out the contract. He will inform you that there is a lack of clean drinking water because the river has become polluted due to the abundance of dead bodies being dumped in it.
He needs clean water to cure his daughter and the only nearby source of it is haunted by a Noonwraith. He needs your skills as a Witcher to deal with the Noonwraith so he can go and get the water.
You can negotiate for the rewards before starting the quest or just accept what he’s offering and proceed. Whatever you choose, the game will set a waypoint to the well.
Devil by the Well walkthrough
Follow the waypoint leading you toward the well. During the daytime, the Noonwraith can be easily seen near the well. If you approach it, it will attack you but will not be aggressive if you leave it alone.
Use this opportunity to search the huts nearby. The necessary information can be found inside the east side hut. Inside the hut, you will find two items to examine: a skeleton and Claer’s Diary. You will also notice blood marks that lead back to the doorway.
If the Noonwraith is gone, you can safely approach the well and investigate. If not, you will have to fight it. Use Yrden to make it vulnerable and then attack. She will run away allowing you to investigate the area in peace.
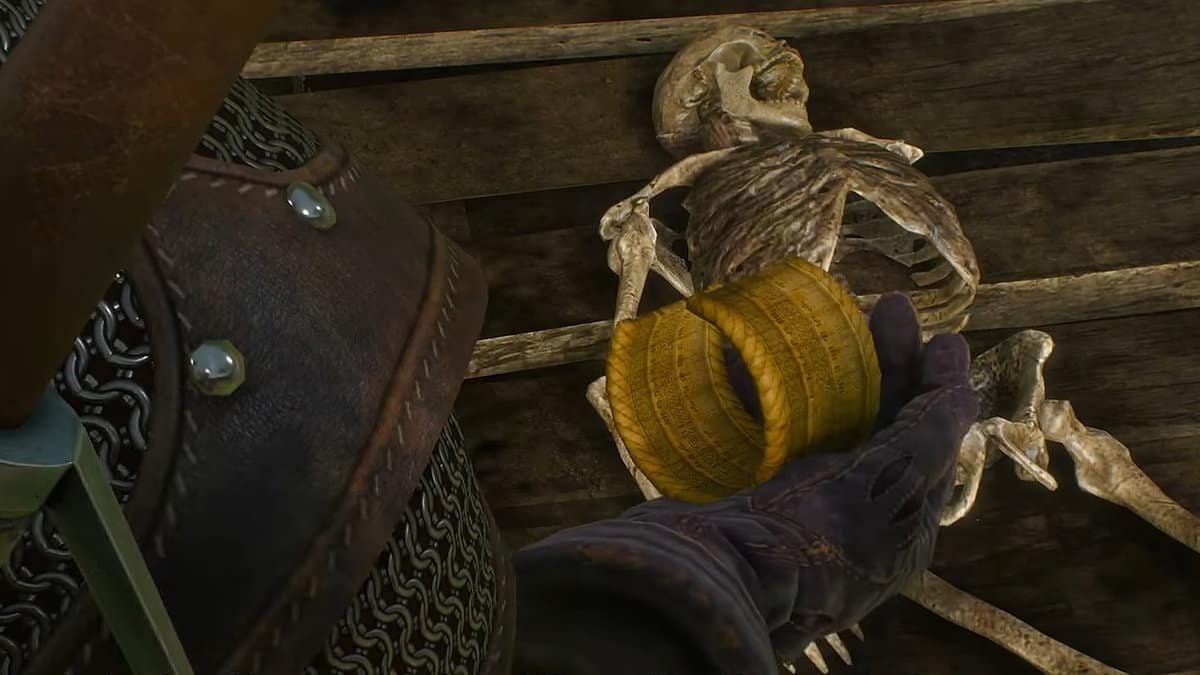
Approach the well and go to the rope. You will notice that there is a skeleton there as well. Geralt will say that the body had a bracelet once which isn’t there anymore, meaning that it probably fell into the water.
This means you have to take a dive. Do so and you can find the bracelet at the bottom by using your Witcher Senses. Continue along the track which will lead you to another body of water. Swim your way across the underwater path before emerging through a cave.
Defeat the Noonwraith
Now you must summon the Noonwraith to fight it. Arrive at the well and use Igni to burn the skeleton and bracelet by the well, and she will appear.
Noonwraiths are highly weak against Specter Oil, so make sure to coat your silver sword with the oil if you have any. You will do increased damage to the Noonwraith on every hit.
| Oil | Effects | Ingredients |
|---|---|---|
| Specter Oil | +10% attack power again specters | 1x Bear Fat, 4x Arenaria |
| Enhanced Specter Oil | +25% attack power again specters | 1x Specter Oil, 1x Bear Fat, 1x Essence of Wraith, 1x Arenaria, 1x Mistletoe, 1x Wolf’s Liver |
| Superior Specter Oil | +50% attack power again specters | 1x Enhanced Specter Oil, 1 |
Noonwraiths are also susceptible to Yrden which slows them down for you to attack. You can throw some Moon Dust bombs as well to stop it from creating mirror images.
The Yrden will ensnare the Noonwraith inside a circle. This circle will change the beast to give it a tangible body that you can attack. Use Quen to cast a protective field for tanking any hits and attack her while she is inside the circle made by Yrden.
Remember to watch out for her blast attacks. These attacks can blind you for a short while so try to evade them.
At one point, she will use her Mirror attack and split into three Noonwraiths. You must attack her because the other three are a distraction while she heals.
Attacking her will reveal the real Noonwraith. Repeat the process until she dies and then pick up the trophy from her body.
Rewards
Now report back to Odolan who will thank you with a reward of 20 crowns. You can choose to either refuse or accept the reward, both of which will earn you the same experience points. However, refusing the coins can earn you an Amethyst instead which can come in handy in crafting some equipment.
The quest will conclude at this point however you can talk to Tomira to discuss more about Claer which earns you an additional 10 crowns.