Building a household in The Sims is one of the first things you’ll be doing, and it is also one of the most creative parts of the game. So, we have made a guide that lists some of the most useful building tips and teaches you how to build a perfect house in Sims 4.
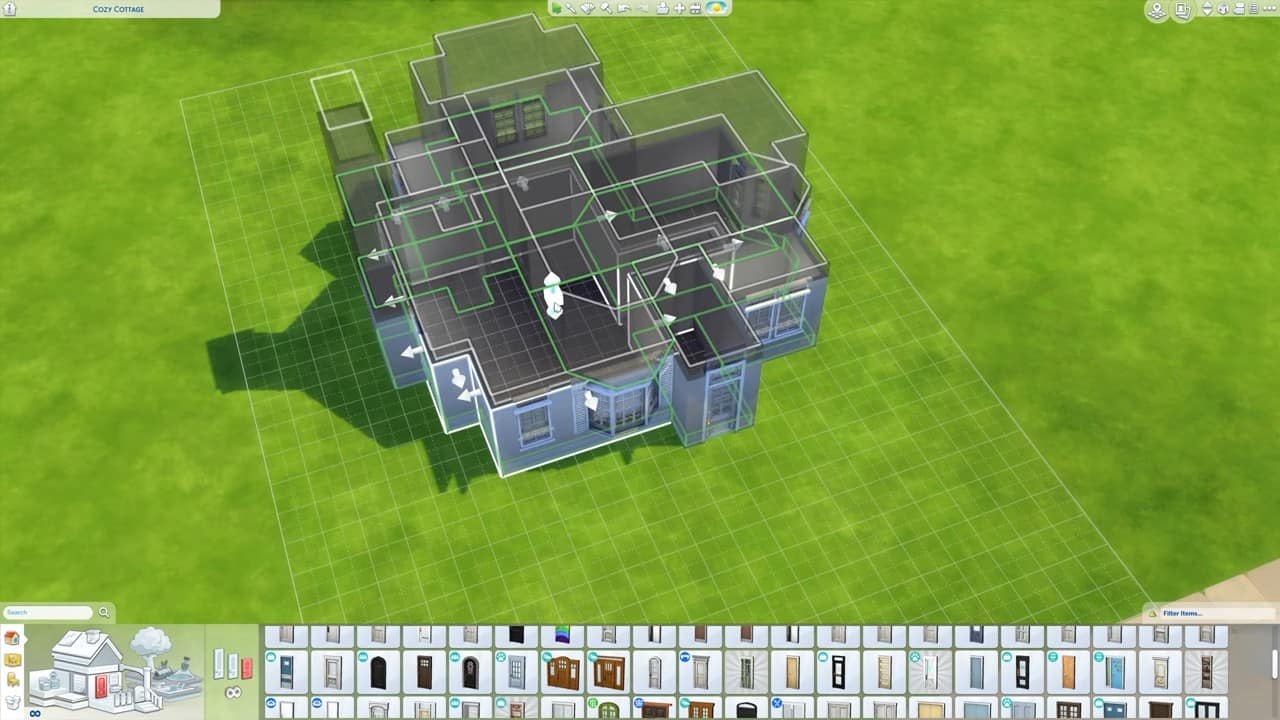
Depending on your experience with previous The Sims titles, your grasp on the slightly time-consuming art and science of building homes may limit your ability. For most players fresh to the series, it can be a challenging and exhausting experience. You will start building your house in Build Mode. You will see a control bar which has everything you need.
This guide will provide a step-by-step tutorial for building your home in The Sims 4. We’ll examine different methods of creating rooms and give you ideas for making your house the most comfortable place possible.
Lay Down The House Foundations
It is a feature that lets you build foundations, but the best thing about this feature is that you don’t have to add a foundation for the building process to continue. You can add the foundation whenever you want during the construction process.
The foundation menu lets you customize everything on the foundation. Starting with the height. You can increase or decrease the height of the foundation by clicking on the handy slider on the menu.
You can also choose the material you want for the foundation and customize the color of the foundation from the available options on the palette.
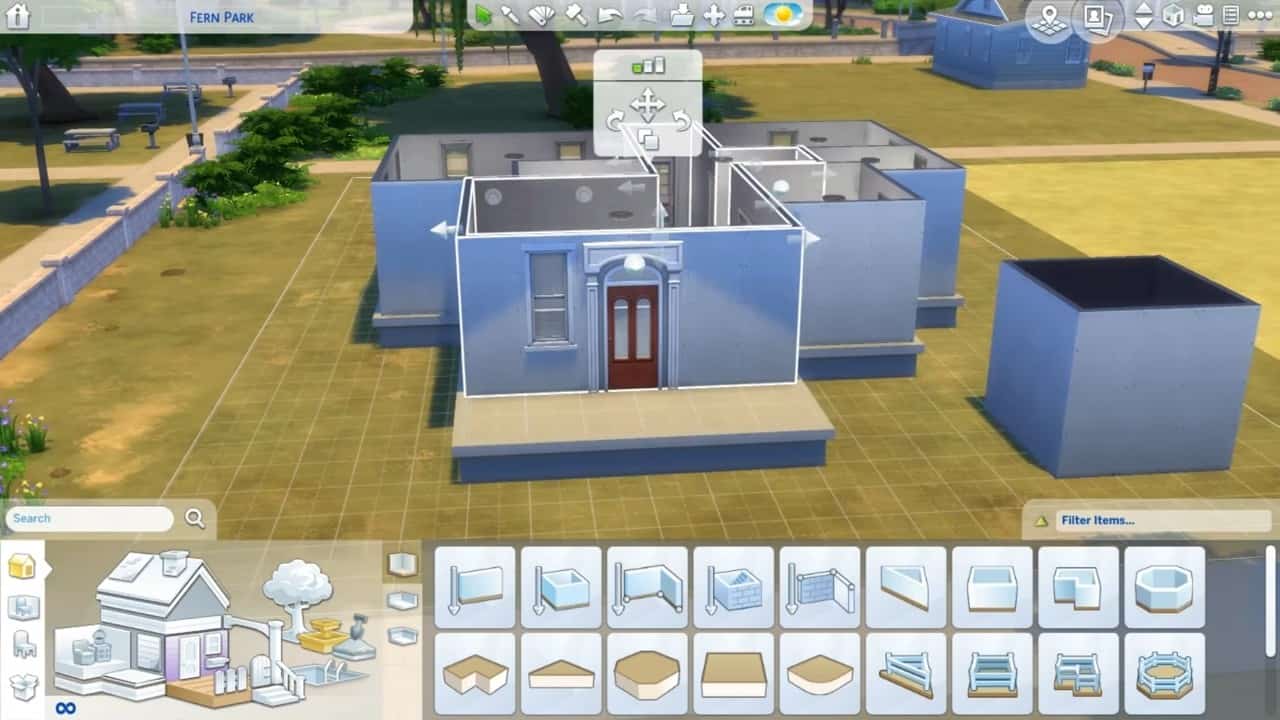
Build Rooms On The Foundations
The game has introduced a new feature of the room Units. You can make them any shape or size by dragging them from any corner. The game considers the room a separate unit, so you must change your perception. The room can have walls or not have walls or be surrounded by a railing.
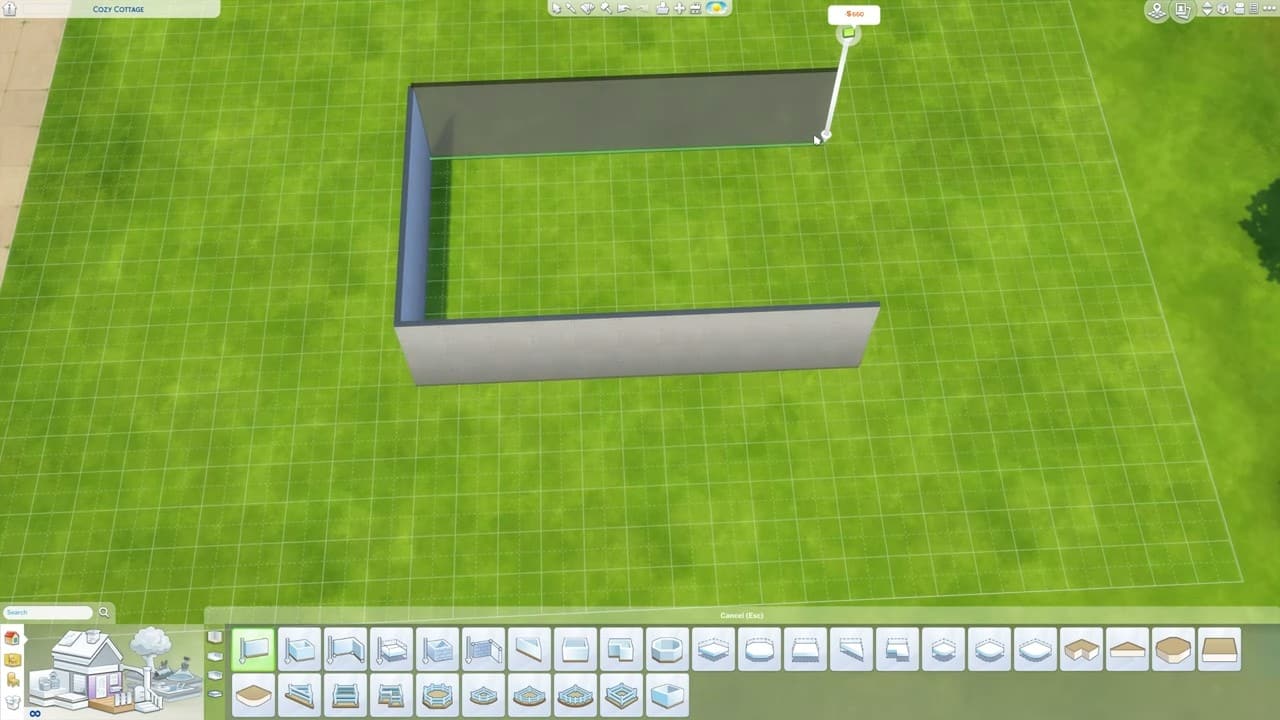
While you build the room for your house, the first option on the menu is rooms with walls in Sims 4. The walls are customizable in every way, and you can make them bigger and smaller by clicking on the arrows on top. The game also allows you to create your custom room by making three walls with straight tools, dragging them in any direction you want, and making the shape of your liking. Once you have selected the room’s shape, you will be presented with an option to rotate it 90 degrees.
At the start, you’ll have an empty lot with a grid showing the house’s area. To start, select the Styled Rooms option from the Build menu. Here, you will have access to all kinds of rooms, including the kitchen, bedroom, bathroom, living room, dining room, study room, and even patios for the external part of your house.
Once you pick a Styled Room, you can select its style, which will alter the room’s furniture, decoration, and general structure. You can then select the color scheme and place it on your lot grid. This way, you can combine multiple styled rooms and create a complete household.
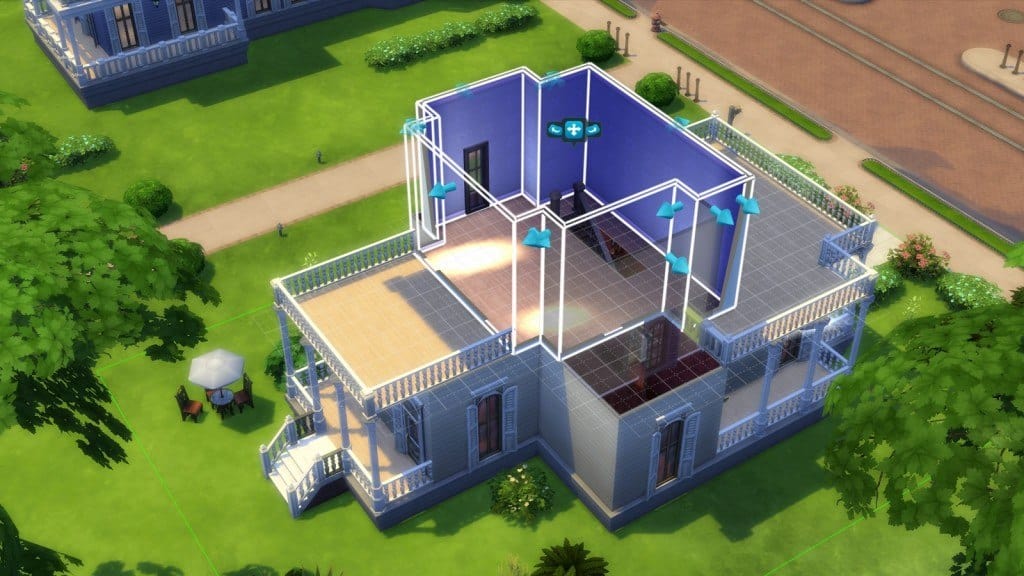
Build Floor and Ceilings
When the whole room is selected, you can add and delete the floor by clicking on it. Once you have selected the room, a yellow outline will appear around its foundation. Click on the floor to bring up a pop-up to construct it. Click Create a Floor from the pop-up menu to create the floor.
It’s worth noting that rooms on the bottom level don’t need a floor. You can add floor coverings if you still want to add something to them.
Ceilings are another feature you may add or delete after you’ve decided on space. Select the room and go to the top floor using the page-up button. A yellow border will surround the room’s outline. Click on the yellow line to bring up a pop-up menu. Select Create a Ceiling from the menu. A ceiling will be erected in the room.
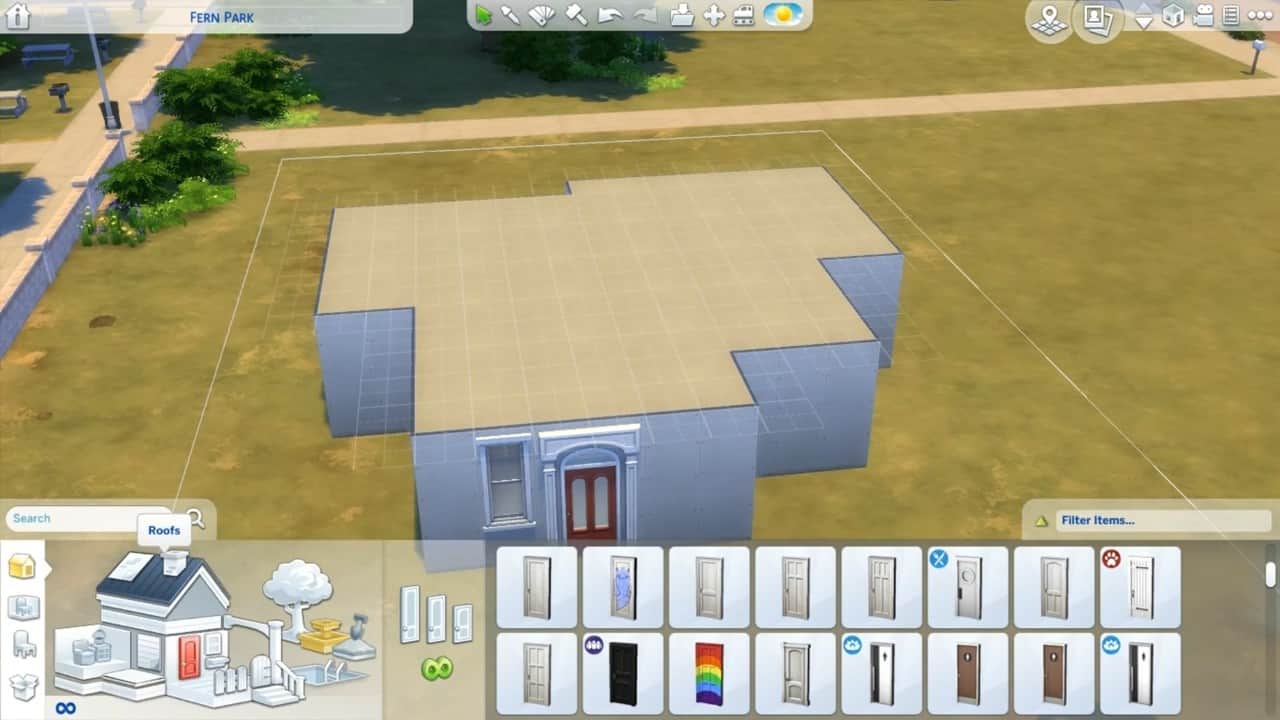
Add In Windows and Doors
Your house needs sunlight to keep the internals well lit during the day to conserve energy. For this, you’ll need windows. There are two ways to add windows: manually placing them individually or adding them to entire rooms.
Select the windows from the builds menu and choose your desired placement method.
Once you have selected the windows, place them along the exterior of your house, ensuring that every room gets enough sunlight during the day to keep it well-lit.
If central rooms like the living area or dining in the middle aren’t too well-lit, you might consider using glass doors between them and another room with a window.
Now that you have the skeletal structure of your house set up, you want to connect the different rooms through doors. To access the Doors, click on an already present door or go to the menu through the catalog.
Once you’re there, you’ll have several kinds of doors. Some doors will be for the main access, while others are more appropriate for transitions inside the house.
After choosing a door, simply select it and drag it onto a wall to install it there. Note that some doors require a certain wall height and may not fit your house if the walls are too low. The same is true for Windows.
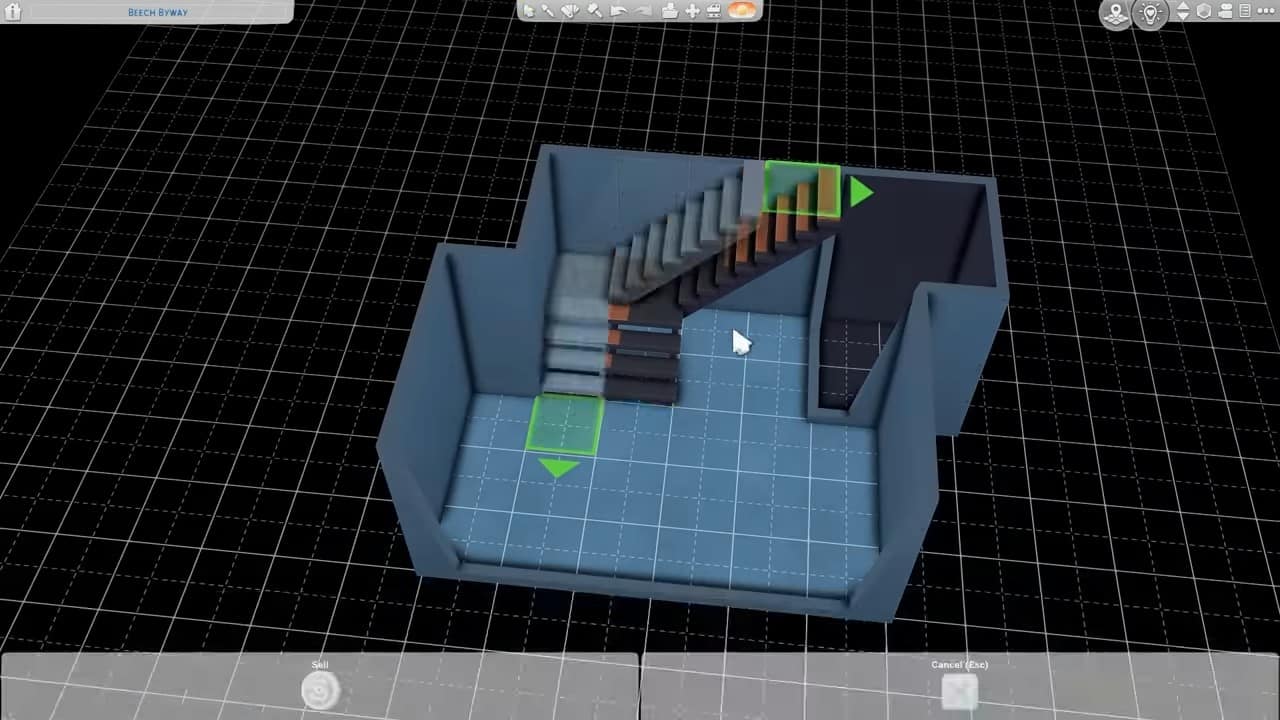
Add In Some Stairs

Select the stair image from the menu to access the stairs catalog. To build the stairs, click the stairs you want to add from the house catalog in Sims 4. They will be added, and they will automatically adapt to meet the height of the foundation.
To adjust the width, grab the arrows and push or drag them to the appropriate position. The price of the stairs will depend on their height and width.
Stairs can also be used externally on the main door as steps if you elevate your house’s foundation, so if your house is slightly above the ground, make sure you have a few steps up to the front door.
Build Decks

You can build a deck just like you would a room for your house, as The Sims 4 considers both the same type. Simply select from the menu and place it where you want. The new deck will be curved. You can join it to form a circle or semi-circle.
Build Fencing and Gates
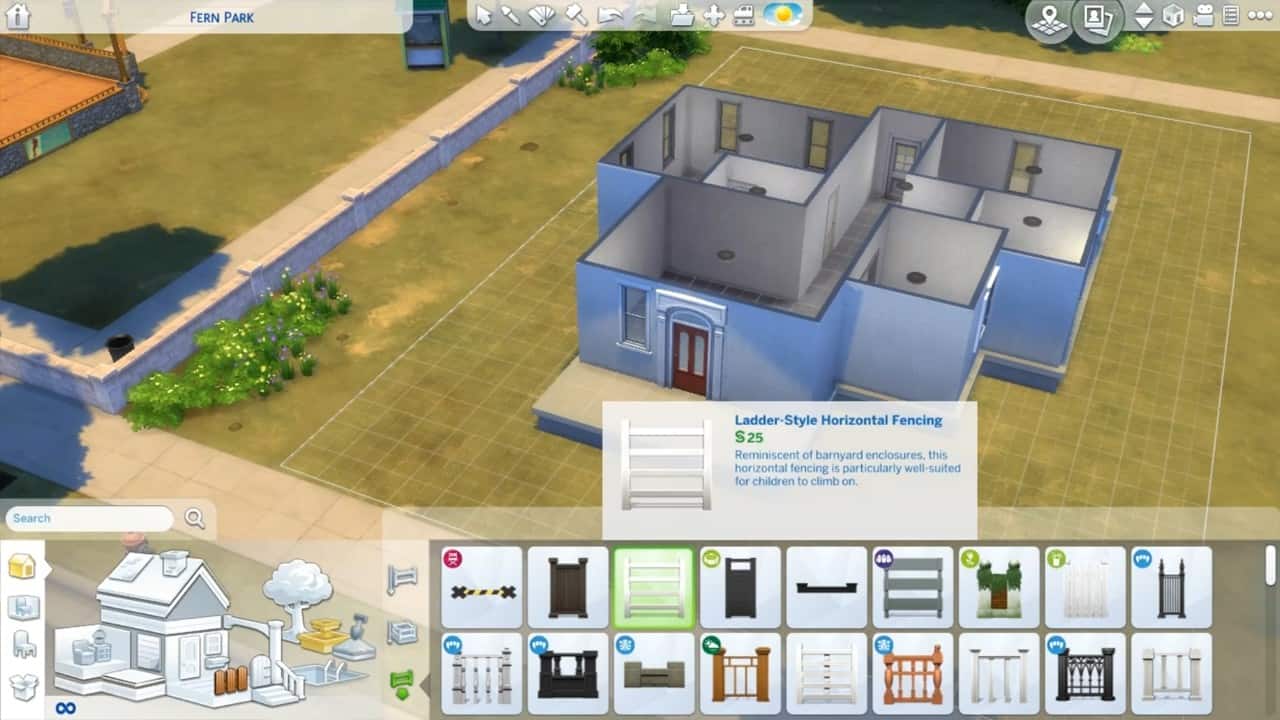
To build the fence, click on the picture of the fence. Choose from several styles. After you have selected the style, you will be prompted to select the color from the palette.
You can also build the fence with your free hand anywhere on your property.
Once you have made the fences around the property, you will need a place around where you get in and out from. That’s where you will need to build the gates.
To install a gate, click the gate symbol from the menu. You can build the get anywhere on the lot except beside a wall or foundation. You need to move the fence to make space for the gate.
Add In A Pool
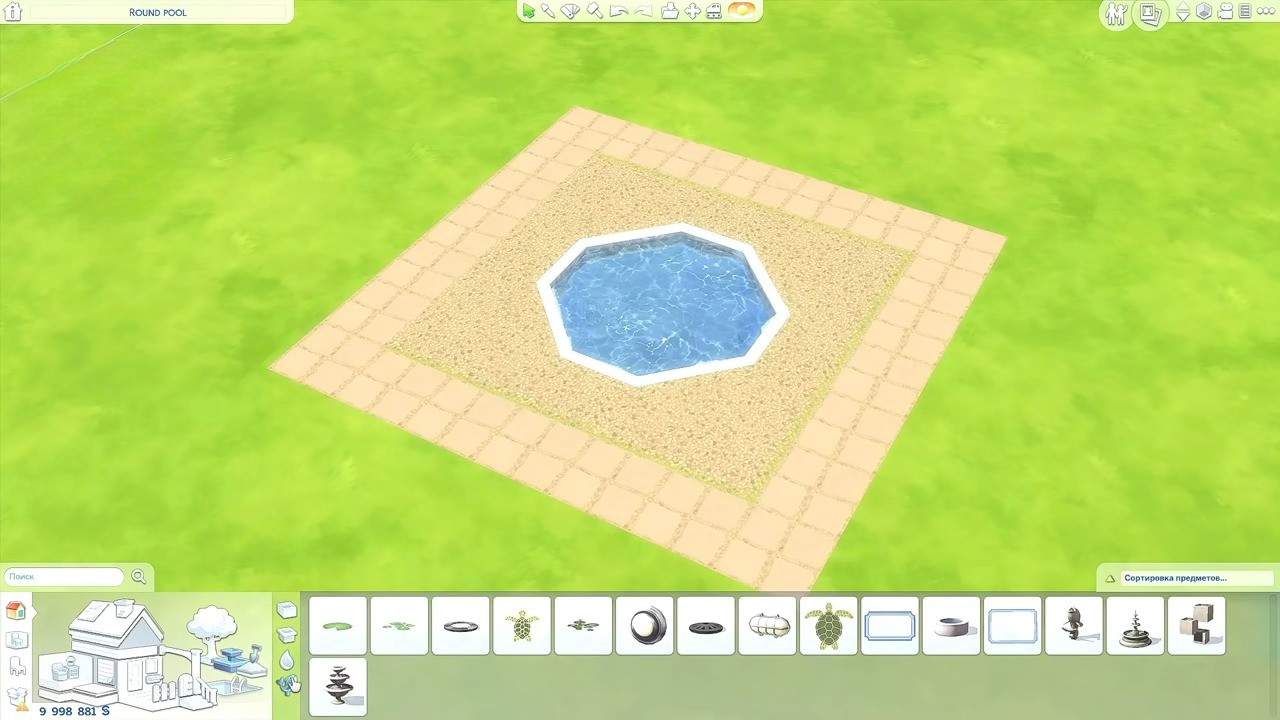
You can build a pool for your house by clicking on the pool picture to access the tool in Sims 4. You may design a rectangular form of any size by clicking the mouse. You can make it Square, Triangular, Diagonal, or Octagonal by clicking it from the menu, and the rest of the process is the same.
The only drawback while building the pool is that you cannot free-hand a pool. It must be one of the shapes described above. The pool behaves just like a room. After selecting it, you can access a menu and move and rotate it from there.
Lay Down A Basement
The Sims 4 lets you build your house a maximum of 6 floors by adding two basement floors. To add the basement, select the tool from the wall menu.
You need to check the dimensions of the basement indicated by green lines. Once you have made it, it goes under the ground and disappears. So remember the location while making it.
To get the most out of one basement, you can make split level basement by following the easy steps below:
- Construct a basement that is the same size as the space you want to be open. Then, beneath it, build the equivalent sub-basement.
- Now remove the first basement’s floor.
- Sketch the “loft” space using the wall tool for the first basement level when on it.
- The wall dividing the loft and the other basement should not be removed. The floor will return because of this.
- Fencing should be used to replace the wall that divides the loft and basement.
- With the addition of stairs, the split-level basement is finished.
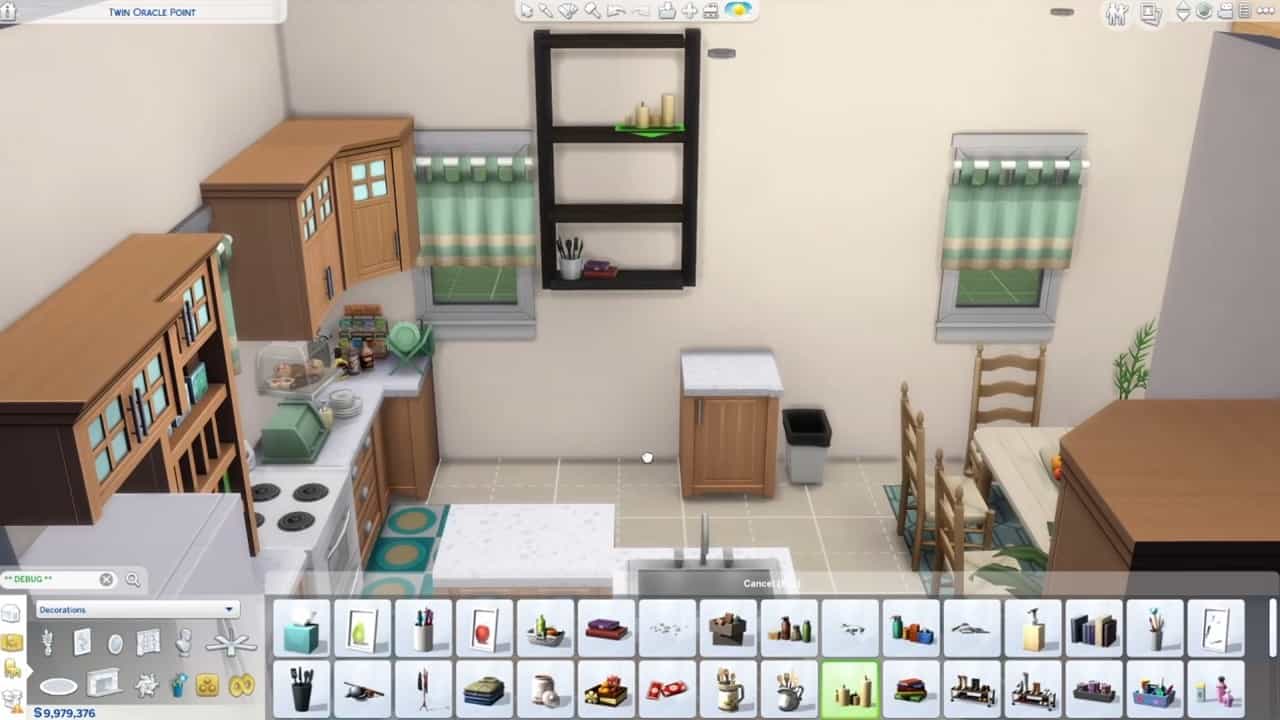
House Decorating and Furnishing Tips
- Choose the theme for the remainder of the space using the style and color of your major item (bed, couch, kitchen countertops). Then, arrange the rest of the room around it.
- If you are building a community lot, follow the “shopping list” in the lot information panel. First, put the big items and then build small things around them to get an idea of space. Ensure the community lot has many open spaces where sims can hang out.
- While you are furnishing the room, it’s best to put a pair of lights on top so that you can see what you are doing. You can swap them for a more fancy light matching the room’s theme.
- You need to make sure that the space has plenty of light. To cope with that issue, you can use invisible light in conjunction with other lights to get the desired brightness. Remember to match the atmosphere of your space by adjusting the intensity of visible lights.
- To prevent the room from seeming too fragmented and mismatched, the room that opens into another room should have the same color scheme. Treat the whole house as a single piece, and avoid jumping too many shades.
- Choose the wall and floor coverings after the furniture. This will save you time and stress. Since wall textures have more colors, it’s best to do the bed first because it’s easier to choose the matching color of the wall from a wide variety of palettes instead of another way around.
- Try not to make your space more complex by choosing only one or two colors only.
- You need to think of the Sims who will be utilizing the place and draw influence from them for the room’s appearance. Make sure the room reflects the personality of the inhabitants. Flirtatious Sim’s and Angry Bro’s rooms would be completely different sides of the spectrum; just like a Sim who likes to cook, you need to give him space to cook.
- After the mandatory furnishing, fill the empty spaces by hanging a picture on the wall or a rug on the floor. This will also increase your Sim’s mood.
Unlock all building options cheat
You can use the cheat to unlock everything overnight without waiting for them to unlock. To apply cheat, you must access the cheat menu by pressing CTRL+Shift+C. and the put code “bb.ignoregameplayunlocksentitlement” and then exit the menu by pressing CTRL+Shift+C again.
The Sims 4 House Building Mods
Building a house in The Sims 4 can be quite daunting as it involves several dozen mechanics and a general know-how of how things work. To make the process a little easier on yourself, you can use mods to smoothen out your entire experience. Below, we’ve listed some of the most helpful mods you can use in The Sims 4 for house building:
The Sims 4 can be quite restrictive regarding object placement, inhibiting your vision and severely limiting your options. The TOOL mod, allows you to place objects wherever and however you please. It even allows you to take them off your lot.
The OSMP+ mod works similarly to the TOOL mod but is relegated more towards the objects within your house. It allows you to place additional items on countertops and tables, allowing you to set your artistic vision free and make decorating your house much easier.
The Better Build mod, on the other hand, allows you to see all items present within the catalog instead of the usual two the game shows you. This allows you to quickly pick and compare items at a glance and pick whatever suits your style and taste the most much quicker.