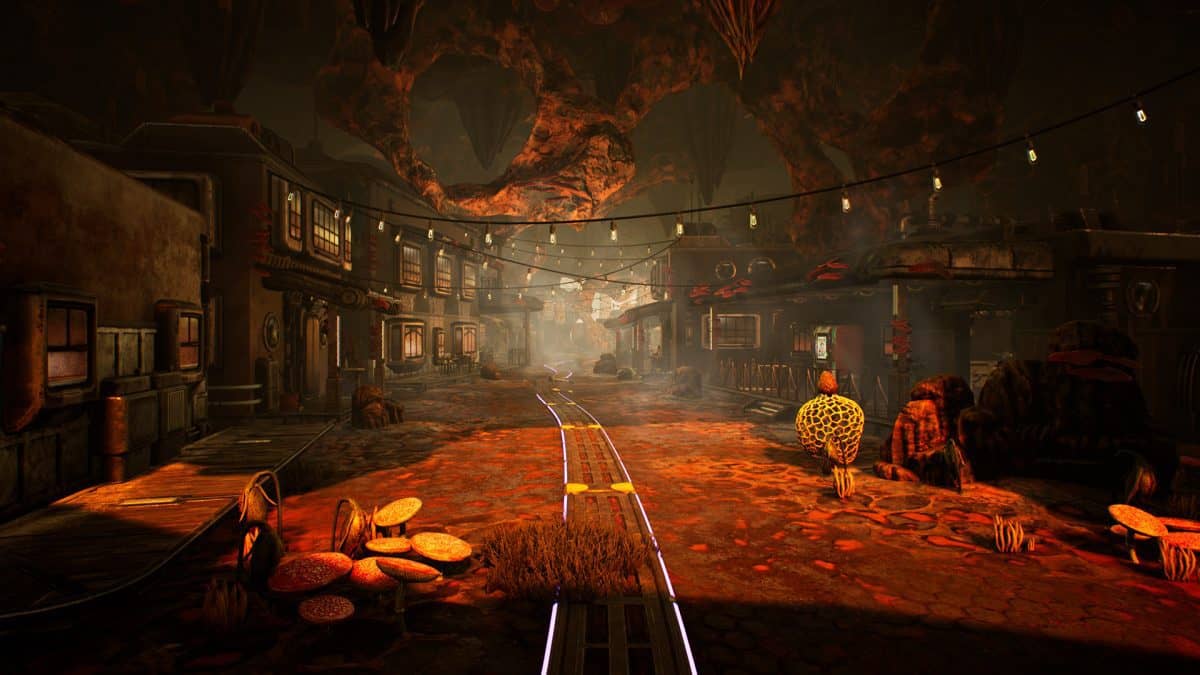
One of the many Faction Quests available to you in The Outer Worlds is Canid’s Cradle. This optional quest is filled with choices, and the outcome may vary vastly depending on who you choose to trust. This guide will give you an in-depth account of what you have to do, and the consequences and rewards of all choices involved.
The Outer Worlds Canid’s Cradle Quest
You’ll be rewarded the following for completing this quest:
- 16000 XP
- Soft Speaker (Weapon)
- 2188 Bit Cartridge
There are a few different directions this quest can go in, and it’s not always easy to tell whether it’ll turn out in your favor in the long run, hence why the following walkthrough will let you know.
When you flip the switch to restart Devil’s Peak Station, as part of the ‘Radio Free Monarch’ Quest, you automatically trigger this quest. A ship has crash-landed south from the Sulfur Pits, and you must make your way over to it.
Once you reach the location (south-west of the Monarch Wilderness) you’ll be in the presence of the crashed Gunship. There will be plenty of corpses to loot, so don’t hesitate to do so. There will be a terminal nearby, access it and you’ll learn why the ship crashed. Afterward, the terminal will eject the Captain’s Keycard, giving you access to the rest of the ship.
Search the ship for the Cantankerous Canid Targeting Module (you’ll gain 3428 XP for locating it). This is where things get interesting in the canid’s cradle quest. You can choose to either take the Module to Sanjar or to Graham. The choice is entirely up to you but we’ll give you detailed information about either choice.
Sanjar Route
The easiest option in the quest is to simply meet with Sanjar, you can find him at Stellar Bay. You can offer him the Targeting Module, which he will graciously accept and reward you handsomely for your efforts. This route will significantly boost your standing with MSI.
Graham Route
Things are a bit more complicated in this route. If you choose to side with Graham, head over to Amber Heights. There, depending on whether you sided with her in previous Iconoclasts Quests, Zora may or may not confront you.
If you did previously side with Zora, she will make you privy to her plans to overthrow Graham. You have the choice to either assist her in successfully taking over Amber Heights, or reject her offer and watch as her mutiny crashes and burns. If you do help her, you will be giving the Targeting Module to her.
Conversely, if you choose to side with Graham, or Zora never approaches you in the first place, simply offer him the Module and you’ll be rewarded for your efforts.
Peaceful Route
Interestingly, there’s a third path to complete this mission that benefits all parties involved and features very little bloodshed – relatively speaking.
When you meet with Sanjar, you must inquire whether a truce is possible; point out that you’ve read his reviews and he can’t perform the undertaking alone. Suggest Zora as a potential partner. Sanjar will request that you bring him her review. Accept and head over to the Rizzo Offices in Cascadia.
Make your way over to Cascadia and search for a tall building right of the entrance. On the ground floor of this building you will find a terminal; access it to read Zora’s Executive Review. Export the review and you’re set to return to Sanjar, whom you can find now at Stellar Bay.
Sanjar will be pleased with what you’ve brought him, and will be willing to work with Zora if you’re able to convince her. Go to Amber Heights and meet with Zora; she’ll make the same offer as she does in the Graham route – she wishes to lead a coup d’état and obtain full control of Amber Heights. You must agree with her plan and go with her to confront Graham.
Graham will be shocked by the betrayal and will refuse Zora’s protests for a peaceful exchange of power; you’ll be forced to kill Graham (you’ll earn 3425 XP for doing so). For the following action, you will require Persuade (55): you must convince Zora to negotiate with Sanjar and reach an understanding. She’ll capitulate and negotiations will begin shortly (you’ll gain 3428 XP for this).
The negotiations take place in the OSI Church, which can be found in the Stellar Bay Ruins. You’ll have to butt in every now and then to keep the conversation civil. Suggest to Zora that her people should support Sanjay’s support lines. Following that, assure Zora that Sanjar was not involved in the massacre (as mentioned in the Sucker Bait Quest); this will appease her and mitigate any bad blood between the two.
Eventually, both parties will reach a compromise and you’ll be rewarded for your role
