
Runakit Shrine is one of the 152 shrine map locations that will present you with multiple challenges to complete it in Zelda: Tears of the Kingdom. This shrine is not that easy to complete so you will have to figure out how to solve it.
This guide will tell you how to create multiple structures to traverse sliding rails in the Runakit Shrine and carry the key items across them.
Runakit Shrine Location in Zelda: TotK
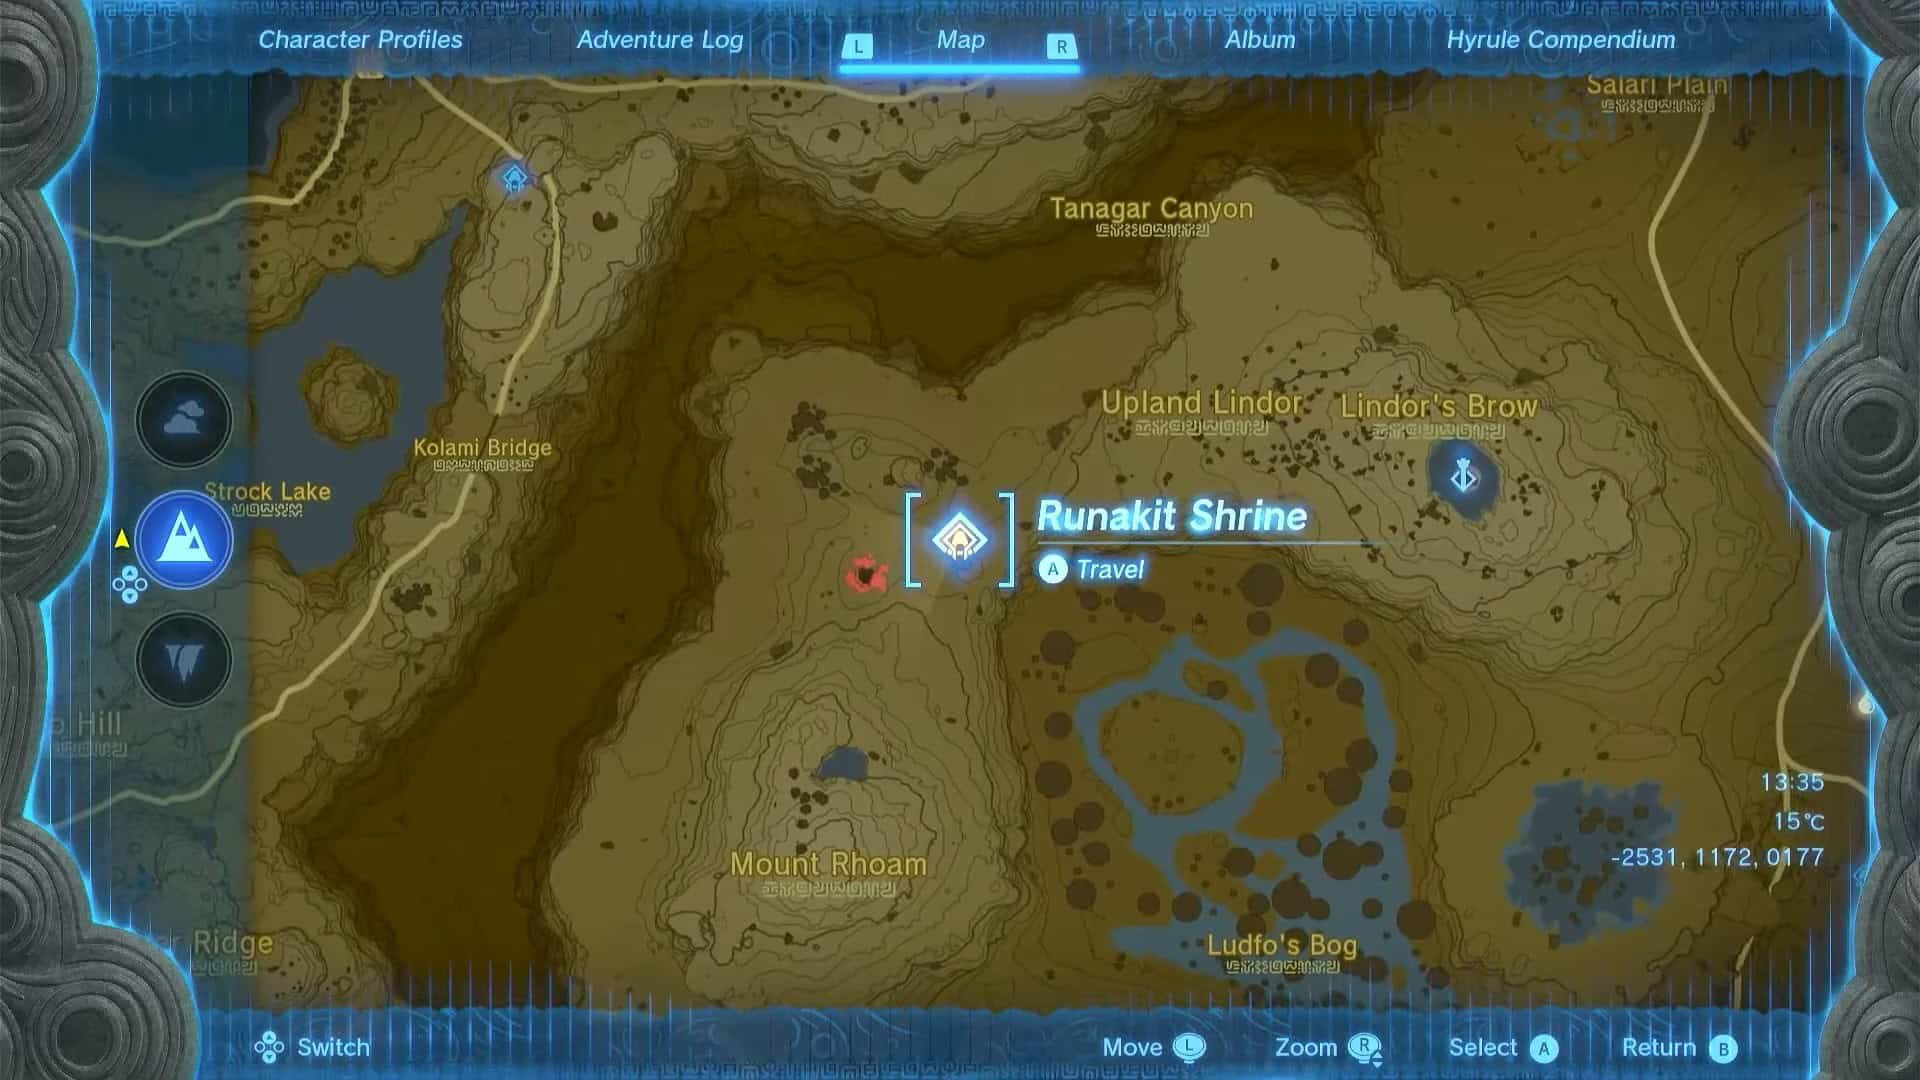
Runakit Shrine in Zelda: Tears of the Kingdom lies in the northwest region of Hyrule Ridge. It is east of Tabantha Frontier and west of Lindor’s Brow Skyview Tower.
Its exact coordinates are (-2531, 1172, 0177).
Runakit Shrine Walkthrough
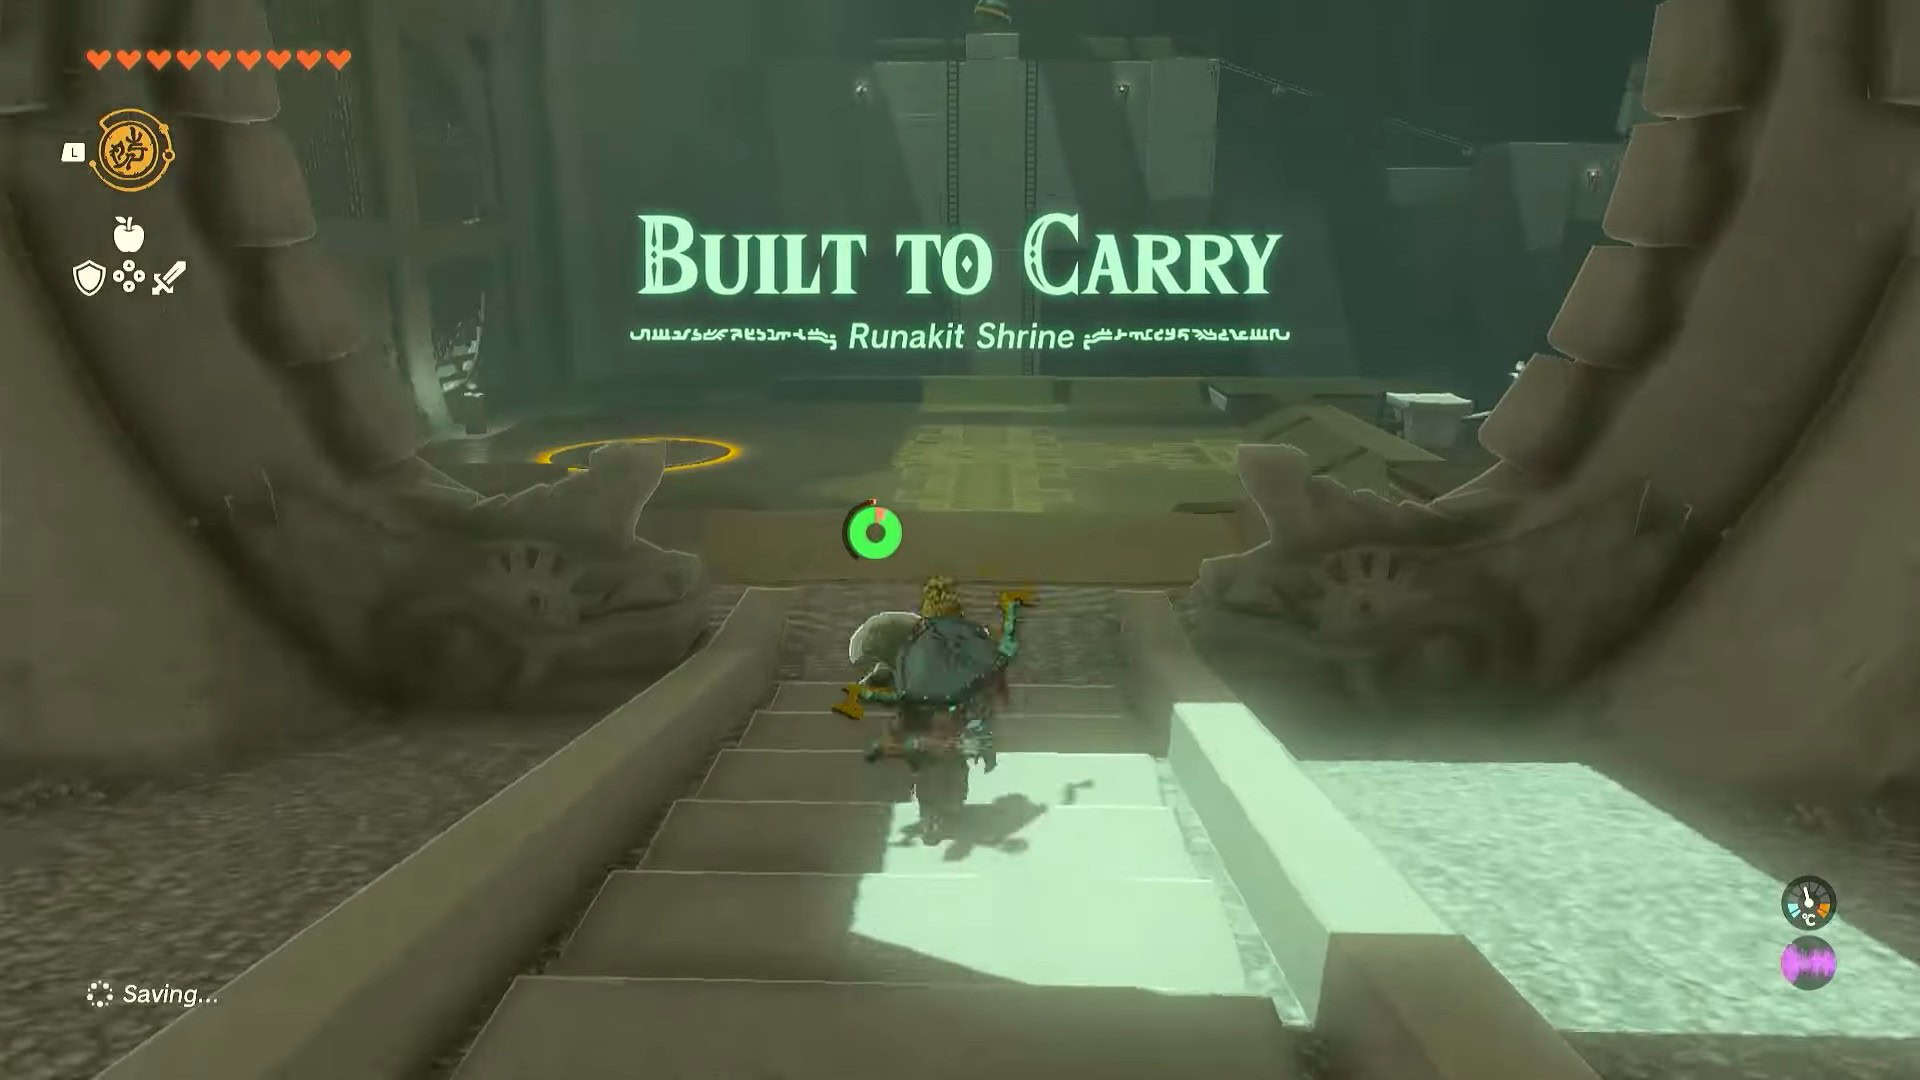
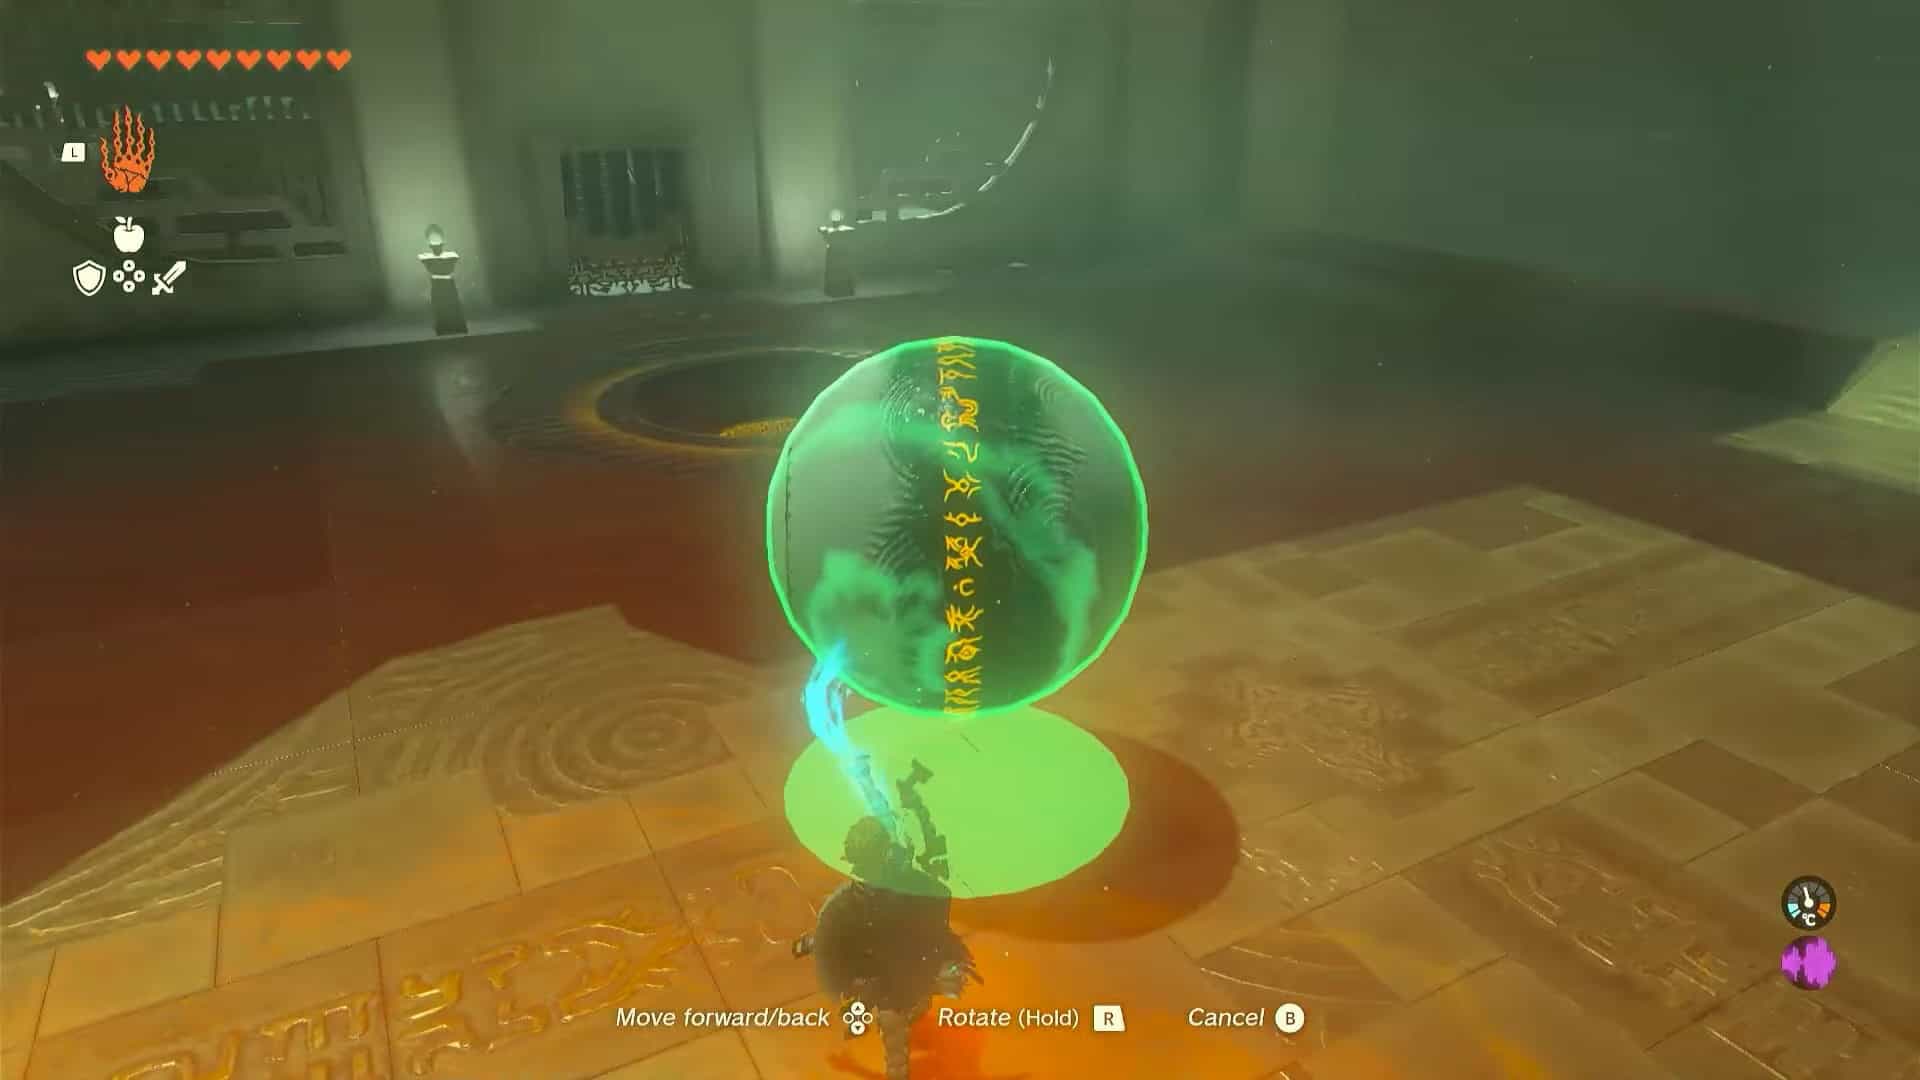
Runakit Shrine in Zelda: Tears of the Kingdom features the Built to Carry puzzle. The purpose of this shrine is to find an orange sphere and place it in the receptacle present near the entrance of the shrine.
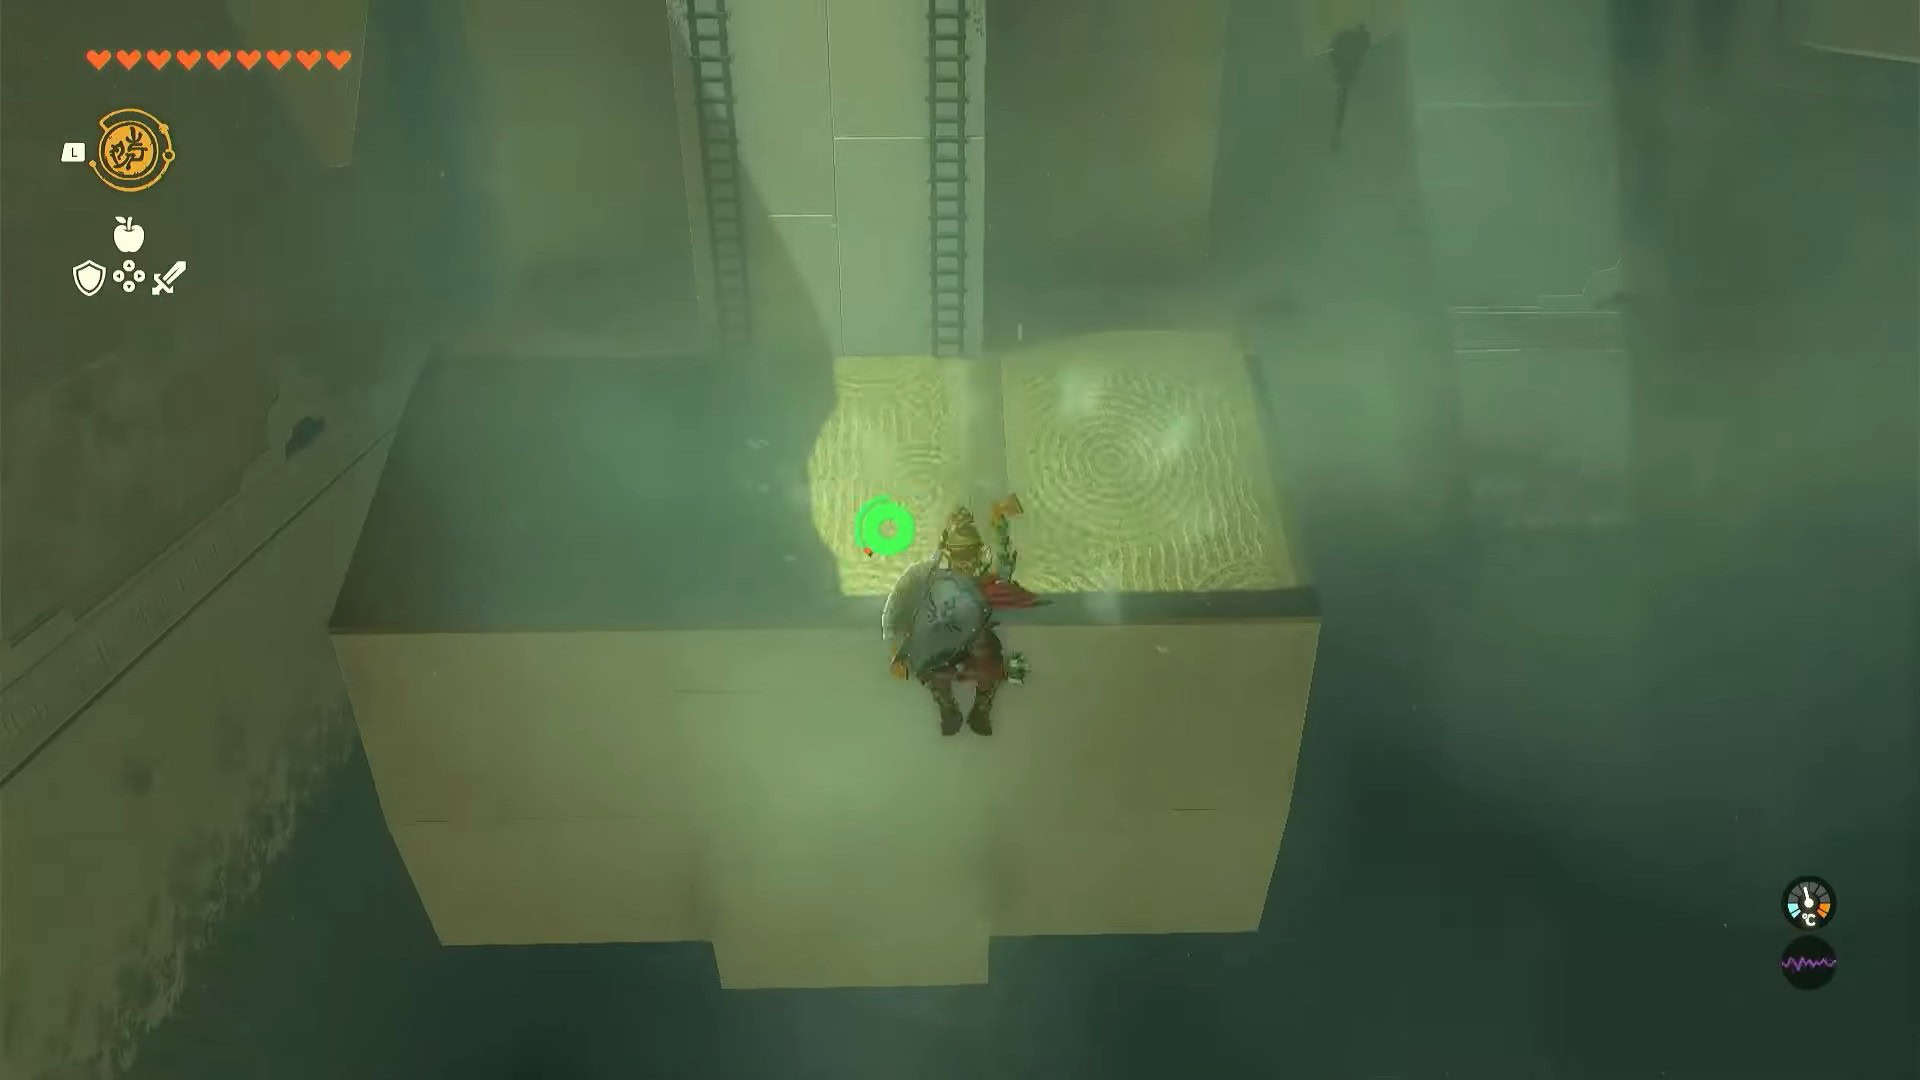
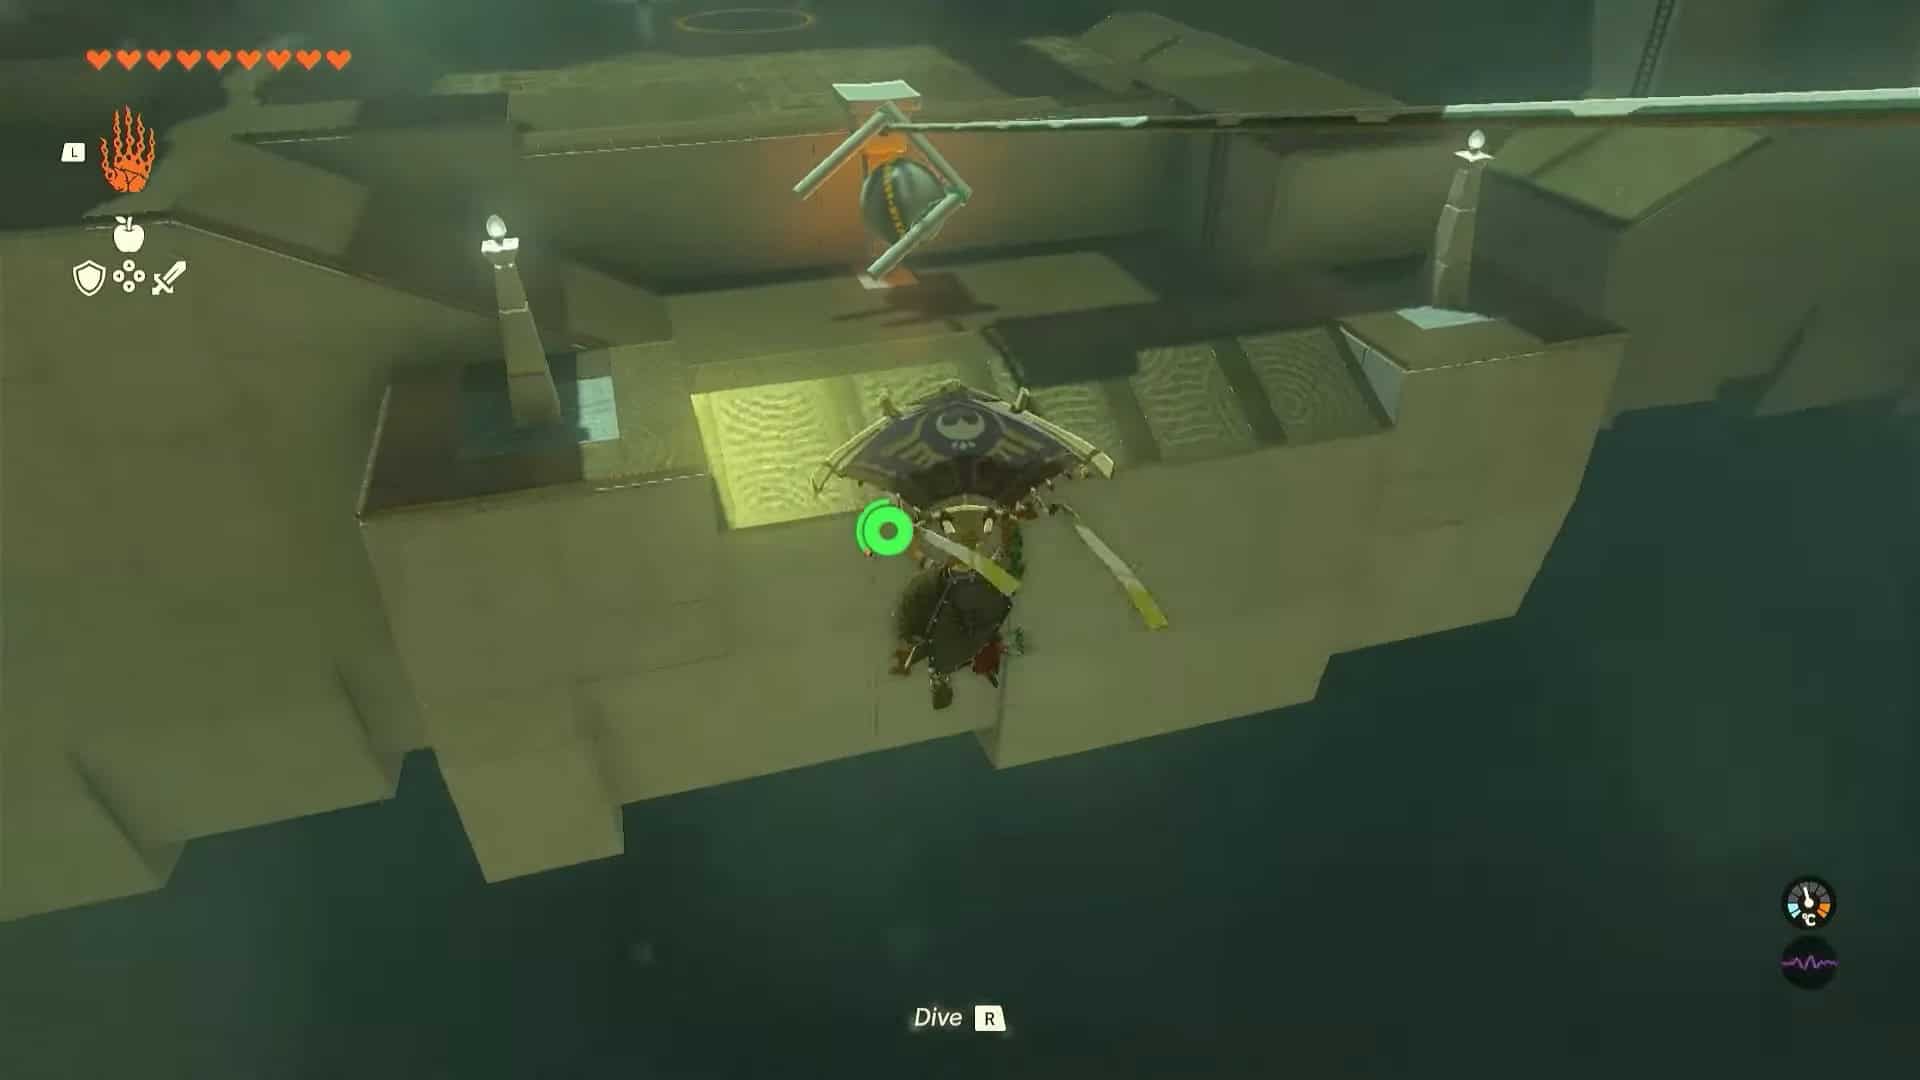
1. Go straight from the entrance and jump towards the platform with two ladders. Glide to reach the area.
2. Climb the ladders and use Ultrahand to pick up the ball present on the top.
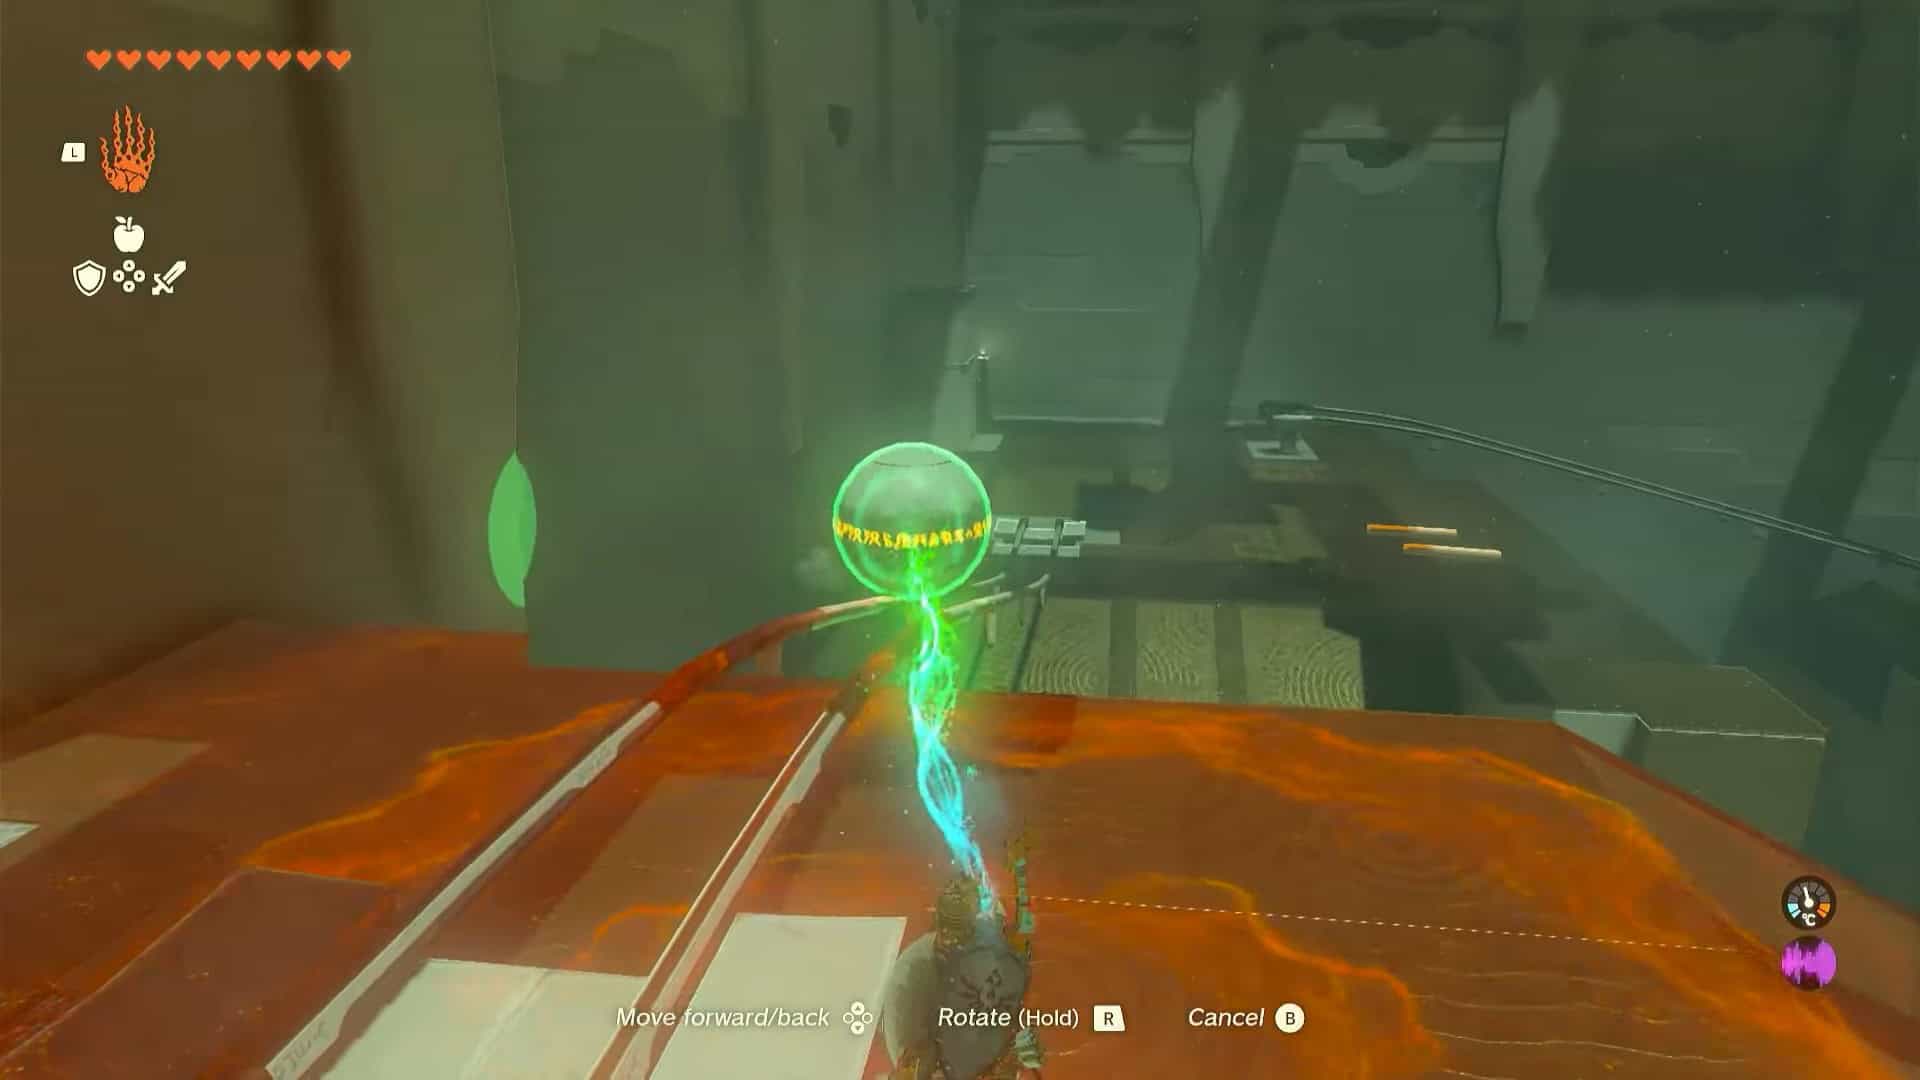
3. Drop the ball on the rail to the left. Use your paraglider to reach where the sphere has reached.
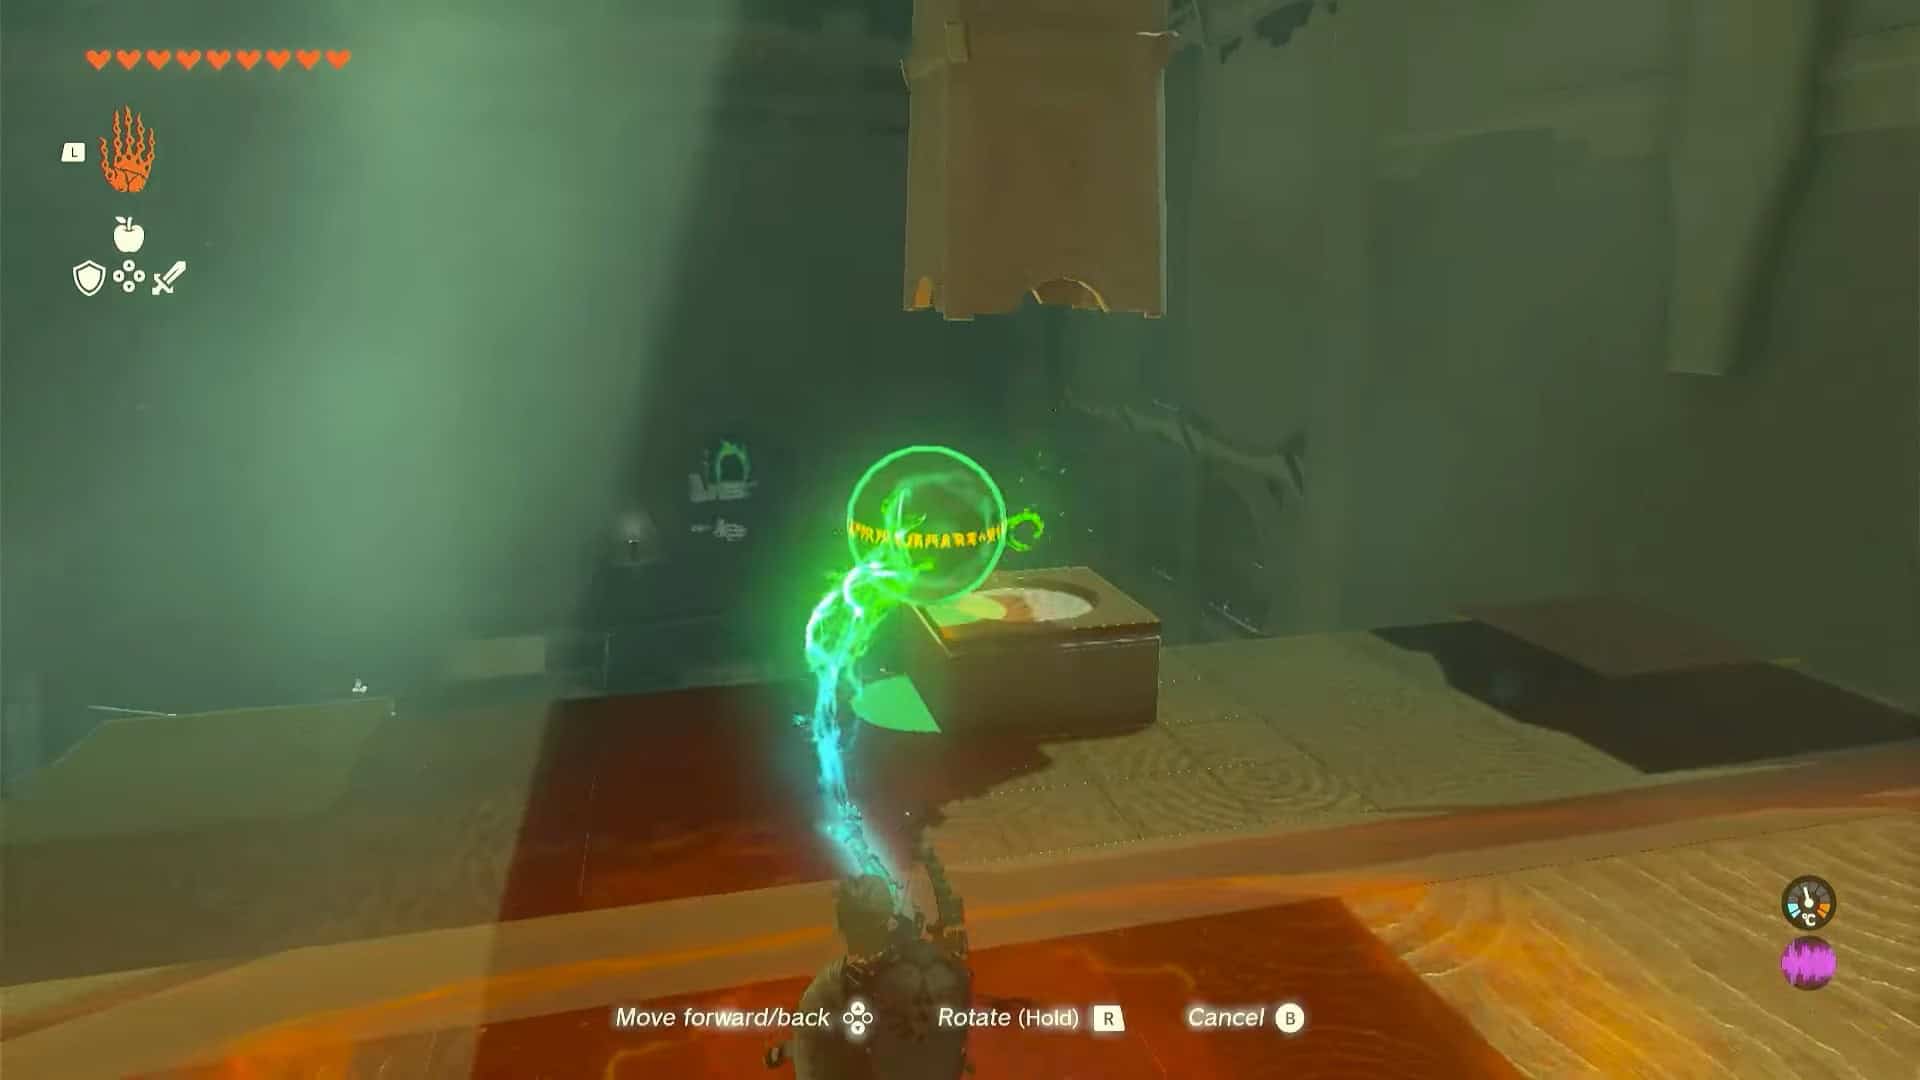
4. This part is tricky. You need to transport the sphere to the next area by crafting something that can travel on one rail while carrying the sphere.
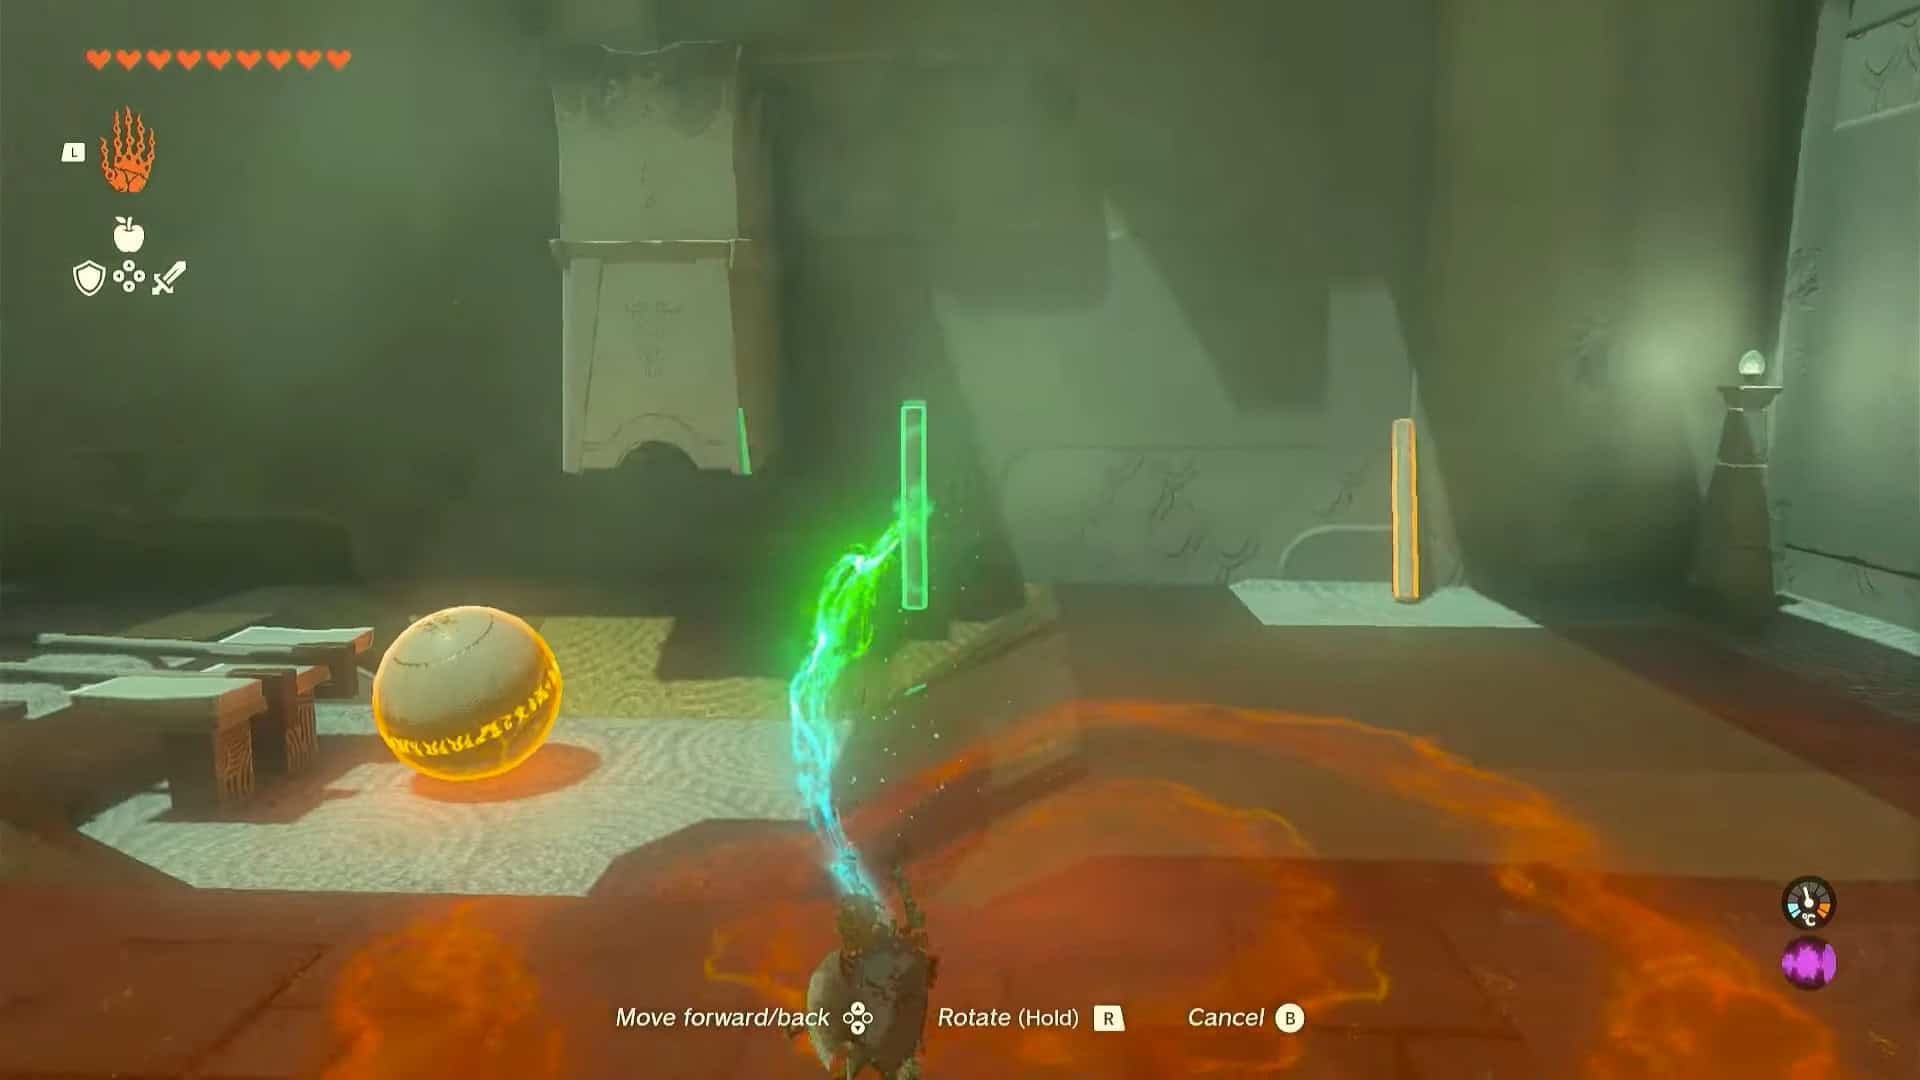
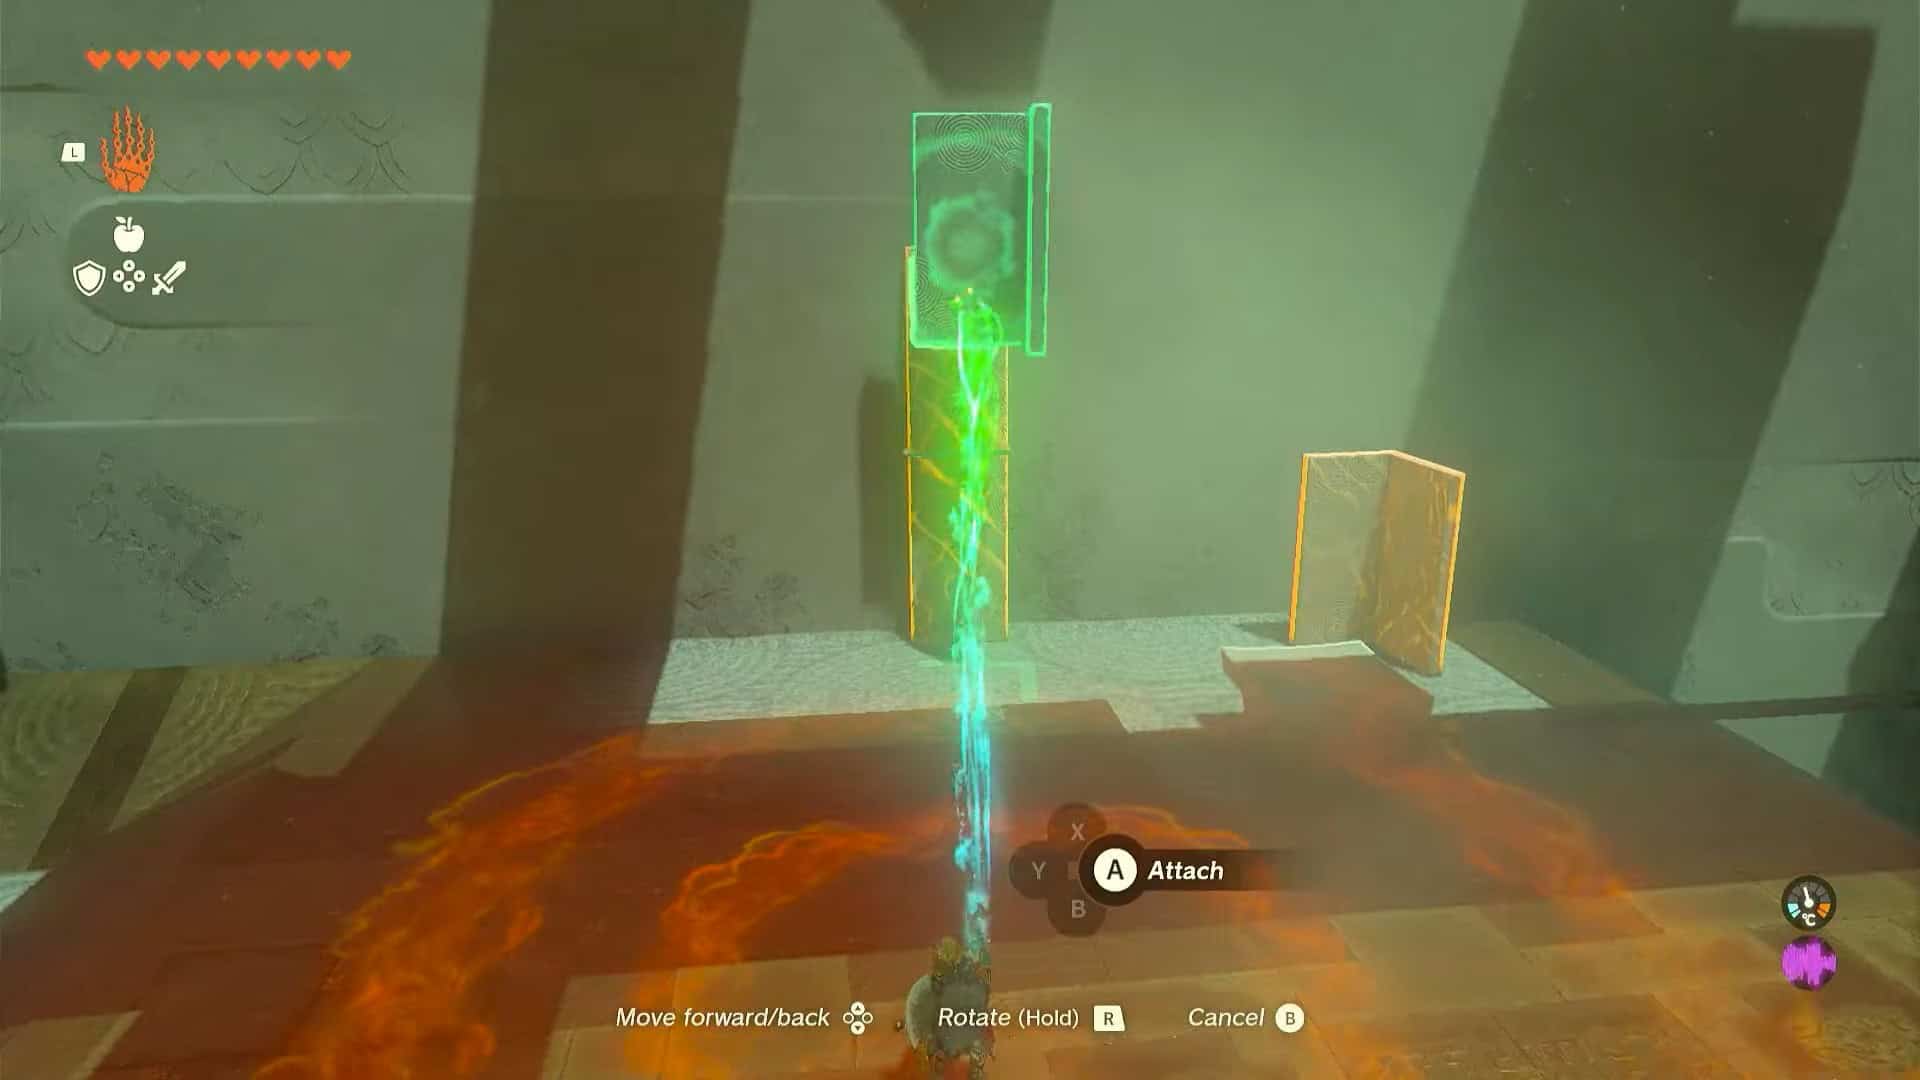
5. Pick up a stick and connect it with two other sticks to create a structure like the alphabet U.

6. Pick up the sphere and attach it to one of the legs of U.

7. Now, pick up the structure and place it upside down on one of the rails. It will slide down to the next area. Glide down to reach it.

8. Use the same structure and place it again on the rail. It will go down and reach the platform with the receptacle.
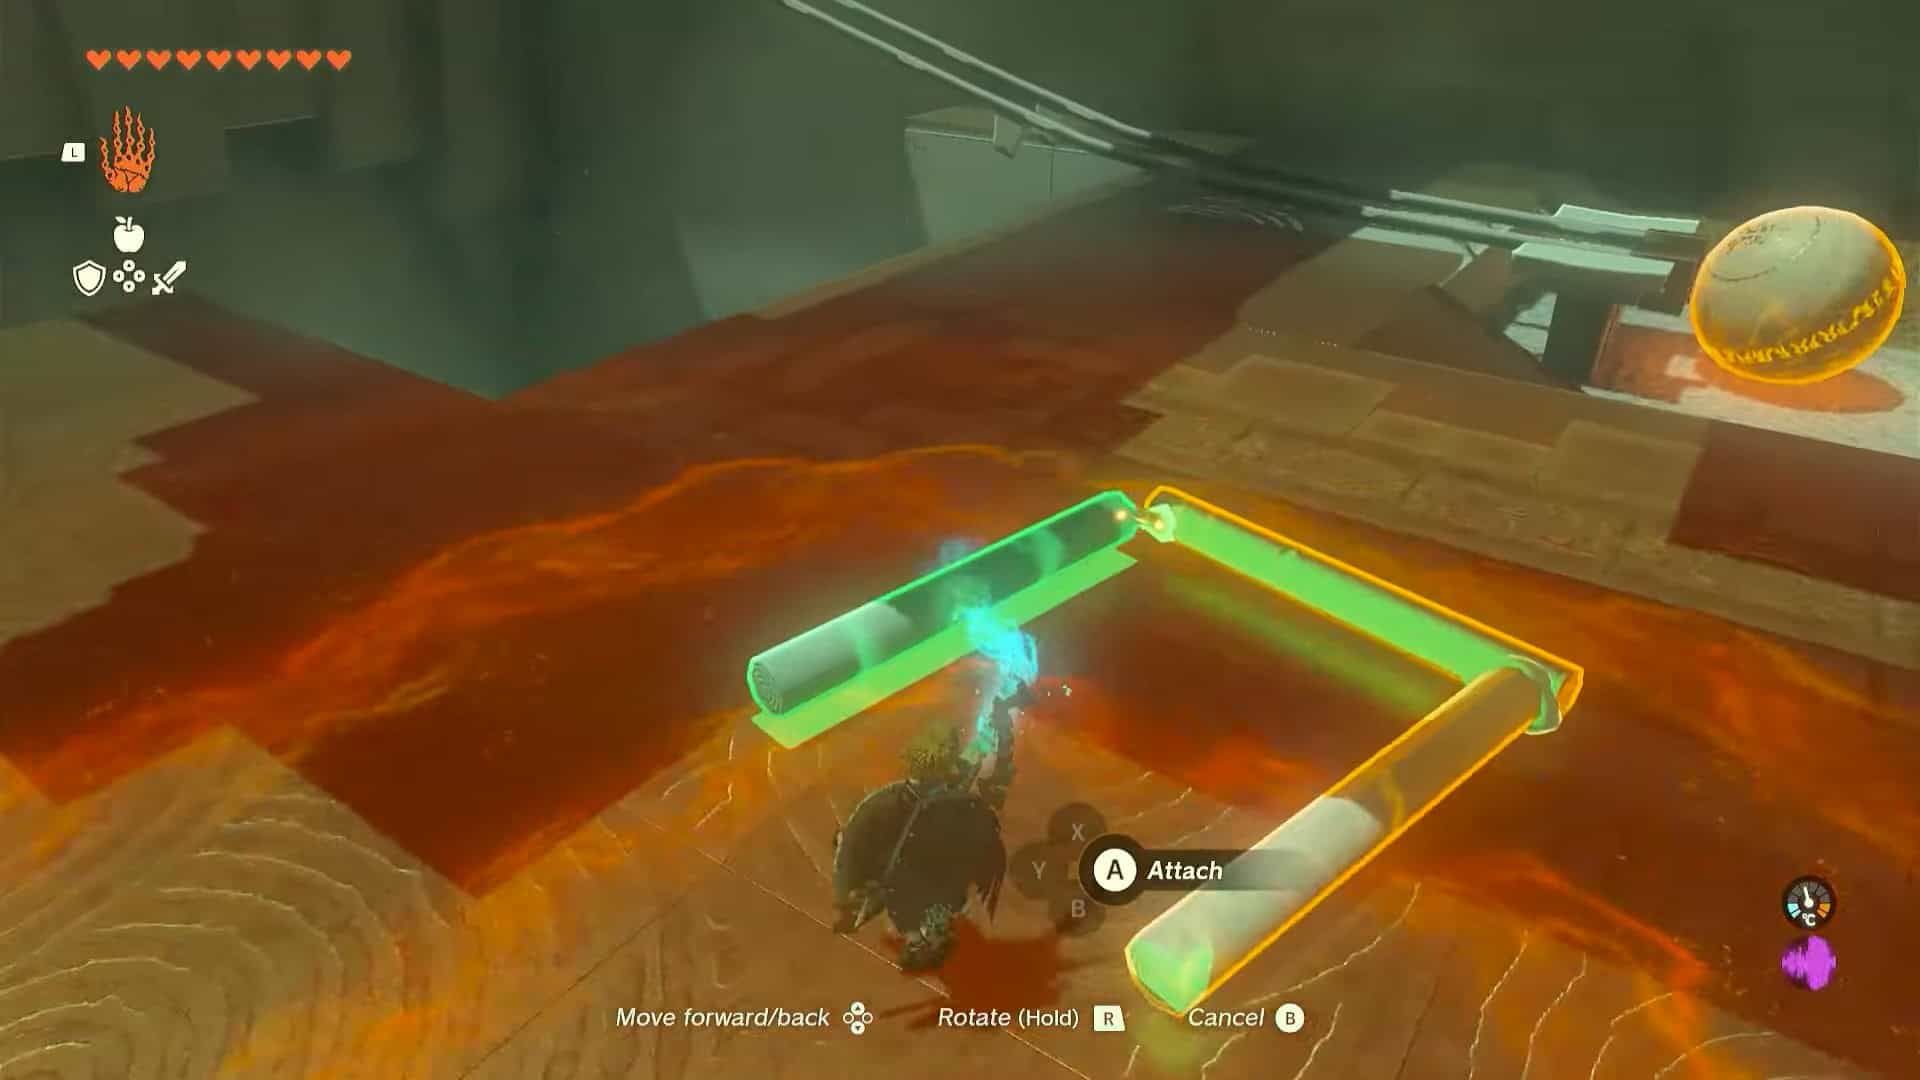
9. In the same area, pick up a metal plank and attach it to another one to create a bridge.
10. Attach another plank to extend the plank further.
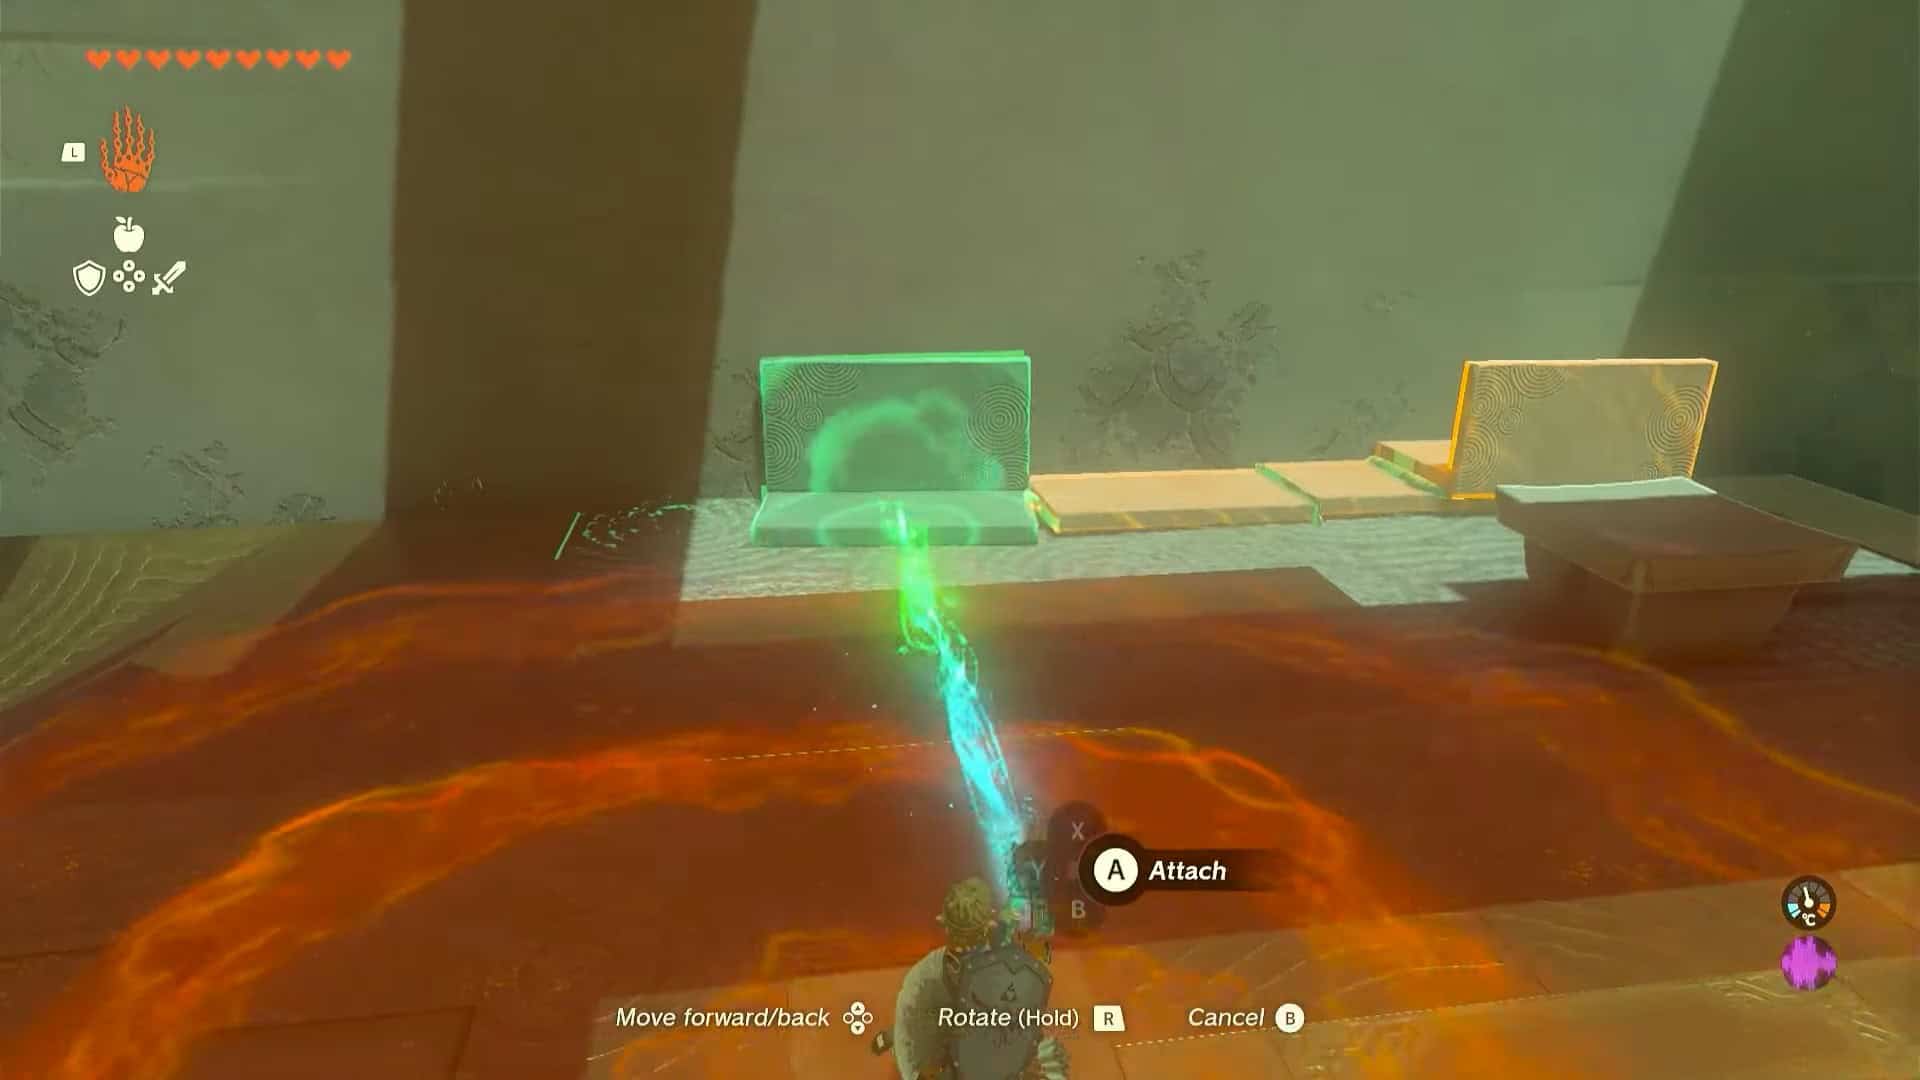
11. Attach the final piece to create a structure, as shown in the picture above.
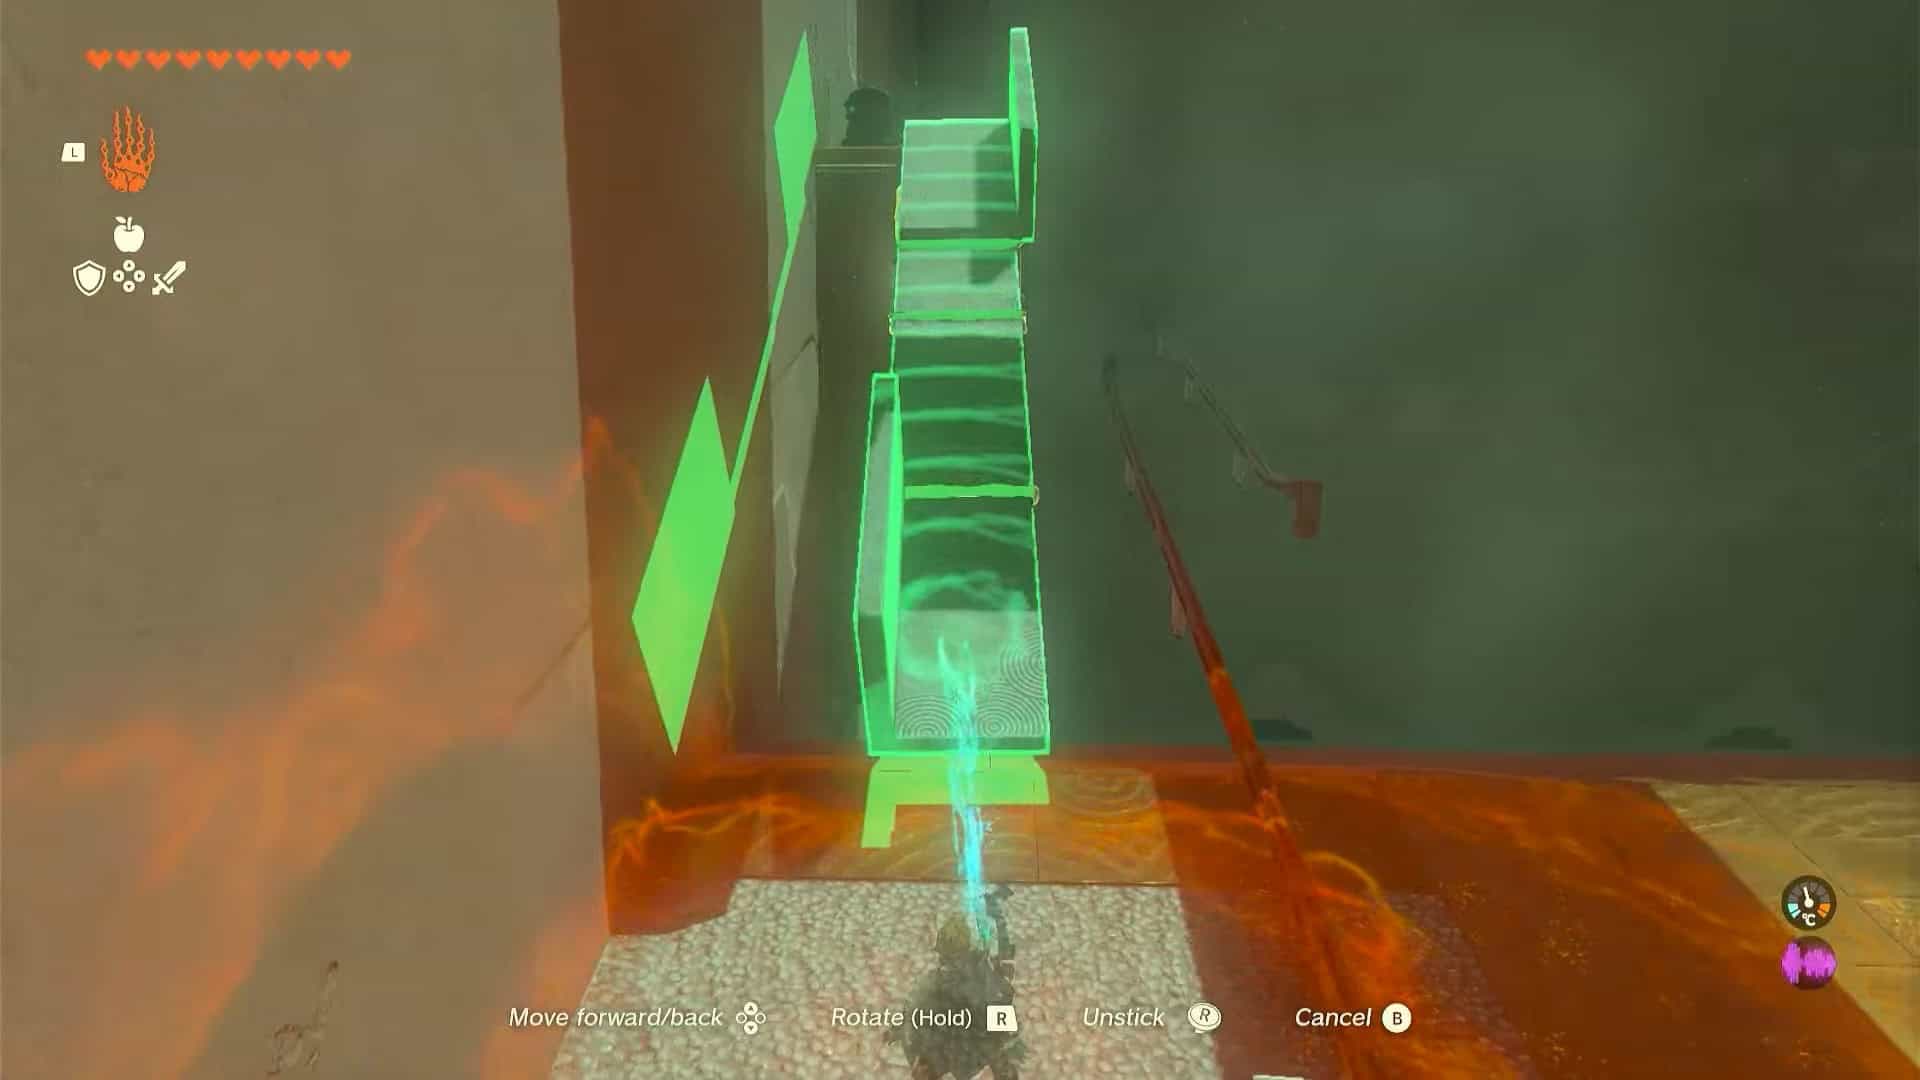
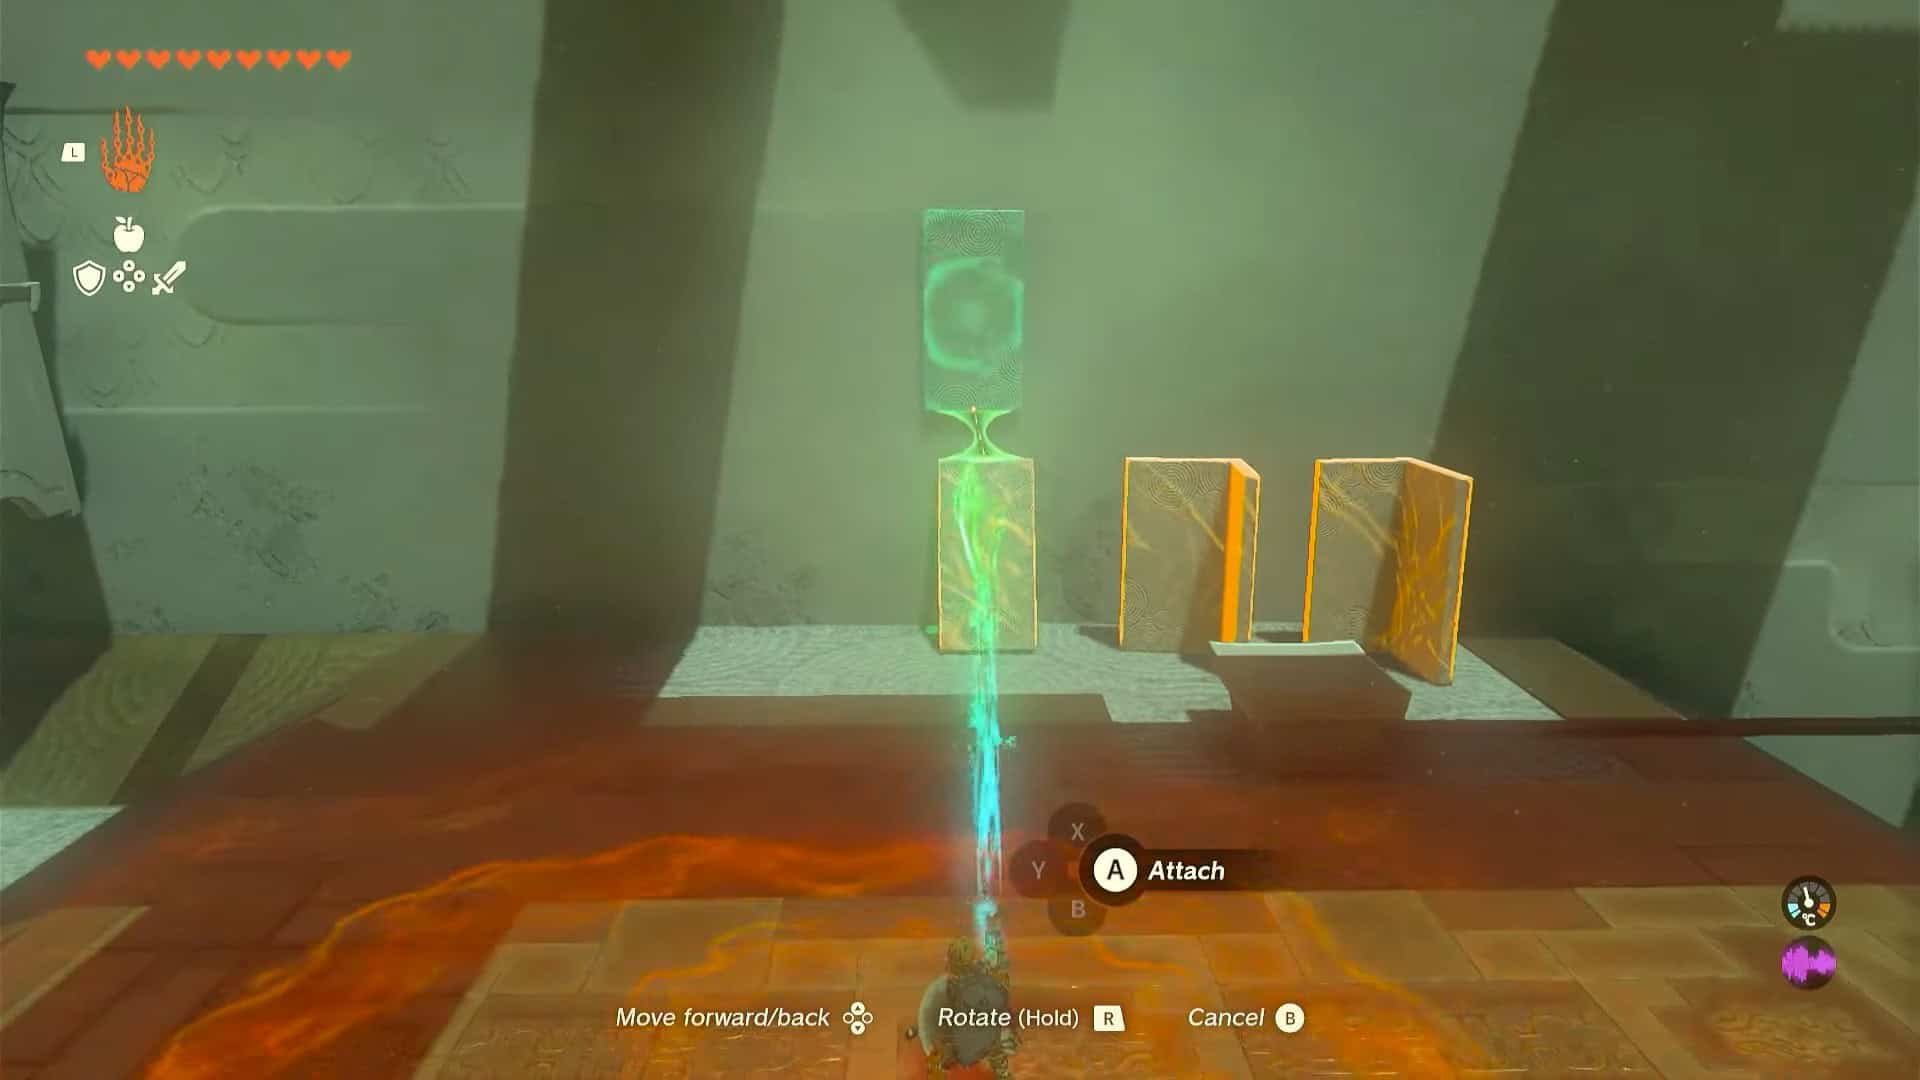
12. Place the structure in an inclined position to climb to reach the treasure chest.
13. Open the treasure chest to obtain a Construct Bow.
14. Get back and glide to reach the platform where the sphere is. Pick up the structure with Ultrahand and wiggle the right analog stick to free the sphere.
15. Pick up the sphere and place it inside the receptacle to open the door to the altar room.
16. Interact with Rauru and Sonia’s statues to complete the trial and earn a Light of blessing as a reward.