Karahatag Shrine in Zelda: Tears of the Kingdom is about using the principles of physics to your advantage. You must make candles fly to light up the torches above or simply cheese your way through with fire arrows.
In this guide, we will help you complete the Karahatag Shrine in Zelda: Tears of the Kingdom with ease. Before proceeding, we recommend that you stock up on arrows and fire fruits to make your life much easier.
Karahatag Shrine Location in Zelda: TotK
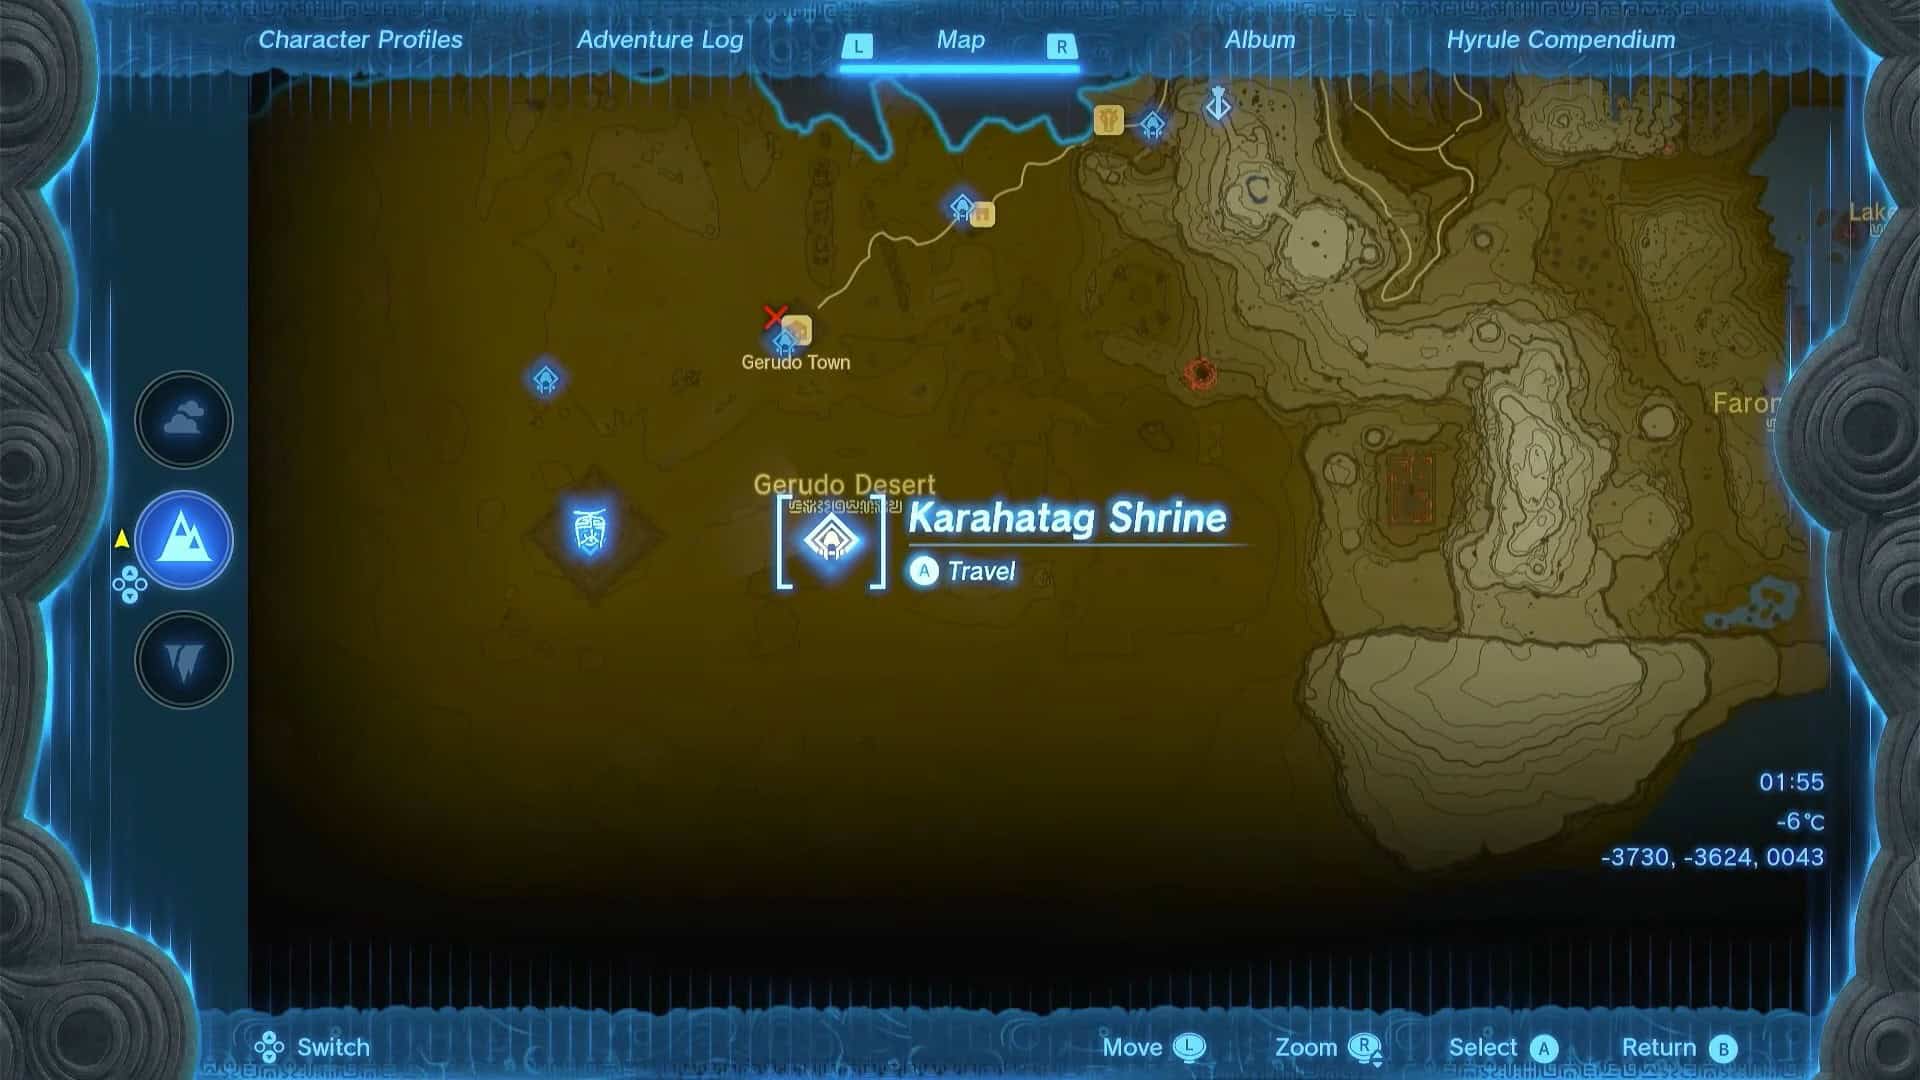
Karahatag Shrine is in the Southern Oasis region of the Gerudo Desert. It is to the south of Gerudo Town and east of the Lightning Temple.
The exact coordinates for the Karahatag shrine in Zelda: Tears of the Kingdom are (-3730, -3624, 0043). This area is extremely hot during the day and cold during the night. Make sure to carry appropriate gear and cook some meals with cold and heat resistance.
Karahatag Shrine Walkthrough
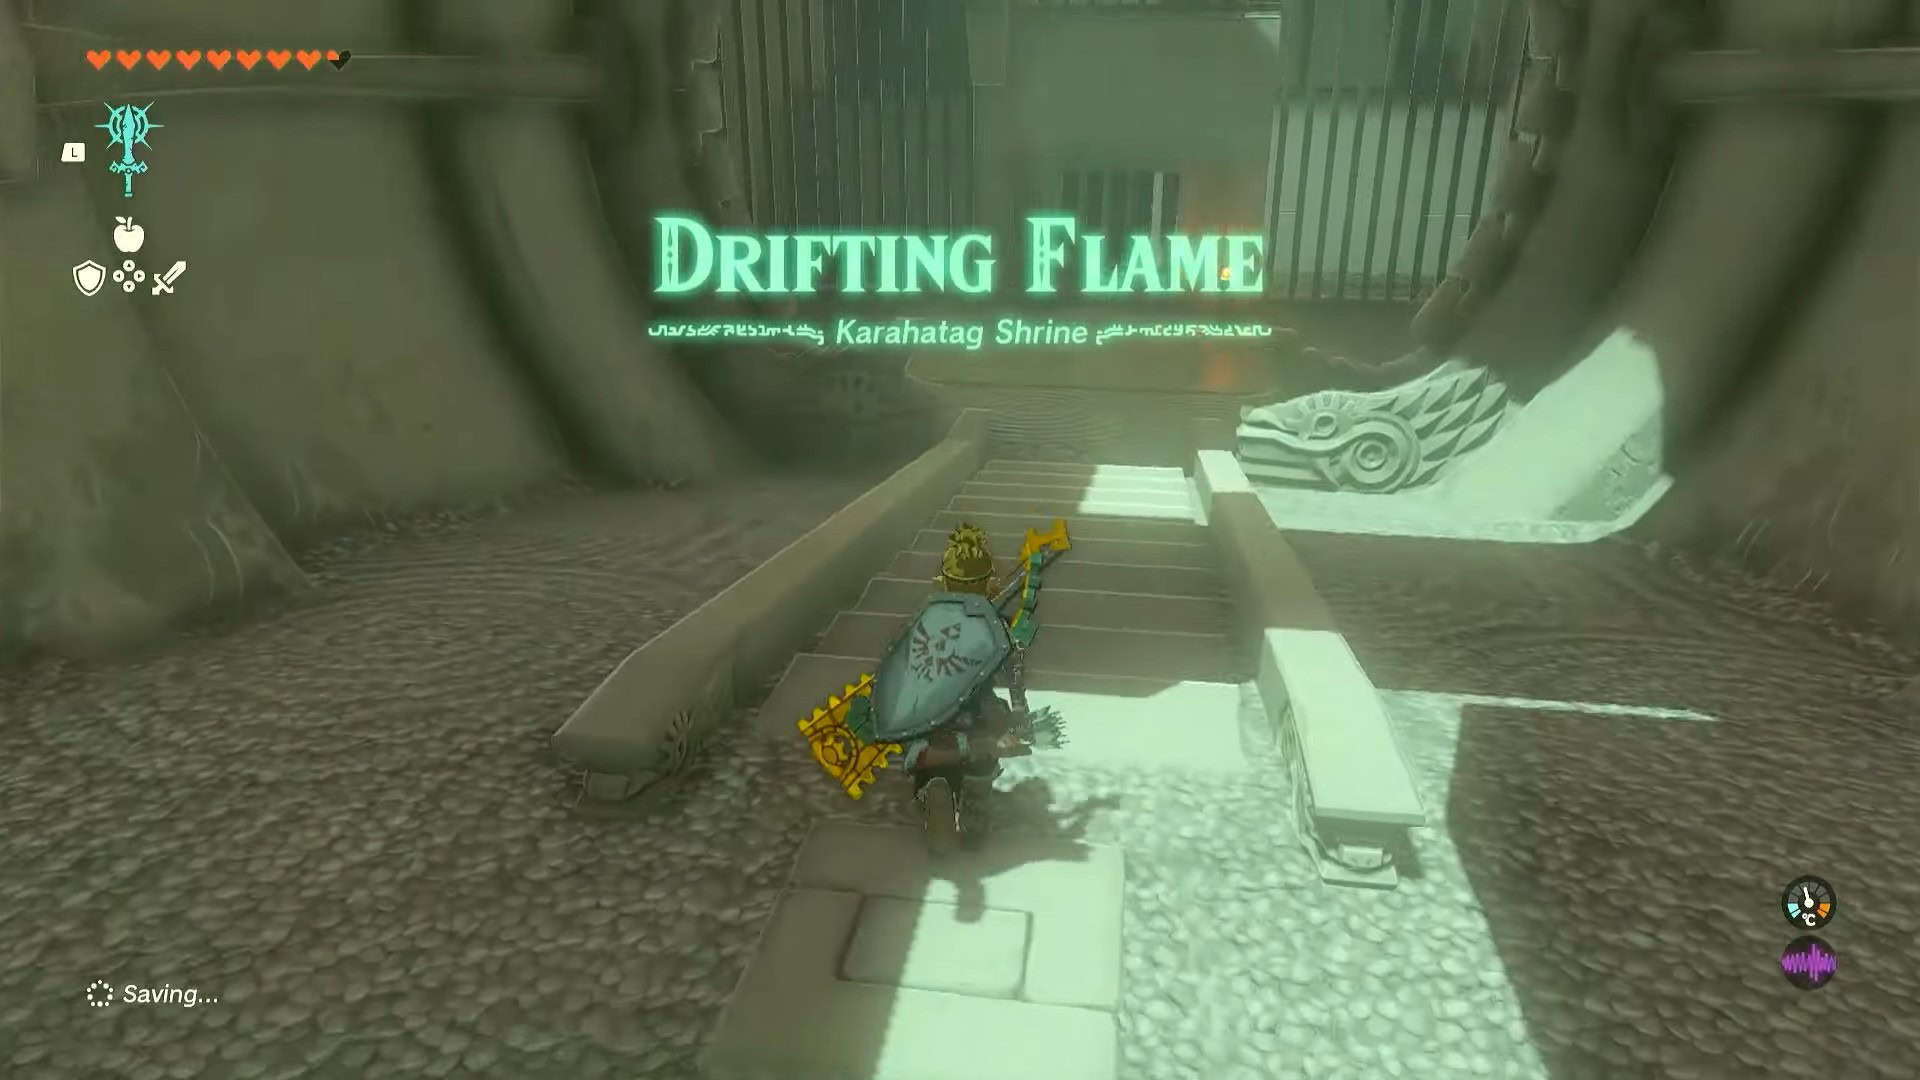
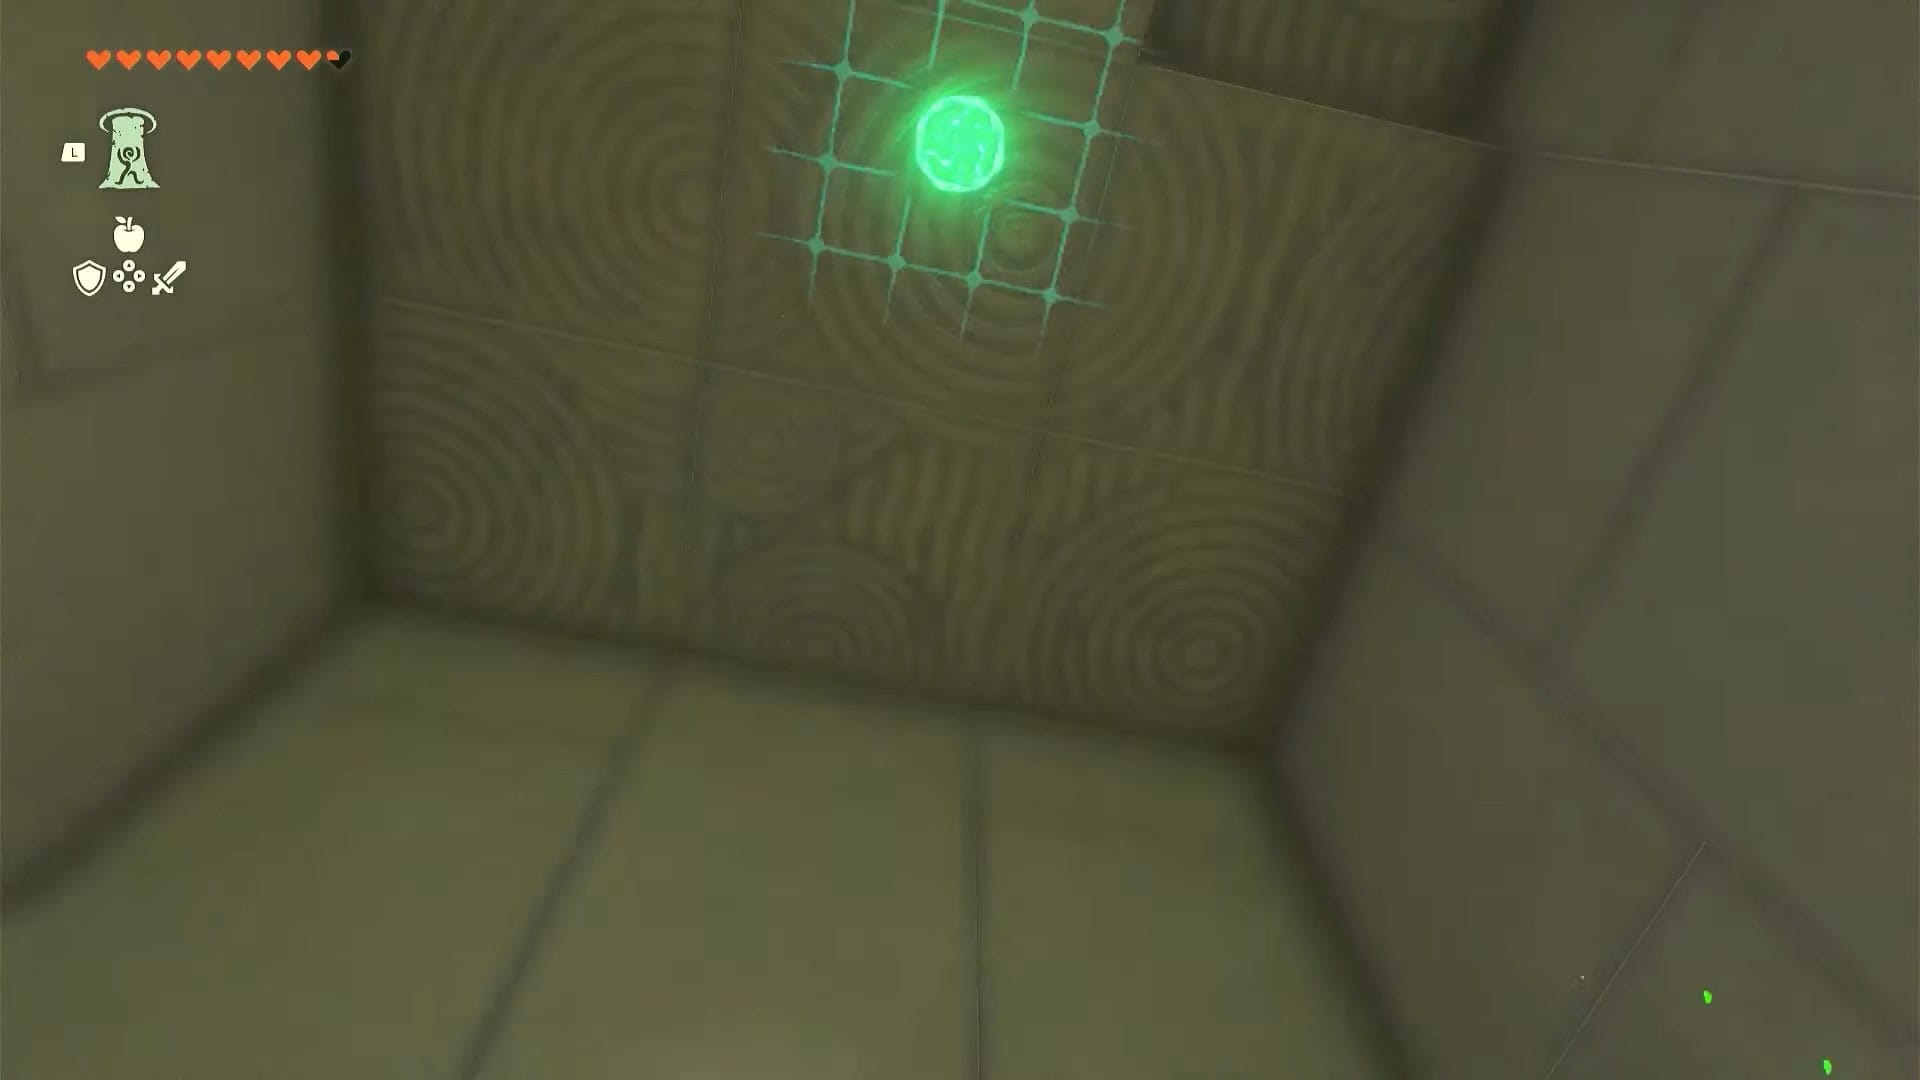
The trial inside Karahatag Shrine is known as Drifting Flame. The objective of this puzzle is to light the candles by any means necessary. The game will provide you with a torch, but we recommend carrying fire fruits and some arrows.
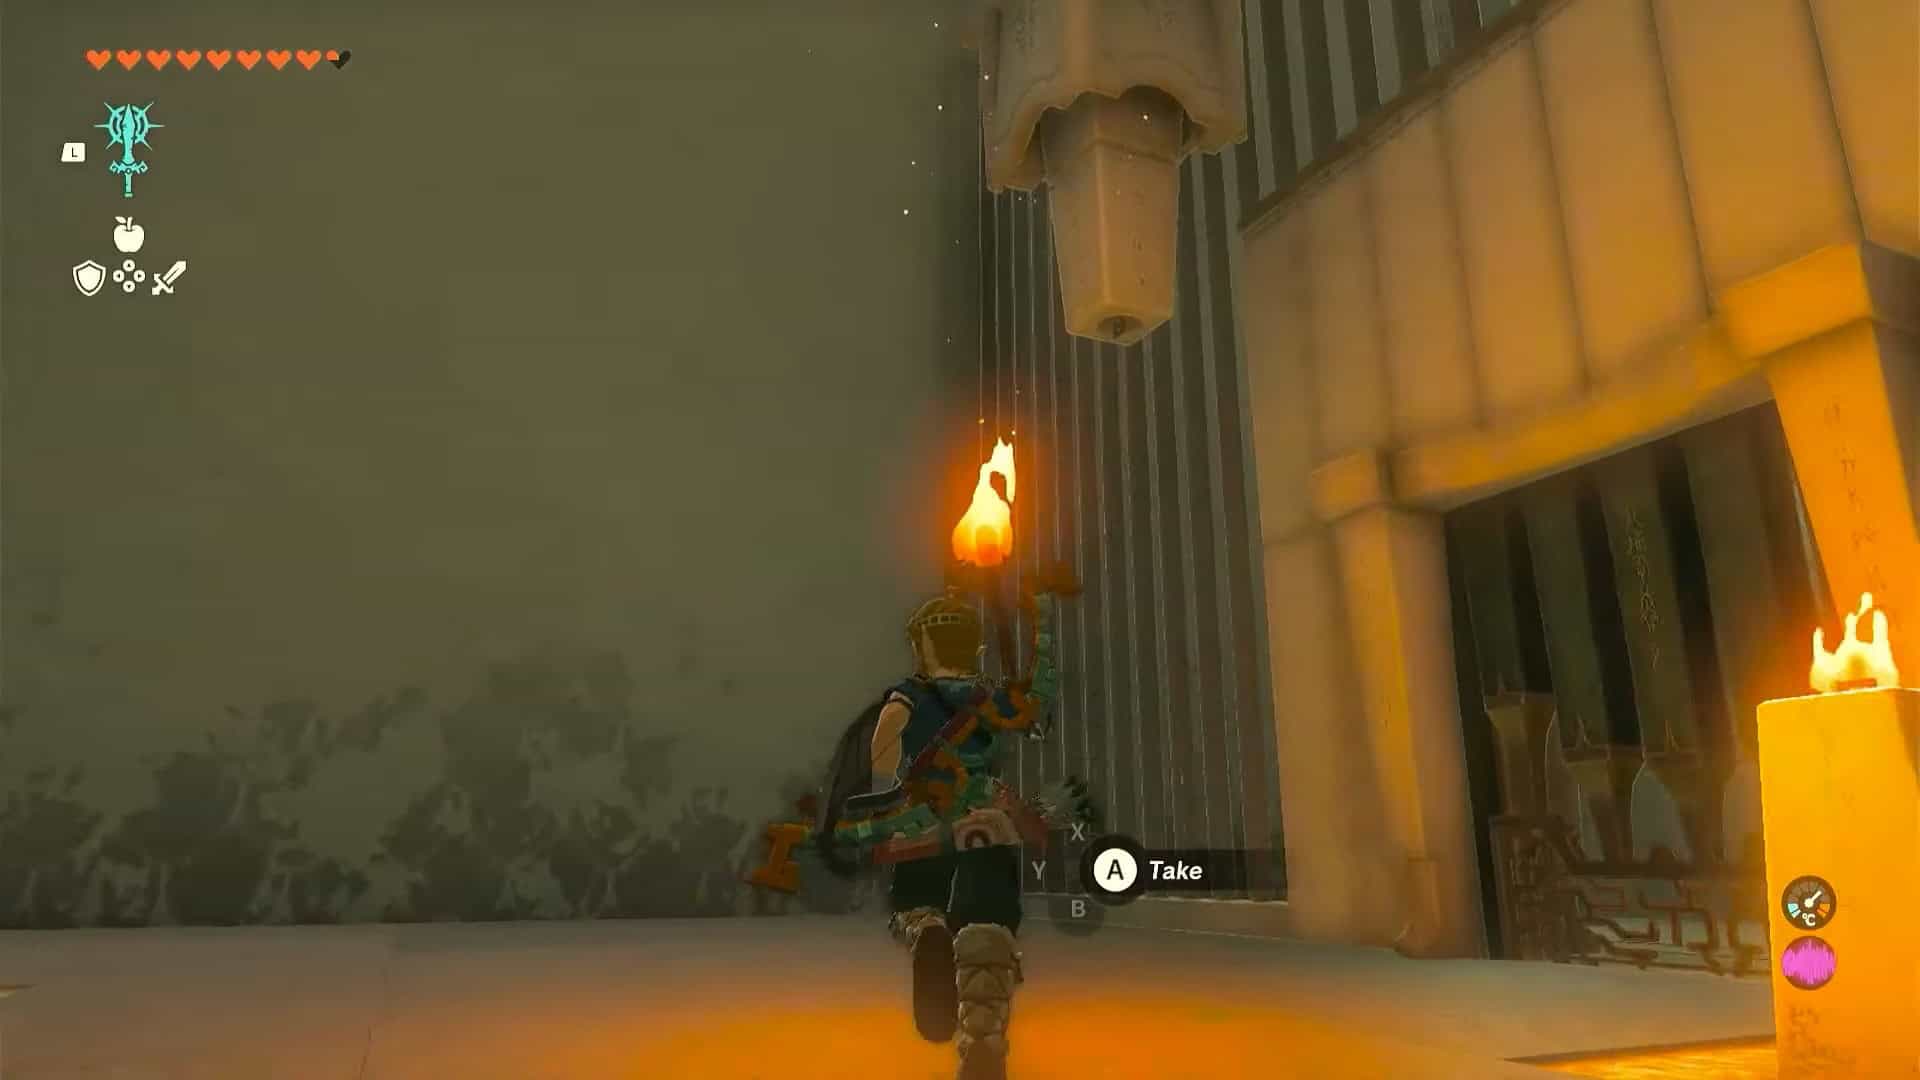
1. In the first area of the shrine, there is a torch present near a lit candle. Pick it up and swing it to put it on fire.
2. Look up to the left of the door to find an unlit torch. Aim and throw the torch at the candle. Or you can hit the torch with fire arrows.
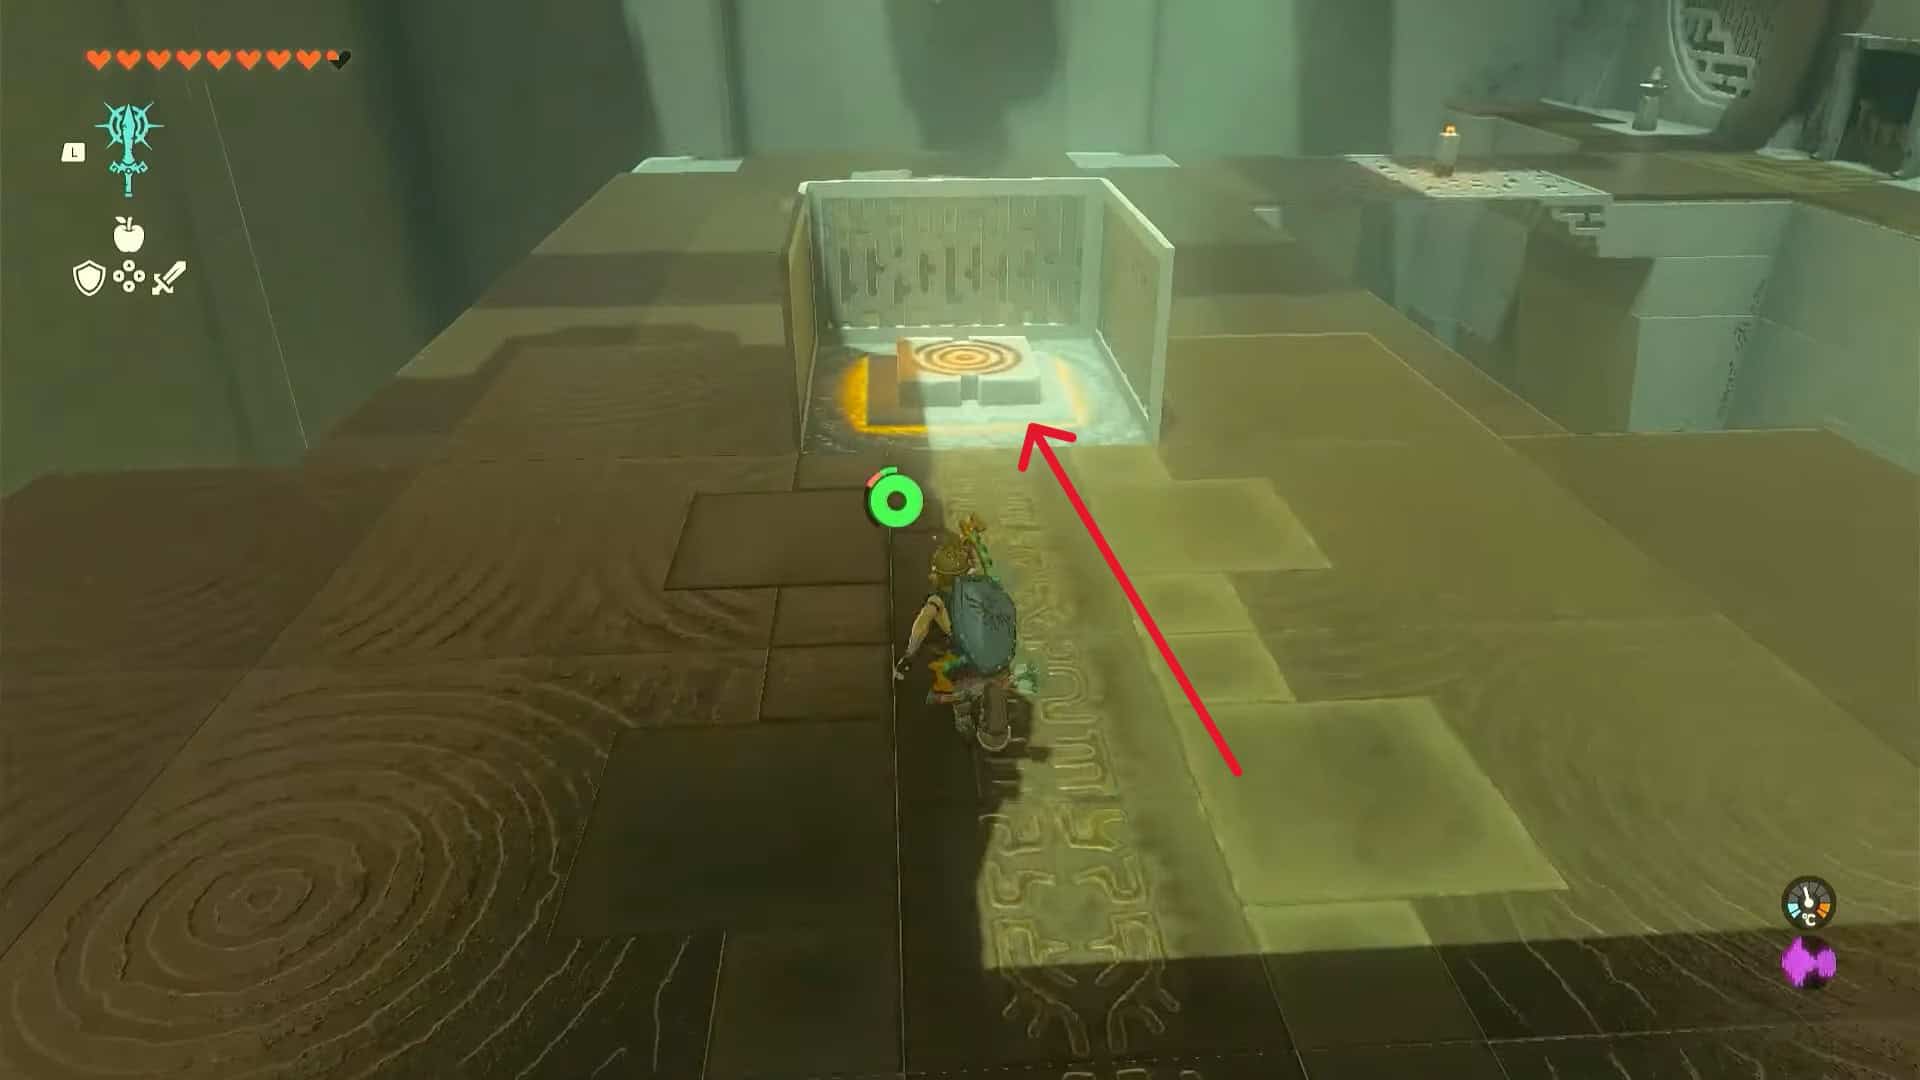
3. This will open the door to the next room. Climb the stairs to find an orange switch on the ground.
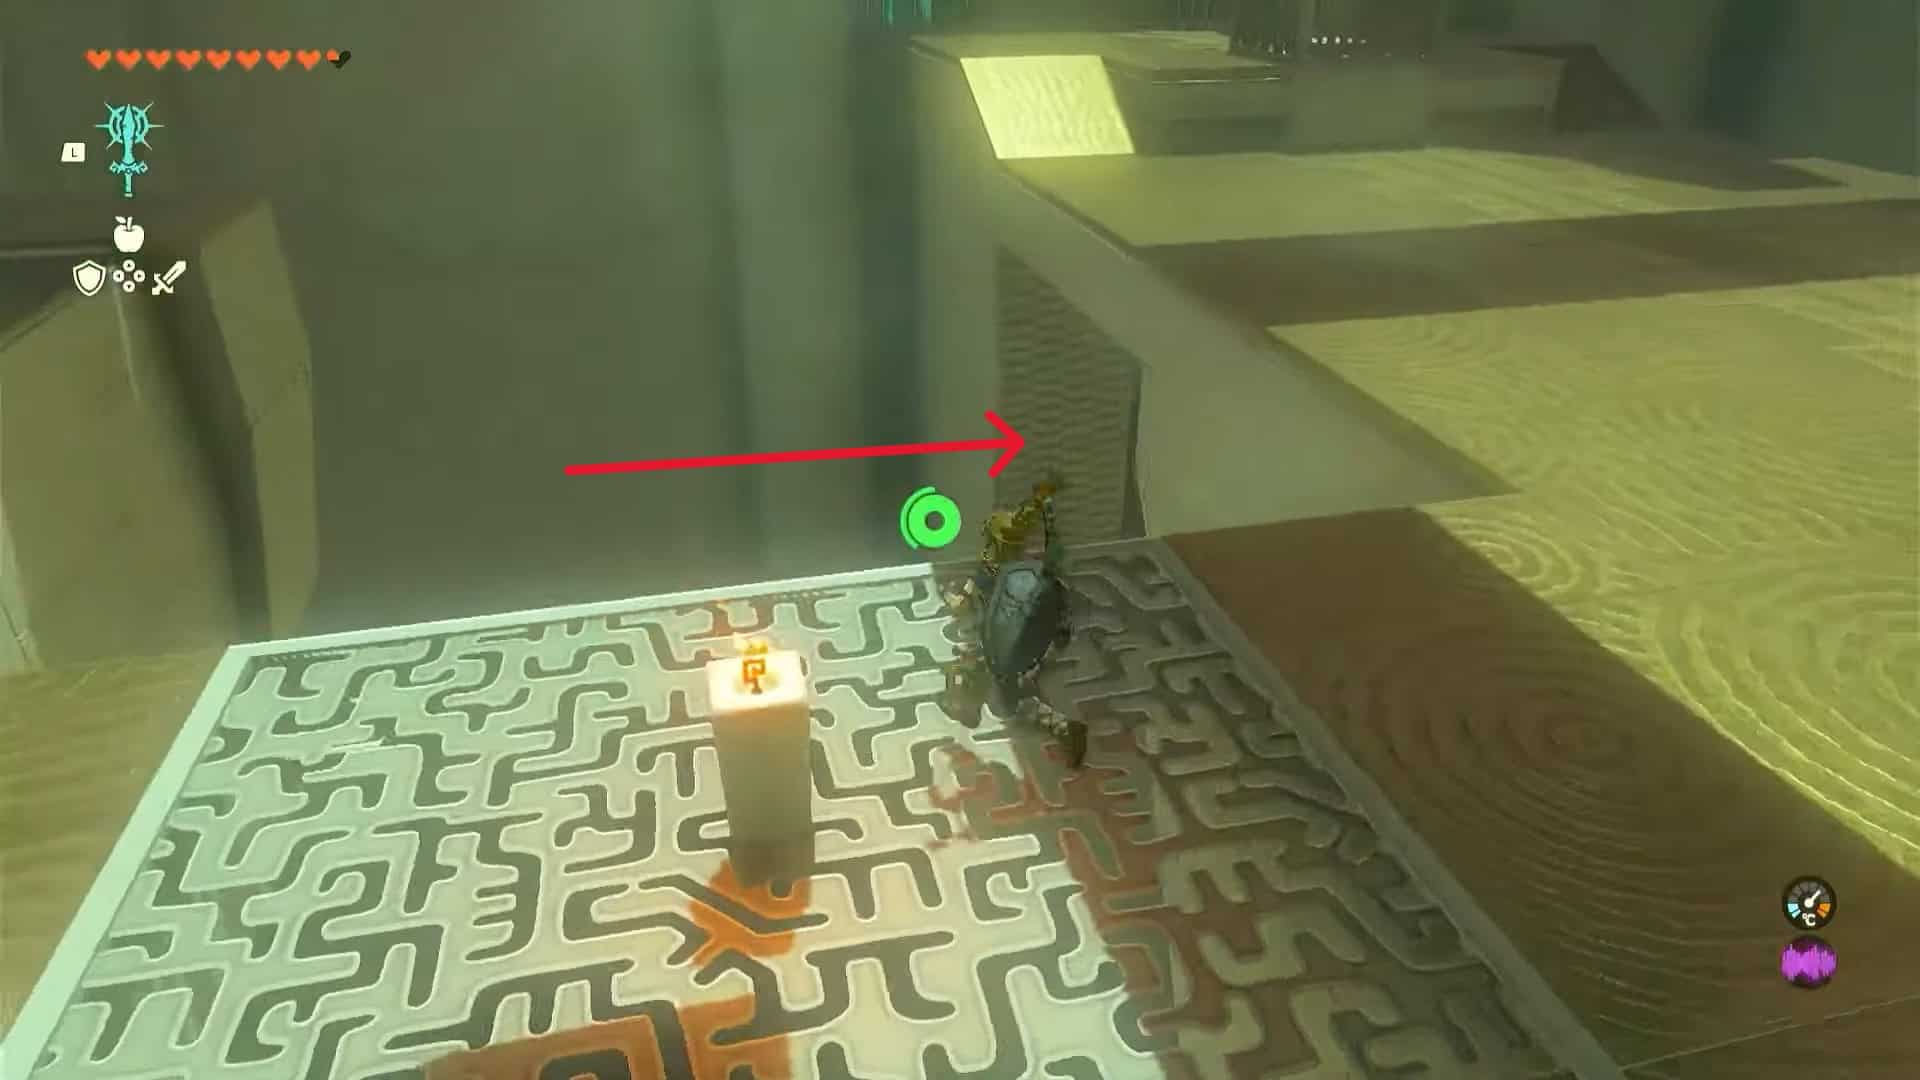
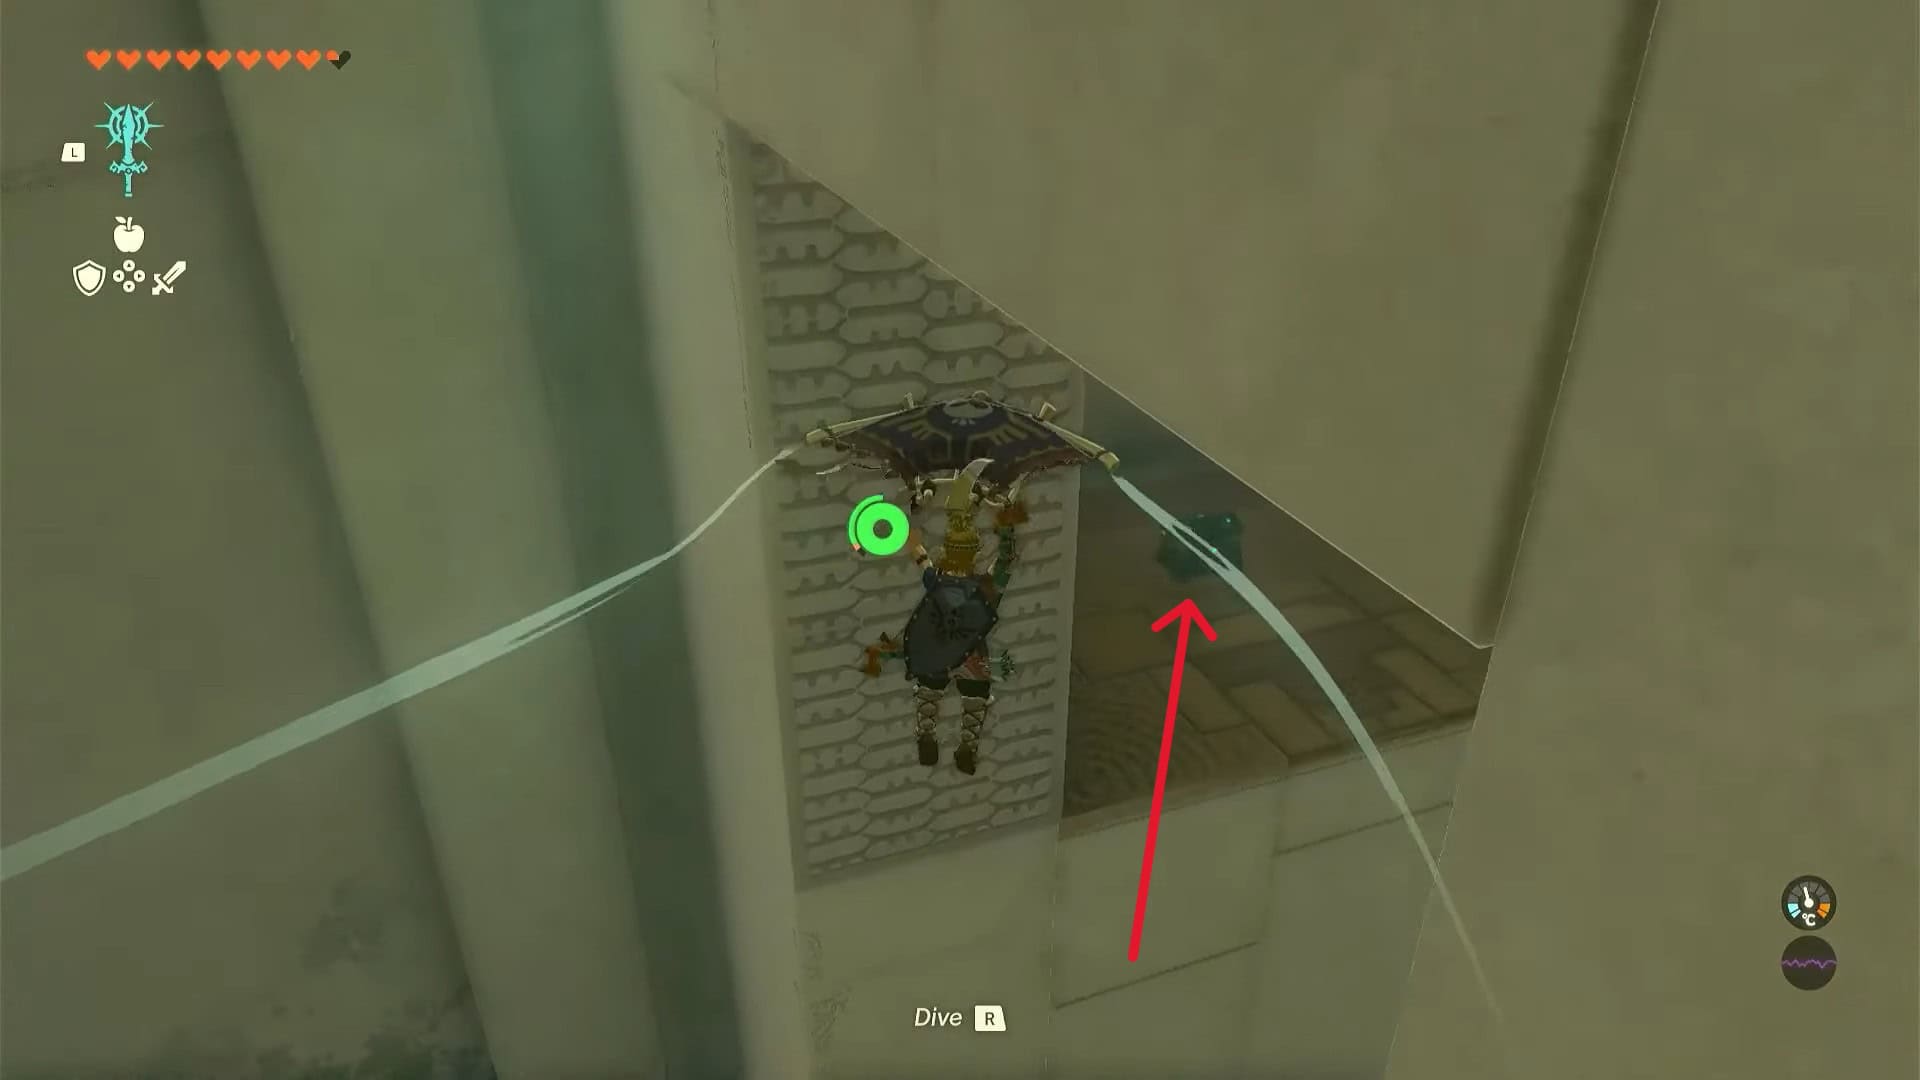
4. Before doing anything here, go forward and reach the bridge with a candle. Turn right and jump down. Glide to reach the platform with a treasure chest.
5. Open the treasure chest to obtain a Mighty Construct Bow. Use the Ascend ability to get out of this area.
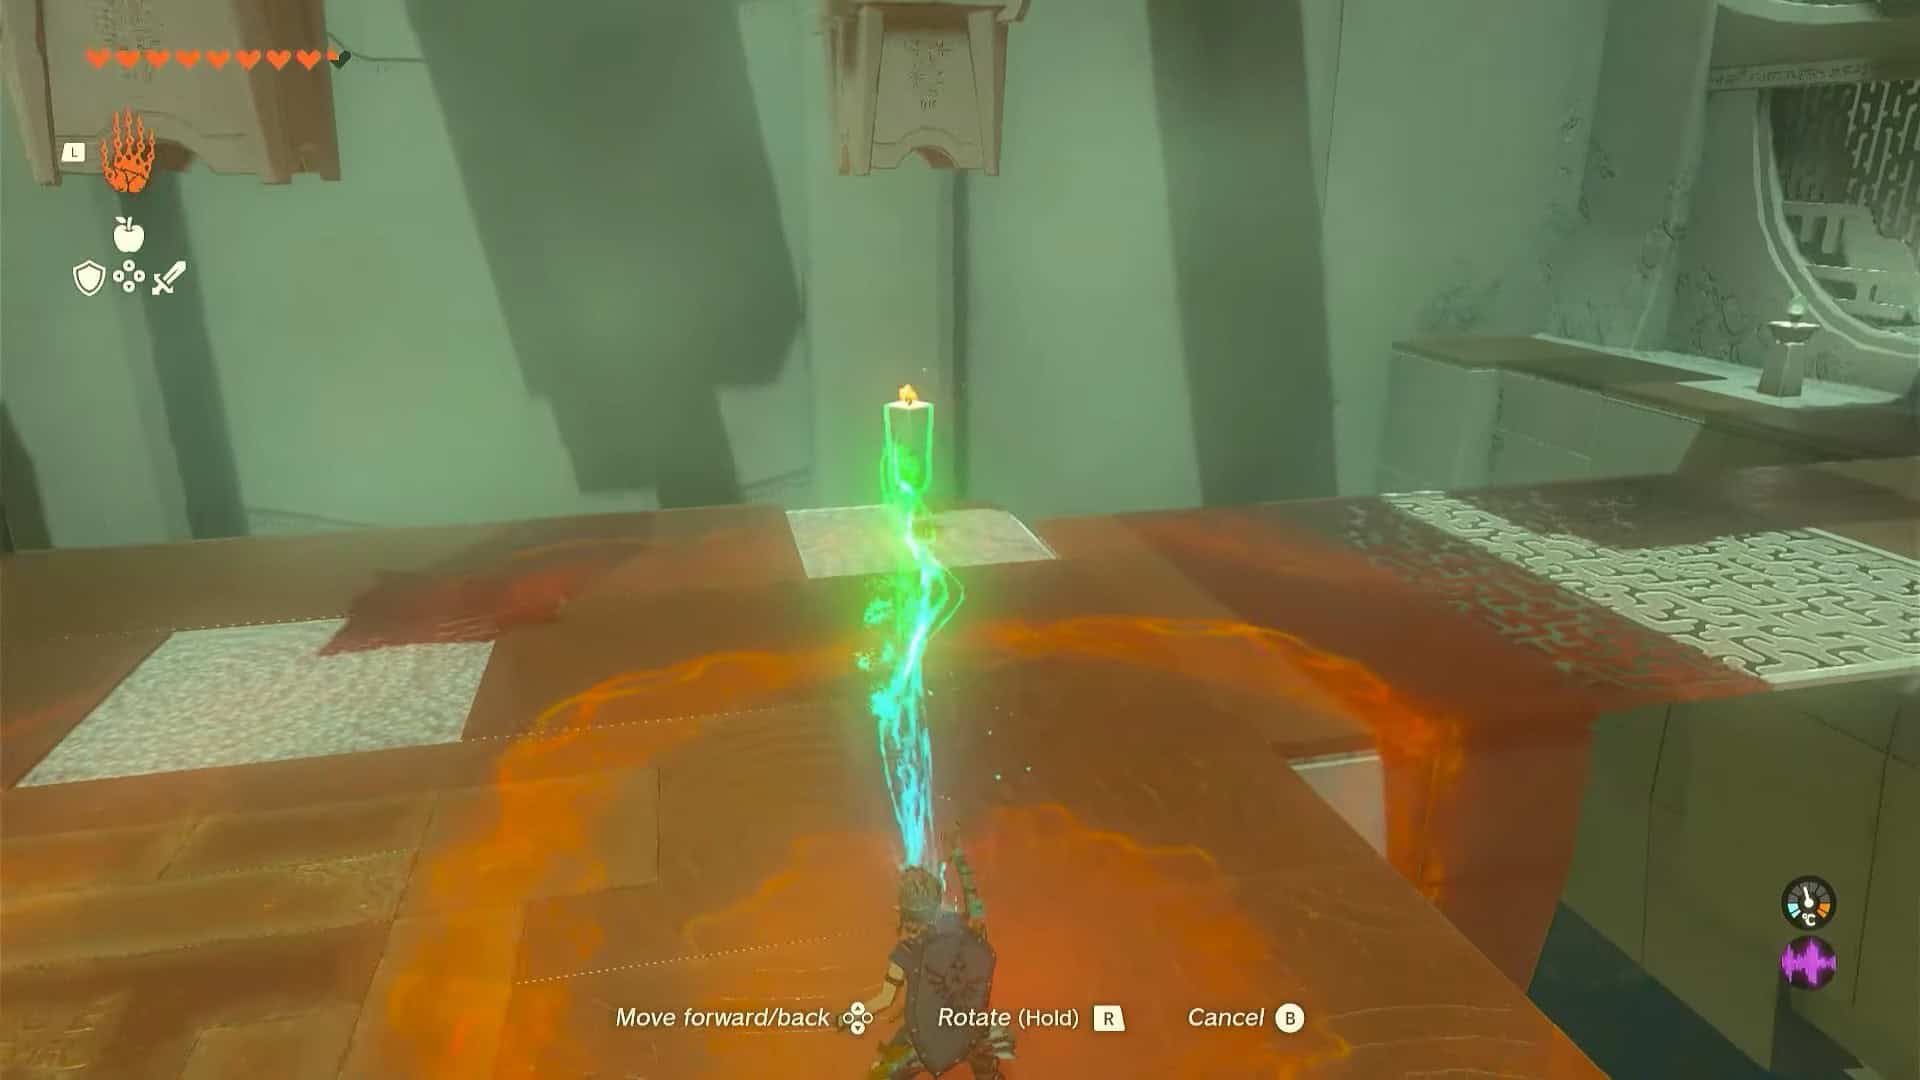
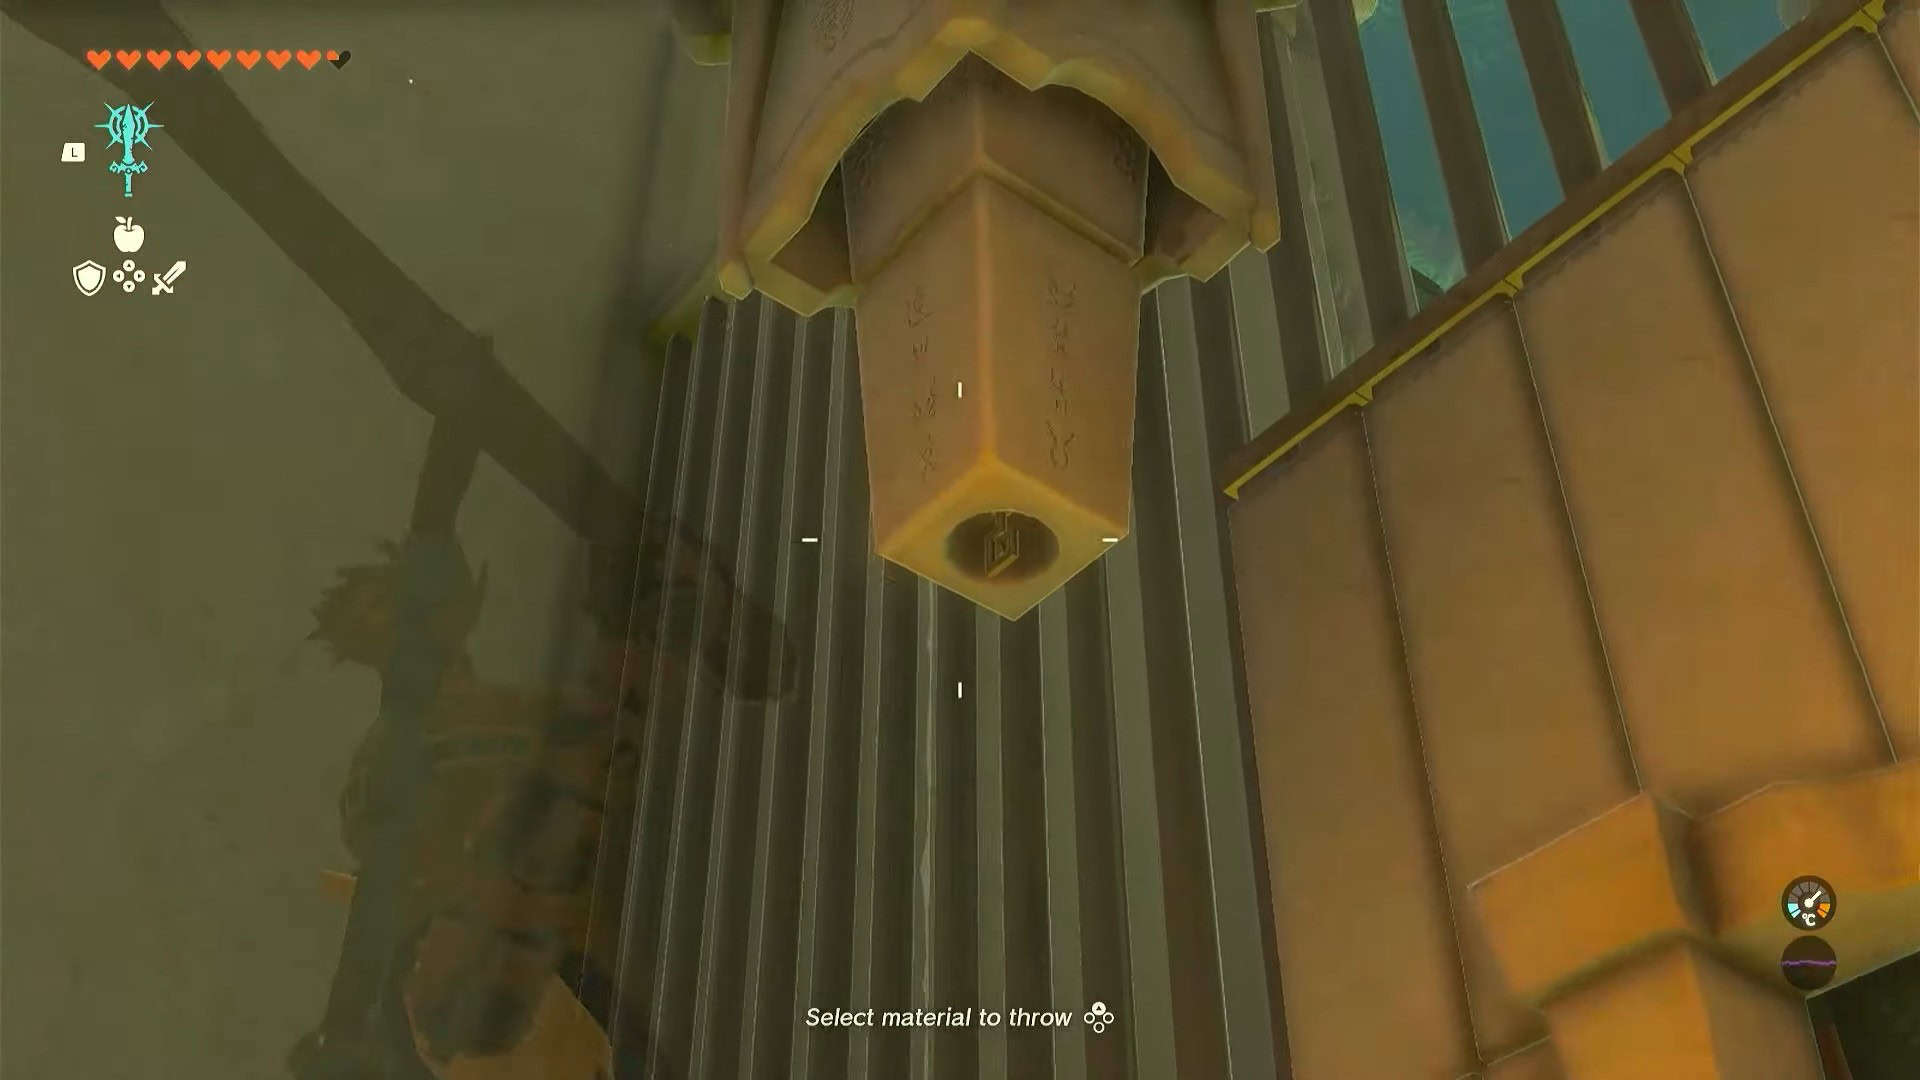
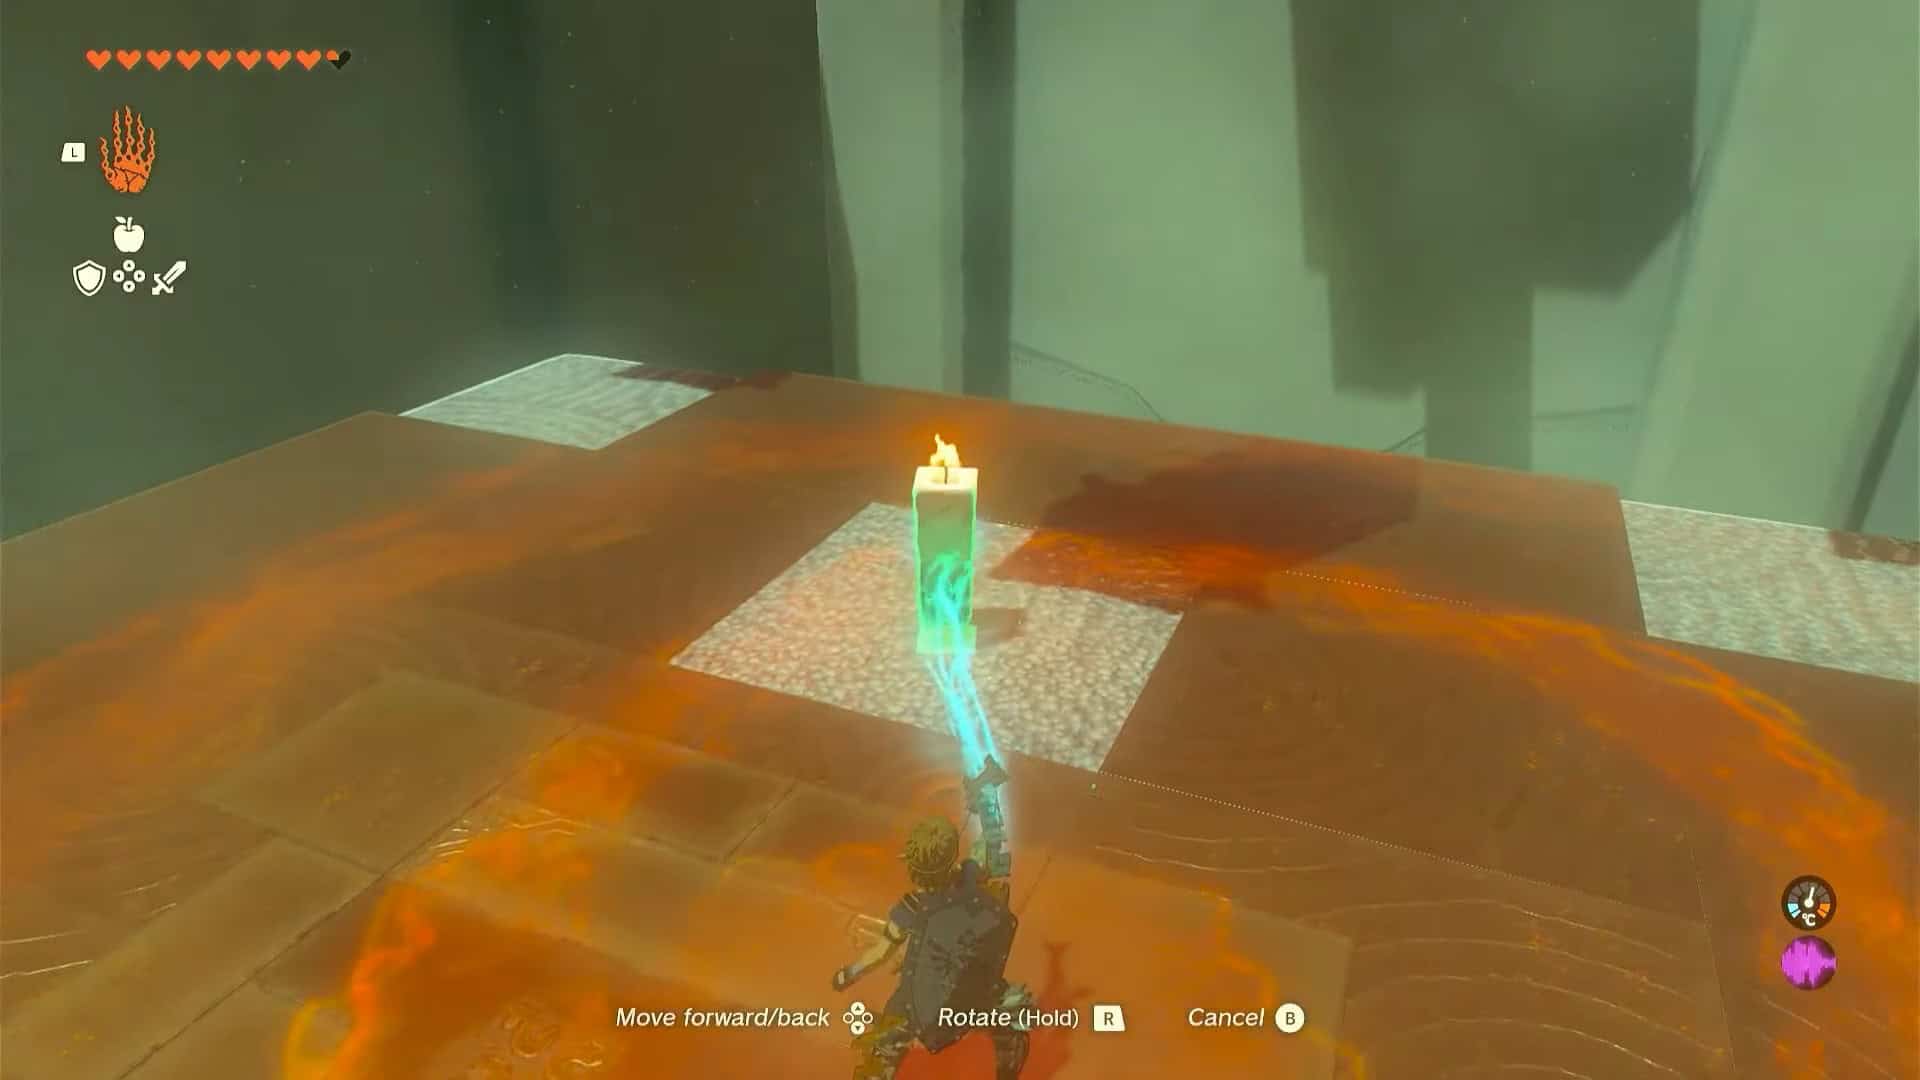
6. Now pick up the candle from the bridge and place it on the platform beneath a pipe.
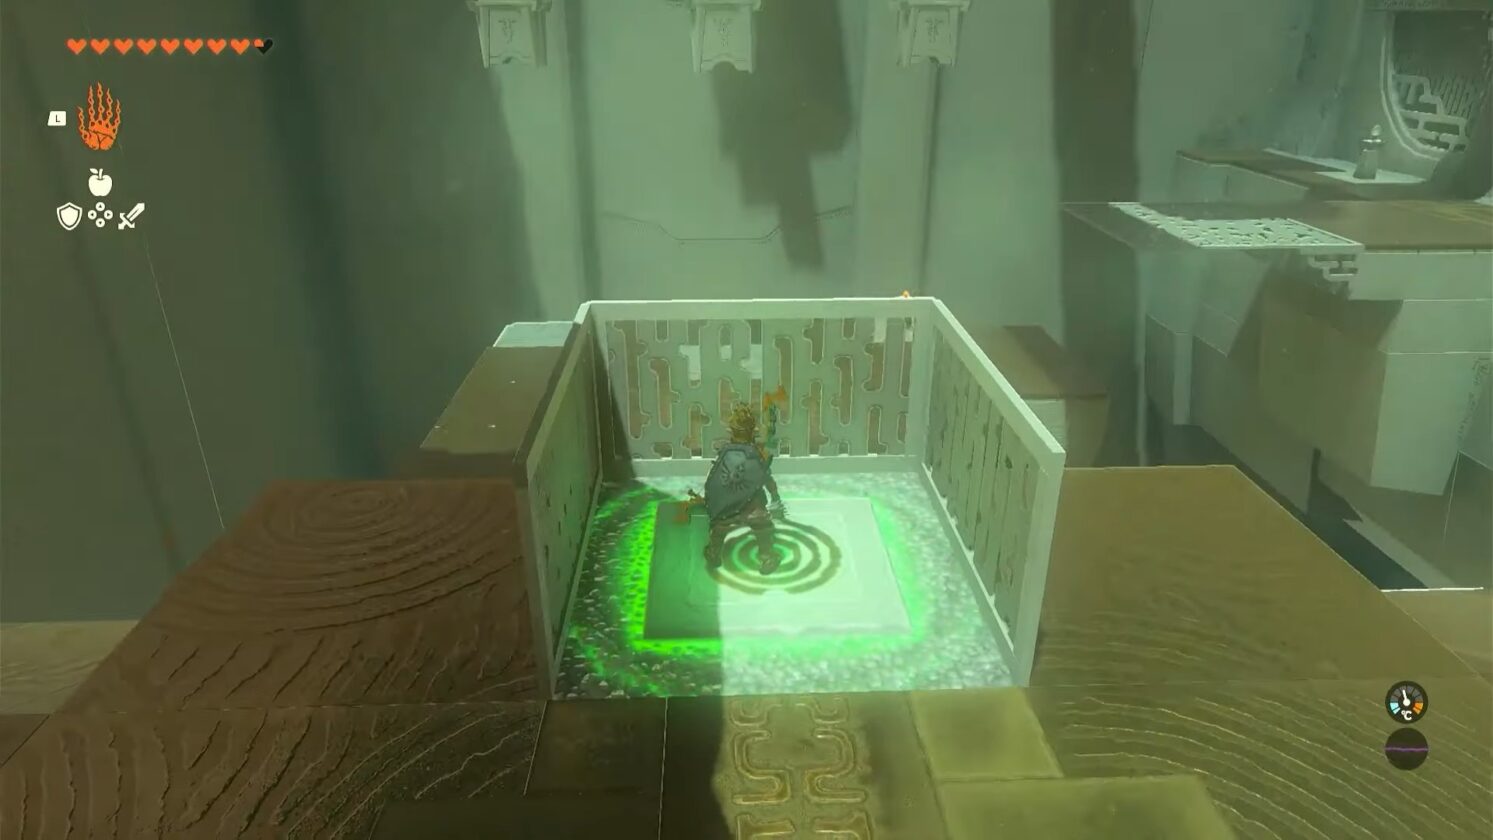
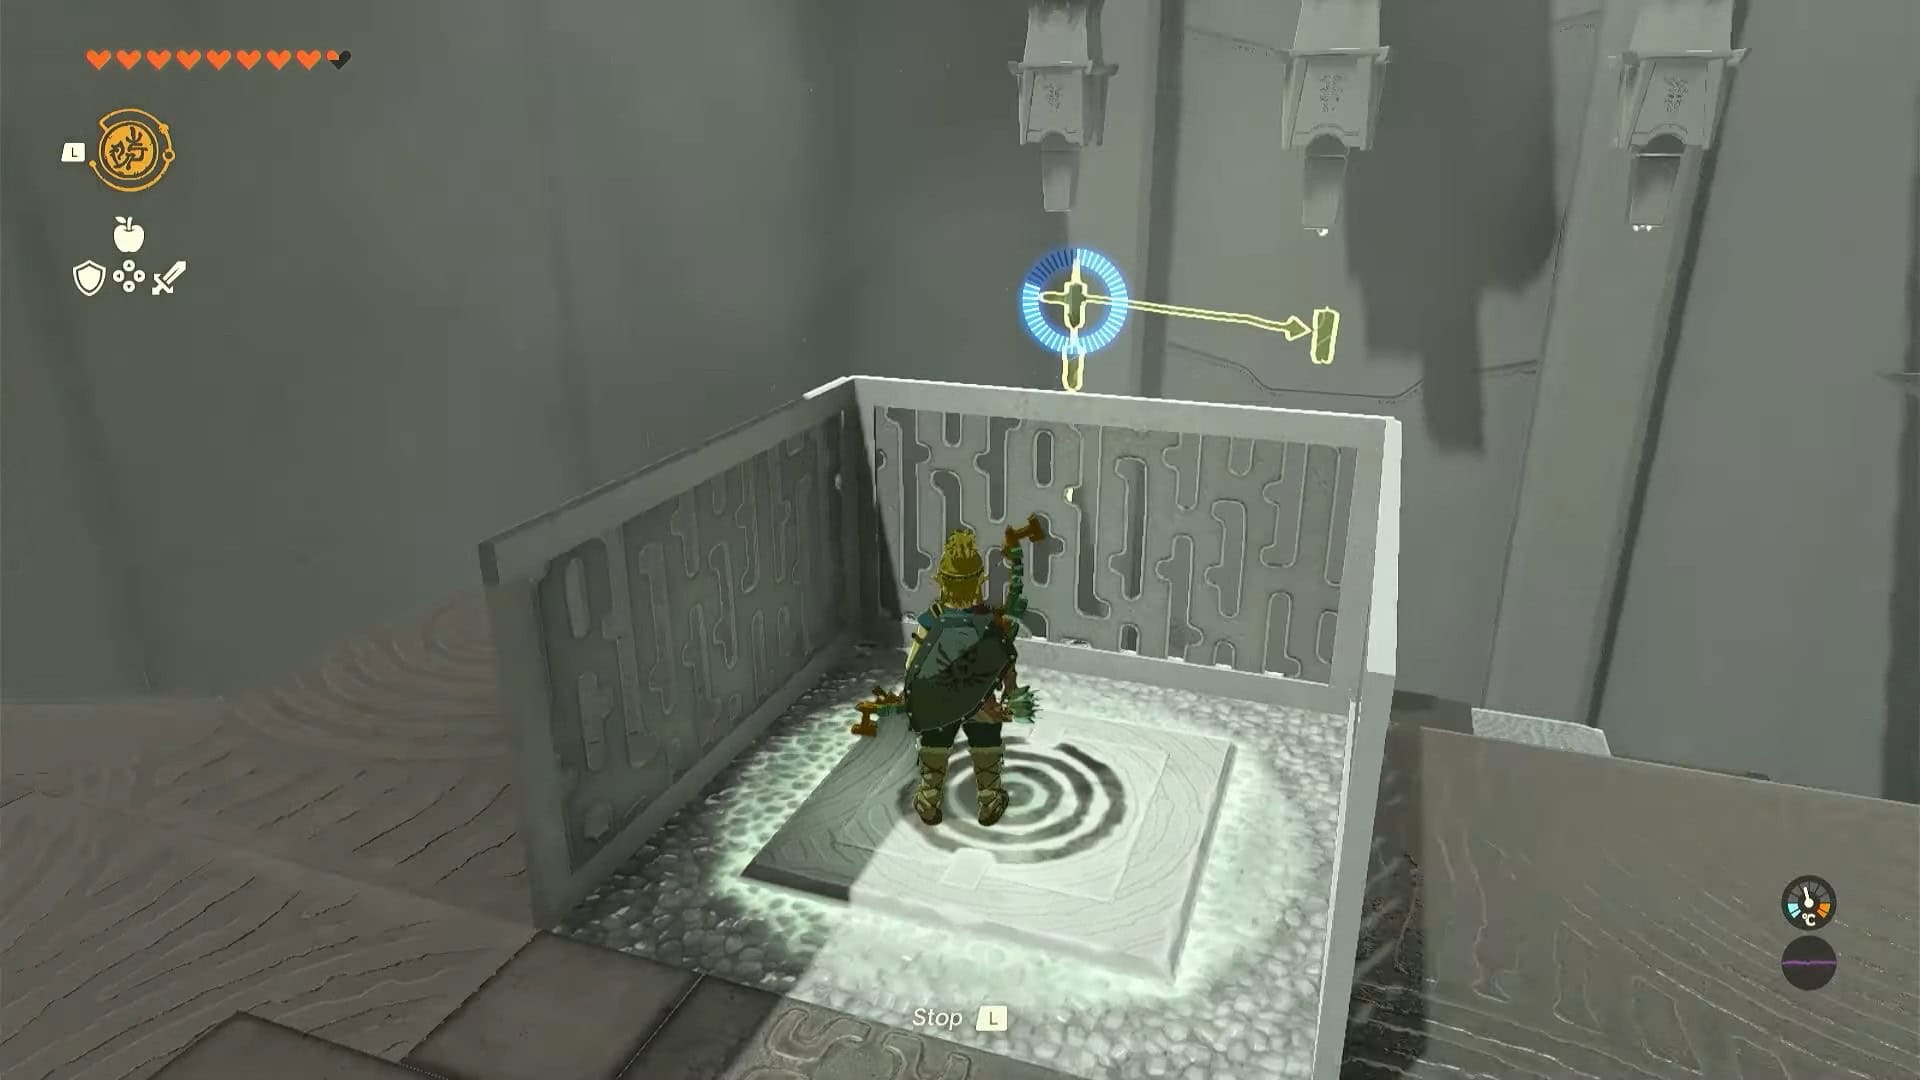
7. Now go back and stand on the switch to make the platform go down. Move back from the switch to make the platform go up and this will make the candle jump.
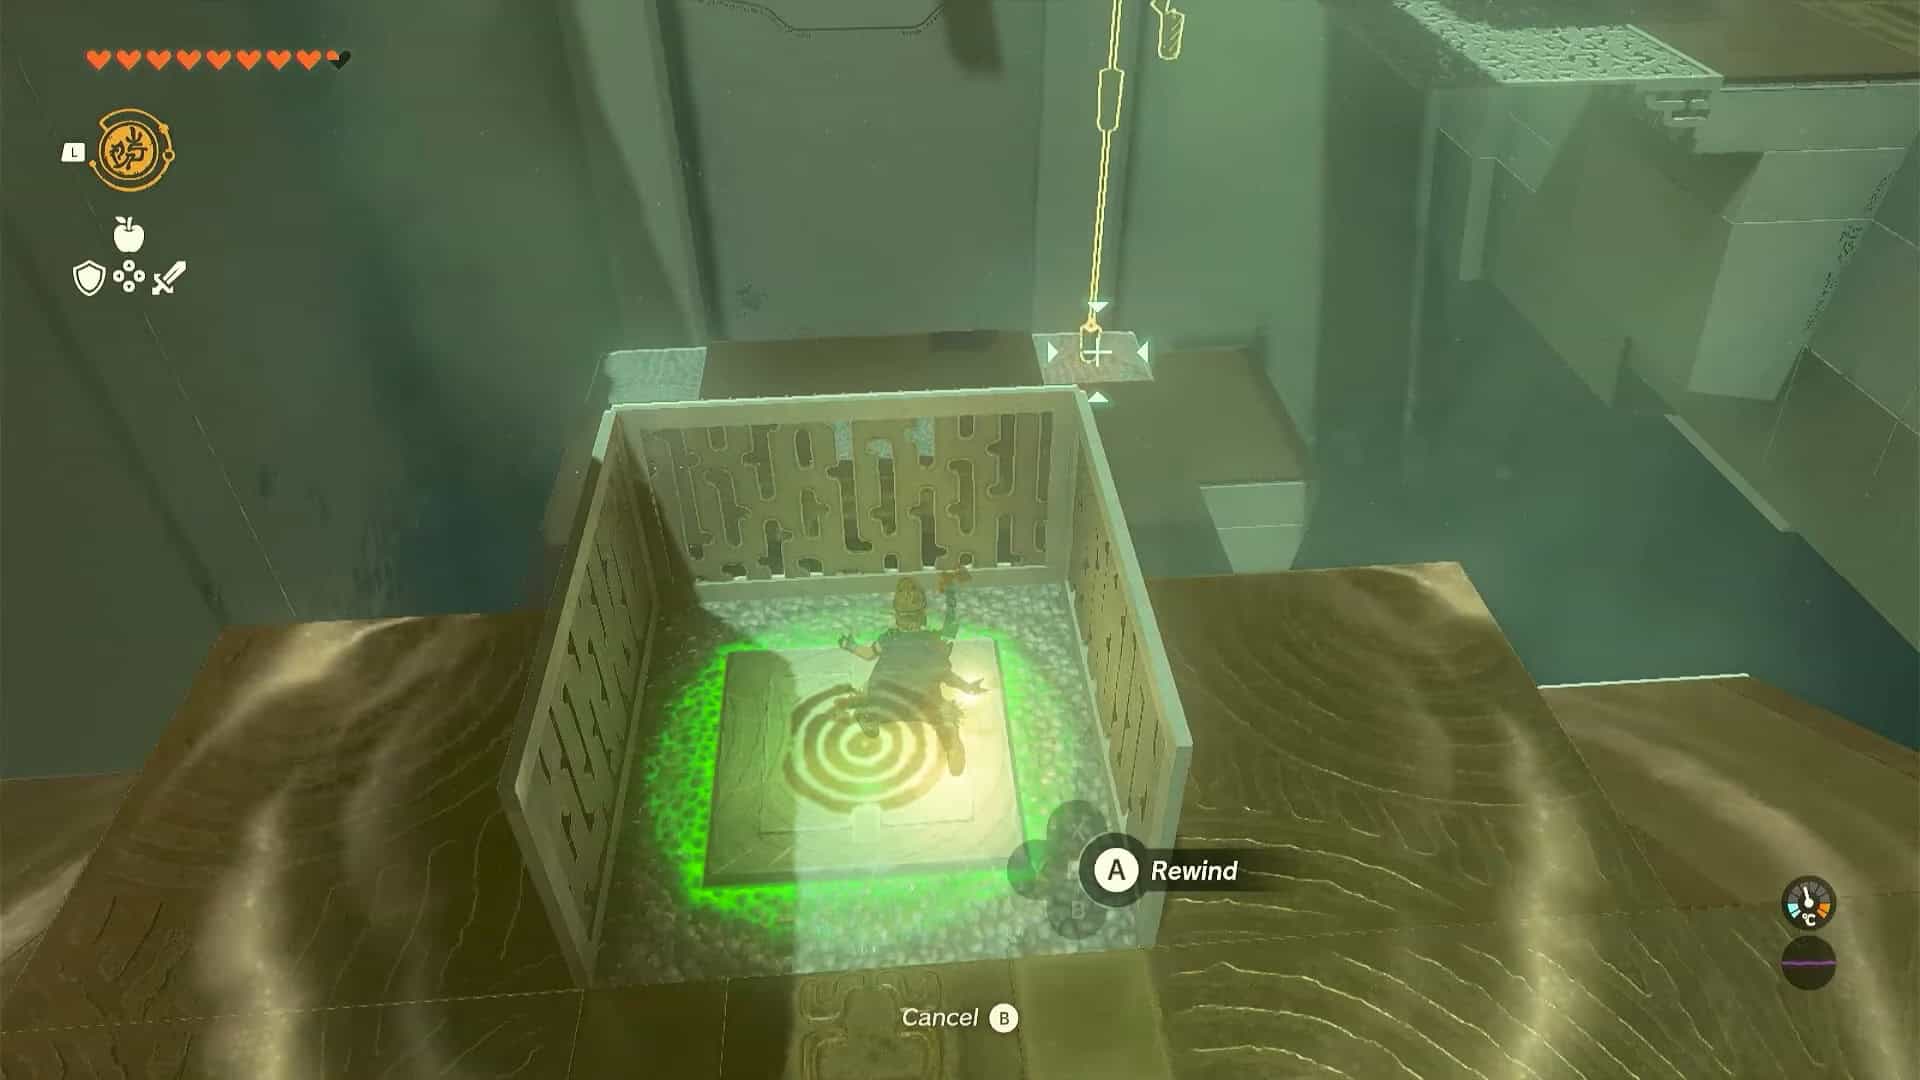
8. Step on the switch again and now use the Recall ability on the candle while the platform is down. It will go up and jump to light the candle above.
9. Pick up the candle and place it on the central platform.
10. Go back to the switch and repeat the whole process. Press the switch and then move away. Press the switch again and use Recall on the candle.
11. Repeat the process with the third platform. This will light up all three candles in the area and the final door of Karahatag Shrine will open
12. If this feels like a chore, simply stand on the switch and use the fire arrows to target all three candles.
13. Interact with Rauru and Sonia’s statues to finish the puzzle and obtain a Light of blessing as a reward.