You can choose to Defend the Lodge or the Eye during the Starfield High Price to Pay mission. Each option will have repercussions, so before moving out, you should never forget to save your progress. If you want to choose another outcome, you can always load the file from this point in Starfield.
That being said, I will discuss the outcomes for either one of the choices that you make in Starfield. Read on as I will go over whether you should defend the Lodge or go to the Eye in Starfield.
What happens if You Defend The Lodge?
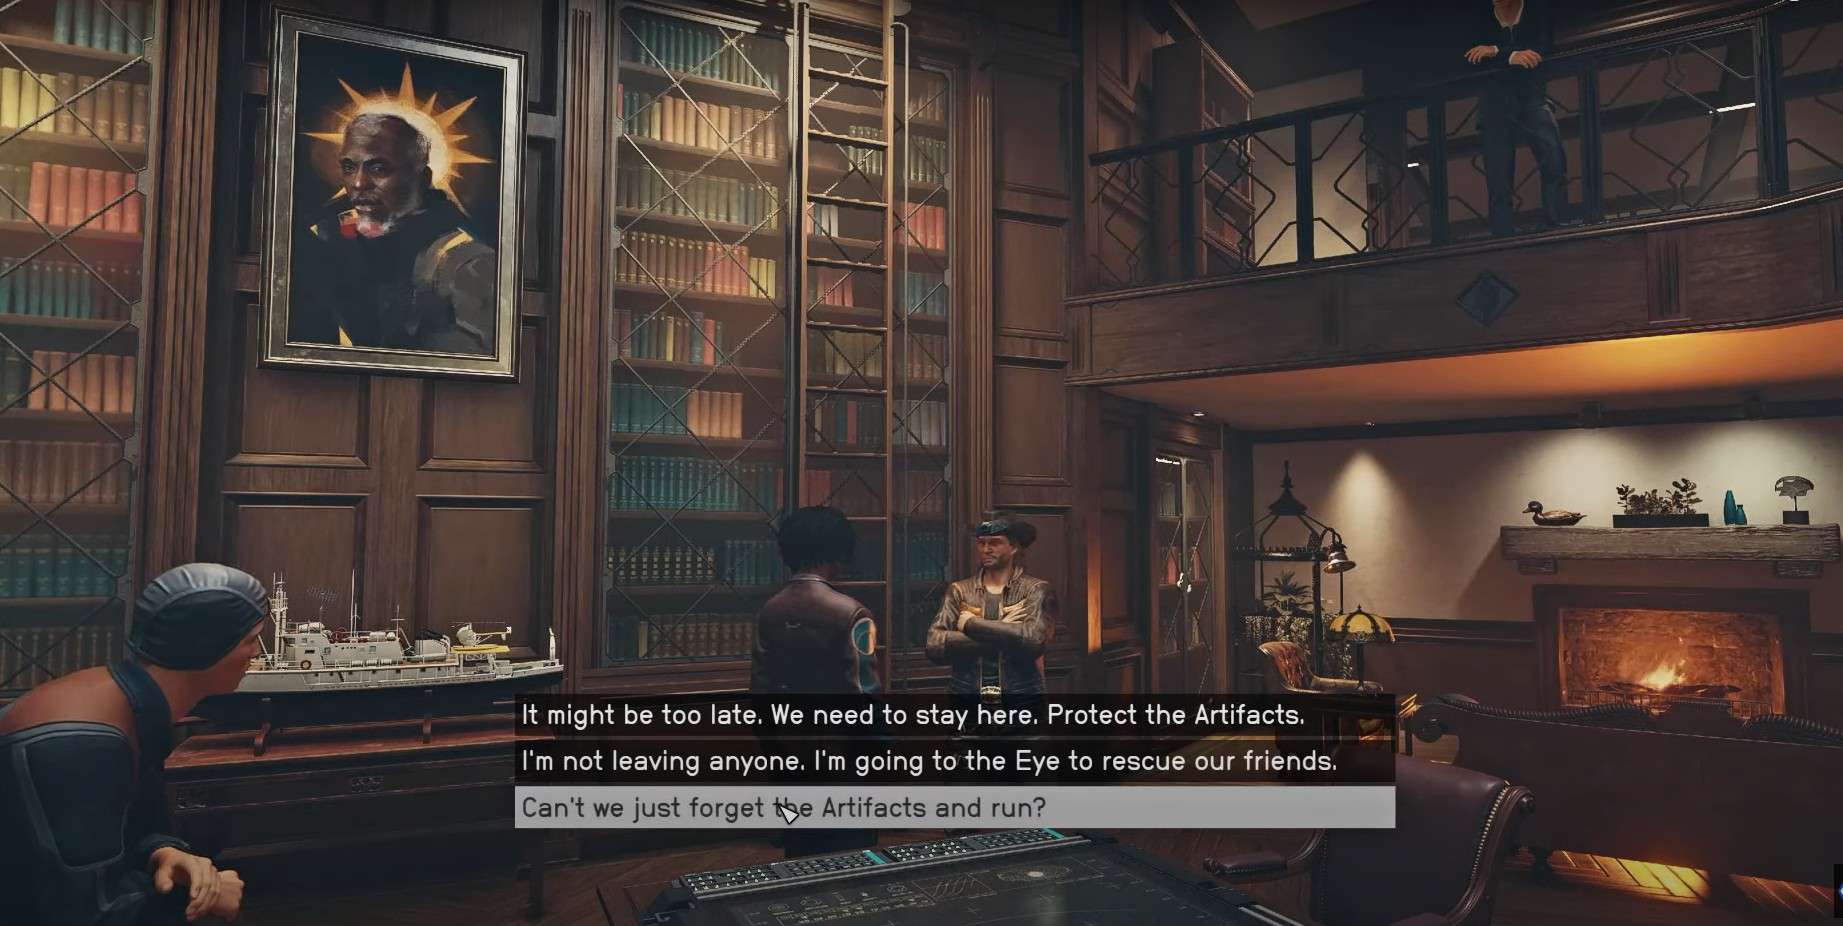
If you want to defend The Lodge, you can select the option that says, “It might be too….. the Artifacts.” Noel will then mention packing the artifacts next. You can then run up the stairs, where you will hear Walter being choked up.
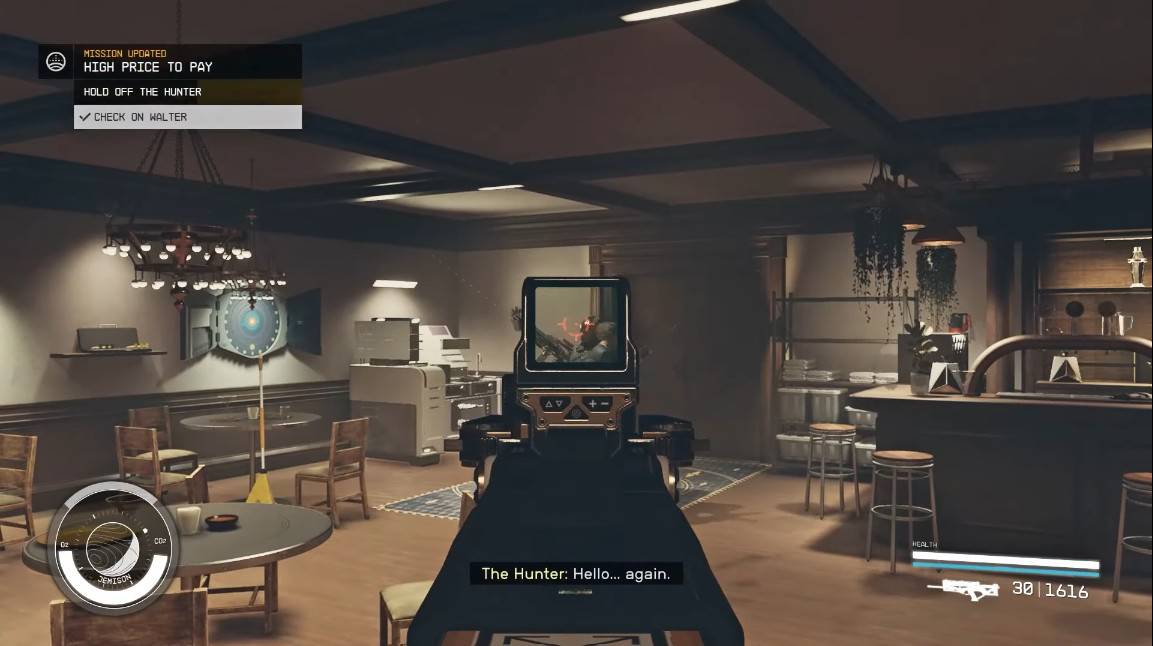
Once you run up to him, you will observe an invisible force strangling him. The Hunter will appear from behind so you can fire back at him. You will have to protect the artifact from him in Starfield. Use your firepower to focus your attacks on him and make your escape on your ship.
You will have a new mission status to go to the Eye next, so after reaching that place, you will find everyone injured apart from Sarah, who will be dead. You can check her vitals to confirm it, and she will not respond. Furthermore, you will also receive a message stating that Sam cannot be dismissed until this mission is completed in Starfield.
Then, you can turn around and move to the room on the right side. There, you will find an injured Barrett. Speak to him, and after checking on him, meet with the wounded Andreja next to learn some clues about the Hunter. Meet the other injured NPCs. In short, you will end up losing a companion, Sarah, if you choose to Defend the Lodge instead of the Eye in Starfield
What happens if You Defend The Eye?
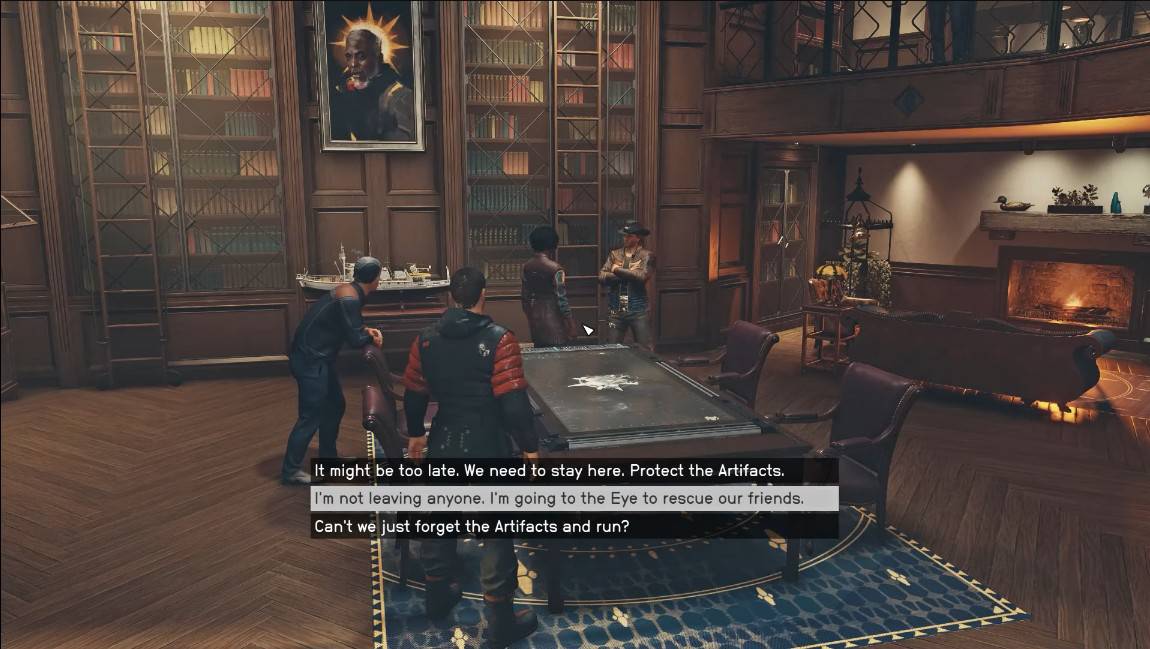
If you want to Defend the Eye, you can choose, “I am not leaving……….our friends.” You can leave that place and head towards the Eye next, while Sam will barricade the door after you go.
This way, you will reach the Eye, and there you will find an unconscious Sarah next to the large table on your right. You can also check on the other injured NPCs (Vladimir, Barrett, Andreja) to inquire about their injuries.
After that, you can go back to the Lodge to check the situation there in Starfield. However, this time around, your companion Sam will be the one who dies at the hands of The Hunter if you choose this option. You can check his vitals and then promise him to take care of Cora Coe.
Check on Vasco and then go to Matteo. He will say that Noel escaped through the basement and went through the door leading to the Well District in Starfield. Go upstairs to find an injured Walter and then go to the basement next. You will discover Noel there, but she will be okay and have the artifacts with her.
Then, out of nowhere, The Hunter will appear, so you will have to hold him off and then go to your ship. You will need to initiate the take-off to escape him in Starfield. This way, you can meet Vladimir next, meaning that both the Lodge and the Eye are no longer secure.
In short, if you choose the ending to Defend the Eye, the companion you will lose in Starfield is Sam.
How to save your favorite Companion in Starfield
You can’t save both (Sarah and Sam); saving one will lead to the death of the other. You will have to make your own decision by considering which companion is more important to you in Starfield. The game is centered around your choices, and the selection that you make here will shape the path.
It will be a cruel twist of fate for either one of these characters, but in the end, you will have to decide on letting one of them go following the events of this quest in Starfield.