As the difficulty in Lords of the Fallen (2023) ramps up, the weapons you acquire early on in the game won’t be enough. Luckily, Lords of the Fallen offers you a system to upgrade your weapons, improving their stats and overall effectiveness in combat. However, the weapon upgrade system is locked behind a quest.
You need to have defeated Pieta and unlocked access to the hub area, Skyrest before you can start upgrading weapons. After those two steps are done, the next step is to free Gerlinde, the Blacksmith, from a prison cell.
Since Gerlinde is part of the main progression of Lords of the Fallen, you won’t really have to worry about missing out on upgrading weapons.
How to free Gerlinde the Blacksmith in Lords of the Fallen
First, travel to the Vestige of Blind Agatha present in the Pilgrim’s Perch Bellroom. From here, go to the right path, which will take you through a cave-like structure. This structure ends in a wooden platform area with a lot of enemies. From here, you can choose two ways to go to where you need to free Gerlinde from.
The first path to Gerlinde requires you to jump down and go up the stairs on the right side. Keep following this path until you come out in the open. Be careful, as this place is littered with small enemies. If you wish, you can just ignore and run past these.
Stick to the right path until you see a double arch. Turn right and go up the stairs from here. Run to the outside area and look for ladders. You’ll find one on the platform and the next one below it. Go down both platforms, and you’ll reach a spot near the rotating platform in the air.
The other way is to go past the enemies and through the wooden door on the left side. Then, turn right and go up the stairs. Once outside, you’ll reach the place with the rotating platform.
Both can be followed considering how much you want to explore the area or just want the quest to be over.
Find and destroy the Umbral Points
Once you are at the rotating platform, you’ll see a large area filled with corpses. This area has some collectibles like Lucky Paw and Umbral Vertebrae hidden around it. But before going down, make sure to put up a Vestige seed to make a checkpoint. This area is the safest and closest to other areas, making it a safe option.
After you have made a checkpoint, use the Umbral Lamp to enter the Umbral world. Go down and then up the ladder so you reach the platform, connecting with another one by the wall. Travel to this platform and jump down.
Keep going straight until you spot a large platform below you. If you see some banners around its borders, this is the right location.
Now, on this platform, you’ll notice a large Umbral flower with an eye. You have to get past this. For that, there are three branches going around, which end in the Umbral point or tumors. The first one is the easiest. Look up, and you’ll see it just above the flower.

For the second one, follow the left branch, and you’ll end up on a ledge with a dead body on it. Use the umbral lamp here to spot the umbral point.
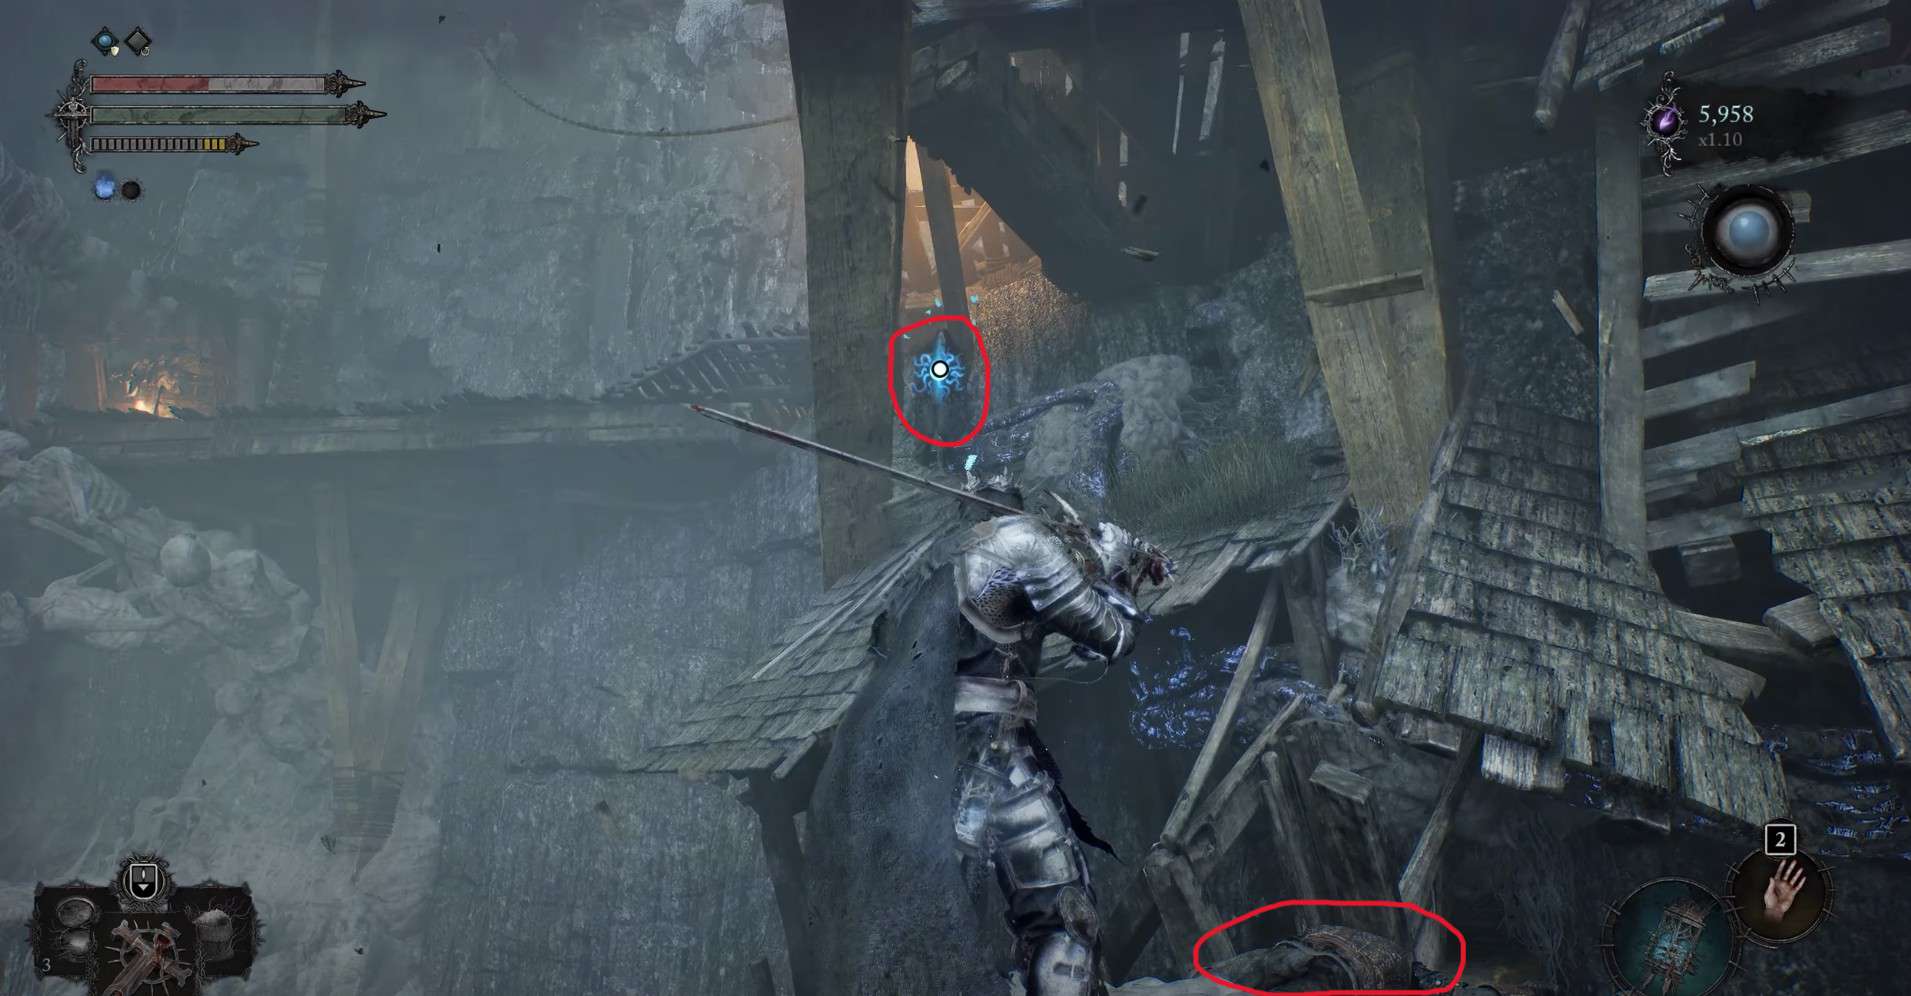
Once both these are done, go back to where the central umbral flower was, and there should be another point there for you. Interact with it to open a new path and walk into the cave.
Defeat the enemies and take the prison cell key
Once inside, go straight ahead and down the ladder. Go towards the next opening, and there you’ll see two enemies near a laddy. You can either defeat them, ignore them, or just kick them off the platform. Go down this ladder again, and you’ll notice an elevator in the front. Take the elevator to go up and unlock a shortcut to the Vestige earlier.
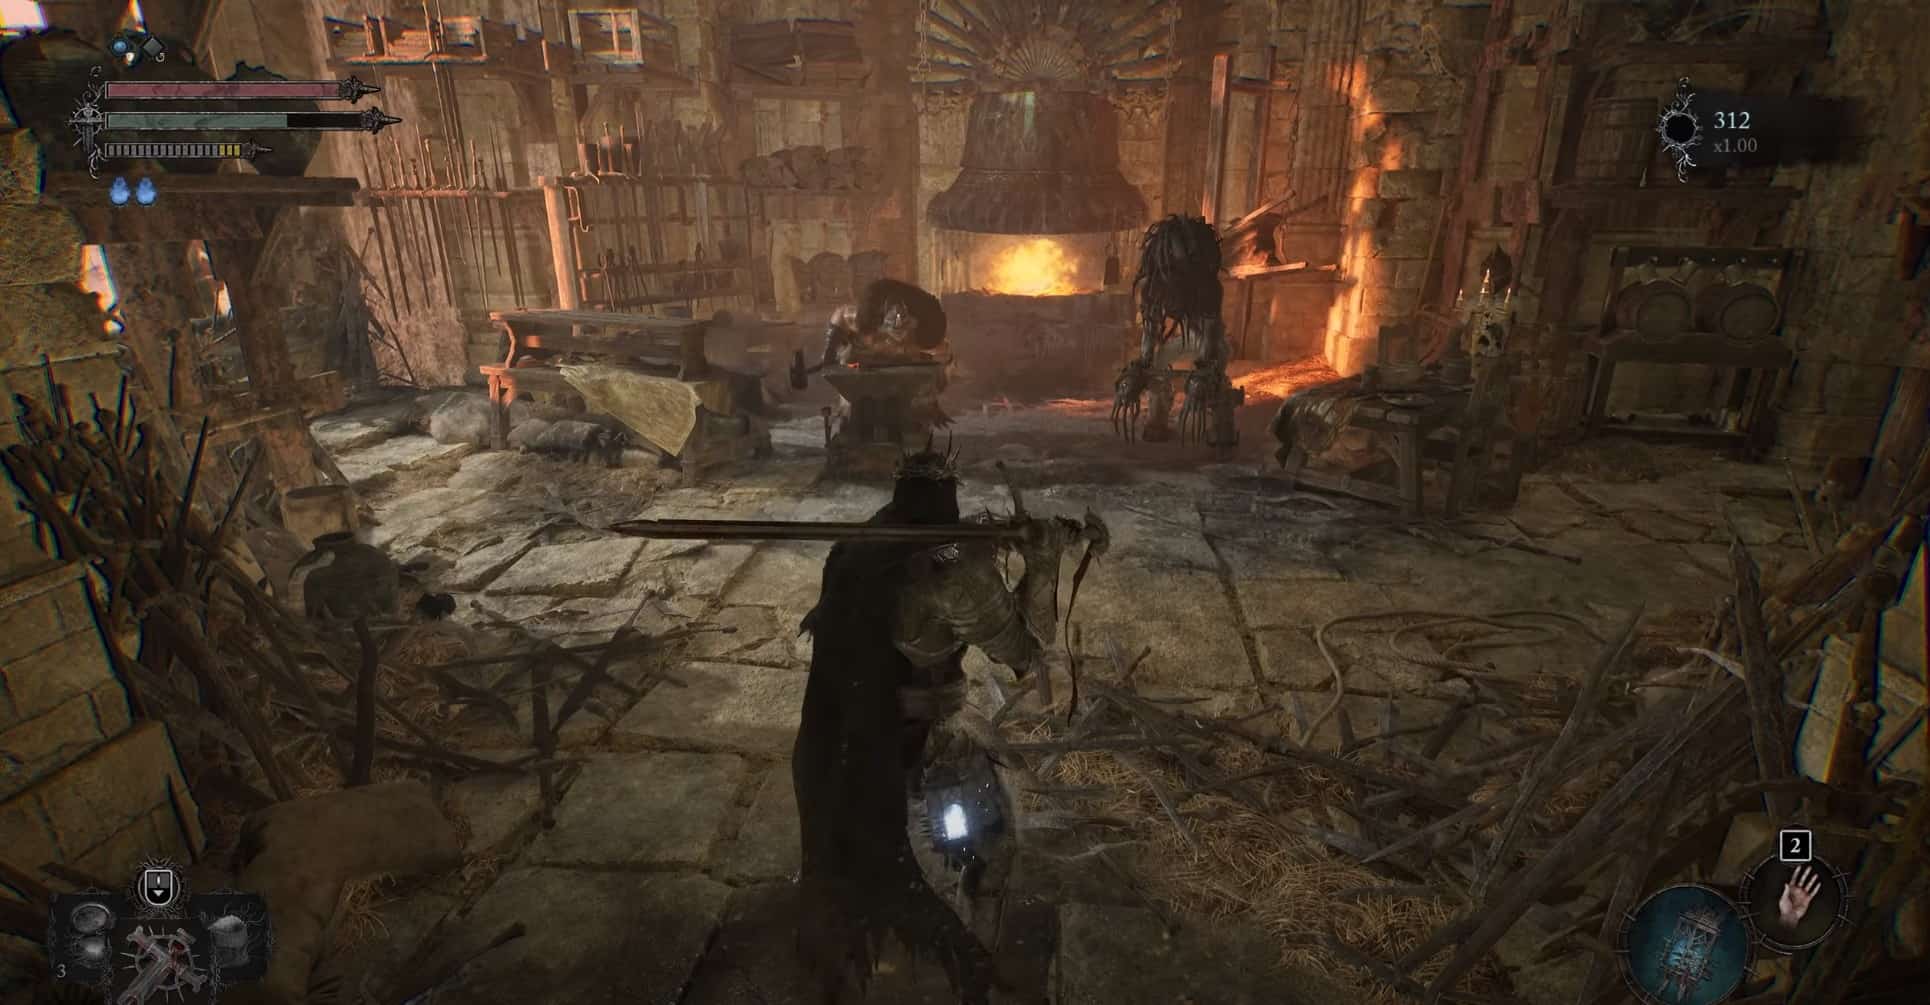
Once it is unlocked, go down the elevator again. As you exit the elevator, you should be able to see Gerlinde, the blacksmith, locked up in a cage but still working on an anvil.
Down there, there are several armored dogs and a crusader that you need to take down. This is why resting is important to fill up your health and mana. Defeat the enemies, and once the crusader is dead, loot his body to pick up the Prison Cell Key to free the blacksmith.
Go over to Gerlinde’s cell, talk to her, and then hand over the prison cell key. Now that Gerlinde is free, you are ready to start upgrading your equipment in Lords of the Fallen. Now, go back up the elevator, rest at the vestige, and then fast-travel to Skyrest, the hub area.
Turn right from the vestige and go up the stairs. You will see Gerlinde and Spary in the forge area. Talk to her to start upgrading your weapons in Lords of the Fallen.
How to upgrade gear in Lords of the Fallen
Every weapon or shield in Lords of the Fallen 2 can be upgraded. There is one exception to this, and that is the boss weapons, which are already fully upgraded.
In order to upgrade weapons in LotF, you need to pay a base cost along with items like Deralium and Vigor. These contribute and determine how much you can upgrade a weapon and set a limit for the time being. Deralium comes in different sizes, and its size determines which level of upgrades it can provide
- Small Deralium Fragment: Up to +3
- Regular Deralium Nuggets: Up to +5
- Large Deralium Shards: Up to +9
- Deralium Chunk: Up to +10
You can obtain the Deralium Ore by completing quests, killing bosses and enemies, or even finding them around the map randomly. Also, make sure you understand the material of the weapon being upgraded, as it can affect your agility and attack defense points accordingly.