
Salvage Contracts are one of the many side quests players can pick up in Horizon Forbidden West.
There are four Salvage Contractors in the game who task you a total of 17 Salvage Contract Quests to complete and grant you rewards for doing the tasks.
The following guide will provide a detailed walkthrough of these contracts, their locations, and how to complete them in the game.
All Salvage Contracts Locations In Horizon Forbidden West
While exploring the post-apocalyptical world of Horizon Forbidden West, players will sometimes come across NPCs with Salvage Contracts which task Aloy to track down machine parts. Once all the required parts are found, Aloy must take them back to the NPC she took the quest from.
Take note that while there are four Salvage Contracts in Horizon Forbidden West, there’s also Keruf’s Salvage Unlimited which you must complete to start the quest of Salvage Contracts.
Keruf’s Salvage Unlimited Location
You’ll find Keruf after getting through the gates of Barren Light. He will explain to you all about Salvage Contracts but you will not be able to start them until you have completed The Embassy quest.
Completing the Embassy mission will open the gates of Horizon Forbidden West and give you access to Larend.
After you have completed this mission, go to the main menu and you will find “Keruf’s Salvage Mission” under the section of Salvage Contracts.
Set this mission as your active mission and follow the marker on the map. This will take you to the Barren Light and once again you’ll have to interact with the Keruf.
Once this interaction comes to an end, you’ll be able to start your first Salvage Contract.
Larend Salvage Contract
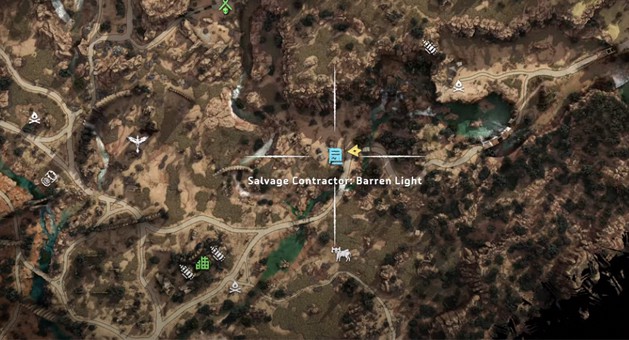
Location: No Man’s Land right outside the gates of Barren Light.
Larend is participating in an armor competition and needs your help to obtain parts to build the best armor possible to win the competition. For this purpose, he will assign you a set of four tasks that you need to complete the contract.
The included tasks are following:
- Convoy Ambush
- Scavengers
- Alarm Antennas
- Elusive Fanghorn
All the missions include the parts that Larend requires to build the armor. The Convoy Ambush will be about ambushing a Shell-Walker convoy to get a plating that Larend requires. He’ll have traps set up in the desert for the convoy. Go to the spot and wait till evening. The convoy will pass from there. Defeat the machines and loot the convoy to get the plating, from a Shell-Walker crate, that Larend needs.
Completing the scavenger mission will bring scrapper jaws to Larend that will be an excellent addition to the armor. Go to the Charger Site south of Chainscrape. Kill a few machines and wait for Scrappers to come there. Defeat the Scrappers and loot three Scraper Jaws. Then return to Larend.
In Alarm Antennas, you need to loot three Scrounger Alarm Antennas and bring them to Larend. Head to the Scrounger Site to the southeast of Barren Light. Kill Scroungers and loot three Scrounger Antennas there.
In Elusive Fanghorn, you will be looking for Fanghorn along the riverbank to the south of Larend’s camp. Look for Fanghom tracks there and get them highlighted. Follow the tracks and to capture the machine you need to be mounted. Kill the Fanghorn and take the items to Larend.
Runda Salvage Contract

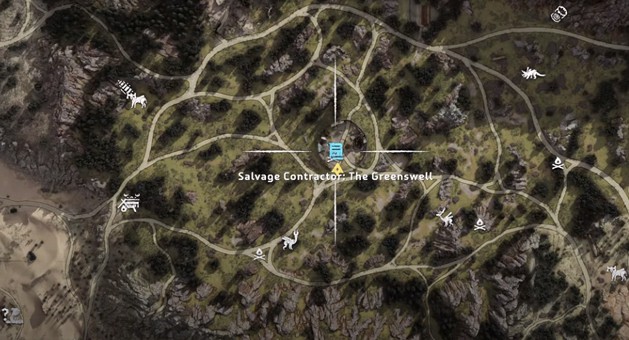
Location: The Oresam Salvage Camp in The Stillsands, West of Hidden Ember.
You will find that her people are in trouble there and she needs your help to find the lost pieces of armor during the expedition.
Runda will have four tasks for you that are:
- Lost Supplies
- Pristine Bellowback
- Missing Gear
- Rollerback Salvage
In the Lost Supplies mission, you need to override a Bristleback. Track the markers to supply locations in the desert and let Bristleback dig around.
Pristine Bellowback is about finding a Bellowback’s cargo sac for the people of Rund so that they can build a perimeter around their camp. Go to a Bellowback site and retrieve an intact Bellowback Cargo Sac after killing it.
The missing gear is west to Camp Nowhere. Look for a broken cart there and investigate the cart and nearby debris. Highlight the machine tracks and follow them to a Sunwing Nest. The missing gear is a scrap pile.
The final part of the mission is to get the last thing that Runda needs to complete her armor. In this mission, you will have to find the Roller back which is southwest of Hidden Ember near the mountains. After reaching the site, a Shellsnapper will come out of the sand. Loot the required five parts of it after killing it.
Handa Salvage Contract
Location: Bleeding Mark: Horizon Forbidden West.
She’s also in need of armor and requires your help in that. She’ll assign five tasks to you:
- Ancient Relics
- Property Retrieval
- Plowhorns and Plants
- Ravager Cannon
- Speedy Lancehorns
In Ancient Relics, you will travel to find the parts of two machines at their graveyard. For one of these parts, you need to travel to the north of Handa’s Camp and go south for the other one. At the graveyards, search the old-world vehicles and look for seven Ancient Relics there.
In Property Retrieval, Handa needs the treasure map and the rogue salvager who stole it so that she can build her armor. You’ll travel to their camp that is Northwest of Bleeding Mark. The camp will be empty, and you should search and highlight the tracks. Follow the tracks and stop when the tracks become erratic. Then at Snapmaws in the area around, you’ll find bodies of salvagers.
Search the bodies and you’ll get the map. Then after climbing a tall wall ahead, roll onto the roof of Ancient Ruins and take the salvage back to Handa.
Plowhorns and Plants were assigned in order to find a Plowhorn Salvage for her armor. You’ll find them when you’ll travel north of her camp. She’ll ask you to collect medicinal berries on your way which is an optional thing to do. After getting to the Plowhor Site, kill two Plowhorns and loot them. Take the salvaged items back to Handa’s Camp.
In Ravager Cannon mission, Hunda will ask Aloy to bring her an intact Ravager Cannon for her suit. To get it, travel northwest from Bleeding Point. After detaching the cannon from Ravager, kill it and take the cannon to the drop-off point where Handa’s people will take care of it. Then return to Handa.
Finally, in Speedy Lancehorns, Handa will ask for a Lancehorn Salvage. She’ll point you to travel southwest from her camp to find Lancehorns. To kill Lancehorns, you must be mounted. After killing all Lancehorns, loot them and take the items back to Handa. At your return, her camp will be under attack of machines. Defeat the machines and meet Handa. She’ll thank you and start building her armor.
Danur Salvage Contract
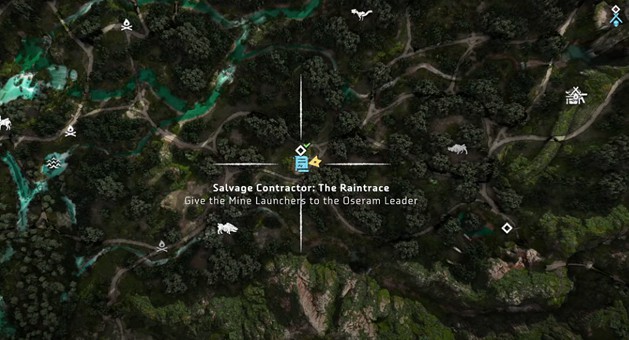
Location: Southwest of Fall’s edge and east of Thornmarsh.
This can be found at Raintrace while looking for other Salvage Camps. At the point when you will meet Danur, his people will be fighting against the Stalkers that are attacking his camp. He’ll need your help to secure his camp and build his armor.
He’ll have four tasks for you:
- Mine Launchers
- Colleague and key
- Underwater Salvage
- Reinforce Components
In Mine Launchers, you’ll have to defeat Stalkers to find Mine Launchers. Hand them over to Danur so that he can deploy them to secure his camp.
In Colleague and Key, you’ll need to look for a key of the leader of the camp, Warend, who went missing after defending the camp against Thunderjaw. The key will unlock the build of armor.
Head southwest of the camp to the last location of Warend. Scan the tracks there and follow them to downed Thunderjaw and Warend’s body. Defeat the Clumberjaws that come down from the mountain and climb the cliff near the waterfall to find the scrap pile which contains the key.
In Underwater Salvage, Danur will ask you to find Warend’s, Sunken Salvage. Go north of Thoirnmarsh and get into the sunken Runes there. The salvage is in sunken vehicles. Focus to find out salvages. Snapmaws will be swimming around the salvage that can be avoided. Squeeze through the crack of the smaller ruin to get one part of salvage.
And in Reinforce Components, Danur will ask you to find Behemoth parts reinforced by Spikesnouts to get his armor completed. The site is located along the ocean southwest of Thornmarsh beyond the mountains.
After getting there, start damaging Behemoth which will trigger Spikesnout to reinforce it. Defeat both of them and loot them. Return to Danur after getting the parts.
Salvage Contracts Rewards
Bronze Trophy
Complete all Salvage Contract Quests for all four Contractors in Horizon Forbidden West to get rewarded with a Bronze Trophy.
Oseram Artificer – Legendary Warrior Armor
And after completing all the missions for all four Salvage Contracts, you will be rewarded with Oseram Artificer Outfit which potentially is the best armor in Horizon Forbidden West. Besides the armor, you will also get a ton of crafting items and additional skill points.