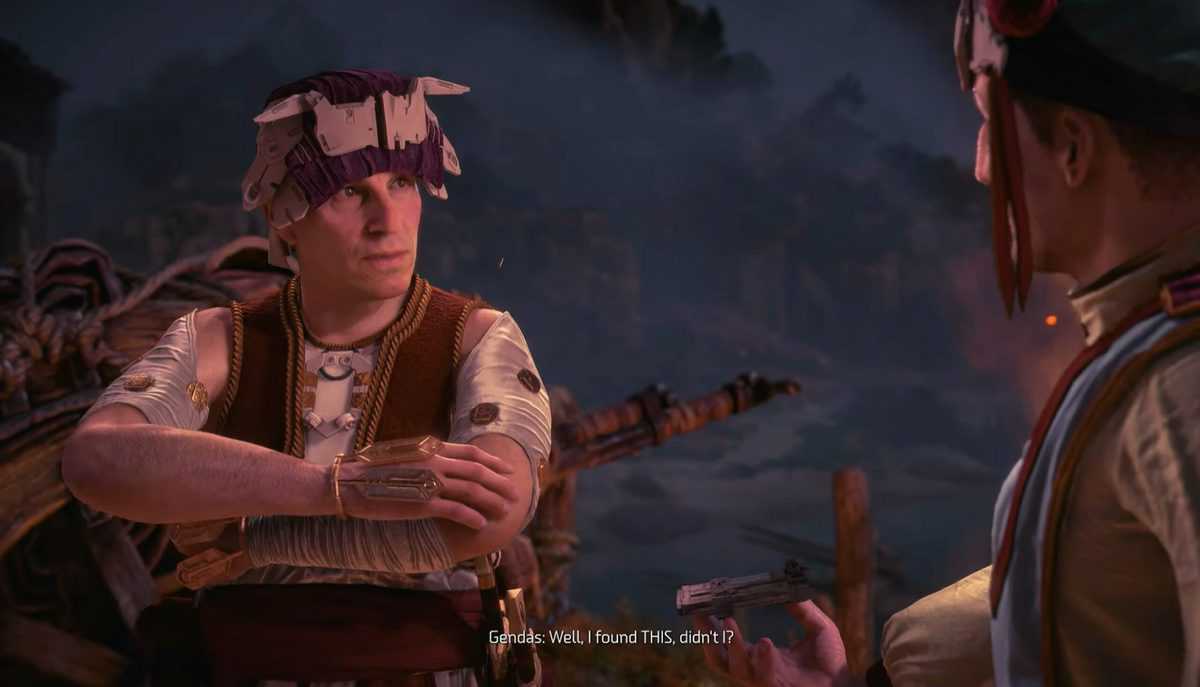
Drowned Hopes is another side quest that players can pick up in Horizon Forbidden West for additional experience, skill points, and a blueprint to craft the Guardian Tripcaste weapon. The following Horizon Forbidden West Drowned Hopes walkthrough will help players breeze through all the tasks Aloy needs to get done in this side quest.
Horizon Forbidden West Drowned Hopes Side Quest
To start the Drowned Hopes side quest in HFW, you’ll need to head to the southeast of Stone’s Echo. There you will find a Cajra Camp in No Man’s Land.
Go to the rear of the camp and meet two Cajra Scholars there. They will explain that they came here to look for relics, but the machines forced them to leave their Dig Site.
They will ask for your help to clear out the site from machines. This is the first task to complete during the Drowned Hopes side quest in HFW.
The Dig Site
The dig site is called Jagged Deep Delve. You will have to travel to the southeast of Cajra Camp on the other side of the lake in order to get to the dig site. Once there, you will have to clear out the site by defeating all the machines.
Vault Key and Console Location 1
After defeating the machines at the dig site at Jagged deep Delve, inspect the underwater ruins in the vicinity. To swim down into the lake, you need to make sure you use the underwater diving mask. In case you’re wondering, you get the rebreather from the main story mission, Sea of Sands. So make sure you bring underwater diving mask if you don’t have it.
Swim to the west of the water and look for a console there. When found, examine the console and retrieve the first vault key.
There are a total of three keys and after getting the first one, the guide for the next one will appear on the map. Follow the directions on the map and keep going.
Vault Keya and Console Location 2
The next location you need to head to is Dread Bluff, southwest of the dig site. This small facility has been taken over by machines.
You may either avoid them or fight through them. Once in the facility, head to the northeast corner of the building to find the entrance.
Get inside the building and climb up the ladder. After getting up, to your right is a vent. Get into it and then to a room to find the second key console.
After getting it, go back to the shaft and climb up the wall to get access to a higher ladder and then finally climb out. This second key will give you directions for the third key.
Vault Key and Console Location 3
The next site you are headed to is the Devil’s Slide. It is found to the west. After getting there, you’ll see another Old World facility which is mostly submerged. Again, you’d need the rebreather for this part of the quest.
Swim to find the door there and after getting the entrance, get in and open the next door around the corner to the left.
Inside the room, you’ll find the next security console of the final key. Grab it and come out.
Final Console Location
With all keys in the hand, the location of the prototype portable shield is revealed. This is yet another facility, named the Drowned Gullet, in the south of the previous two facilities. You need to swim underwater trough the opening to get into the main facility.
On the other side of the lake, an enclosed area will be visible, and you will see a clearing with several machines. Deal with the machines and go to the back area of the facility. Go to the corridor to your right and you will see three consoles, one for each key.
Mobile Cover System Prototype Location
Open the gate by using the keys that you have collected at the three different location and open the crate lying inside. Inside this crate is the main item that you need. This is a Mobile Cover System Prototype, and once you get it, you are free to leave the facility, either by swimming out or simply fast travelling.
Now, head back to Cajra Camp and tell the scholars of your discovery. They will give you the corresponding item and you will be able to craft the Guardian Tripcasteer.
To end the mission, you need to completely craft the Tripcasteer. You get the hard drive from the Carja Scholars and with this, use the workbench just next to the scholars to craft and complete the Tripcasteer.
After this, your mission will come to an end, and you will get a new toy in your inventory to play with. Using the Tripcasteer, you can now setup high explosive tripwires around for dealing with the monstrous machines.
