Loretta, Knight of the Haligtree is an optional boss in Elden Ring and in this guide, we will tell you each and everything related to Loretta including her location and how to defeat her. Without any further ado, let’s get into it.
Elden Ring Loretta, Knight of the Haligtree Location
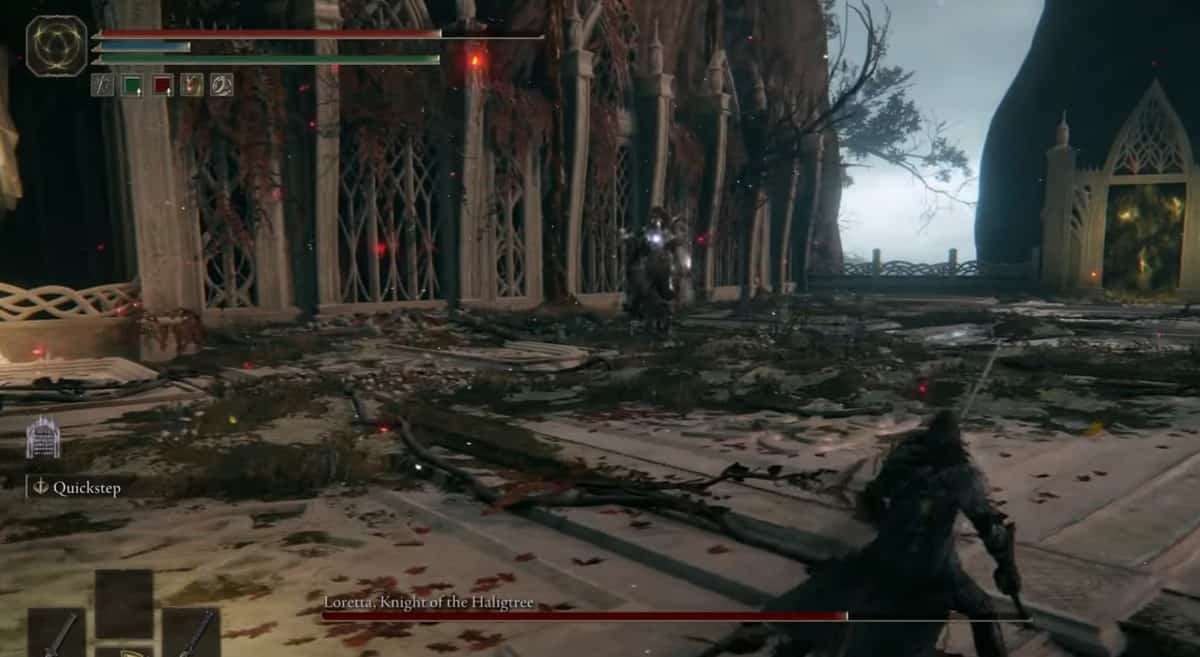
Loretta is a Great Enemy-type boss that has some melee attacks and some long-ranged tricky spells. Back at Caria Manor, you already faced a phantom of Loretta; She’s now here in the flesh.
If you want to access the Elphael, Brace of Haligtree, you have to eliminate Loretta, Knight of the Haligtree.
Loretta, Knight of the Haligtree Boss can be located at the bottom of Miquella’s Haligtree, where she can be fought. The closest Site of Grace is in Haligtree Town, although there is an elevator shortcut nearby that will also transport you back to the Haligtree Town Site of Grace.
To get to this place, you must first find the hidden road to the Haligtree, which is located to the left of the story’s Mountaintops of the Giants. You also have to get your hands on two parts of the Haligtree Secret Medallion.
Return to the Grand Lift of Rold once you’ve completed the medallion. You’ll be able to change the elevator’s destination, which will now take you to the new location.
Head north after reaching the Hidden Path to the Haligtree until you reach Ordina, Liturgical Town, which appears to be deserted. After entering a type of teleporter, you must solve a problem by triggering four flames on the roofs. After completing the task, you’ll be able to teleport to the location.
Loretta, Knight of the Haligtree Recommended Level and Weaknesses
Loretta, Knight of the Haligtree is an optional boss in Elden Ring. Defeating her is not an easy task. It is recommended to be level 120+ when confronting her.
This boss has no special weakness that you should know about. She is a ghost after all and is not susceptible to bleed, meaning that instead of relying on weapons and spells/incantations, you better polish your fighting skills before meeting this boss.
Loretta, Knight of the Haligtree Attacks and Counters
Loretta has quite a few attacks that are enlisted and explained below:
Glintstone Pebble
This is kind of a sorcery spell that she casts from her polearm. She will heal back while casting it. She can do it four times in a row too sometimes and if her health is below fifty percent, she may cast it five times in a row.
If you are far away, try being on the side of the arena. If you are at close range, just dodge roll. When she is casting five spells in a row, it is better to roll towards her instead of dodging in other directions.
This attack cannot be parried.
Polearm Slash
As the name suggests, Loretta strikes a horizontal polearm slash starting from the right to her left. If she does this attack while standing still, she may follow up with a polearm stab.
When she is attempt to do the attack, go to your left and dodge under the polearm’s starting position. If there are no follow-up attacks, you have an opportunity to land a few hits.
This attack can be parried when the polearm of Loretta is at 45 degrees from your standing point.
Polearm Stab
Loretta uses her polearm a lot. In this attack, she rushes forward and does a polearm stab. This attack is usually accompanied by vertical or overhead slash.
Dodge the attack by going sideways. You will get to see when she pulls her polearm back and rushes towards you.
If you go to the right, this will help you dodge the follow-up attacks and allow you to position yourself right in front of her horse. In this way you can make some hits.
This attack can be parried when you see her pulling for the stab. If you fail to do so, just get out of the way to avoid the upcoming attacks.
Power Sweep
Loretta raises her polearm and charges an attack. After a while she charges up a powerful attack, a sweep attack actually, horizontally.
Just roll back. As this attack takes some time to charge up, you can use the time to get awa.
Magical Double Slash
Loretta charges her polearm with blue magic and then comes up with two horizontal slashes. One to the right and the other to the left. These two attacks have some delay between them.
As soon as you see her polearm turning blue, start moving clockwise, leaving her horse behind. In this way you will be able to dodge her attack.
Horse Stomp
When a player is very close to Loretta, her horse raises his hind legs and stomps them on ground. Just roll back or sideways to avoid the attack as it cannot be parried.
How to Defeat Loretta, Knight of the Haligtree in Elden Ring
Loretta resists Hemorrhage, Frostbite, Fire, and Magic, but it lightning proves to be very strong against her.
I would suggest summoning a spirit to fight Loretta as it will make things a lot easier for you. You have probably fought a boss very similar to this back in Caria Manor. This time though you’re fighting the real thing and she’s a good bit stronger.
The first thing you’ll probably notice is that her Polearm is also a magic casting staff. So, it has two different types of attacks. The magic typically comes from the rear end of the staff, the base and then the physical attacks come from the actual blade, on the top.
You have to be very careful with this boss. Obviously, she is mounted, and you don’t get a horse for this fight, not exactly fair. But the reason you have to be careful is because she can move quite quickly and when she strafes around if you’re close to her, there’s a really good chance that she’s going to fire a Glintstone Orb at you.
So, you got to be very careful with that whenever you see her jump and strafe around, just hold up your shield because a spell may be coming very quickly at you.
You don’t want to stand behind the boss for too long. If you do, you just want to be ready for a donkey kick so just always be aware of that. That can do a lot of damage and also set you up to deal with these Glintstone Blades.
The bow and arrow is really cool and it’s a lot less scary than it seems it’s big and it does deal a decent amount of damage but it’s really nothing to worry about. The arrow itself actually moves quite slow and you can dodge it pretty easily; just roll into it unless you’re at a big distance then you want to roll to the side. This attack is quite rarely used by Loretta.
The boss will imbue her blade with some magic and do some big sweeping strikes. For that, you can just roll to the left if you were on her right side where the blade actually is near her hand. Just roll to the left and then you can roll into her for the second hit all throughout this fight.
Throughout the fight, the boss will summon the Glintstone Blades around her and It’ll constantly happen. The trick with these blades is to dodge them at the correct time.
The blades make a casting sound and additionally a sound indicates that they are now going to travel towards you. However, they still have a little bit of travel time, so you want to be careful about that. You’re not going to want to dodge right away.
However, in phase 2, which the boss will hit at about 50 HP or lower, she will now have two sets of those blades that come out separately. So, you’ll need to dodge twice.
It’s not exactly moving any faster but there’s just more of them and the tricky part is that, sometimes when they’re being released, she can do a whole bunch of other stuff such as take out a four-point bow and arrow and start doing a bunch of other crazy moves and weaving it all together.
The bow and arrow in phase two is mostly the same except it obviously shoots four arrows. So, the major thing to look out for there are the arrows in the middle. The one on the bottom will typically hit the floor and you won’t really have to worry about it too much. The one on top will arc away so it’s really about the two in the middle that you got to look out for.
The same sort of deal applies if you are close enough, you can just roll right through it. Just roll forward if you are at a distance. However, you want to roll to the side or possibly even do a very late roll forward, depending on if all four are coming towards you. But you really don’t ever want to be at a good distance with this boss. You want to be close to Loretta.
You will notice that the sweeping strikes are now improved in phase two. It has an additional hit now but again it’s just a big sweeping strike. So, just pay close attention to her hand and when the hand moves towards you, that’s when you want to roll.
Loretta, Knight of the Haligtree Drops
Loretta, Knight of Haligtree drops 200,000 Runes, Loretta’s Mastery, and Loretta’s War Sickle after being killed. You’ll also be able to gain access to the Grace Site of Haligtree Promenade.
How to Cheese Loretta, Knight of the Haligtree
There is a very cool way to cheese Loretta. Keep in mind that you are going to need a talisman that constantly attracts the enemy’s aggression.
You will need a mimic. Mimic basically copies everything about your character. It is like another dummy version of your character fighting the boss. So when the fight starts, pull the talisman off you so you don’t attract the enemy’s aggression. Let the mimic do that job for you.
Loretta will mostly keep fighting your mimic so you will have enough time to cast your spells, heal yourself and make your moves. There will be times when the boss will lose focus from the mimic and come toward you. However, she will eventually go back to the mimic.
With the boss focusing on your mimic, all you need to do is fire away.