Cyberpunk 2077 Phantom Liberty DLC introduces a new ending to the game which is affected by the kind of choices you make in the game. As you flee with the Songbird in the later stages of the game, you will be met with a choice to either help Reed or the Songbird. If you choose the former option, then you will play through the Black Steel in the Hour of Chaos mission in Cyberpunk 2077.
This mission can be picked up after you decide to help Reed in the stadium and capture Songbird. The storyline twists along the way, and Songbird becomes a zombie controlled by AI. She will be fighting hard to control herself and free herself from the AI.
This guide will tell you how you can complete this mission.
Contact Mr. Hands
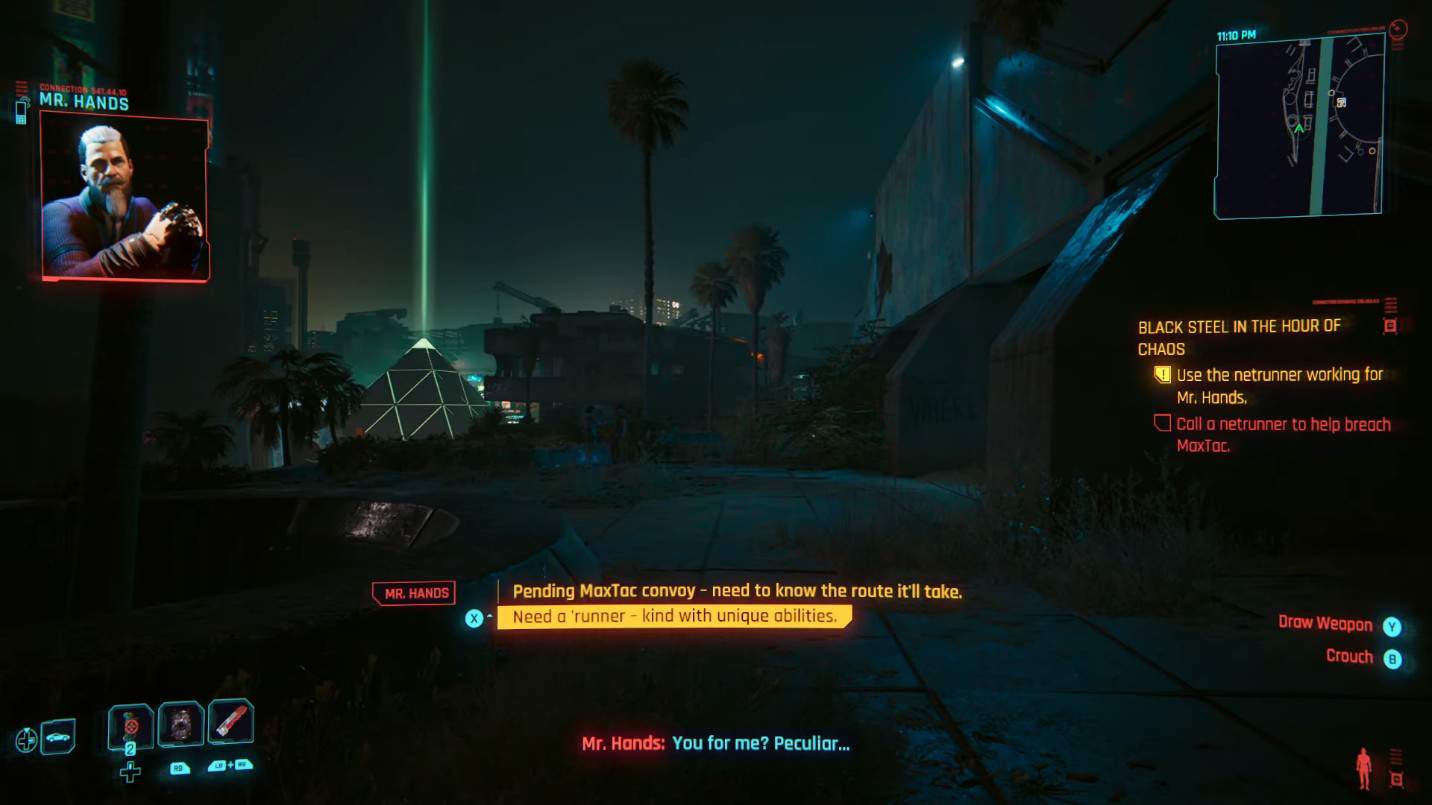
You will need to hire a netrunner to gather info first. You can go to any netrunner you want but all of them will be preoccupied. Contacting Mr. Hands will be your best bet. Call him and ask for help. He will ask for $15,000 for the job and will give a location where you will need to wait ten hours in-game.
Simply go to the location in Kabuki, and you will receive a prompt to wait. The time will pass away in a glitch, and you will receive a text from Mr. Hands giving you the green flag. Go inside the door and Yoko, Hands’ trusted runner, will greet you.
Obtain the info from Yoko
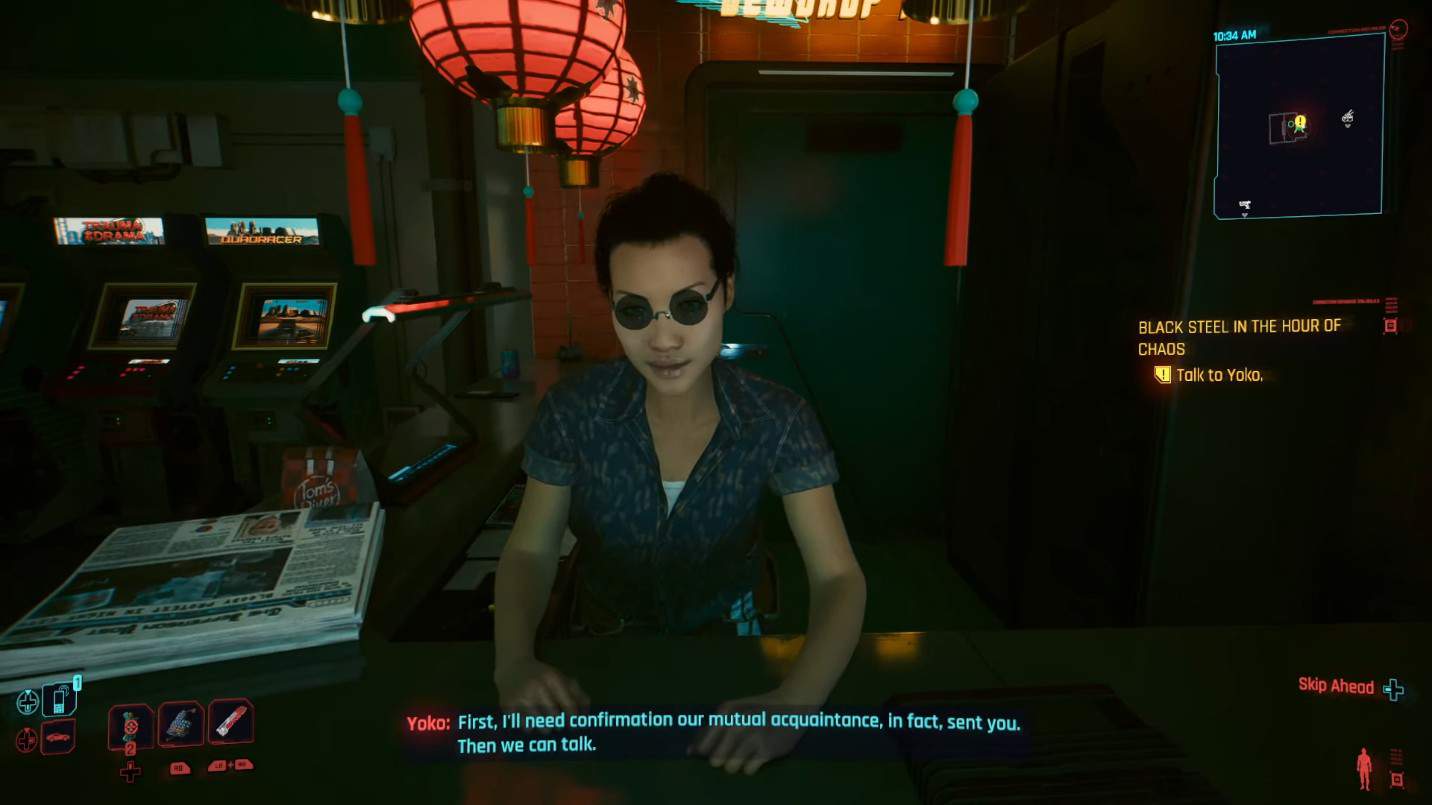
Yoko will greet you like an old friend and start right away with the biometric scans. After a short dialogue scene, Yoko will ask you for a favor. She will be asking for the coordinates of the ambush so she can grab the MaxTac gear from the location.
This will not affect the ambush in any way nor will you get any additional help in the fight. Although, you can get some pretty decent rewards if you let her do her thing. You can also decline by saying no to this offer at the moment.
Decrypt the file
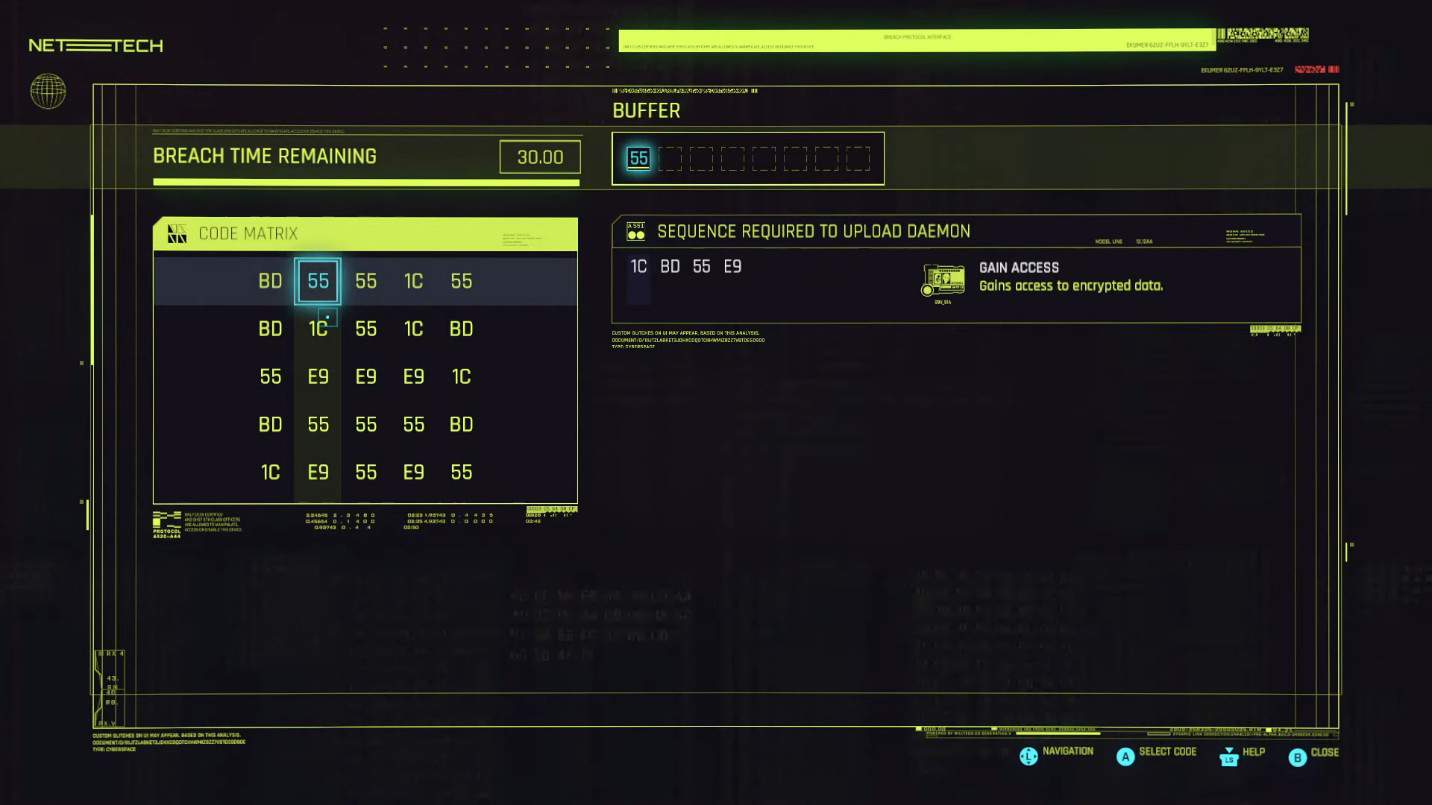
Once you’re done with Yoko, send the data to Reed so he can comb through it. He will get back to you, but first, you must decode the data in order to read the message. Doing this is quite easy. All you will need to do is press the numbers in the given sequence.
The Order will be 55, 1C, BD, 55, and finally E9. After reading the message, walk out of the shop, and Johnny will appear ready to give a pep talk. Once he’s done, Reed will text you again and ask for a meetup near the ambush point. The coordinates will already be set up on your map, so simply head there.
Briefing of the ambush
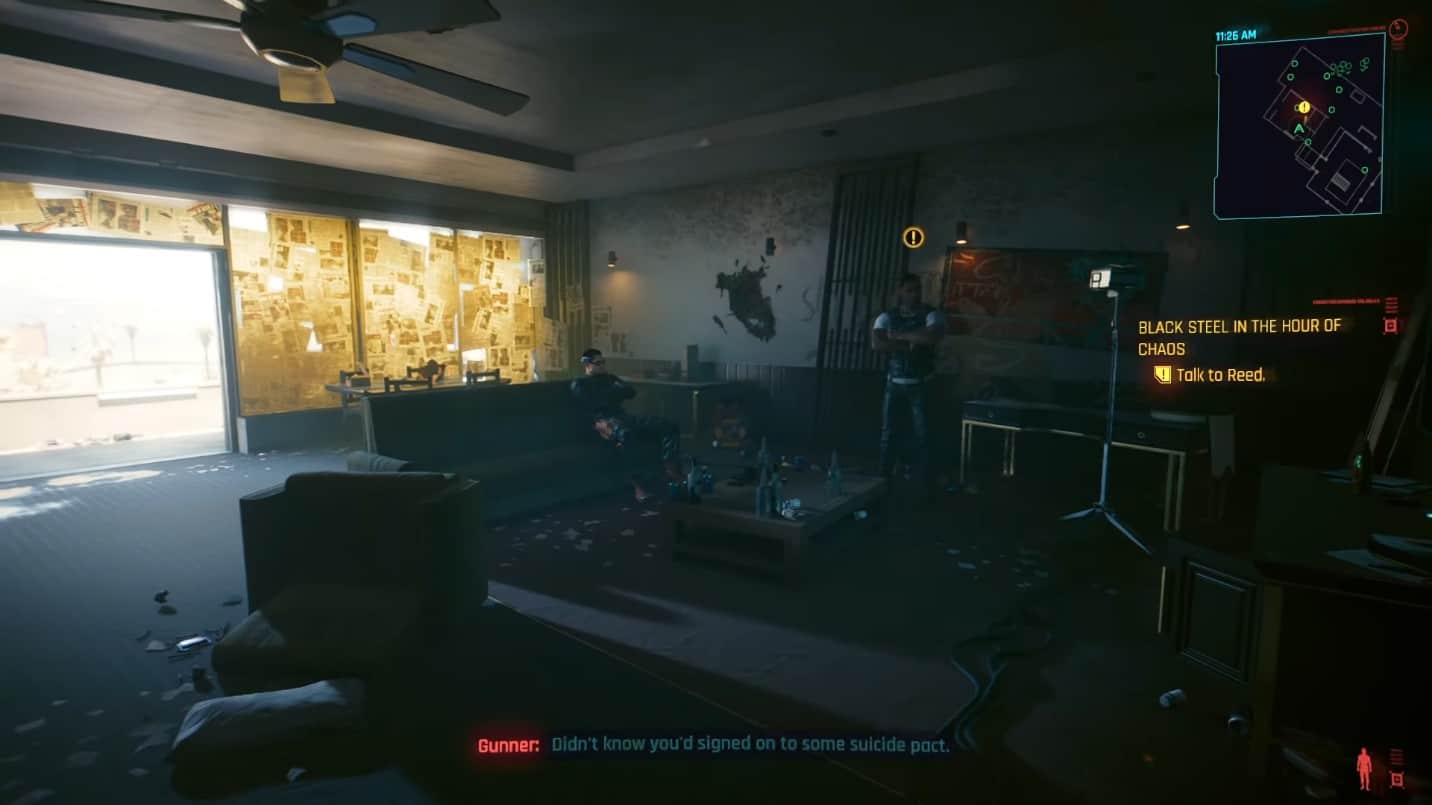
Once you’re at the abandoned hotel, go inside and follow the red carpet to the top balcony. Upon entering the balcony, turn left and walk inside the demolished building. Reed will be arguing with Gunner, who will get angry as you arrive. He will try to start a verbal fight, but Reed will intervene and stop him. He leaves the room once he’s done, and Reed will hint that it is time to strategize.
There are a few dialogue options here where you learn more about Reed’s affiliations. Select the first option, and Reed will lead you out to the balcony where a 6th Street Soldier will be ready to brief you. Here, you can lay out the ambush with any options you want.
Planning Phase
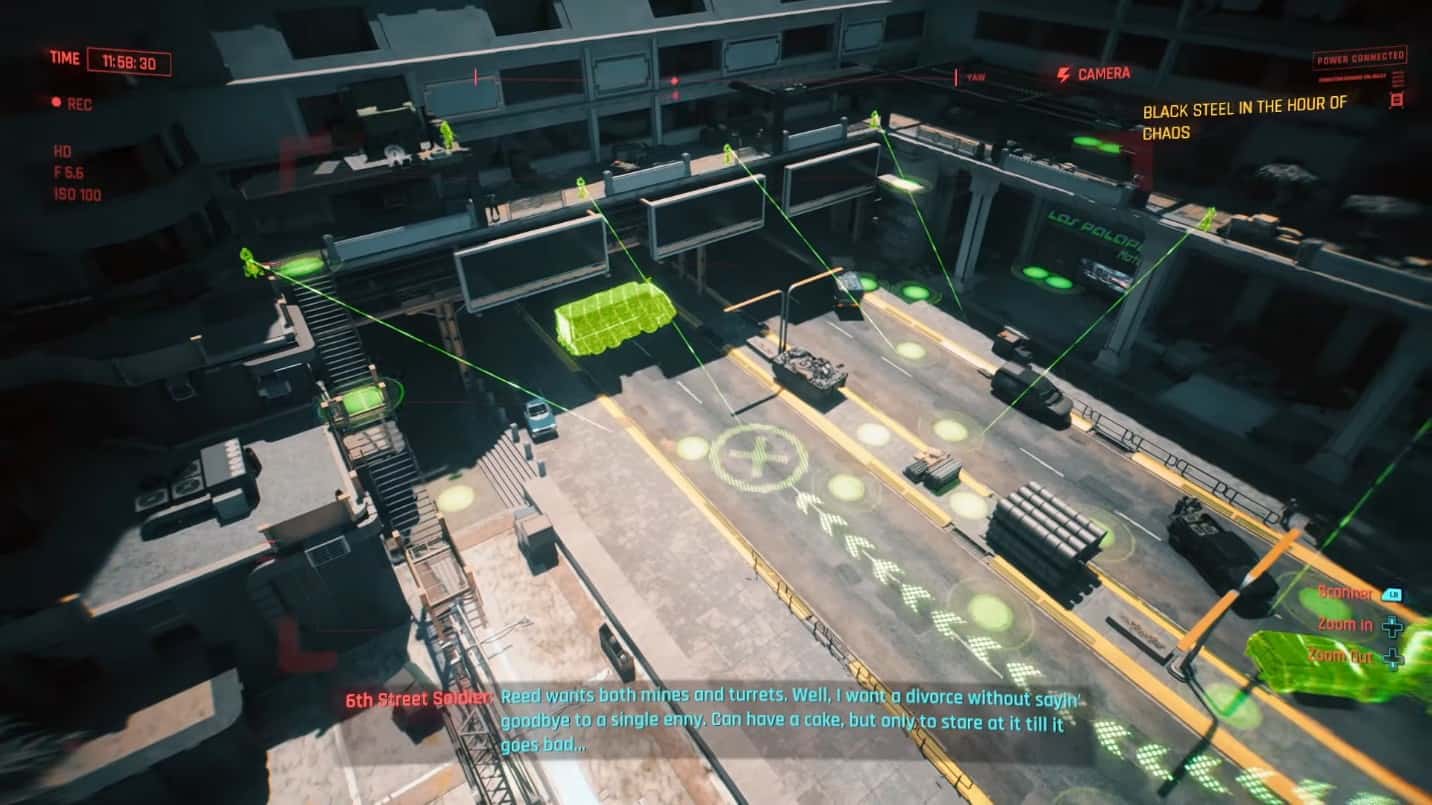
The first option you will be provided will be to go for either turrets or mines. Mines will stop the convoy, in its tracks. But it is unnecessary as the convoy will stop moving once they get hit. Using turrets will be your best option, as they can provide cover fire.
Reed will be positioned on the balcony with a sniper rifle to provide you with cover fire as you extract Songbird from the vehicles. Next up will be the option to place smoke grenades to confuse the enemies. This will be a disadvantage as it will block Reed’s line of sight.
Then will come the positioning of yourself. You will have the choice to wait at 3 locations; the terrace, the stairs, and the skybridge. The terrace will give you a good line of sight along with plenty of cover to hide behind. If you opt for a long-ranged battle, you can always go for the stairs. The third option is up close and personal. The skybridge will be right at the center of all the action. From here, you can get to close-quarter combat in no time.
Choose to go for the turrets without any smoke grenades and position yourself at the skybridge. Once you’re all done, disconnect from the drone and check up on Reed. Then position yourself and get ready.
The ambush
When you position yourself, you will get the prompt to wait. You will get a transmission from the Songbird warning you to get out of the way. The convoy will arrive, and the fight will begin. The turrets will start firing, and the convoy will come to a halt. You will need to eliminate human enemies by yourself. The robots and cyborgs can be short-circuited and they will get fried instantly. Or you can hack them to turn them against their own.
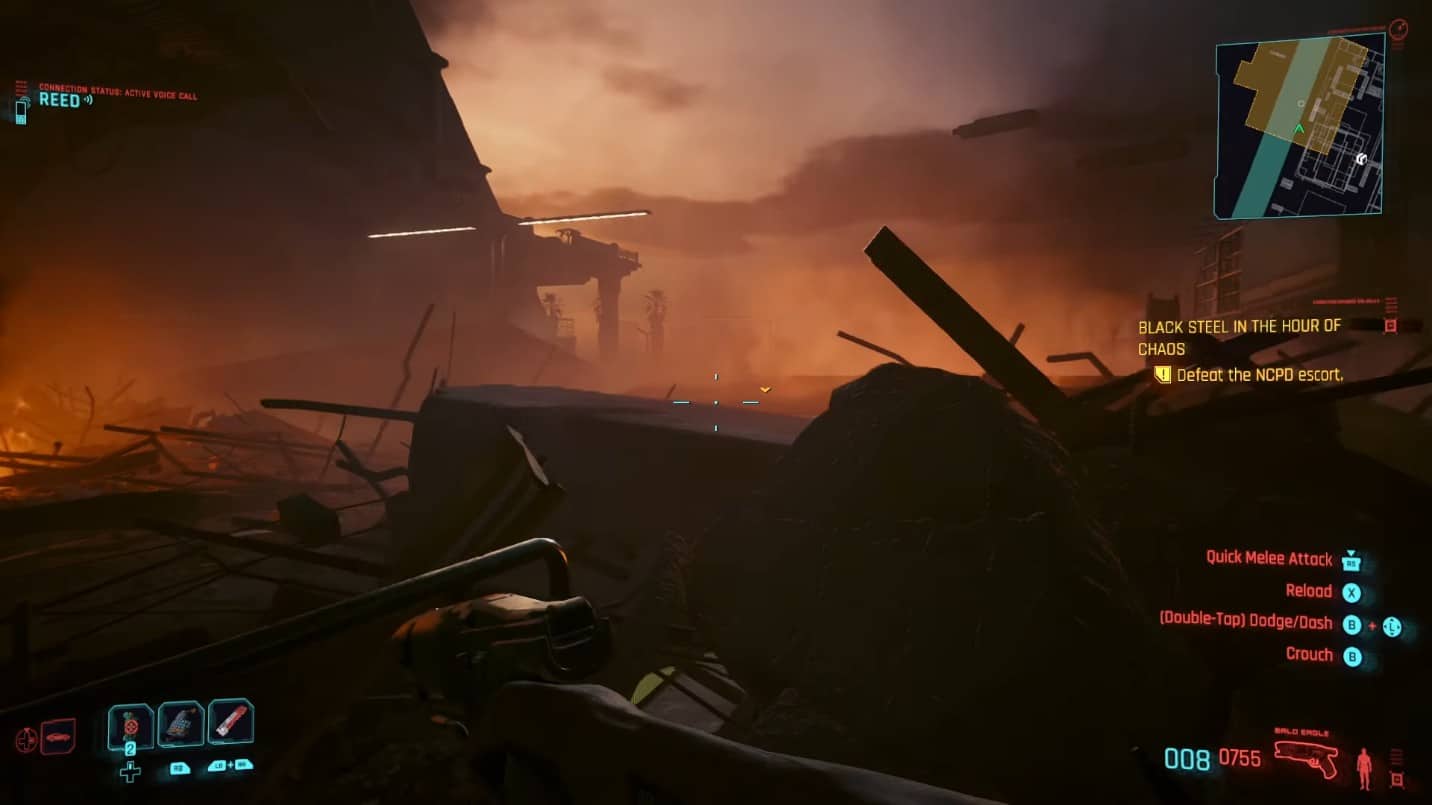
Finish everyone off and Reed will call you out to check on Songbird. Check the truck, and NCPD will come barging out. The second phase of the fight will start. Eliminate all of the NCPD officers. Suddenly, a blast of Blackwall wave will hit, and Songbird will escape. Everyone will be immobilized immediately.
Follow Songbird’s tracks
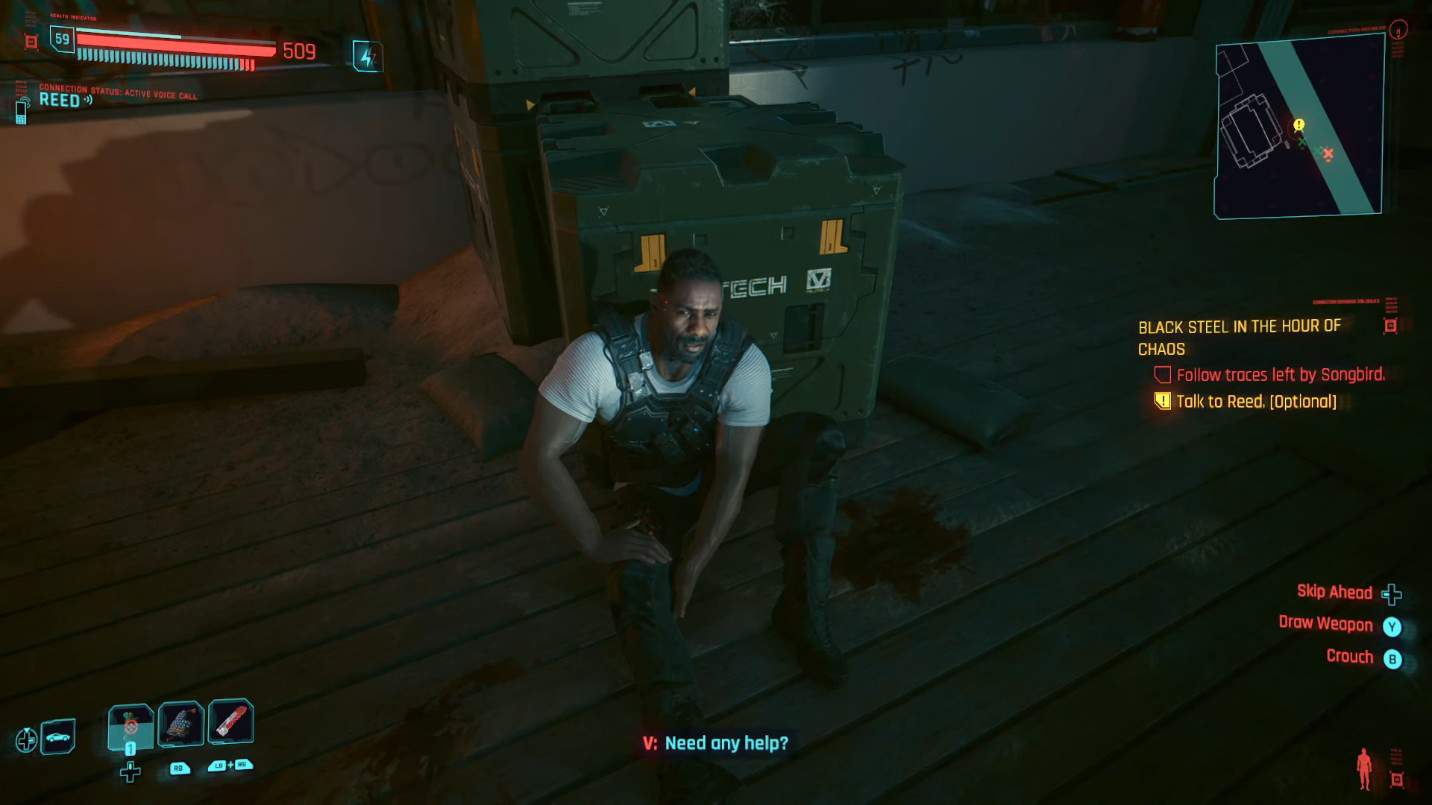
Reed will get injured during the blast. Checking up on him will be optional, so if you want to, run up the terrace and have a look.
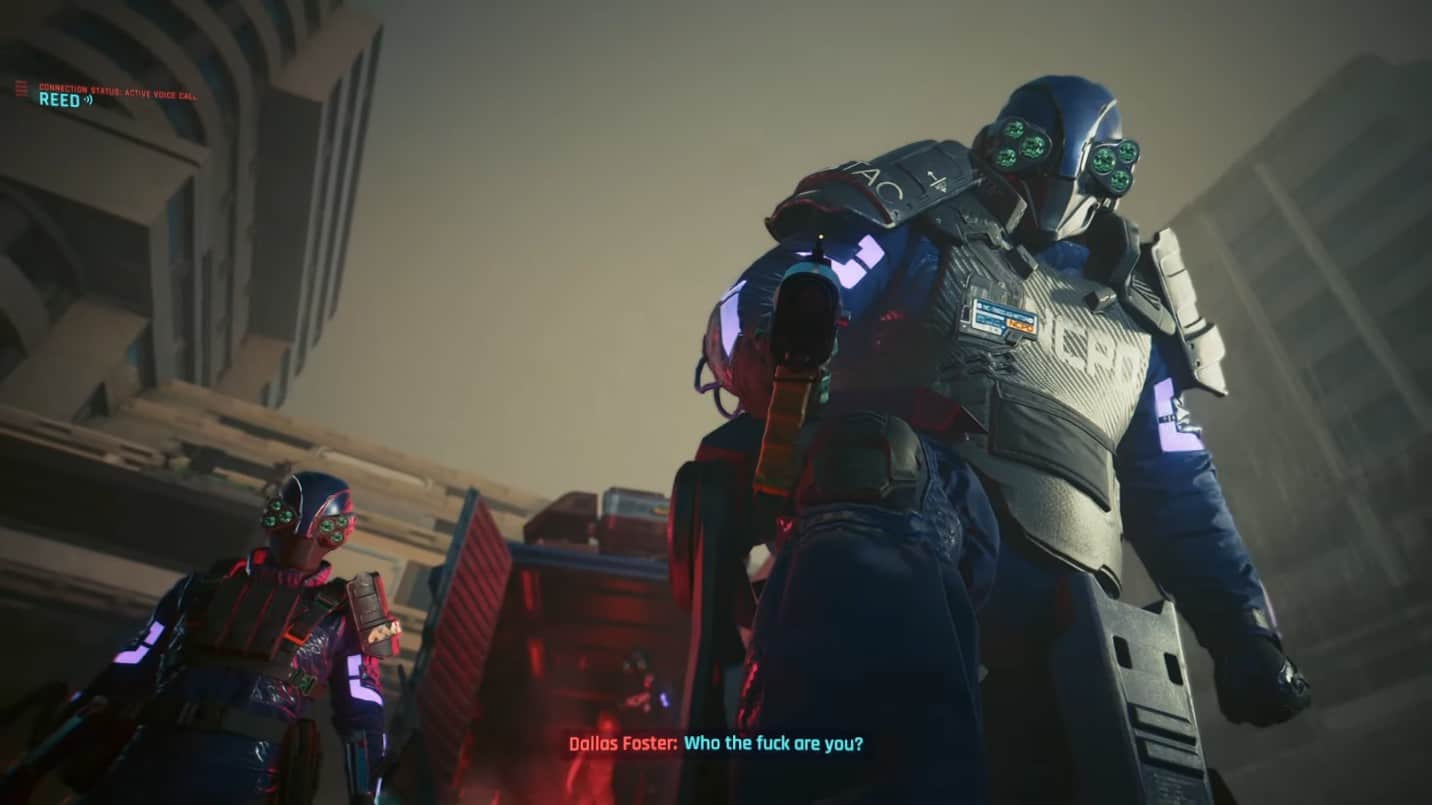
After that, go after Songbird. Go towards the objective markers. The blast will have set off multiple accidents, and the roads will be blocked. Follow Songbird’s trail via objective markers. Eventually, you will hit a dead end with two arguing over whether one could’ve crashed any other car. Here, the mission will be marked as completed.