Though there have been many changes to the Zombies mode in Call of Duty: WW2, the Pack-a-Punch returns unchanged in the Final Reich map.
The PaP machine allows players to upgrade their non-special weapons and plays a big role in the completion of the map’s elaborative Easter Egg.
The machine is located inside the Sewer area, but, similar to the previous iterations, there are a lot of steps involved in unlocking it.
If you’re having trouble following these steps, read on to learn everything about how to unlock the Final Reich Pack-a-Punch machine in COD: WW2.
How to Pack-a-Punch in Final Reich
Activating the Pack-a-Punch Machine often requires multiple steps and the same is the case with the one in Final Reich. The following are different steps that you need to complete to PaP your weapons.
Before getting started, know that if you’re planning to unlock the Pack-a-Punch solo, you must stack up on a lot of Jolts beforehand because the process will require a lot of them.
Step #1: Turn on the Power
To access the Bunker in Call of Duty WW2, you will first need to turn the power on by activating the generator in the starting area. Notice that the three lights on the generator are red, and three leads are leading away from it.
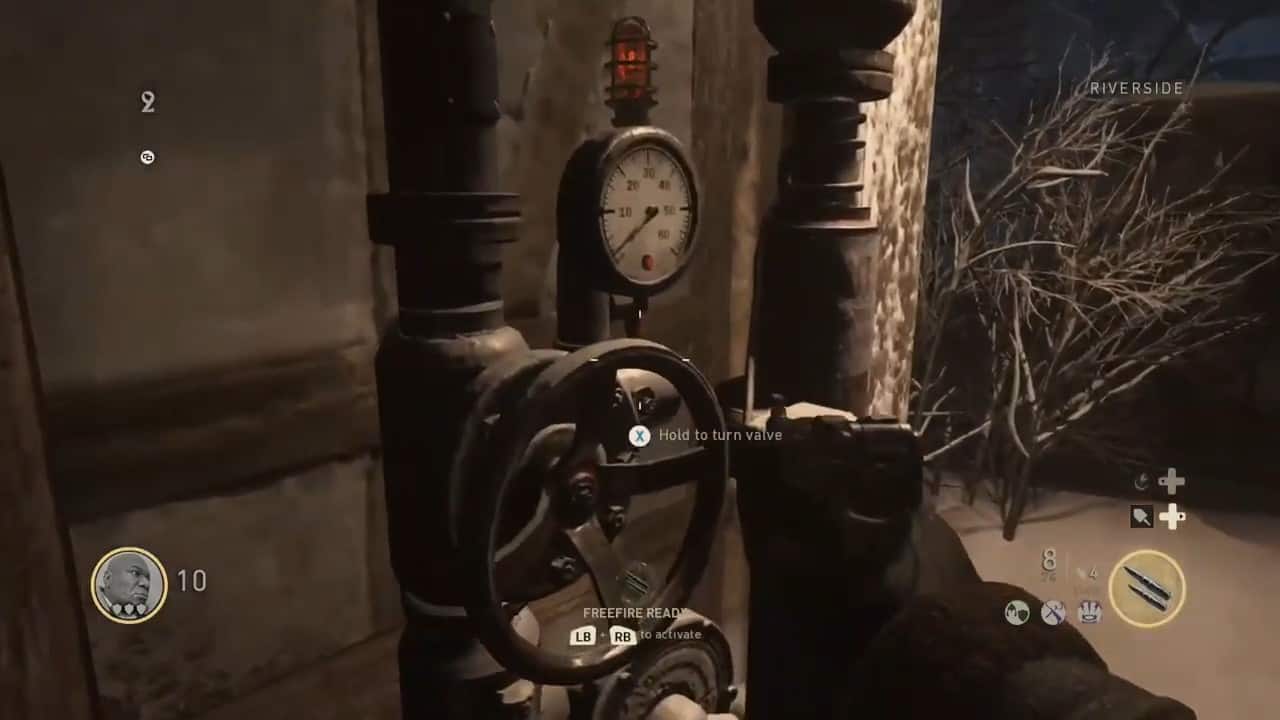
The leads/wires connect at 3 different Pressure Valves nearby. Once found, you need to hold the ‘Interact’ button until the dial reaches 60 (max) and you see the generator lights turn green.
Before interacting with the Pressure Valves, make sure that the area is clear of zombies, as it can take a few seconds to change the pressures. Here are the locations of all 3 Pressure Valves:
- Pressure Valve #1 – Left of the Armor Station in the Village Square
- Pressure Valve #2 – Left of the Bunker Door in the Village Square
- Pressure Valve #3 – On the Riverside, Down the Slope
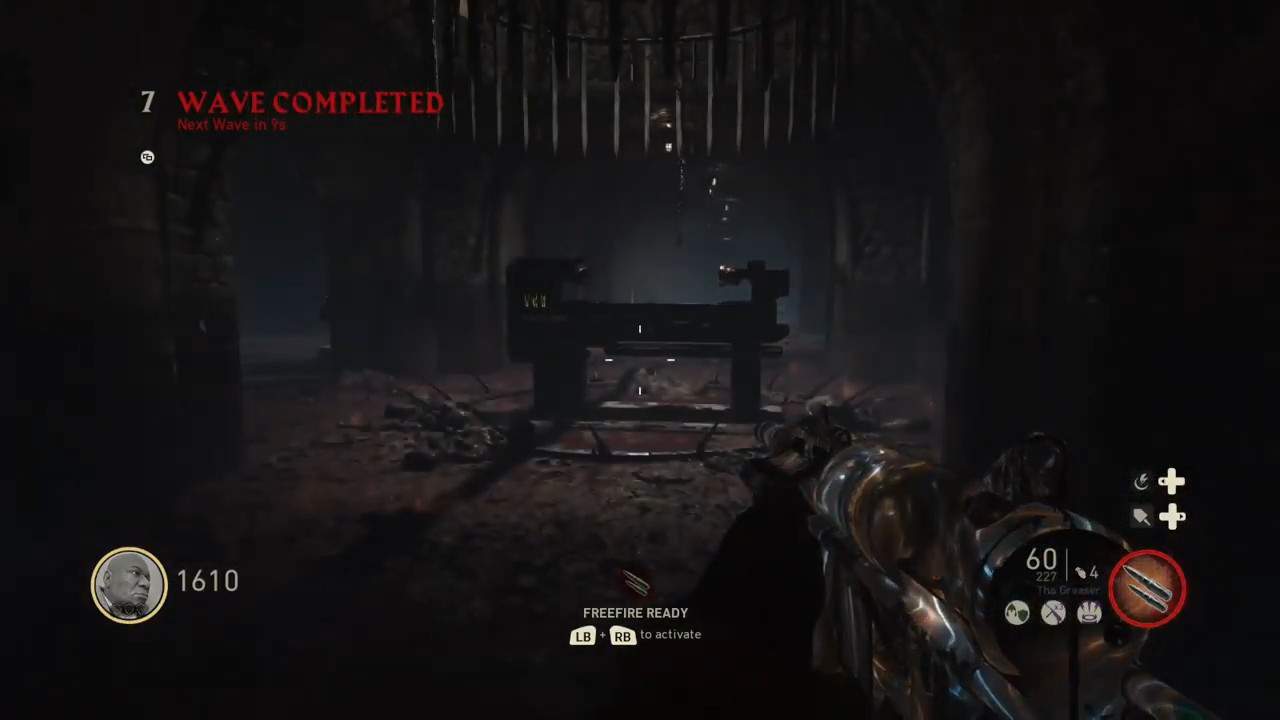
When the lights turn green, interact with the Grenade Turret to the left of the generator. This will cause it to blow a hole in front of it with zombies oozing out of the hole. Deal with the Pests and jump into the Tunnel.
After accessing the Tunnel, interact with the generator across the ramp ahead of you. This will turn on the power – the gates behind you will open and you will be able to go back to ground level.
Now, you will be able to access the Bunker for 1,250 Jolts, before you can open the salt mine door however you have to open the Bunker door for 1250 Points, go inside, and open the next for 1500 Points. The salt mine door is the third.
Step #2: Open the Salt Mine Door
This is the next step in our Call of Duty WW2 Zombies pack-a-punch guide which requires you to redirect power to the Command Room at 2 Power Stations. One of the Power Stations is in the Laboratory and the other one is in the Morgue.
The door to the former is located to the left while the latter is to the right. In the Morgue, you can go straight ahead to reach the Power Station. For the one at the laboratory, you must take the first left across the tunnel, another left up the stairs, and then a third left into the small room.
It is important to note that for this step, you are under a time limit and must activate both the Power Stations as quickly as possible. Once done, you should be able to get the Salt Mine door in the Command Room for 1,500 Jolts.
Unlock the Pack-a-Punch
With the above steps completed, head inside the Sewers and press the large, red button in front of the metal cage containing the Pack-a-Punch.
Once done, you need to ride 3 Sewer Pipes/Disposal tubes down to one of the buttons for the machine. Riding a Sewer Pipe will require you to pay 250 Jolts. As soon as you eject from a Sewer Pipe, you need to press the red button to lift up the metal cage. Here are the locations of these Sewer Pipes:
- Sewer Pipe #1 – Left of the Waffe 28 Wallbuy in the Tower
- Sewer Pipe #2 – Right of the M3 Wallbuy in the Command Room
- Sewer Pipe #3 – Near the Lab-Trap in the Laboratory
Interacting with all 3 red buttons found at the end of Sewer Pipes should allow you to completely lift up the metal cage and allow you to interact with the Pack-a-Punch Machine.
Congratulations! You have finally unlocked the machine and are eligible to Pack-a-Punch your weapons for the Final Reich Easter Egg.