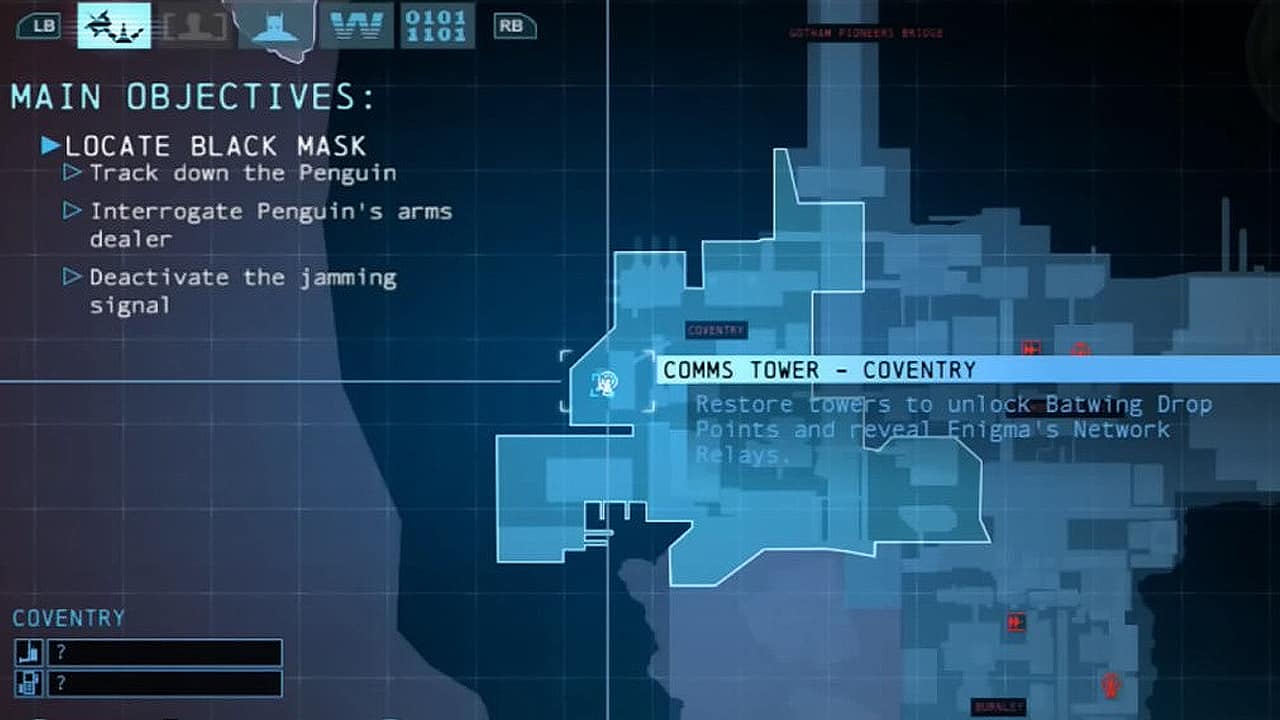
The GCR Comms Towers are only one part of your Most Wanted mission to find and take down Enigma in Batman: Arkham Origins. Restoring them unlocks a fast-travel point for you to call in the Batwing. They also unlock all of the Network Relays in the district which you can destroy for a lot of experience points.
Finally, find all of the Extortion File Data Packs to zero in on where Enigma is hiding. His Most Wanted mission is the longest one of them all and requires a lot of gameplay hours if you are interested in doing a 100 percent completion playthrough.
This guide will get you started by restoring all of the Comms Towers as the first step in spoiling Enigma’s plans.
How to find and hack all Comms Towers in Batman: Arkham Origins
There are a total of seven GCR Comms Towers that you need to restore in the game. They will be marked on your map with red tower icons which turn white after you deactivate their jamming devices for the Batwing.
The Bowery and Coventry towers are part of the main campaign, but you will need to restore the remaining five yourself.
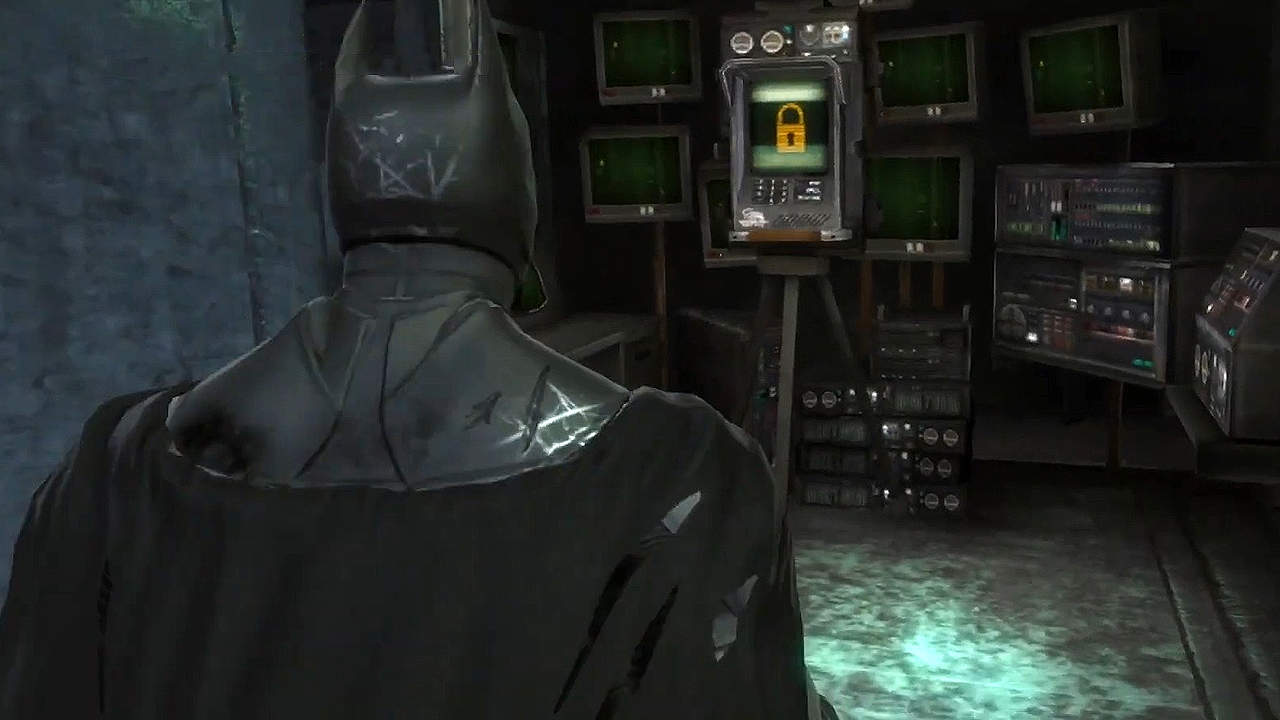
Once you reach a Comms Tower location, you need to find your way into its Tower Maintenance Access in Batman: Arkham Origins. This will be a giant steel door with a “Restricted Access” label on it. Getting to it, though, will require you to solve mini environmental puzzles with your gadgets and clear out enemies
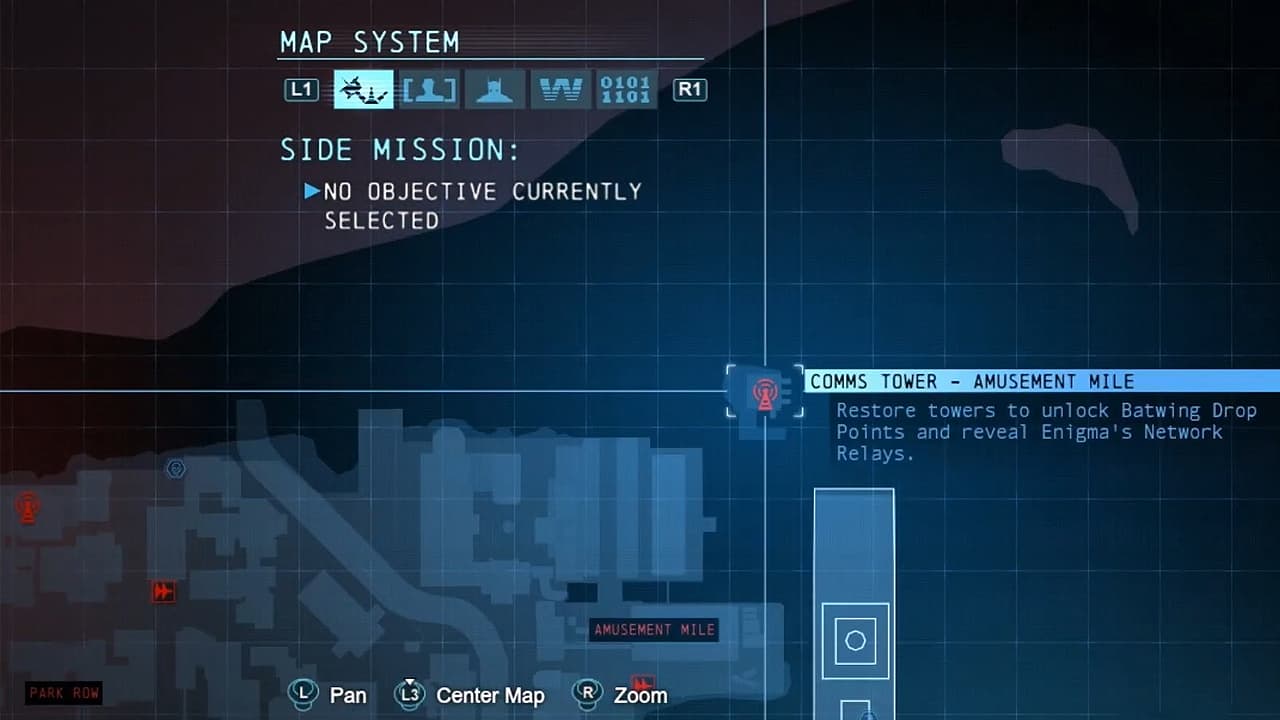
Amusement Mile Comms Tower
Requirements: Batclaw, Glue Grenade, and Remote Claw.
This comms tower is located on an island northeast of the Amusement Mile District or northwest of Penguin’s Final Offer ship in the game.
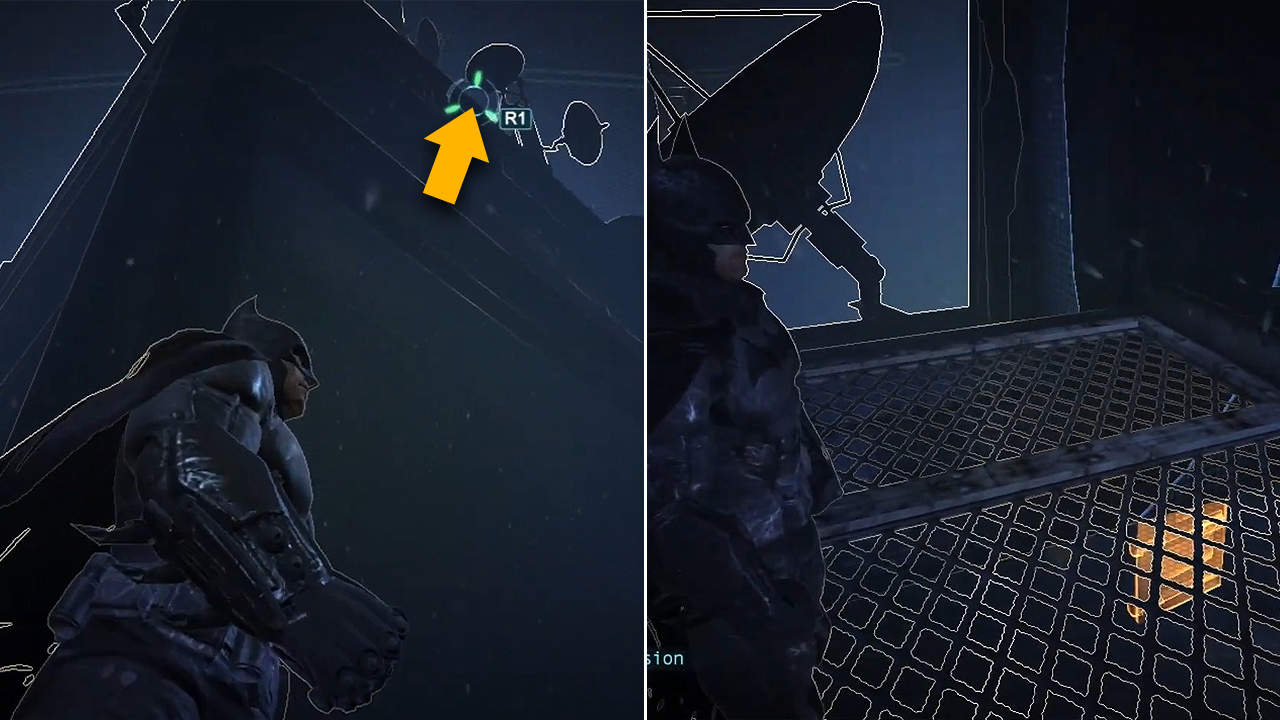
When you reach the tower, find the tunnel entrance from the south side of the water. What you need to do is grapple your way to the top section of the tower with the radar dishes. You will find a vent here below the grating with your Detective Vision.
With your back to the wall, jump and glide your way down to find a grappling point. You can also simply jump into the water to respawn inside the tunnel.
Use your Glue Grenades to create a makeshift raft and then using your Batclaw, pull yourself through the tunnel to cross the water. Head into the door on your right and you will come across a couple of steam vents. Use your Glue Grenades again to plug the holes and head into the next room to take down Enigma’s henchmen. Two of them are armed with guns and knives, so target them first. We recommend starting the fight with a Smoke Pellet to perform silent takedowns.
When the room is clear, look above to find a steel ring. Use your Batclaw to pull down the wooden section and then create a rope line with your Remote Claw to lead you into the corridor above with more enemies. Take them out as well while making sure not to come in contact with the electrical wall on your left. You can also throw enemies into the wall to electrocute them.
Continue past the gate and climb up to the control panel, which will lead you to the Tower Maintenance Access. Open it and use your Cryptographic Sequencer to restore the Amusement Mile Comms Tower in Batman: Arkham Origins. The password here is “UWILLREG RETTHIS“.
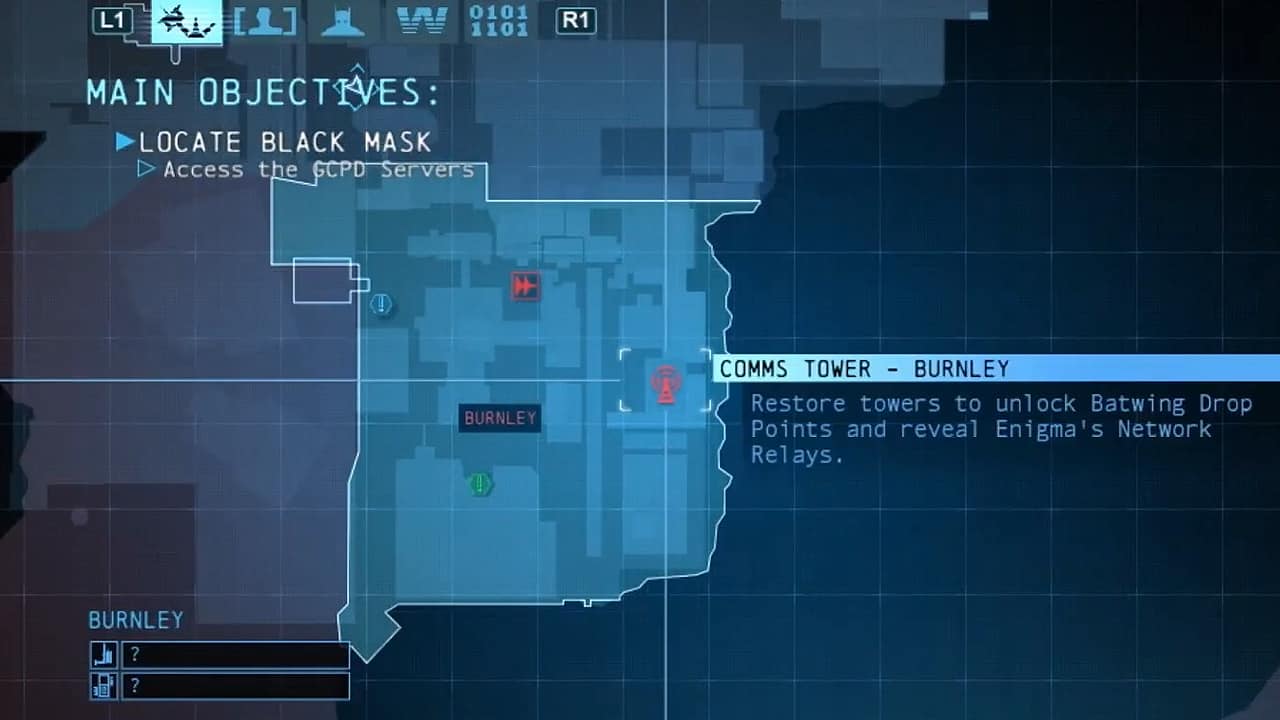
Burnley Comms Tower
Requirements: Batclaw and Remote Claw.
The Burnley comms tower is located at the eastern end of the district. This is a huge GCR building overlooking the water body – quite easy to spot.
If you approach the building from the left, you will find a few thugs on its first level. Your first task is to eliminate these thugs. There are seven of them in total but aren’t that hard to beat.
Once all of the thugs are taken down, you must focus your attention to the left of the building. There is a small ledge you can walk on that stretches across the eastern side of the building.
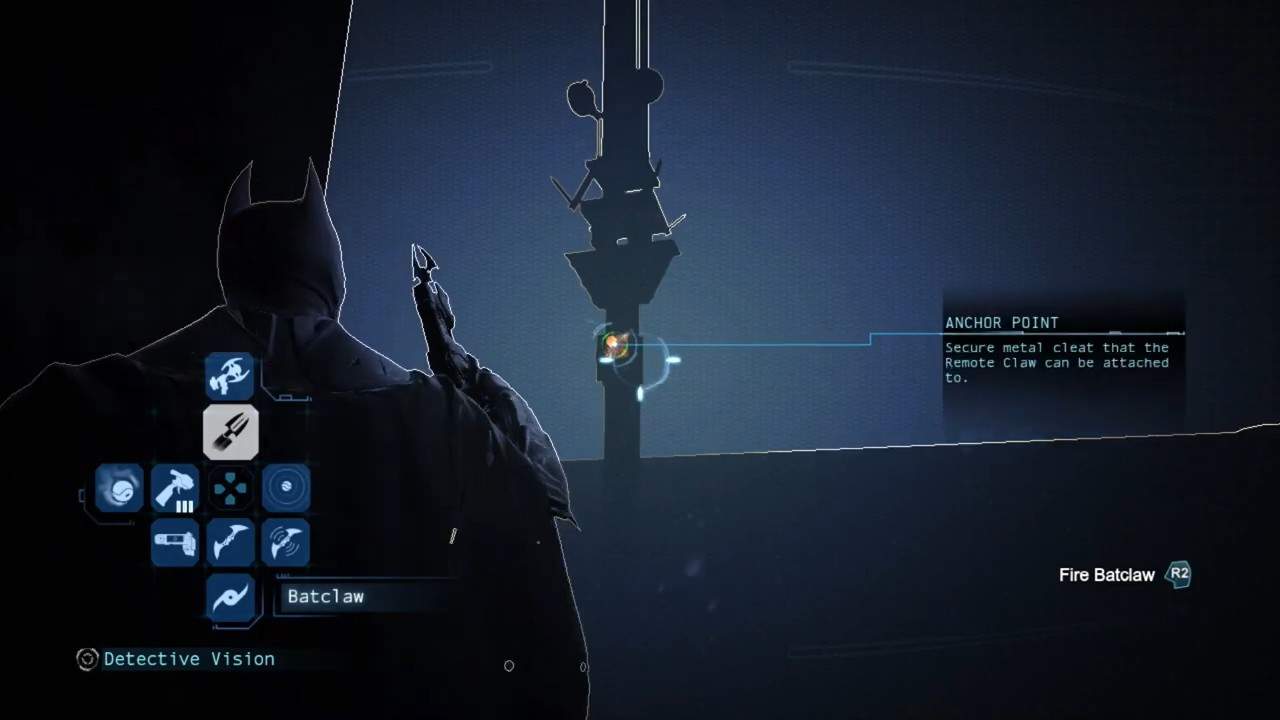
When you are about halfway across, look towards the high pillar on the building to your right. If you use your detective vision here, you will find that there is an Anchor point somewhere along it.
Shoot your Remote Claw at this Anchor Point and it will automatically connect a room to another one in your building. You can then use this rope as a zipline – through the window on the eastern border of the GCR building and into the control room.
You can then pull out your tool and put in the password “IMPROPRIETY”. Next, you need to find a way to the top. There is a vent on the wall across the window. You can break the grill off with your Batclaw and crawl through the vent to the top.
Once at the top, walk up the stairs and enter the room with the security console. You can then use your Cryptographic Sequencer and put in the password “STOPPEDYOU” to restore the Burnley comms tower in Batman: Arkham Origins.
Coventry Comms Tower
Requirements: None.
The Coventry comms tower is located on the western end of the Coventry district. This is a building overlooking the shore, just to the south of the building on the bend.
This comms tower is directly accessible as part of your main story mission and does not have any special requirements. The password to the security console is “NOFLYZONE”.
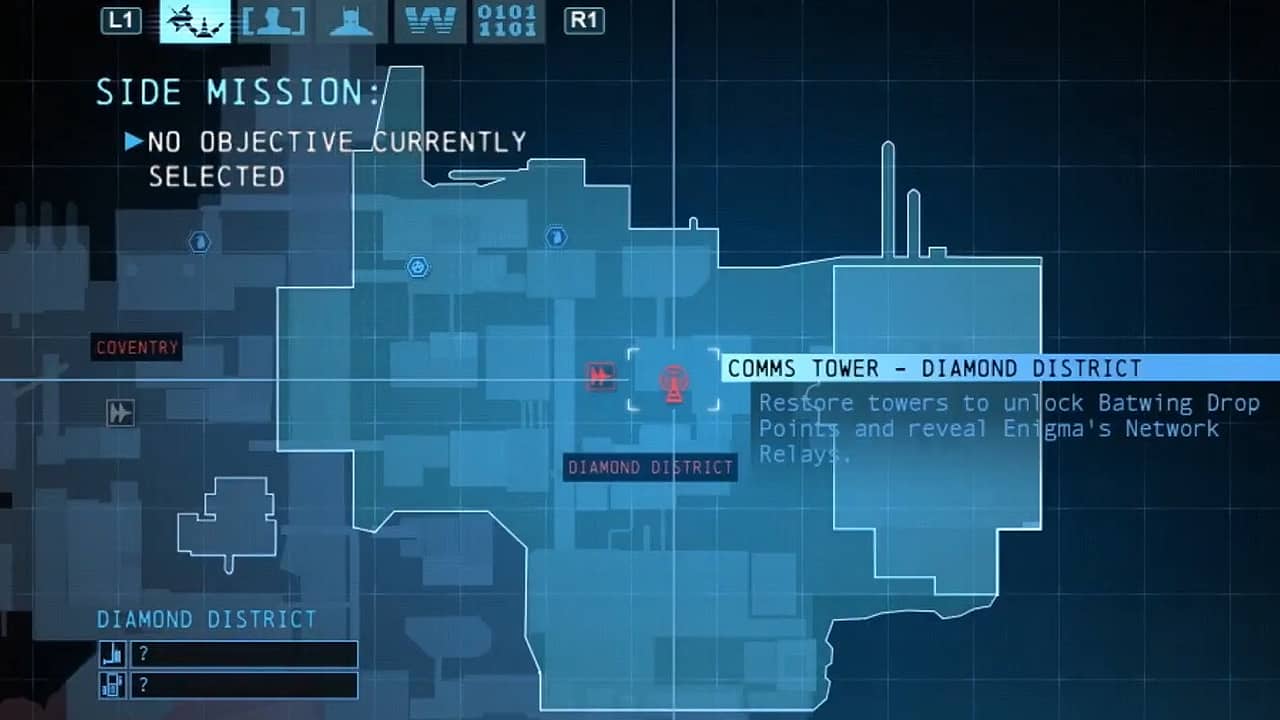
Diamond District Comms Tower
Requirements: Disruptor and Explosive Gel.
The Diamond District comms tower is located in the dead center of the district. Simply look for a tall building with the GCR sign flashing at the top and you will know it’s the right one.
Approaching the building from the west, you will find a small platform with a couple of enemies on it. When they are taken down, turn your attention to the elevator on the side and charge up the generator.
The elevator will take you down, and behind you, you shall see a wooden wall. Use your Explosive Gel on it and destroy the wooden portion. Then, use your Disruptor on the terminal that was just revealed.
Now, you can head back up to the platform, move to the opposite end, and then up another level to reach the Maintenance Access Room.
Once inside, interact with the console and enter the password: “INCONCEIVABLE” to restore this comms tower in Batman: Arkham Origins.
Industrial District Comms Tower
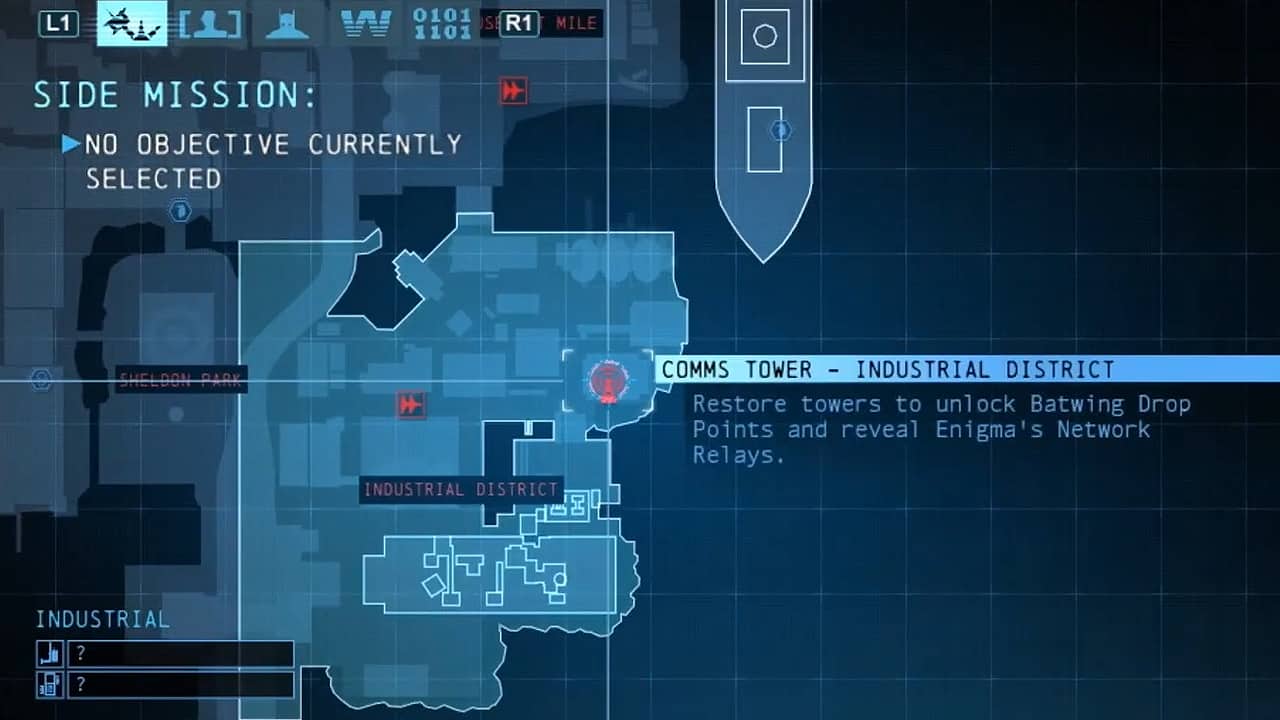
Requirements: None.
The Industrial District comms tower is located on the eastern shore of the district. This is a large building overlooking the sea with the GCR logo on top of it next to a few satellites.
Starting off, you have to climb onto the upper level on the eastern end of the building overlooking the sea. Once there, you will be met with about seven enemies which are easy to tackle.
Once they are dealt with, you can turn your attention to the Security Relay Station to the left of the main door (use your Detective Vision). Destroy this Station and you can move on to the next one.
The other SRS is located on the ground to your left. This one is also guarded by a couple of thugs. Repeat the same process you did before and come back to the top.
When both Stations are destroyed, the electric field surrounding the door will be dissipated and your path will be clear.
Simply enter the room, interact with the security console, and put in the “AREYOUKIDDING” password to restore the Industrial District comms tower in Batman: Arkham Origins.
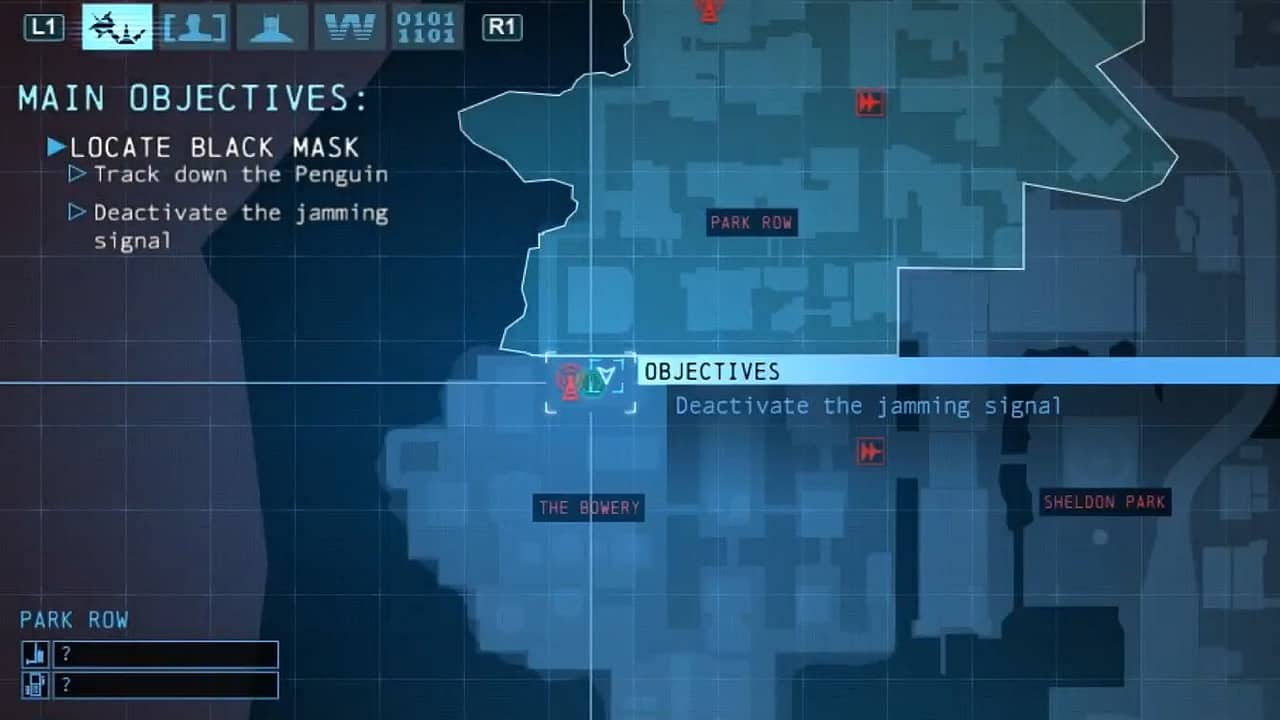
Park Row Comms Tower

Requirements: Remote Controlled Batarang.
The Park Row Comms Tower is located in the northwestern corner of the district. This is a huge building but the part from where you can access the antenna is located somewhere east, on a platform overlooking the sea.
Once you step on the platform, take down the five thugs there and enter the vent. When you come out of it at the other end, you will see the Tower Maintenance Access right next to you, surrounded by an electric field. This needs to be disabled first.
If you use your Detective Vision, you will be able to see a fusebox across the grill in front of you. Pull out your Remote Controlled Batarang and throw it across the gap.
Pass it through the electric field on the left and then divert it towards the fusebox. When you hit it, the electric field around the security console will dissipate and you will be safe to enter.
Go ahead and restore the Park View comms tower with your Cryptographic Sequencer. The password will be “IDONTTHINKSO“.
The Bowery Comms Tower
Requirements: Remote Controlled Batarang.
The Bowery comms tower is located in the north of the respective district, just before the Park Row district border. Look for a building with an antenna-like structure peaking from it and moving towards its east.
There should be a theater there, and a couple of thugs on its roof. Use your grapple to climb onto the rooftop and take care of the thugs. Three of them hold bats, so it’s best to finish them off first.
When all the thugs are dealt with, you should turn your attention to the security console. There is a locked door blocking your path though, but there is an easy way to get through it.
If you use your Detective Vision, you can see a fusebox on the far left of the room. Look closely and you will also see an opening through the grill on the top left and an electric field across it.
What you must do now is throw your Remote-Controlled Batarang through that gap and across the electric field. It will be a little bit harder to control, but the fusebox isn’t that far off.
When you hit the fusebox with your Batarang, the door will open, and you will be able to enter the Tower Maintenance Access. Use your Cryptographic Sequencer at the terminal and enter the password “KEEP OUT” to restore the Bowery comms tower.