
Anarky is one of the more irritating Most Wanted villains you get to meet in Batman: Arkham Origins. He believes himself to be a savior who will cleanse Gotham City of all corruption. One way in which he will be pursuing this goal is by planting bombs.
As the Dark Knight, you cannot stand on the sidelines and let Anarky get away with this. You will naturally need to head out in search of his bombs until it is too late.
How to find Anarky in Batman: Arkham Origins
You will get to meet Anarky after defeating Deathstroke on Penguin’s ship, the Final Offer. This will also be when you receive your next story mission objective to “Solve the Crime Scene Inside Lacey Towers.”
While exiting Penguin’s ship, Anarky will appear on the television sets, addressing the citizens of Gotham as “the voice of the people” that will save them from corruption.
Outside the Final Offer, you will see another footage where Anarky reveals that he has placed three bombs in Batman: Arkham Origins. Each location is in a different part of the city and you need to disarm them within an allotted time.
How to find Anarky bombs in Batman: Arkham Origins
Anarky’s side mission works in two phases. You, firstly, have to find an Anarchist to reveal the location of a bomb, and then rush over there to disarm it before the timer reaches zero. Each location will have several Anarky supporters defending the bomb, so you also need to take care of them as quickly as possible.
Anarky bomb location #1
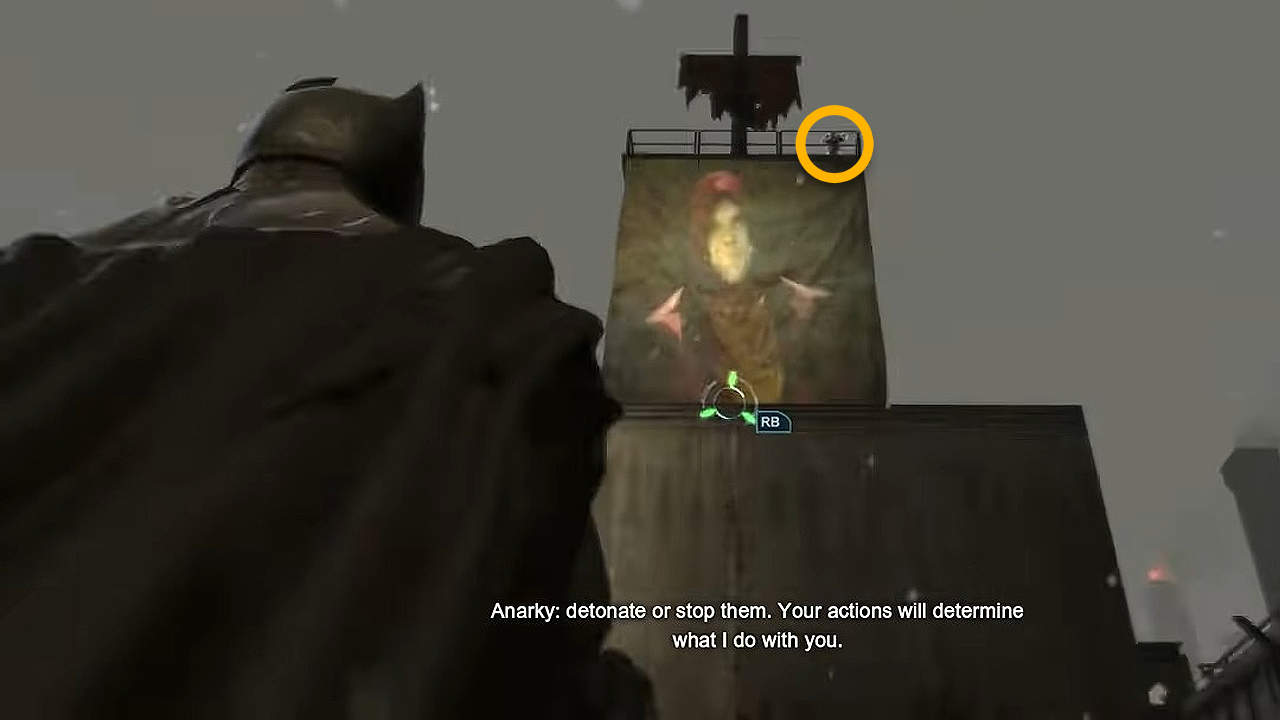
Once the message is over, grapple to the balcony above the projection screen to interrogate the first Anarky supporter. He will reveal the location of the first bomb. This will start your timer. You will have around 3 minutes to get to the location marked on your map, which is a building in the southern part of the Bowery district.
Once there, start taking down all the enemies. We recommend starting the fight with a glide takedown. That will take out one enemy from the get-go. You can also use Smoke Pellets for silent takedowns. Disarm the bomb after the area is clear.
Anarky bomb location #2
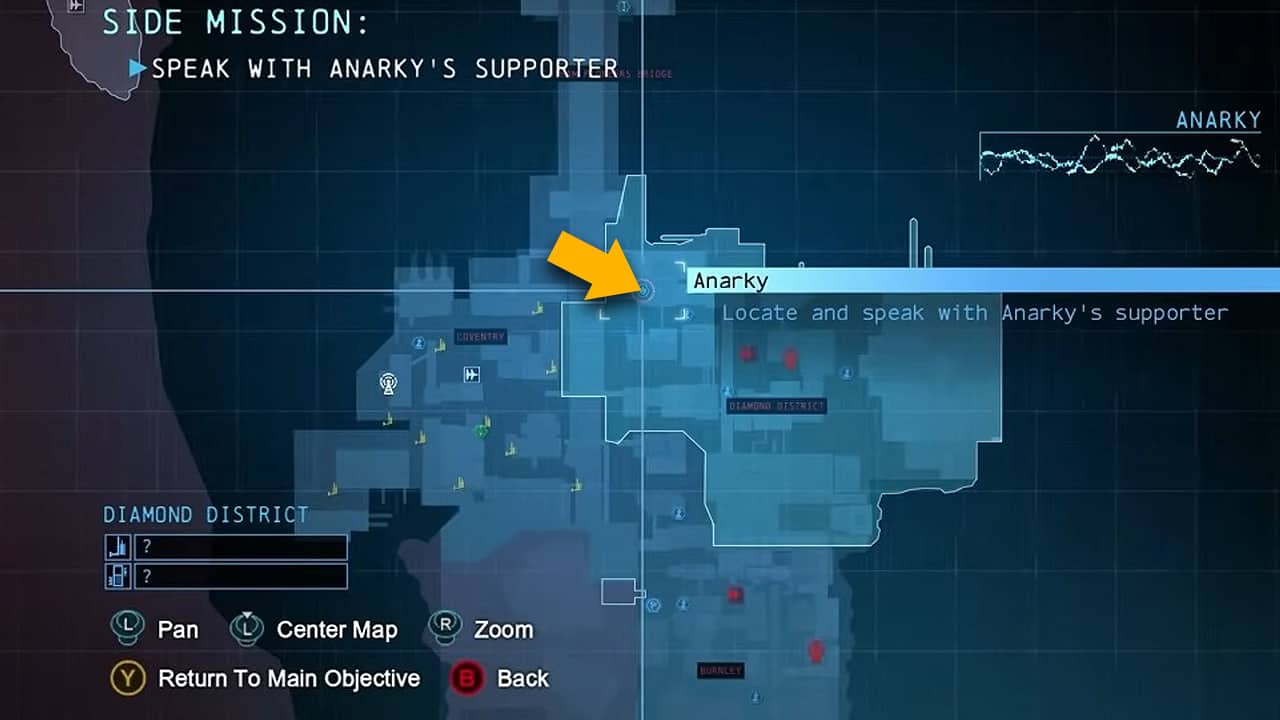
A quick reminder that since this is an optional mission, you can complete the story campaign before returning to disarm the second bomb. When you are ready, make your way northwest in the Diamond District to find the second Anarky supporter. He will be on the balcony of the building with the “Soder Cola” neon sign.
The Anarchist will reveal the second bomb to be in the Amusement Mile, which is an entirely different district. You will have around 3:50 minutes to reach the bomb. Follow your map waypoint and launch yourself into the air as much as possible to gain speed.
When you reach the location, beat up all of the Anarky supporters and disarm the bomb. If you are playing on hard difficulty, make sure to use your counterattacks. Do not just start punching them because of the timer. You can lose a lot of precious seconds after getting caught in their attacks.
Anarky bomb location #3
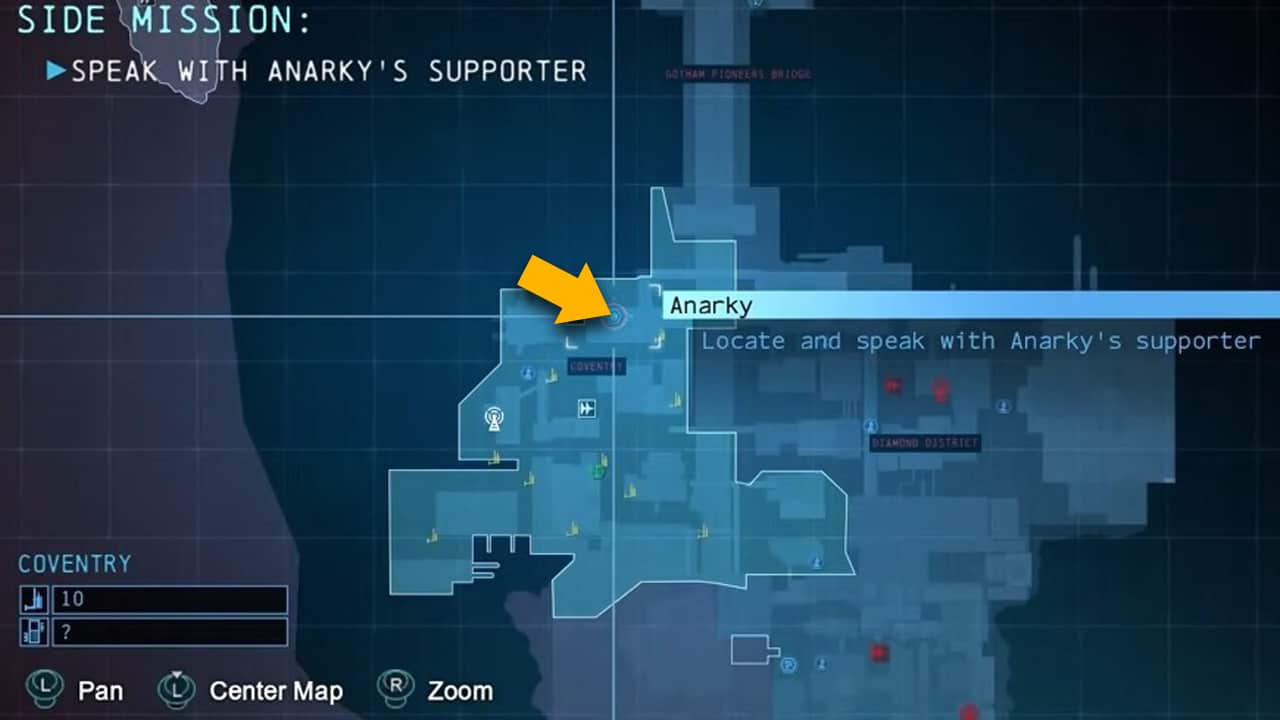
To get the location of the last bomb, you need to head to the northern part of Coventry. Head towards the Gotham Pioneer’s Bridge and turn left before its starting pillar. Keep gliding straight past the Anarky flag and you will come across the Anarchist on a walkway on the side of the building.
The third bomb is located in Burnley and you will only have 2:40 minutes to get to it. Like before, use every grapple point to launch yourself into the air and reach the bomb to disarm it before the timer runs out.
Once you have disarmed all three bombs, you will be able to finally confront Anarky in a boss fight. He is using an Abandoned Courthouse in the Park Row district as his hideout. Follow the waypoint on your map to reach the location and enter the courthouse from the back door.
The Anarky boss fight consists of three phases. You will be fighting his henchmen in the first phase. In the second, Anarky will start throwing explosives at you.
He will finally enter the ring in the third phase with an electric baton, so avoid pulling him with your Batclaw. You just need to either stun him with your cape or attack him from behind.