If you’ve been a Yuffie fan like all of us, you’re in for a treat. The second chapter of INTERmission DLC has Yuffie alongside Sonon combat Scarlet. She is a boss that you’ll be encountering in the second chapter. In this Final Fantasy 7 Remake Intergrade Covert Ops guide, we’ll be giving you a detailed walkthrough of this part of the game.
It’s been a little over a year since the launch of Final Fantasy 7’s Remake on PlayStation 4 and now, an upgraded version of the game is already available on PlayStation 5. The upgraded version serves all your excitements as it comes with some epic visual graphics and a brand new DLC episode exclusive to PS5 featuring none other than your favorite character Yuffie!
Final Fantasy 7 Remake Intergrade Covert Ops
In this Final Fantasy 7 Remake Intergrade guide, we’ll walk you through the objectives of the Covert Ops chapter of the INTERmission DLC, tasks, and tactics to overcome the obstacles and successfully infiltrate Shinra and combat Scarlet in her Crimson Mare. The Episode Intermission is an exciting new addition to this re-release of the game.
Let’s go through the exciting Chapter 2 of FF7 Remake Episode Intermission.
B16 – Advanced Weaponry: Inspection
After the cut scene triggers and Scarlet tricks you into the wrong path, go straight through the two glass doors and then head left. Here you will find a vending machine labeled as ‘Energy Drink Potion’. Now you would think of it as a regular vending machine but that is not the case, it is actually a mini-store where you can buy new equipment or restock items.
Now head straight from the vending machine and make a couple of lefts till you find the metal doors that lead you into the big inspection area.
As soon as you’ve entered the area, go into the center and start obtaining the items from the upper platforms by pressing your triangle key. As you’re doing that, don’t get spooked by Scarlet’s hologram. Instead, take that as a heads-up for all the enemies she will be sending in your way.
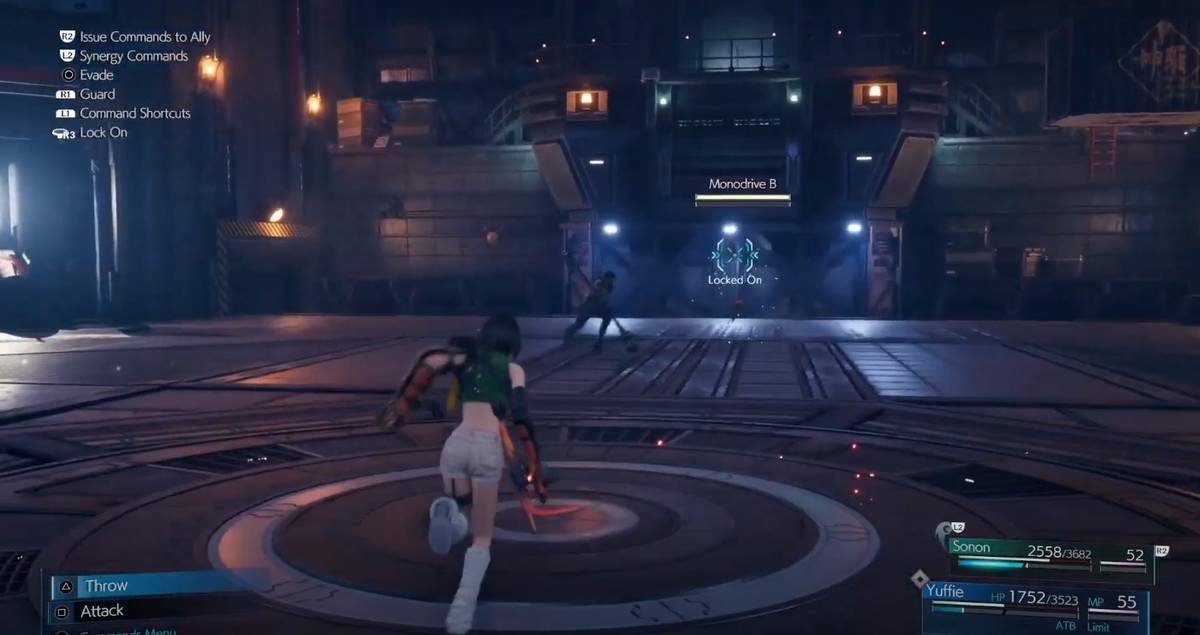
You will be fighting Slug-Rays, Monodrives, Sweepers, and Shock Rays. Don’t get too overwhelmed though and instead start strategizing the attacks by using different tactical modes and attacks to kill each of them.
After you have defeated all the enemies, a hologram of Scarlet will appear once again appreciating you but as Yuffie said, she will be a pain to manage.
Take no surprise at how evil Scarlet is and make your way towards the cargo hanging by the ceiling. Hit it and make it fall to unveil the red-colored ladder hidden behind it. Sanon will bend down and help you go up and as you’re up, press the red button alongside the ladder to help Sanon get up too.
As both of you are up, you’ll notice a hallway that you’ll need to enter. Upon entering, a cut scene will be triggered. Now go straight and obtain an item sitting in the crate and make your way through the big metal doors.
B15 – Advanced Weaponry: Production
Yes, this place is huge and mesmerizing! But don’t get too lost and prepare to battle the Shock Troopers. Do what you’re good at and wipe them out with the help of Sanon.
After the short battle, go to the power source and observe it. While you’re there, you’ll find two crates that are located on the far west and north of each other. Hit them to obtain the items. Now make your way to the north and go up to a higher platform to observe the power grid monitors.
Now in the same location, start interacting with the huge power source and then go around the green illuminating monitors to obtain Ninja Cannonball, Skill Master, and Steadfast.
After acquiring the items, make your way to the elevator and interact with its switch. Don’t hang around there for too long because it won’t move regardless of how much you examine it. Instead, as Yuffie said, find another way.
Head towards the power grid monitor and jump to the large pipe. And yes, Yuffie isn’t holding back. Use the steel grids to climb up and go towards the northeast. Cross the large pipe and jump to the platform.
B14 – Advanced Weaponry: Maintenance
As you’re up on the platform, head southeast. Hit the crate as usual and obtain the item. Now go back and head to the far end of the platform to hit a crate again and examine a treasure box to obtain Volant Armlet. Now go back to the southwest platform and go through the entrance.
Go straight until you find stairs on the left and open a treasure box once again. From there, make your way to the west and go through the giant metal doors that will reveal a big factory.
Heads-up! An intense fight is about to start. The two 3-c SOLDIER operators are here to give you a challenge so prepare yourself with Sanon and take down these bad boys. After the fight, grab items from the crate and move forward to the platforms.
Head to suspended platforms at the northwest and then make your way to the west end. When you’re there go to your north and go down from stairs. You’ll notice a yellow hook here, grab it and reach the platform on the other side.
As you’re there, an elevator will come down with a challenge. Yes, none other than a giant enemy named Armored Magitrooper. He’ll be firing lasers at you so be sure to not get too close and use a mix of attacks and tactile modes to take him down.
After taking down the big boy, celebrate your achievement and head to the door at left. Here you’ll find a treasure box that obtains Djinn Staff for Sonon. As you’re going back, look at your left and examine the sick power source.
Now go through the unlocked door and then activate the terminal in the next room. Examine the training panel to play Optional Shinra Box Buster. Run the basic training program and score different points depending on the difficulty level.
After you’re done just go back and climb up the grids as you did before and cross through the pipes to get to the platform on the other side.
B13 – Advance Weaponry: Development
Hit the crates while you’re on the platforms and grab the yellow hook to get to the pipe on the other side. Now go to the platform and grab the yellow hook once again on the left. As you’re on the platform, examine the area to obtain an item.
Further, use a metal pole to go back to the B13 Maintenance Area and head to the power grid monitor once again. Go to the grids yet again and climb up. Cross the pipe to get to the platform on your right and a cut scene will be triggered.
Uh oh, it’s a bummer to get lost but having a snack will stimulate the creative juices. Yuffie will notice a new pathway hanging up in the ceiling.
After the cut scene, knock down the beam to get to the area across and go through the door. Here you’ll have to defeat the security guards and Elite Grenardier to proceed further. After you’ve killed them, go in the center path and enter the door you see. A cut scene will be triggered.
Now go to the door located at your south and go to the power source area to examine the power grid to activate it. From there, make your way to the Materua Room and a cut scene will be triggered again.
Heads-up for another battle! You’ll have two enemies coming your way, Armored Magitrooper and Armored Shock. These bad boys will come behind you so be ready and wipe them out.
After you’ve taken them down, enter the doorway after a cut scene and reach to the Testing Grounds, literally.
Testing Grounds
As soon as you enter, hit the crate and obtain the item. We’d recommend you to go to the bench and recover your HP and MP. You can also interact with the vending machine, sadly no drinks just restock.
Now go on and use a shuriken to raise the gates and to go to the elevator. After you get off the elevator you’ll meet with two enemies. Is it even a surprise anymore? Takedown the two sweepers and get to the next platform to combat the two Blast Rays.
They wouldn’t be called the testing grounds if you wouldn’t face several enemies. Go back to the platform and make your way to the next area to combat six Monodrive. After the battle head back to the platform and the next area to it to yet again fight the two Armored Magitroopers.
Phew! Is there a moment to catch a break? Nope. Return to the platform again and combat Deathwheel. Now finally make your way up by the elevator and relax at the bench.
After a little break, go through the hallway and enter the Heavy Weapons Platform Testing.
Heavy Weapons Platform Testing
It’s showtime! You’ll be encountering none other than the boss herself, Scarlet. Scarlet will be present in her Crimson Mare so be ready to pull out your best attacks.
Start firing at her and give her as much damage as possible. Now with the help of your Sentry Launchers and shuriken and spells, double your attack. As you’re having a heated-up battle, Scarlet will pull out her Makocannons on each arm and try to kill you.
A great tip for you is to directly target them and shoot them nonstop. However, things will get wild as she’ll equip herself with claymore and switch to a sword. At this point, you will have to maintain a distance since she has impact over large distances.
Keep attacking and switching up your attacks to take her down. As soon as she’s defeated, you’ll receive the Firebird Armlet. Scarlet on the other hand will reach out to the Deep Ground to inform them about her setback.
Deepground and Combat Simulator Prototype
Make your way to the path and then fight off the soldiers that you’ll encounter.
Take a little break at the bench and then try your luck with the locked door. After this, you’ll have four waves of enemies to combat. The first wave will consist of two unknown entities, the second wave will consist of Zenene enemies, the third wave will consist of two Riot Troopers and one Elite Grenadier and the fourth will consist of Diabolic Creation. After you take them all down, destroy the Projector Device.
Catch a break at the bench and go through the locked door. As you enter the room, go down the track and you’ll encounter Nero. Fight him and trigger the ending cut scenes.