In this Nioh 2 A Song to Calm the Storm walkthrough for the main mission in Tengu’s Disciple DLC, we will go through all that you need to know and to do when you set out to investigate the battlefield of Yashima.
Nioh 2 A Song to Calm the Storm
Make sure you are at level 120 before you start the A Song to Calm the Storm mission in Nioh 2 Tengu’s Disciple DLC.
Starting Shrine
The mission will start with a Kodama shrine nearby; Interact with it. Now, go to the dead-end behind the spawn location to find a corpse so you can loot a Whetstone.
Head towards the slope that will take you to the shore, kill the enemy you find on your right and then go around the stone to find a broken ship. Inside the ship, you can loot a corpse to get a Highest Quality Iron Platelet.
Go straight along the shore to encounter another enemy that has a spear. Deal with the enemy and look behind the rock on your left to loot a corpse. After getting 3x Salt, go straight and kill more soldiers on the left side of the shore.
Go to the broken ship on your right and hit the pillar to use it as a bridge.
Use your bow to kill a soldier on your right and left from afar and loot the nearby corpse on the left to get Tempest Splitstaff.
Go straight and kill the last soldier and then check the left side before the dead-end to loot a body containing a Limitcite Crystal and Saisetsu-Shin’s Sake.
Go right, inside through the ship, kill the Yokai by letting it go to the second floor so you can sneak under the stairs to surprise him.
Deal with Gaki and Lesser Umi Bozu and then loot the nearby corpse to get Medicine Case. After you kill the Kiryoki Yokai, loot it to get Smithing text: Kiryoki’s Switchglaive.
Go up the stairs and then right on the deck, jump onto the plank to loot a corpse and get 1 Glue. Make your way back to the deck.
Turn left and kill the soldier to open a chest on the right. Kick the nearby ladder and use it to go to the first shrine but loot the corpse first to get a Lantern Plant Fruit.
Head down the hallway to find connected broken boats. Push the soldiers in the water to drown them instantly, then go straight and hit the pillar to use it as a bridge. Enter the second ship and sneak behind the soldier to kill him and then go to the deck; talk to the NPC here.
The NPC will give you an Incendiary Longbow Arrow and next to him, you can pick up a bow too.
Use the arrow to ignite the fused boxes in front of you and then head down the stairs to kill the soldier and a warrior monk. Finally, go outside the ship using the right side.
There will be a split path here, but go right first to grab the chest at the end and then go back to go left to reach another ship’s deck.
Deal with the Bakegani Yokai by avoiding his paralyzing bubbles and his fast-charging attacks. Explore the ship to loot the chests and kill the enemies. Finally, go east from the Bakegani location.
Go straight so you find yourself on the deck of a cargo ship. Find an opening that will take you inside, kill the Gaki here on the left and then go around the corner on the right to find a Scampuss.
You can pet the Scampuss and then kill the Gaki. A Nure Onna will be waiting for you, so use your arrow and bow to kill it too. Climb the ladder to reach the deck again
On the deck, you will encounter two Yokais Ubume and Aberrant Soldier; kill them both and loot the area. Follow the pathway to your left from the wreckage to kill another Aberrant Soldier.
Go straight and kill Bakegani and Lesser Umi- Bozu on the way.
Walk onto the fallen pillar to go across the section where you will see a Yokai mist blocking your path. This path is guarded by Kiryiki, which you can kill to obtain Kiryoki Soul core.
Shrine on the Shore
Head towards the shore and interact with the nearby shrine. Follow the marker which will take you to the main objective, on the way, deal with the enemies and loot them.
In the main area, go right of the objective marker to find a Spa and look behind the curtains to encounter and kill a small and large Bakegani Yokai.
Find the dead body left of a supply crate and loot it to find Saigyo’s Poem I.
Now go straight and kill the Rokurokubu soldier, aim for his head so his true form appears. From the campsite, cross the bridge that leads to the second shrine. Now go back to the marked objective.
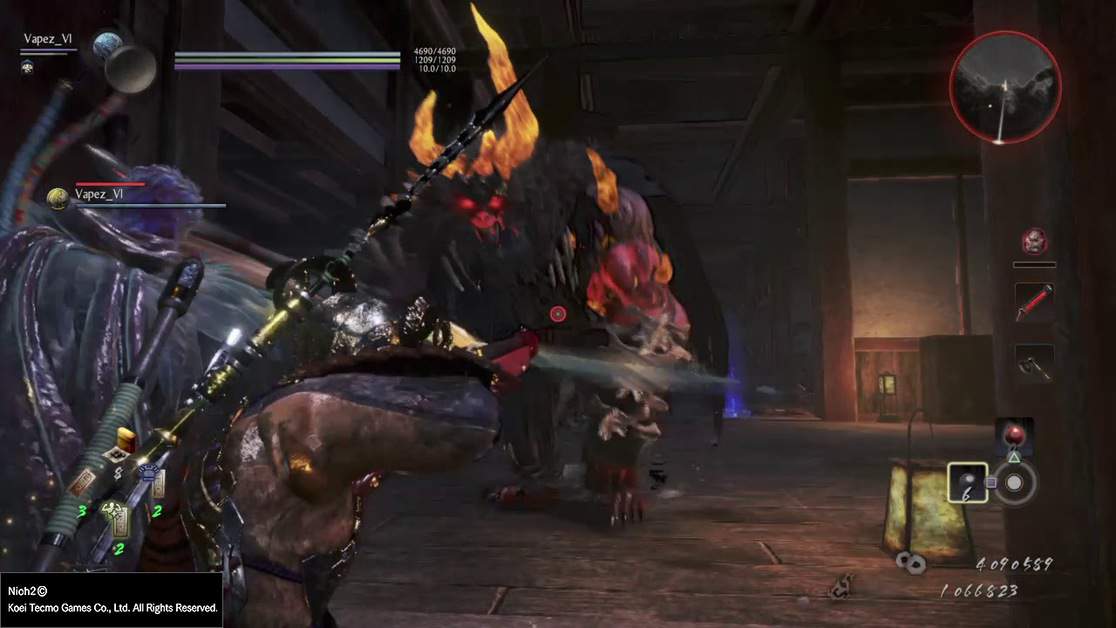
Boss Fight: Benkei
The Mysterious Warrior Monk, AKA Benkei, has an impressive arsenal of weapons and can be quite the challenging boss fight. Check out our Benkei boss fight guide if you’re having trouble beating this foe.
Benkei Shrine
After dealing with Benkei, pray at the shrine to activate it as a checkpoint. The door nearby is locked, so go to the left side instead and defeat the large Bakegani and Aberrant Soldier here.
Go inside the guarded area and defeat the Skeleton Warrior here, who will drip a Sacred Ash. Climb the ladder to reach the upper deck.
There will be two sheds, the right one being guarded by two Yokai and the left one with the corpse. Explore both and do your loot.
Go towards the second fleet into the dark realm now. In the supply room of the fleet, you will find a Kiryoki which is the source of the realm. The supply room is on the east side. Kill the source and dispel the realm, then loot the chest to find Ninja Locks.
Go outside the room and on the right to find a bow, which you use to shoot the incendiary arrow you found with the chest above. Walk on the planks to reach the highest deck to find a Sudama here where you can exchange items.
Go back to the main deck, burn the haystack using your bow, go to the cabin section of the ship and kill the three Yokai’s here.
Loot the area well as these monsters already slain creatures here. Go to the outer section to encounter a Kiryoki and an Aberrant Soldier. Obtain the Scampuss here and make your way to the shore.
Kill the Rokurokubi soldier here and go straight so you can defeat the Yokai blocking the way with his mist.
Defeat the large Bakegani and enter the building to turn right. Go to the inner sections, kill all the soldiers and reach the easy exit of the building. Benkei will leave your side so you will be on your own.
Finally, defeat the enemies roaming outside to access the next area, the second dark realm.
Head straight into the dark realm to find the source. Shoot an arrow to deal damage to the Yokai you find here and to lure him out so you can finish him off. Go into the realm to find a room on your left filled with enemies that you must finish,
The Small Bakegani holds the source, so make sure you lure it in to kill it. You can now loot the large chest behind the large Bagekani too.
You can allow pick up another Incendiary Longbow Arrow here. Beside the arrow, find a talisman attached to the wall, remove it and go inside the secret room.
Outside the room, go straight to find a path that leads to the fourth shrine and your final boss, which you need to defeat.
Boss Battle: Uminyudo
Players who have faced Umi-bozu back in Nioh 1 will already know how annoying this boss can be as it’s quite similar. But Uminyudo is also different in many ways, and defeating it can be quite a challenge. For help with this boss, check out our Uminyudo boss guide.
As the boss dies, the quest finishes and you can pick up Uminyudo’s soul core. You will also receive a new Guardian Spirit, The Kurama Tengu.