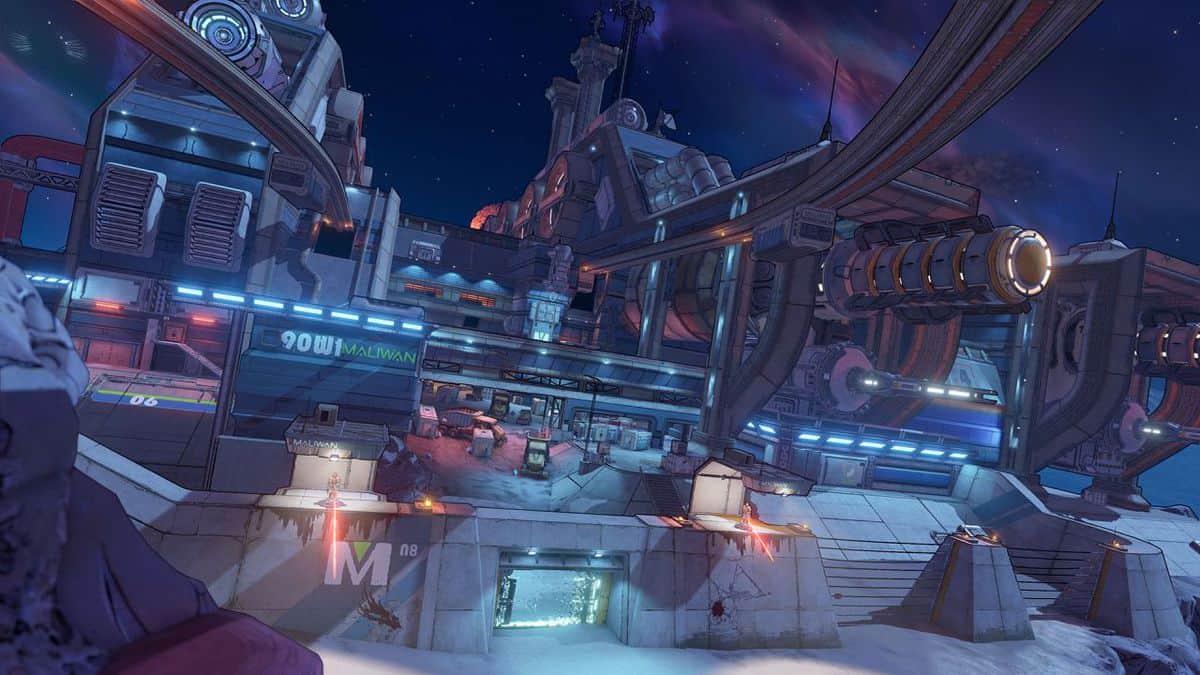
As of right now, Takedown at Maliwan is, hands down, the most challenging content of Borderlands 3. It is an extremely difficult challenge, designed for a full team of 4 maxed-out Vault Hunter. This guide contains every single piece of information you need to know about the Borderlands 3 Takedown at Maliwan Raid.
Borderlands 3 Takedown at Maliwan Raid
The Takedown at Maliwan raid requires a lot of patience, strategy, and team coordination, but it is very generous with its rewards in the end; making your efforts totally worth it.
Before we get into the Takedown, let’s start with our recommended raid loadout.
Best Class
The best class for this Takedown has to be Fl4k. Fl4k is absolutely necessary here because Wotan the Invincible (the final boss) is very hard to crit; Fl4k will easily land crits on Wotan, shortening the length of the boss fight by a significant amount.
Best Weapons
The following are the most useful weapons for this Takedown.
- A super high damage revolver, like Maggie or the Masher works really well in this Takedown. It will help you easily kill off all the annoying lower level enemies.
- Since there are a ton of yellow bar enemies in this takedown, a Corrosive Shotguns, like the Fear Monger is a great weapon to have. It will tear through all the yellow bar enemies.
- The most crucial weapon for this Takedown is a shock weapon, as most of the enemies you’ll face will be shielded. The best Shock weapon to use is either the Shock Shredifer or Shock Dictator. Both of these weapons have insanely high damage output.
- Another important weapon to take with you is the Brainstormer. The Brainstormer has the ability to tether a bunch of enemies together, so you can deal damage to them at the same time. This will help you a lot when the enemies group up together.
Best Shield
The Transformer Shield is easily the best shield to use for this Takedown as it makes you completely invulnerable to shock damage, which a lot of enemies will be dishing out.
How to Start the Maliwan Takedown
To start the Borderlands 3 Takedown at Maliwan raid, head to the Sanctuary, and right below Maurice, next to the stairs, you will see a new mission from Lorelei. Accept this mission and travel to the bridge to use the console to get to the new location.
Once you arrive there, make sure to use all the vendors to completely fill up the ammo for all your weapons. Now, make your way into the Maliwan Facility.
First Area
The first area is quite straight-forward. The enemies here are very simple and relatively easy to kill. This area serves as a warmup for the rest of the Takedown.
Second Area
After you clear the first area, go up the ramp to get to the next area. The enemies here will be much more difficult. This is where the Takedown actually starts to get a bit tough.
Here, you will have to face the new Stealth enemies, which are invisible. You must play this area very carefully and strategically.
You have to take it slow; rushing through the enemies just won’t work here. Try and take out the enemies one by one. So, make use of the revolver you brought with you.
The Kraken
Once you defeat the enemies and make your way to the entrance, you will encounter the Kraken, which is the first unique enemy of this Takedown.
The Kraken is affected by corrosive damage, so bust out the Corrosive Shotgun you brought with you and look for the right opportunities to get a hit in.
Once its health bar drops down to 50%, it will surround itself in a rotating shield. This shield has a little gap in it.
Pull out your Shock Weapon and shoot through the gap until the shield is disabled, then use your Corrosive Shotgun to deal damage.
The Valkyrie Squad
After defeating the Kraken, go through the entrance and defeat the enemies on your way to get to the vendors.
Stock up on ammo here and get ready for the first boss fight. The boss you will have to fight here is the ‘Valkyrie Squad’.
Before we even talk about the Valkyrie Squad, one thing you have to keep in mind is that the platform where you will fight them has ledges.
If you fall down a ledge, you will be out of the fight. Try and be fully aware of where you’re stepping.
The Valkyrie Squad is not that hard to take down, as long as you use the correct strategy. Despite their large damage output, their attacks are quite easy to dodge.
There are three individual Valkyries, but you have to focus on a single Valkyrie at a time to efficiently defeat the whole squad.
Use your Shock Weapon to take the shield down a single Valkyrie. This will make it enter an immunity phase, which will make the entire squad leave the fight and head up top.
When they go up, a ton of lower-level enemies will start to spawn next to you. It is really not a good idea to avoid them, as they will quickly pile up and overwhelm you. Take them all out as fast as you can.
After some time, one of the Valkyries will come back down. Continue to shoot it until its health bar drops and it goes immune again and leaves.
Repeat this process until you kill off the Valkyrie, then move on to the other one.
The Valkyries have the chance to drop the following legendary items:
- Crader’s EM-P5
- Snowshoe
- Improved Re-Charge Berner
- Red Card Recharger
First Checkpoint
After defeating the Valkyrie Squad, make your way to the next area which has the first checkpoint of the Takedown. This means that if you die, you will start again from halfway, instead of from the very beginning. This checkpoint will lead you to the bridge which takes you to Wotan the Invincible.
This bridge has a lot of super-strong enemies. Just keep in mind that you have to take this battle really slow.
Be careful and calculated. The Maliwan Takedown is simply not designed to be done in an aggressive and fast-paced manner.
The enemies on this bridge aren’t really anything special; they’re what you have faced before, just significantly more powerful. If you play it strategically, you shouldn’t really have much trouble clearing the bridge.
Wotan the Invincible
After clearing the bridge, make your way to the next area and use the vendors to fill up on ammo, then drop down the hole at the very end of the hallway to come face to face with Wotan the Invincible – the final boss of the Maliwan Takedown.
Wotan the Invincible is a huge mechanical beast, with an almost impenetrable shield. Wotan is an insanely hard boss to beat; you can’t expect to take him down in 5 minutes.
Also, it is pretty much impossible to beat Wotan solo. You need at least one more skilled player with you to take him down.
This fight will have four different phases to it. The first three phases pretty much revolve around taking down it shield and health, and the final phase is about finally killing Wotan off.
First Phase
At the start of the fight, Wotan will be completely covered in his shield. You’ll have to melt down his shield and then once you deal a certain amount of damage to him, the next phase of the fight will start.
The best way to deal damage to Wotan in the first phase of the fight is to shoot through the gaps in his shield, which are right at his feet.
The gaps are quite big, so just unload your ammo through here whenever you get the chance.
Another way to deal damage is to use your Shock Weapons to bring down his shield, and as soon as it goes down, pull out your Corrosive Weapon and deal as much damage as you can.
While the shields are down, aim at the glowing box on his back; it is his weak spot.
One thing to keep in mind is that as soon as Wotan’s arms start to glow red, TAKE COVER.
Wotan can easily one-shot you or your teammate, even if you are fully decked out in gear.
Wotan will only perform two distinct moves in this fight – the Missile Barrage and Laser Shots.
With Missile Barrage, Wotan shoots out multiple missiles that go after the target.
And with Laser Shots, Wotan shoots out a bunch of lasers at the target.
There will be indicators on the floor that will let you know where the missiles are about to land, so it is somewhat easy to dodge them if your movement is on point.
These are the two main moves Wotan will perform throughout the fight, in all the phases. Try and learn how to dodge them from early on.
Second Phase
When the second phase of the raid boss fight starts, Wotan will cover himself in a rotating shield which has a vertical gap in it.
Once you bring the shield down by shooting through the gap, Wotan will start to hop around the battlefield.
In this phase, you will have to face the Valkyries again. Wotan will summon quite a few of them, so you have to take care of them or they’ll overpower you.
Try and get rid of the Valkyries as they come, and you have to pretty much do the same thing you did in the previous phase, to complete this one.
Third Phase
When Wotan enters his third phase, he will cover himself in two separate shields; meaning that you will have to take both shields down individually.
One thing you must know is that you can actually go through the outer shield without taking any damage.
If you break the outer shield, the opening in the inner shield will shrink, leaving just a tiny opening at the top of the shield.
When this happens, you can make use of the pillars in the arena to get the high ground and shoot at the opening at the top of the shield.
Kraken and Thor robots will also spawn while the outer shield is down. Again, don’t let them pile up.
Fourth Phase
In the final phase of the fight, Wotan will split into two separate machines.
To fully defeat him, you’ll have to take down both his upper and lower bodies.
The upper body will be much harder to face than the lower one, since it will fly around and shoot lasers at you and your team.
Try and take the upper body down first, then focus on the lower body. The lower body has its own shield which you’ll have to take down with a Shock Weapon before you can hurt it.
Wotan will get even more aggressive in this phase of the fight. He will shoot a lot more rockets, so keep moving throughout the fight.
If you stop for even a second, you might get clipped with a rocket and all your efforts will go to waste.
Wotan will also throw some energy orbs at you, just run between the orbs to avoid them.
And that’s it. Once you finally kill of Wotan the Invincible, you will have beaten the Takedown at Maliwan’s Raid. Wotan has the chance to drop the following legendary items.
Kyb’s Worth (SMG), Moonfire (Pistol), Tiggs’ Boom (Shotgun), Redistributor (SMG), Version 0.m (Shield), Meditative Spiritual Driver (Amara Class Mod), Tallying Tactical R4kk P4k (Fl4k Class Mod), Raging Bear (Moze Class Mod), Shockwave Smashing Antifreeze (Zane Class Mod).
The locations of all the other legendaries which can be found in the Borderlands 3 Takedown at Maliwan raid are as follows.
Juliet’s Dazzle – This assault rifle can be obtained by defeating Aurelia in Eden 6, within the Blackbarrel Cellars.
Good Juju – This assault rifle can be obtained by defeating the Rampage in Promethea, within The Forgotten Basilica.
Vosk’s Death Grip – This shotgun can be obtained by defeating Troy Bolypso in Pandora, within The Great Vault.
Tankman’s Shield – This sniper rifle can be obtained by defeating Captain Traunt within Athenas.
S3RV-80S-EXECUTE + – This legendary SMG can be obtained by defeating General Traunt in Nekrotafeyo, within Desolation’s Edge.
Zheitsev’s Eruption – This assault rifle can be obtained by defeating Mr. Titan in Pandora, within The Slaughter Shaft.
Creeping Death ++ – This legendary shotgun can be obtained by defeating the Mother of Grefeating the Mother of Grogans in Eden 6, within the Anvil.