Bounty Hunting in RDR2 tracks outlaws either by their locations or specific walkthroughs. This hunting begins at the sheriff’s office, where you’d have to catch an outlaw, either dead or alive. The stronger the outlaw you face, the better the rewards. Rockstar doesn’t want you to get bored with Bounty Hunting.
But fear not because this RDR2 Guide will definitely help you find and hunt the various Bounty Hunters, their locations, and how to find them. To bring a target back alive, knock them out or lasso them back to the Sheriff.
Lindsay Woffard
Conditions: To start this bounty hunter mission, complete Chapter 2’s ‘Good, Honest, Snake Oil’.
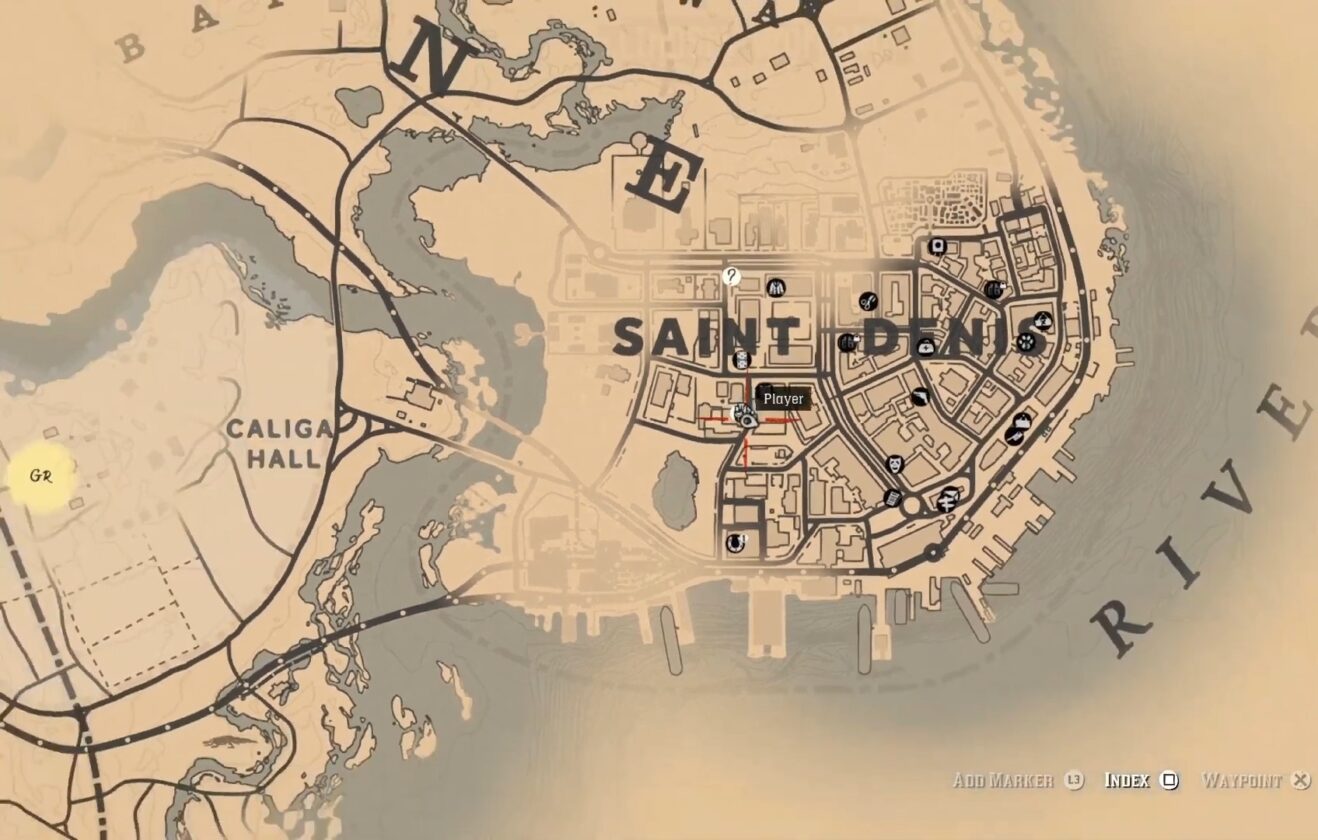
Location: Fort east of Emerald Station, Saint-Denis
Lindsay Woffard is one of the targets as an outlaw. You can turn him in DEAD or ALIVE. Your choice.
The poster for this outlaw can be found at the Saint Denis police station. Once you view the poster of this outlaw, you can find the target to the east of Emerald Station in a well-guarded fort.
There are a lot of enemies here, so be sure to be well equipped for this task. You will be outnumbered.
Ellie Anne Swan
Conditions: Complete Chapter 2’s ‘Good, Honest, Snake Oil’ to start the bounty hunter mission
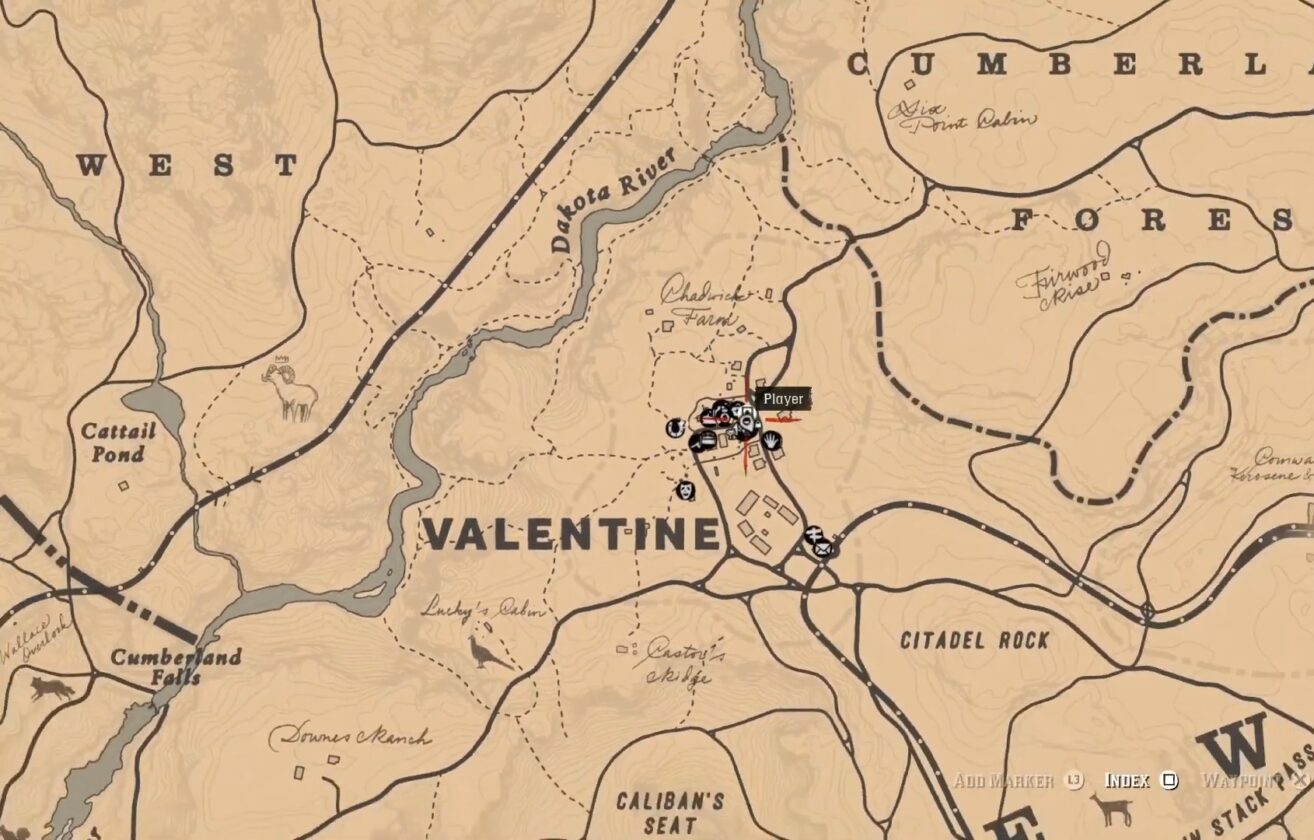
Bounty Location: East of Wallace Station
Ellie is an outlaw in love with her boyfriend but has angered some people. She’s the Yandere type. You need to turn her in ALIVE. Killing her will fail the hunt.
You can find the poster for this lover-outlaw in the area of Valentine in its sheriff station. Take the mission and you can find Ellie slightly east of Wallace Station with her boyfriend.
Deal with her first because she likes her boyfriend a lot, and if you try to hurt her boyfriend, she will attack you with a knife.
Joshua Brown
Conditions: Complete Chapter 2’s ‘Blessed are the Meek?’ and wait until Strawberry is free from the lockdown.
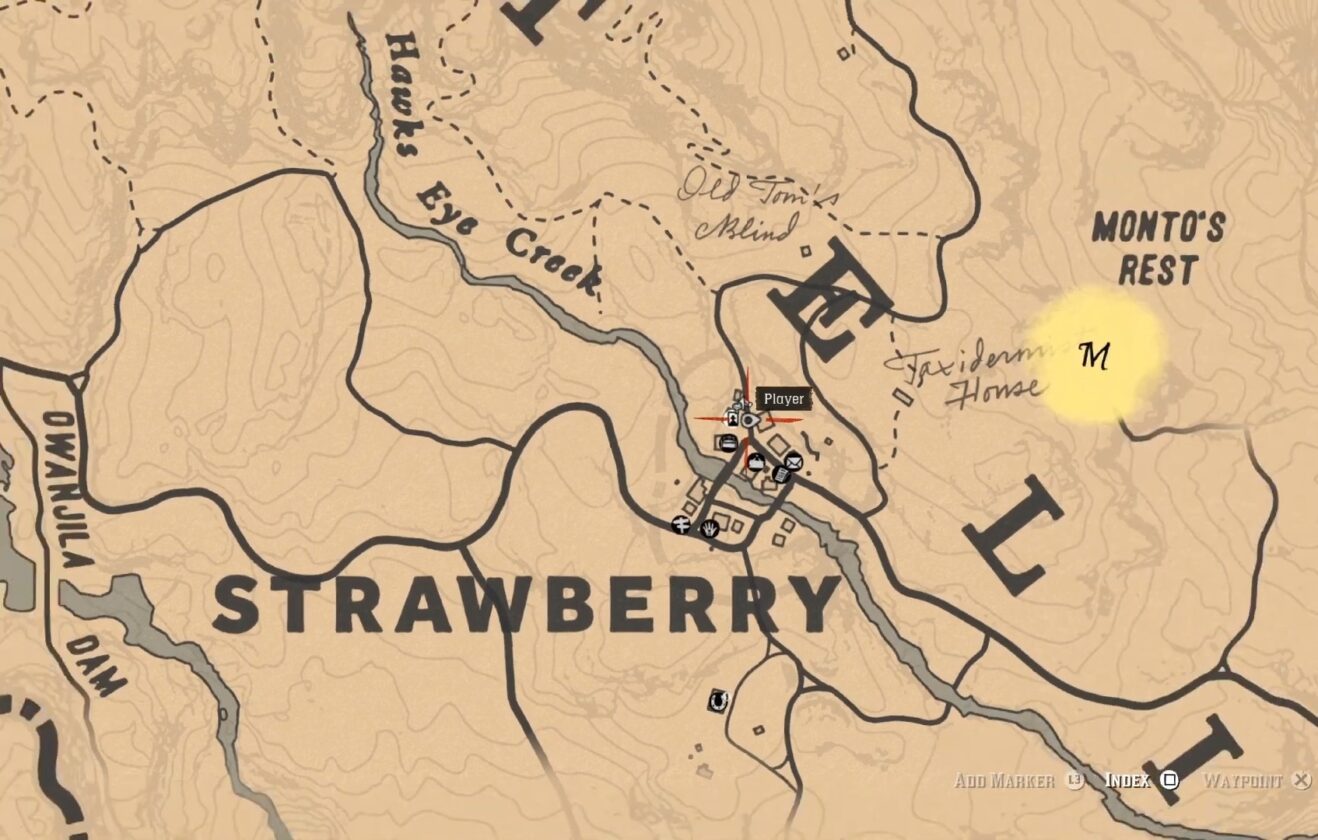
Bounty Location: Abandoned mine northwest of Strawberry.
Joshua Brown is a rather cool outlaw. You need to turn him in ALIVE. Killing him will fail the hunt.
Head to the Strawberry Jail; you will find the poster inside the building. Then, head towards the abandoned mine northwest of Strawberry. You will find a campfire there. Investigate it to trigger a cutscene. This cutscene leads to your target.
Mark Johnson
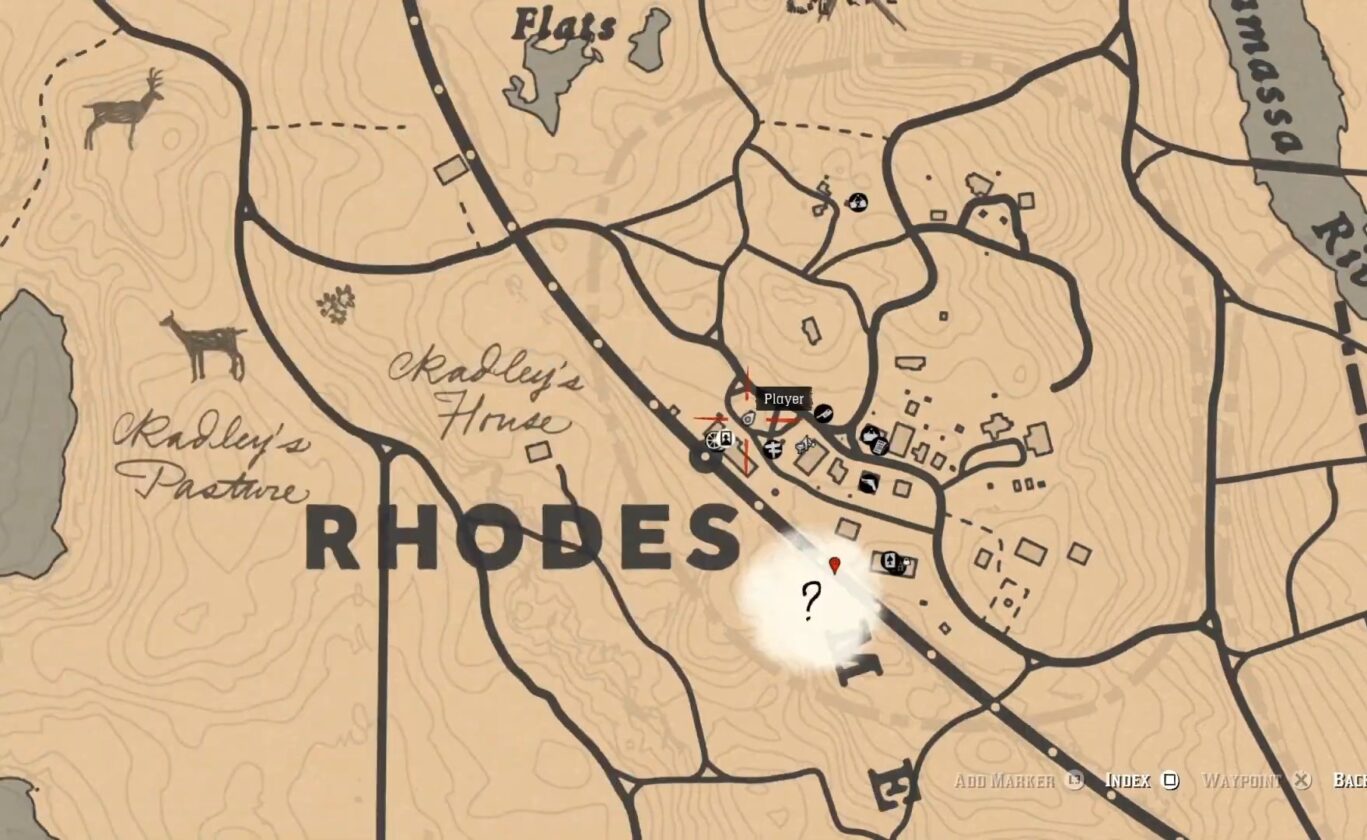
Conditions: Complete Chapter 4’s ‘The Joy of Civilization’.
Bounty Location: Northeast of Rhodes train station
Mark Johnson needs to be brought back ALIVE. Killing him will fail the mission.
Head to the Rhodes train station, and you will find the poster for Mark there. Accept the bounty and look for a camp just northeast of the train station.
Mark will surrender himself on sight. Take him back to the sheriff’s as soon as possible because you might get ambushed soon. During the journey, Mark may break himself free. Use a lasso to tie him when that happens.
Anthony Foreman
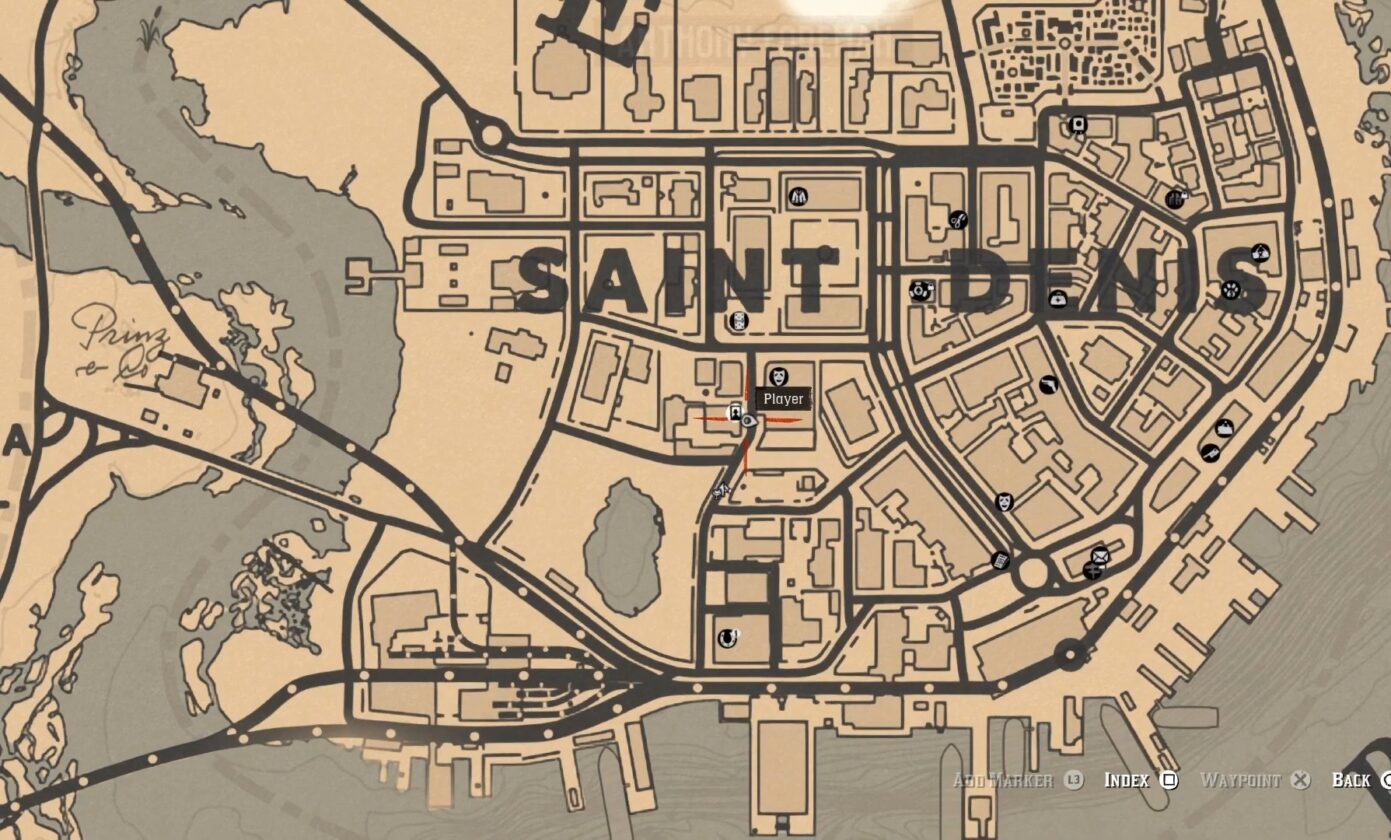
Conditions: Complete Epilogue Part 1’s ‘Gainful Employment.’ It can only be accessible if you did NOT kill Anthony Foreman at the end of Chapter 4’s ‘No, No and Thrice, No.’
Location: In the Doyle’s Tavern, Saint Denis.
Anthony Foreman needs to be brought back ALIVE. Killing him will fail the mission.
You will find the poster inside the Saint Denis police station. Head towards the Doyle’s Tavern and question the bartender up front. The foreman will make a break for it during your conversation.
Chase him down and catch him. You must spare him once again, though, and hogtie him back to the sheriff’s station.
Robbie Laidlaw
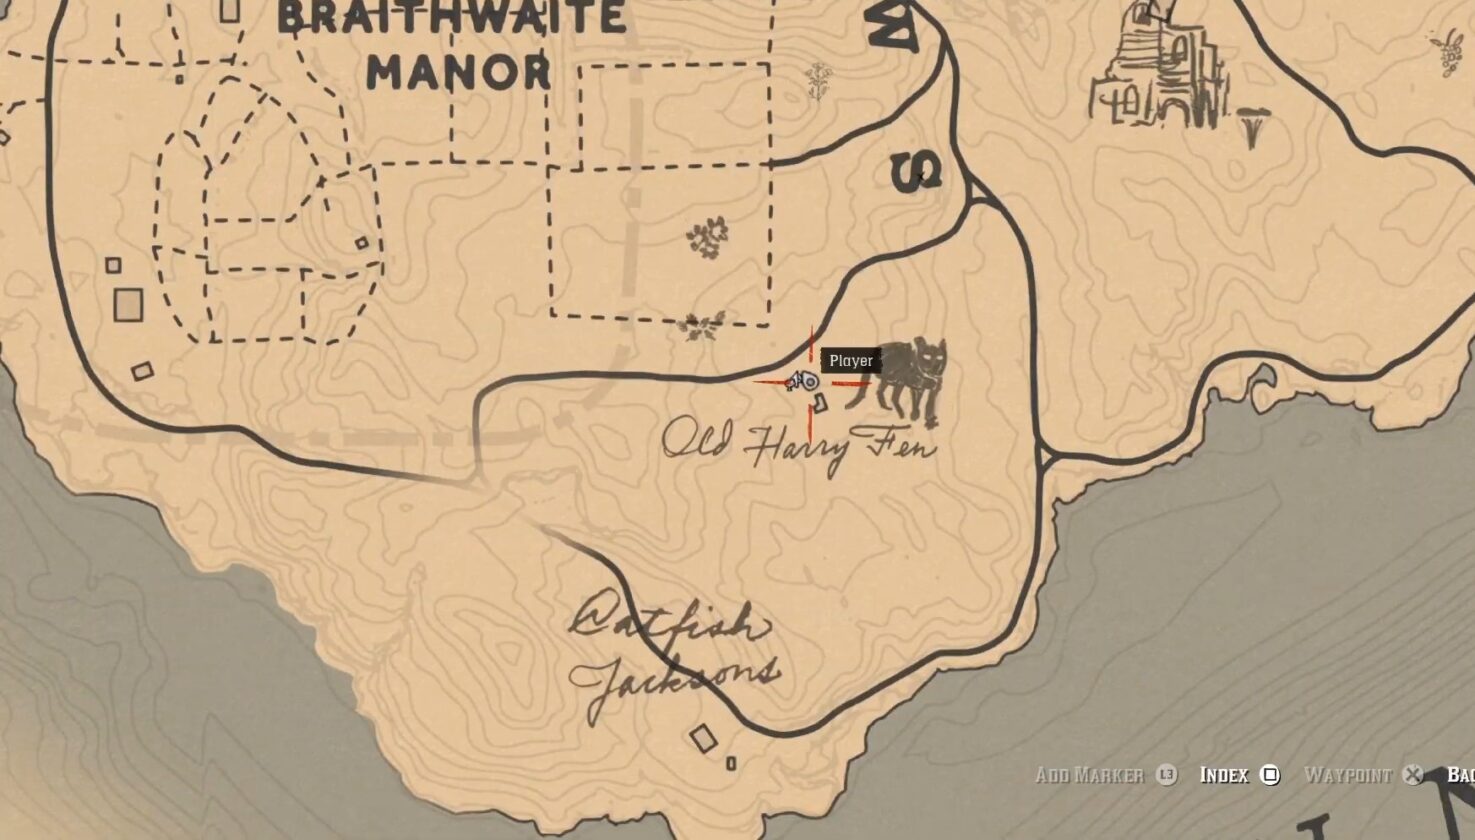
Conditions: Complete Chapter 4’s ‘The Joy of Civilization’ and hunt down ‘Mark Johnson’. Loot the Old Harry Fen shack too.
Location: Cabin southeast of Braithwaite Manor.
Robbie Laidlaw needs to be brought back ALIVE. Killing him will fail the mission.
You will find the poster displayed on a wall at the Rhodes train station, the same as Mark Johnson. Enter the cabin that is en route southeast of Braithwaite Manor.
You will be assaulted as you enter. Robbie will escape seeing this chance. Chase him to the cotton field, northwest edge of the highlighted zone on the map, and capture him.
Otis Skinner
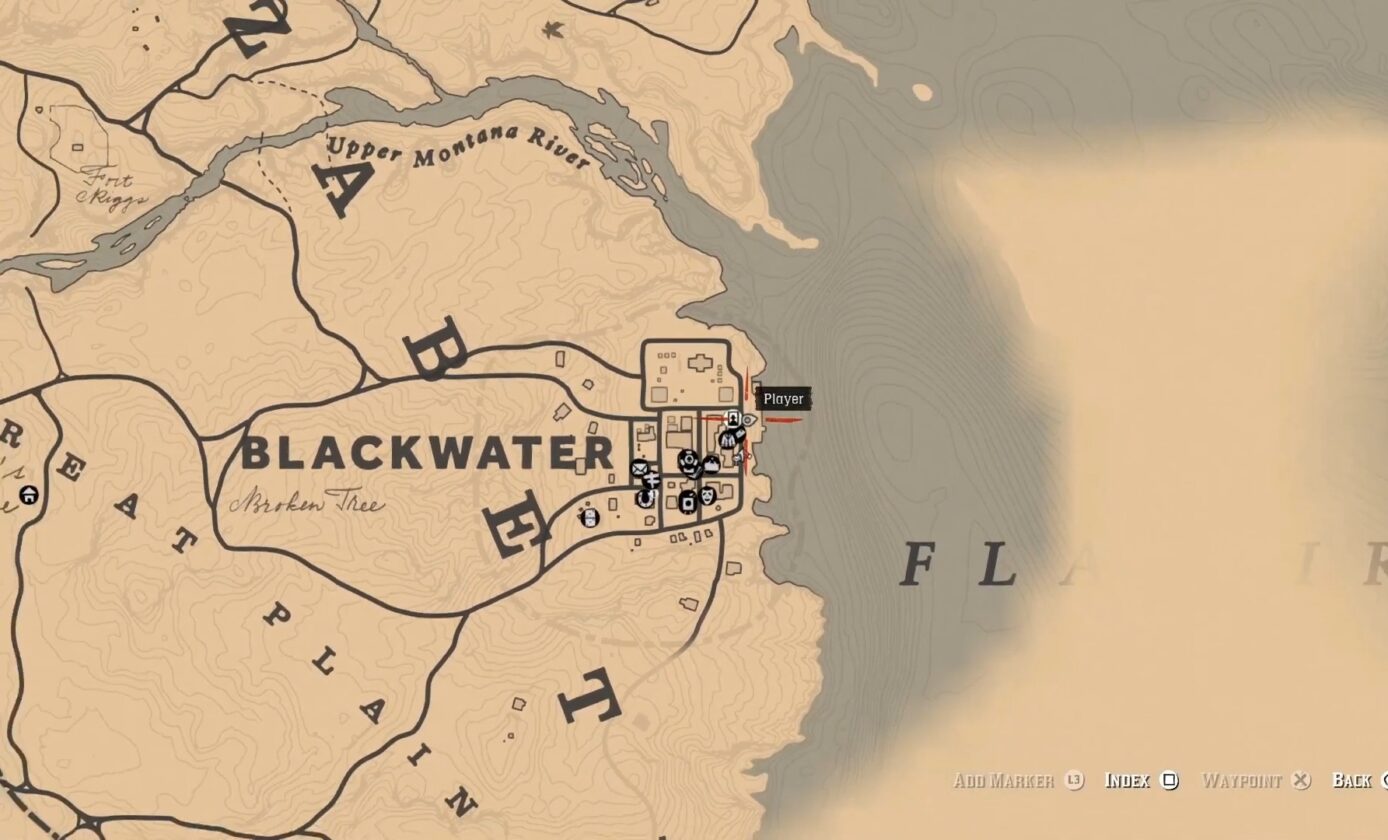
Conditions: Complete Epilogue Part 1’s ‘Gainful Employment’.
Location: Southwest of Manzanita Post, Blackwater.
Otis Skinner is one of the notorious outlaws in the country and can be brought back either Dead or Alive. Your choice. But Alive is always better.
Head to the Blackwater police station and pick up the poster. Ride to the southwest of Manzanita Post, and you will find the Skinner east of you. Otis will be hiding among the Skinners. Keep in mind that Otis is the one with the tall hat.
Elias Green
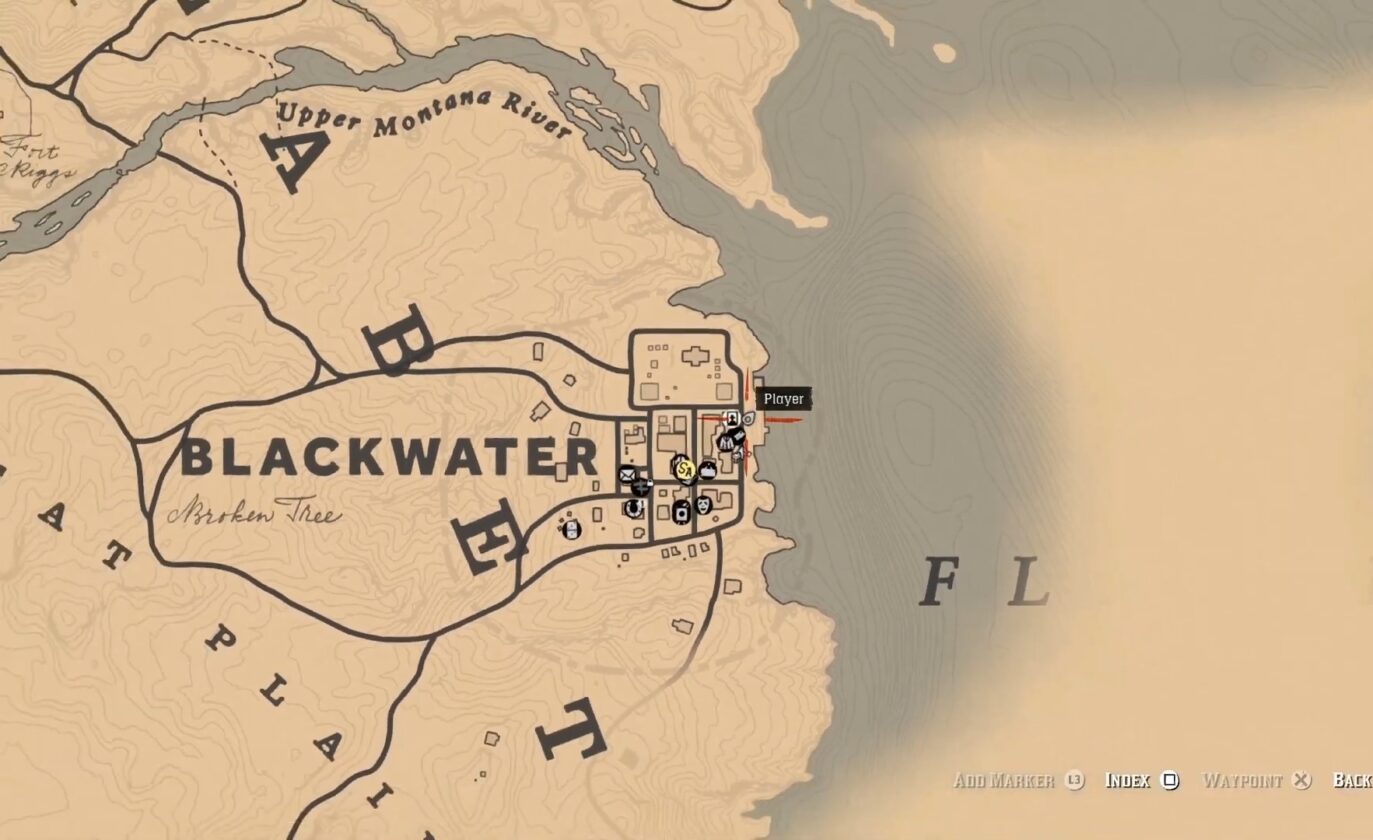
Conditions: Complete Epilogue Part 1’s ‘Gainful Employment’.
Location: West of Beecher’s Hope, Blackwater.
Elias Green is one of the notorious villains in the world and can be brought in either Dead or Alive.
Head to the Blackwater police station and pick up the poster. Ride to the designated area west of Beecher’s Hope. You will have to use Eagle Eye to track your target. He will be deep into the Skinner’s territory to the southwest.
Joaquin Arroyo
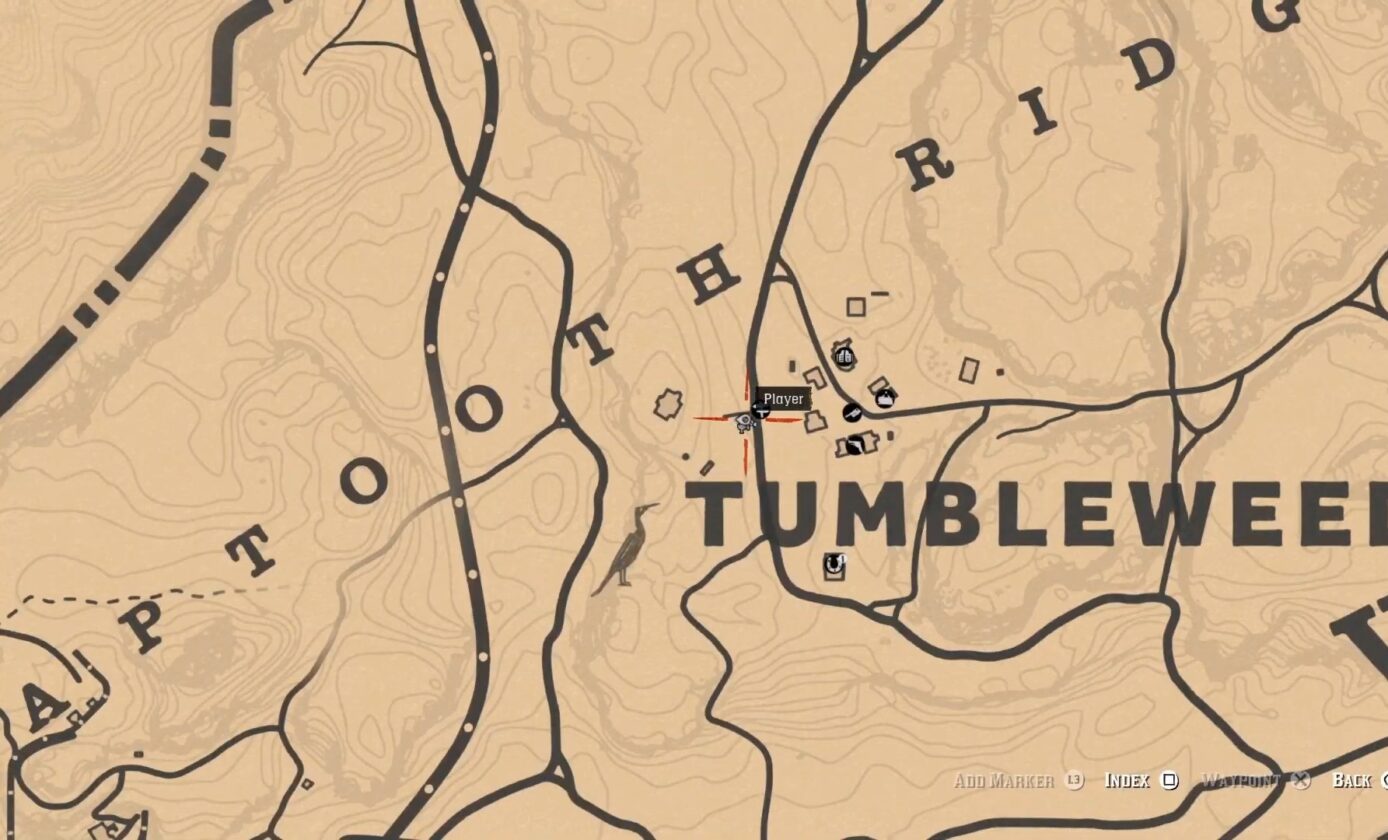
Conditions: Complete Epilogue Part 1’s ‘Gainful Employment’ and witness the ‘Del Lobo Execution’ chance encounter in Tumbleweed.
Location: In a barn directly southwest of Benedict Point, Tumbleweed.
Joaquin Arroyo is an outlaw who wears a red shirt. You must find and capture him ALIVE. Killing him is not allowed.
In the Tumbleweed jail, this poster can be found hanging. Take the challenge and head to the nearest directly southwest of Benedict Point.
Enter the location and eavesdrop on the conversation between two Del Lobos. Follow the objectives, and you will find Joaquin by the railroad with his two pals.
Benedict Allbright
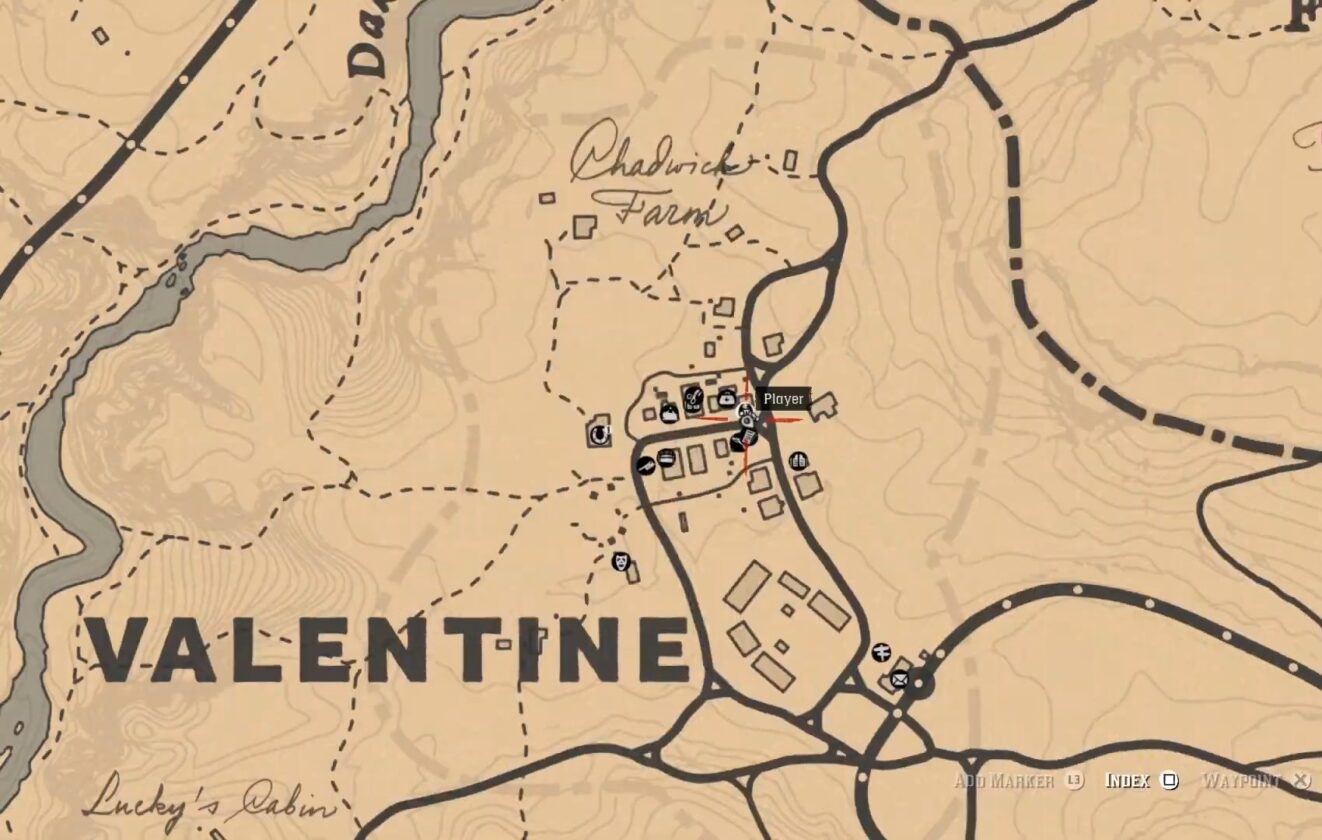
Conditions: Unknown
Location: Near the Dakota River, north of Valentine.
Benedict Allbright is one of the worst outlaws, selling harmful substances tagged as medical supplies.
Read the wanted poster and accept the mission. Head towards the north of Valentine, near the Dakota River. You will find Sir Benedict near the shores of these waters. You must capture him ALIVE, at all costs. Lasso him after knocking him out.
Esteban Cortez
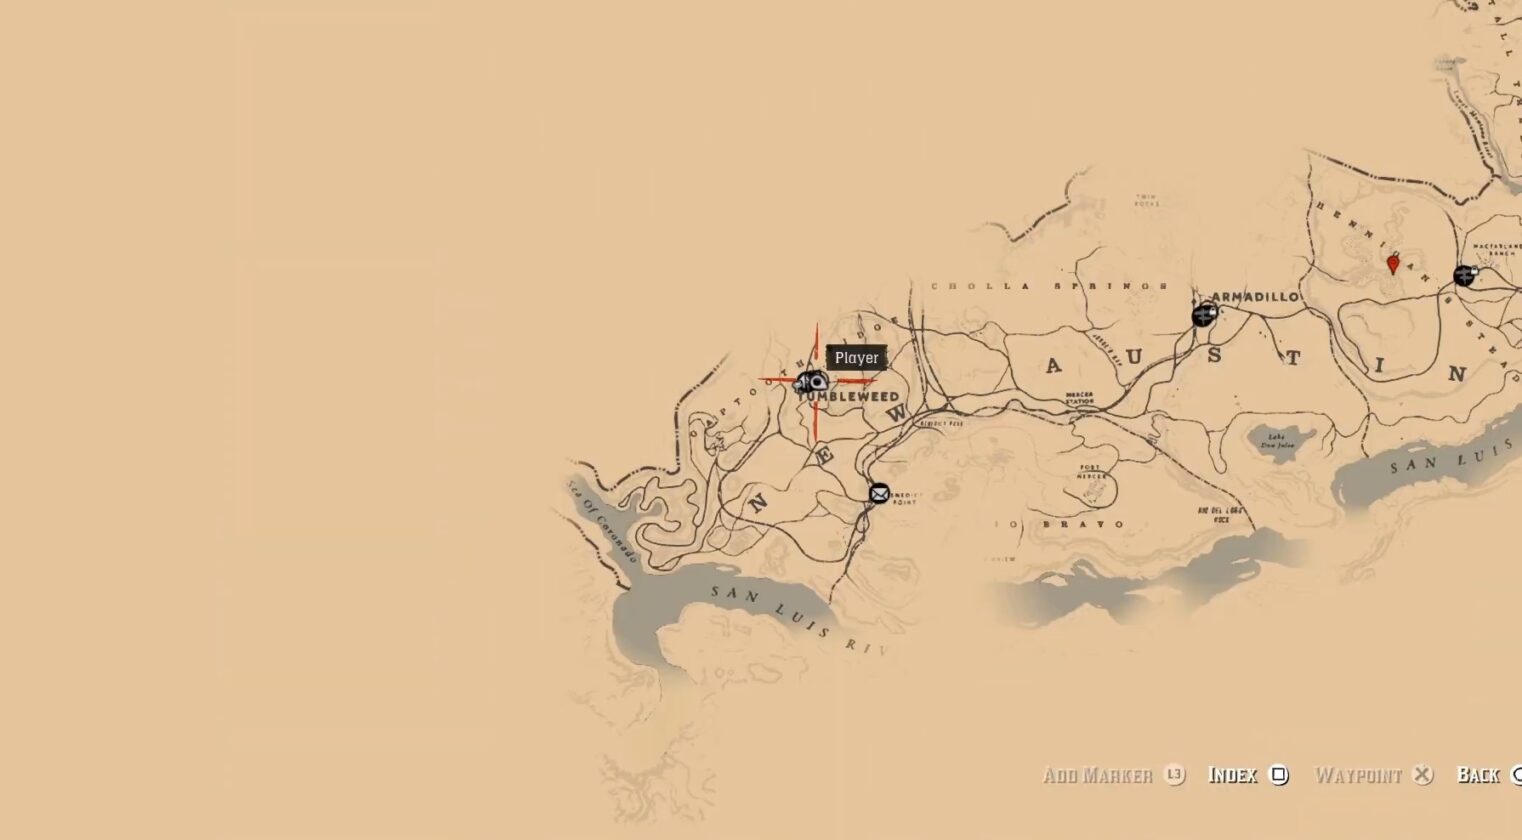
Conditions: Complete Epilogue Part 1’s ‘Gainful Employment’ and witness the ‘Del Lobo Execution’ chance encounter in Tumbleweed.
Location: In a mine southwest of Tumbleweed.
I am pretty sure I have heard this name before. Esteban can be brought back either Dead or Alive. There’s no limit.
Head to the Tumbleweed jail again, and you will find Cortez’s poster. It will lead you back to the mine southwest of Tumbleweed. Head inside, and you will see members of the Del Lobo gang.
Clear the path and head towards the target. Be careful on your way back; you will get ambushed near the entrance again.
Camille de Millemont
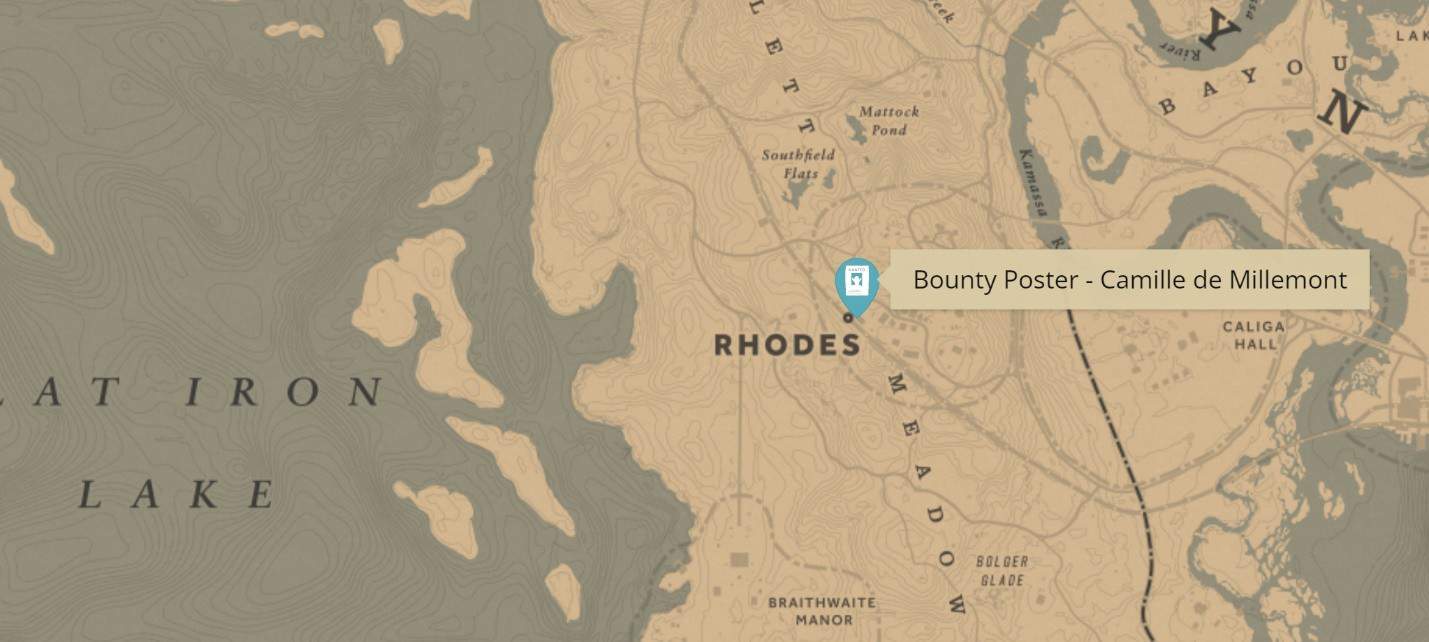
Requirement: Not known
Reward: $55.00
Location: In the campsite at Catfish Jacksons, Rhodes
Dead/Alive: This character can be turned in Dead or Alive
How to Get the Target: Get his poster from Rhodes Sheriff’s Office and head to Catfish Jacksons. Stay hidden in the campsite till three men on horse appear, shoot the two, and capture Camille De Millemont in the middle. Keep your weapon loaded because on the way back, you will be ambushed.
Herman Zizendorf
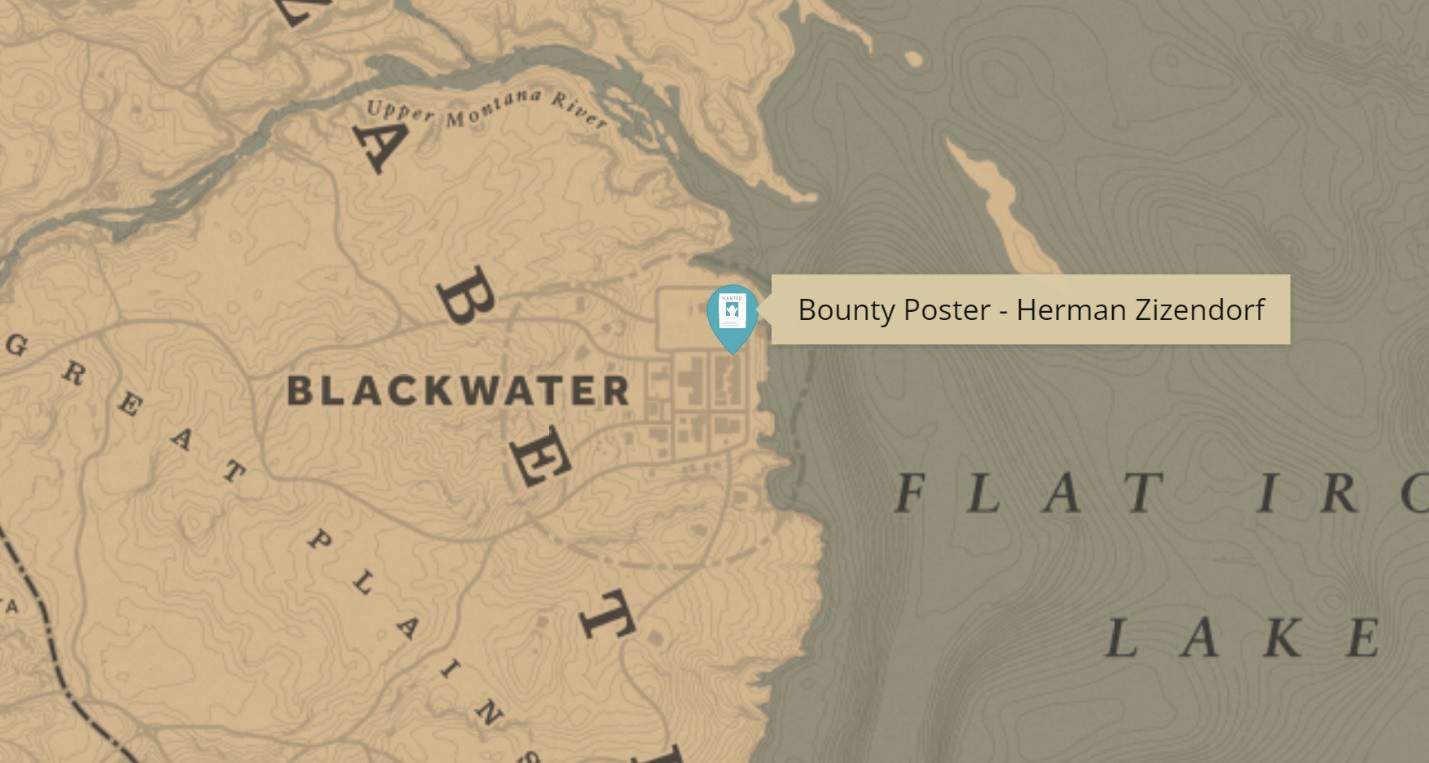
Requirement: Not known
Reward: $30.00
Location: In the construction yards, Blackwater
Dead/Alive: This character can be turned in Alive
How to Get the Target: Head to the Blackwater police department to get the poster, and the policeman will inform you about seeing him at construction yards during nighttime making tools. Step outside and make your way to the nearest construction you will find him working there. Capture him as he tries to escape.
Bart Cavanaugh

Requirement: Not known
Reward: $60.00
Location: Gnarly rock towards the north of Strawberry
Dead/Alive: This character can be turned in Dead or Alive
How to Get the Target: Get his poster from the sheriff’s station and make head to the north side of the mountains. Clear the campsite filled with drunkards. You will find Cavanaugh sleeping on the floor next to a cart; tie him up quickly so he doesn’t escape.
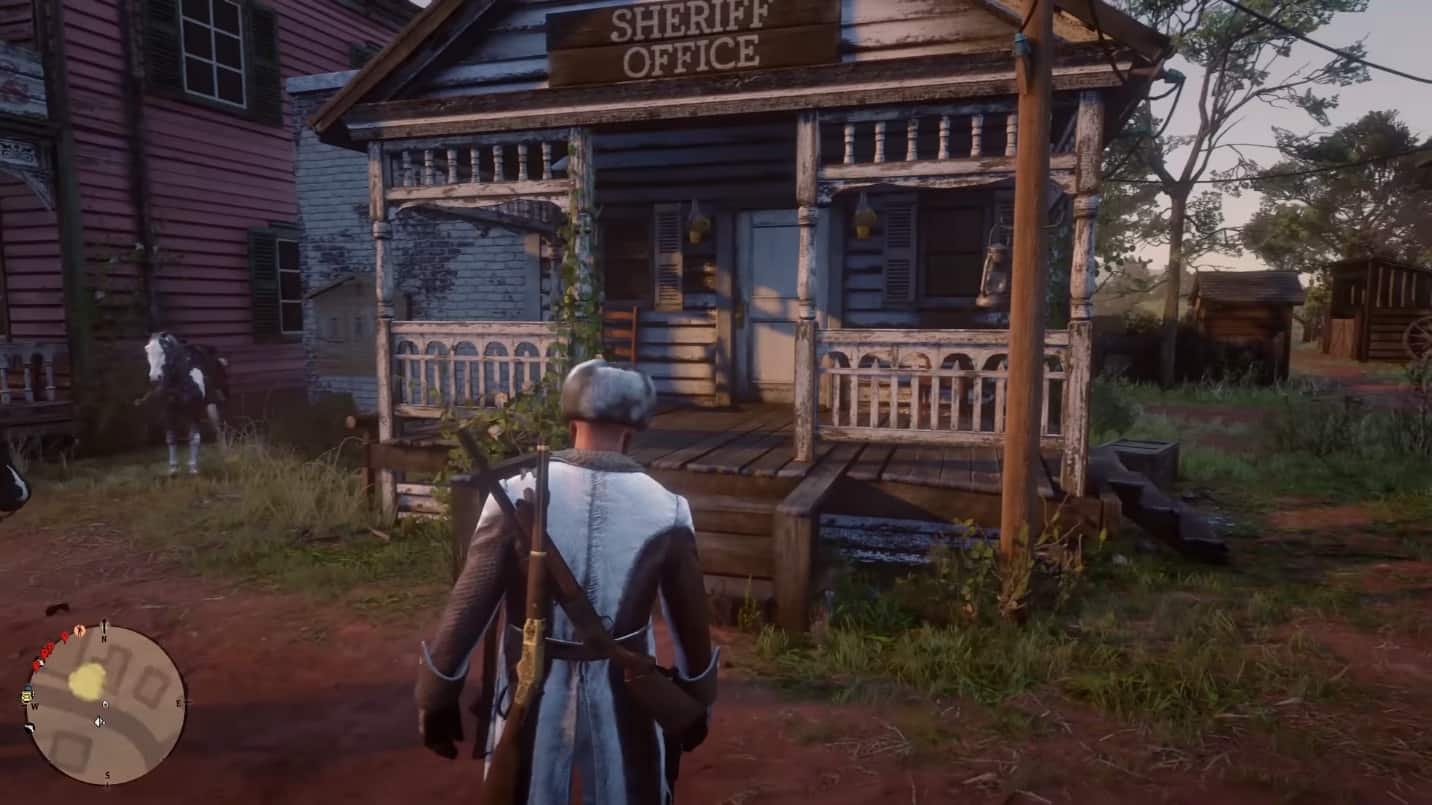
How to Unlock Bounty Hunting
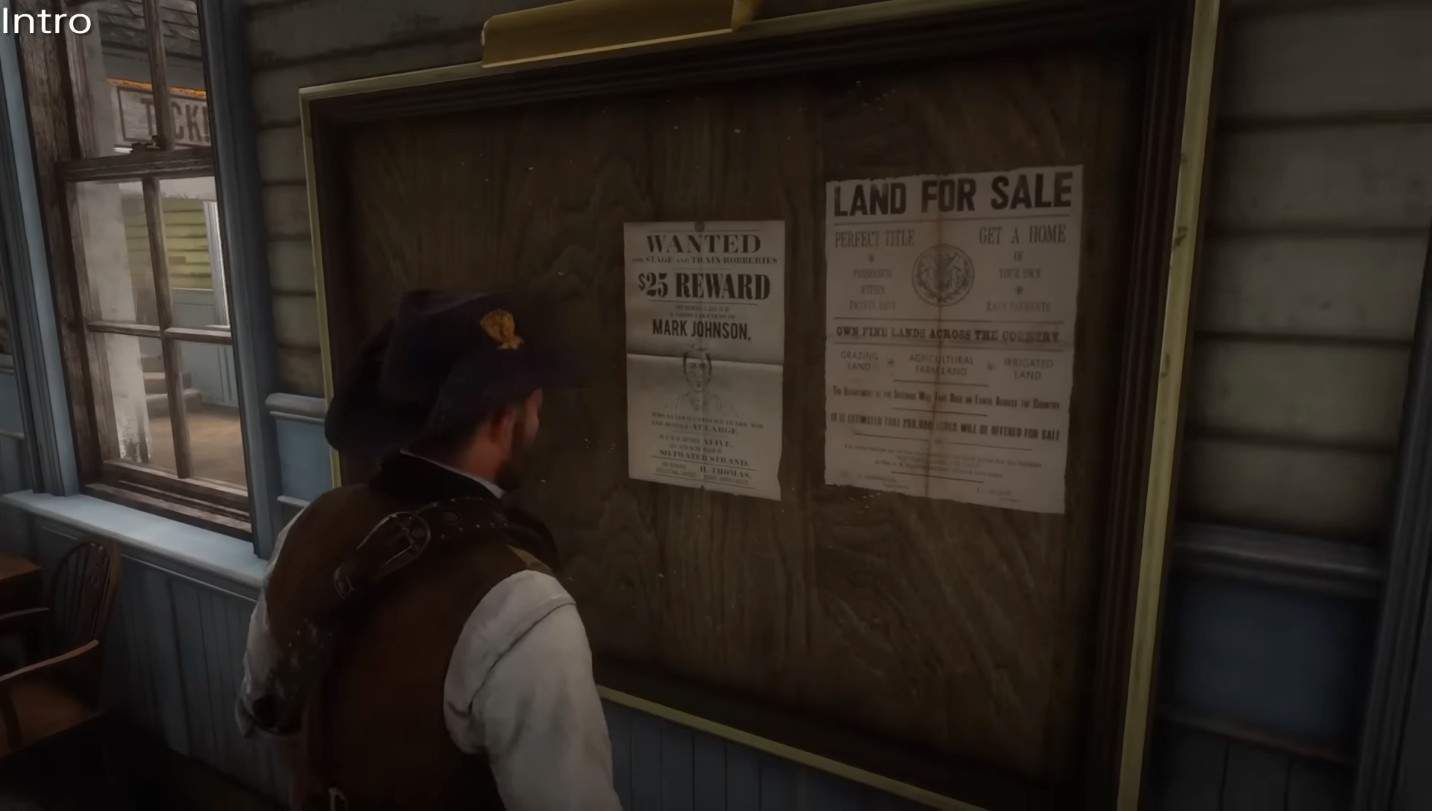
To unlock Bounty Hunting, you must complete the mission ‘Good, Honest, Snake Oil’ available from the start of Chapter 2 to the end of Chapter 5. Go to the Sheriff’s Office and inspect the bounties board in Red Dead Redemption 2, and you’ll activate a bounty.
The general location of the target will be marked on your map. Head there, and the outlaw should be in that location somewhere. Use your skills to figure out the target’s exact location, usually inside a well-fortified location or a camp, and defeat them.
Always try to capture the enemy ‘alive’; some hunts will fail if you kill the outlaw. After you turn in the outlaw in the good hands of the law, be sure to collect your bounty at the desk of the Sheriff or the person in charge.