The events of Zetsubou no Shima take place after Der Eisendrache, giving you a new closely knitted storyline and an easter egg to complete. Everything you discover here is in some way related to Takeo’s background. You can bring along friends for the easter egg, but you can do it alone as well.
Step #1: Turn on the Power
The first thing that you need to do is to turn on power in the game. It is a good idea to do so as it will grant you access to various things available around the Zetsubou No Shima area. To turn on the power, you will need to walk over to different sections of the area and activate a total of 3x generators.
However, do note that irradiated water is required to activate each of the 3x generators. After turning on the power, you will notice a bright green light in the sky and gain access to various Perk-a-Cola machines, different control panels, and things as such.
To get the irradiated water, find a bucket, and fill it with 115 Water from one of the pools near Lab-A or Lab-B. Do note that you must turn on the power in Lab-A and Lab-B at roughly the same time, otherwise, the generators will shut down again. Once done, you will be able to access the Bunker.
To activate the 3rd and the last generator, you need to head inside the Bunker and then into the Power Room. To head there, go inside the room on the left-hand side of the Pack-a-Punch section. Head inside the water and clear the blockage around the turbine. Once done, simply activate the generator and turn on the power.
Step #2: Build the Pack-a-Punch
The Pack-a-Punch machine is located inside the bunker. To begin, go inside the Bunker and the room on the left-hand side of the Pack-a-Punch section.
Head inside the water and clear the blockage around the turbine. Once done, simply activate the generator and turn on the power on the upper floor to facilitate your easter egg hunt.
Once done, you need to head back to the area where you cleared the blockage and obtain the 1st Machine Tool. After this, head back up and interact with one of the machines to drain water from the area.
To find the 2nd Machine Tool, you need to head to the farthest door from the entrance and inside another door to get to the Mule Kick Perk-a-Cola. Once there, veer right into the water and find the 3rd Machine Tool which must be installed in the main PAP room.
For the 3rd Machine Tool, head inside the room on the right-hand side of the Pack-a-Punch section and knife the hanging corpses to find it! With all 3x Machine Tools at your disposal, fix the pump to completely drain water and access the Pack-a-Punch machine.
Step #3: Complete the Ritual Challenges
Each of the 4x pillars in the ritual section has a particular challenge associated with it. You need to interact with a pillar to read all about its challenge.
After completing a challenge, the pillar will turn from yellow to blue. You need to complete all 4x challenges to proceed ahead with the easter egg in Zetsubou No Shima.
Step #4: Claim the Skull of the Nan Sapwe
To get the Skull of the Nan Sapwe in Zetsubou No Shima, you need to pick up one of the 4x skulls on the circular stone effigy plate and remember the symbol associated with it.
After you have picked up a skull, place it on one of the 4x ritual altars that has the same symbol as the skull you are carrying. Once done, all you need to do is to protect the skull from zombies and let it charge or something.
After you hear an audio clue and see that the skull is no longer glowing, it means you have completed one job. You need to do it for a total of 4x times – for all the skulls.
As for the locations of the ritual altars, you will find them at the spawn area, plane wreckage area near Lab-A, low-level testing area in the Bunker, and docks.
Once you have completed the ritual, head to the area underneath the ritual site and pick up the Skull of the Nan Sapwe Wonder Weapon from the center of the area.
In addition to this, you will also unlock The Ultimate Sacrifice Trophy or Achievement.
Step #5: Build the KT-4
The KT-4 Wonder Weapon requires 3x parts. Refer to the locations below to find all 3x parts:
- Green Test Tube – Dropped by a Zombie Above Round 12
- Purple Liquid Canister – Lure a Spider Inside the Cage and Extract its Venom
- Red Plant – In the Far Underwater Section where you Get the 2nd Machine Tool
With all 3x parts at your disposal, head to the workbench below the Pack-a-Punch section in the bunker – near yellow chambers – and create the Wonder Weapon.
Step #6: Scan the Posters
While equipped with the Skull of Nan Sapwe, head to the area with Purple Water. Once there, use the skull to scan the wall and reveal blueprints that will start the main Zetsubou No Shima Easter Egg.
Step #7: Access the secret Elevator
While equipped with the Skull of Nan Sapwe, head inside the first room inside the bunker and scan the left-hand-side wall. This will open up a secret area with an elevator inside.
Step #8: Upgrade the KT-4 to the Masamune
You need to upgrade the KT-4 Wonder Weapon into Masamune. This will require a total of 3x things.
Green Liquid
You will need to find and kill a giant spider in Zetsubou No Shima to obtain this item. To find the gigantic spider boss that drops this item, head to the Lab-A generator and towards the pool.
Once there, use the KT-4 Wonder Weapon to clear the webbing at the entrance. Once inside, the large spider boss will spawn in a couple of seconds.
To defeat the boss, you need to get rid of its minions as soon as possible! Aside from this, you need to aim for its mouth to deal with any noticeable damage.
Do bear in mind that even if you target its mouth, it will take a lot of ammo to kill it – do not give up! Once done, grab the green Liquid from the gigantic spider boss and proceed ahead.
Yellow Liquid
To get this, electrify the zombie shield – you can check our other guides to read on how to build it – and head over to the cage in the lab. Use the electrified shield to call the cage, head inside, and travel down. Once you are down, obtain the item from a skeleton.
Blue Plant
To grow the Blue Plant, head through the sewer and obtain a Rainbow Oil Bucket by interacting with the 115 rocks. Next up, head to the area from where you obtained the Red Plant and use the Skull of Nan Sapwe to scan a wall in an underwater tunnel.
Once there, water the seeds using the Rainbow Oil Bucket once per round for three consecutive rounds and get the Blue Plant. With everything at your disposal, head to the original workstation and craft the upgraded version of the KT-4 Wonder Weapon.
Step #9: Find the Cogs
You need to find a total of 3x cogs to proceed with the Easter Egg hunt in Zetsubou No Shima. These cogs are required to repair the elevator that leads deep underground.
Cog #1
To get the first cog, have ‘Anywhere but here’ Gobblegum, travel to the area where the gigantic spider boss spawned, and teleport to the dragon room. Once there, obtain the 1st cog.
Cog #2
With the electrified zombie shield equipped, head to the docks and interact with the control panel using the shield. Once done, use the zip line to get to a secret platform that has the 2nd cog.
Cog #3
For the 3rd and last cog, water seeds with Blue Water per round for three consecutive rounds and shoot it with KT-4 Wonder Weapon or upgraded KT-4. Once done, obtain the AA Shell from the plant, load it in the AA gun, and shoot the airplane that flies above the map at different intervals.
Do make sure to use ‘Killing the Time’ Gobblegum to slow time down and shoot the plane down in one go. Once the plane is down, head over to the wreckage and obtain the final cog.
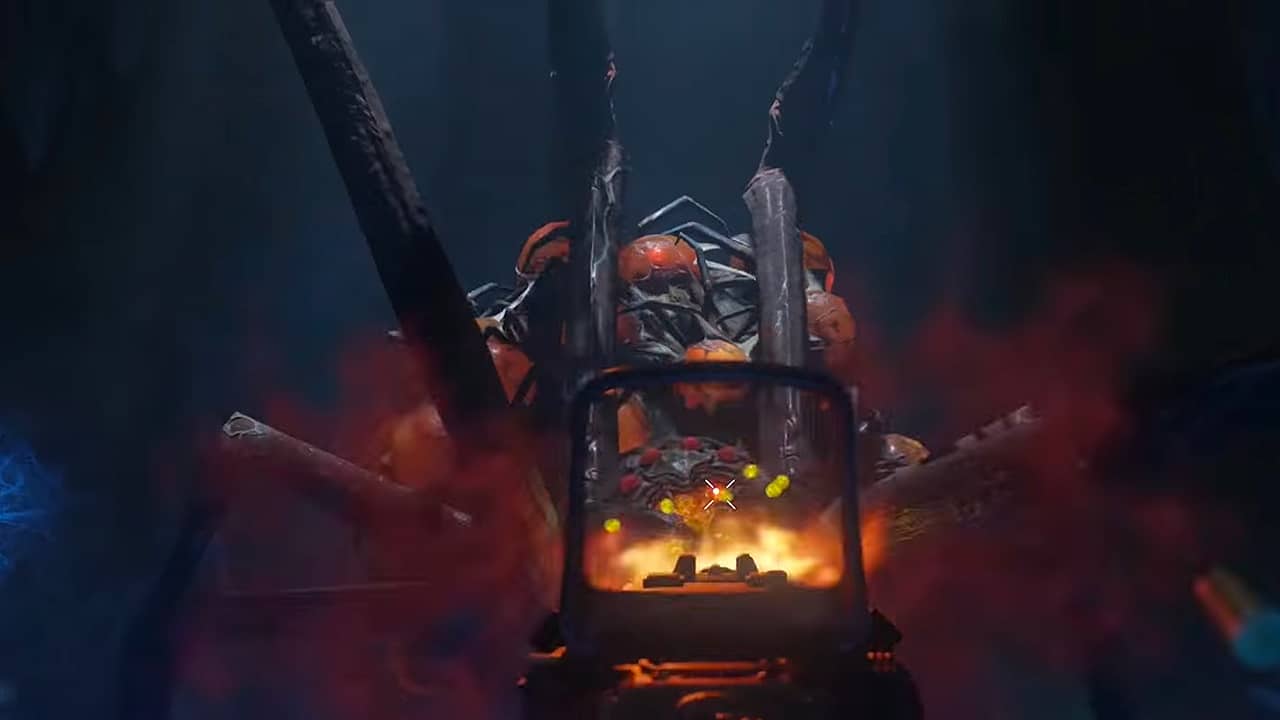
Step #10: Defeat the final boss
With all 3x cogs at your disposal, head over to the elevator in the secret area and insert the cogs. Once done, travel down to the underground area and start the final boss battle.
After you travel down, make sure to clear the entire area and then focus fire on the boss. Remember that you need to hit the orange spores along the boss’s arms to deal any considerable damage using the upgraded KT-4 Wonder Weapon.