In this guide, we will discuss in detail the complete walkthrough of Yakuza Like a Dragon Chapter 6 Triggers of War.
Yakuza: Like a Dragon Chapter 6 Triggers of War
There is a summary in the end if you don’t want to read the whole thing. Just skip to the summary if you prefer but if you are here for the whole Chapter 6: Triggers of War walkthrough, let’s get started:
Some big problems are going on within the group. Ichiban will give a video to Mabuchi while Mabuchi is asking questions.
Mabuchi will start a war with the Seriyu Clan by combining this video with the footage from the warehouse.
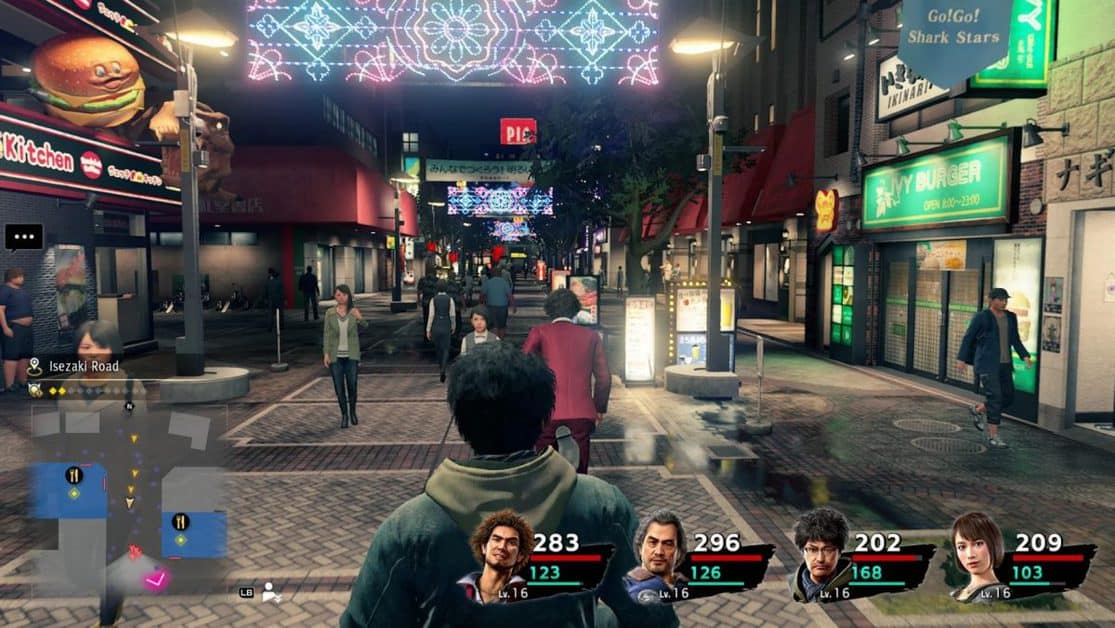
Go through all the four options and when the new one is available, select that watch the cutscene.
You will see a man coming to your rescue, but he will only save Ichiban and then take off. Ichiban will have to take out three thugs.
It is better if he takes out the underlings and then the warehouse manager.
After Party Returns
When you get your party back, there will be a Slapper in the silver safe there and a throwing knife next to it between the cardboard boxes.
There is also a recovery spot nearby if you need it after getting out of the cell. Pick up the pair of Staminan X there as well.
You will have to fight your way when you turn the corner and then get out using the sewage exit.
Checkpoint 1
There is a save and recovery spot in the starting area here.
Take out the second group, then make you way west towards the dead-end where you will find a briefcase with a Toughness light close to the rubble.
Then you will have your third fight. There will be a silver safe north; it will have High Cut shoes.
There are some forging materials with two shiny spots at the dead-end in the east. There are some more enemies up ahead, the path splits in the north, but it’s a roundabout, so no need to worry about it.
From here go west and you will find more shiny spots with Healthy Mushrooms, Healthy Carrots, and Mysterious Leaf.
From here go east and finish the fight with the next group. There is recovery medicine against the east wall.
Pick it up. Head east then north and open the silver safe, turn south and take out the group and then head southeast.
You will get Poseidon Power and Tauriner by opening the briefs against the wall. If you go north from here, you will have to fight another group.
There is another shiny spot in the south corner.
Take out the two groups in your path next and get the Titanium Anklet from the silver safe up ahead on this path.
There is a Staminan Light next to the east wall, along with two shiny spots next to the north wall. Use the stairs to get out of here.
Checkpoint 2
There is a storage box here next to the recovery and save spot.
There will be an attack when you open the silver safe. There will be the Open Sesame in the safe, which is a trophy. Get out of here from the other side.
Next, you will fight another group on this path and open the safe ahead for a long coat. Head to the next room, take out the group there and open the three safes.
There is a large sword, an Original Sparkling, and one Imitation Bag in these safes.
On the northwest path, you will find a shiny spot and Recover medicine near the east door. Take out the group ahead and keep going south and take out the other group in the east and use the exit.
There would be another fight ahead and then some shiny spots in one room corner, while a silver safe in the other.
The path will take you to another room and you will find Apple defense in the southwest corner of this one.
Fight the enemies up ahead and then in the southeast corner you will find some shiny spots, go west, take out the group and take you Tauriner+ from the northeast.
Go west and then south and get the Crooked hammer from the safe there and then go back to the exit.
An enemy is hiding among the trash bags. There are some shiny spots there as well. Take them and exit.
Take out the enemies on this path and open the safe to get a Performance Guitar. On the same path, you will reach a hall that has a briefcase along with a grenade.
There are some pervs here. Take them out and get the Flower Mic from the safe behind.
Take the path again and get the shiny spots from the east dead end, then head north. Take the west path and take out the enemy then open the safe.
This enemy will have a flamethrower so be careful. After that in the east, there are three enemies that you can kill with fire easily.
Checkpoint 3
In the next fork, take the west route and get Protector from the safe there. Go east then turn north to get to a fork.
Go east from here and you will find a shiny spot along with briefcases with Staminan Light and First Aid Kit. Head to the checkpoint by going back and then west.
Here you will find a Storage box, a save point, and a recovery point. Also, there are briefcases with Staminan Light, and 2 Staminan X.
Take them and then exit.
Now it is time for the boss fight. Hit the excavator on the arm to make it HP drop. When it is at 50%, the warehouse manager will come out.
His weakness is fire; use that to take him out. There are two safes here that have a Wooden Turner, and a Make-up Pouch.
Take the stairs to go up and take the exit.
Checkpoint 4 (Final)
A cutscene will show that Adachi has realized that Mabuchi was using them and Nonomiva as their pawns.
They did not matter, and Mabuchi only wanted to start a war with Seriyu Clan. Now Ichiban will do something about it.
Get some new equipment from the blacksmith; now is your chance. Repair or upgrade any items if needed and save your game at this point.
Now go to the objective marker and head inside from the west as there are a lot of enemies in the street.
Going from the west will help you as it has the shortest distance and only one group in the way. There will be a short cutscene at the marker.
Go up the stairs and take out the enemies there; go south and take out the group.
There will be another scene on this path. You will meet Tianyou Zhao, leader of the Liumang Chinese mafia in Yokohama.
You will be directed to the information trade center called Komijul by him.
The chapter end here.
Summary
You start at the dungeon and open the silver safes along the way. The paths are simple so navigating is not a problem.
The first checkpoint is along with the storage box, recovery, and save point, and there a silver safe in the middle along with an enemy.
The second checkpoint also has a save and a recovery point, a storage box, and the next fight will be a boss fight.
Focus on the excavator’s arm to lower its health and get the warehouse manager out and kill him with fire.
Go back to Yokohama from the exit and jump on to the next objective and go through the fights and cutscenes.
You will meet Tianyou Zhao, leader of the Liumang Chinese mafia in Yokohama, and Yakuza: Like a Dragon Chapter 6 will finish.