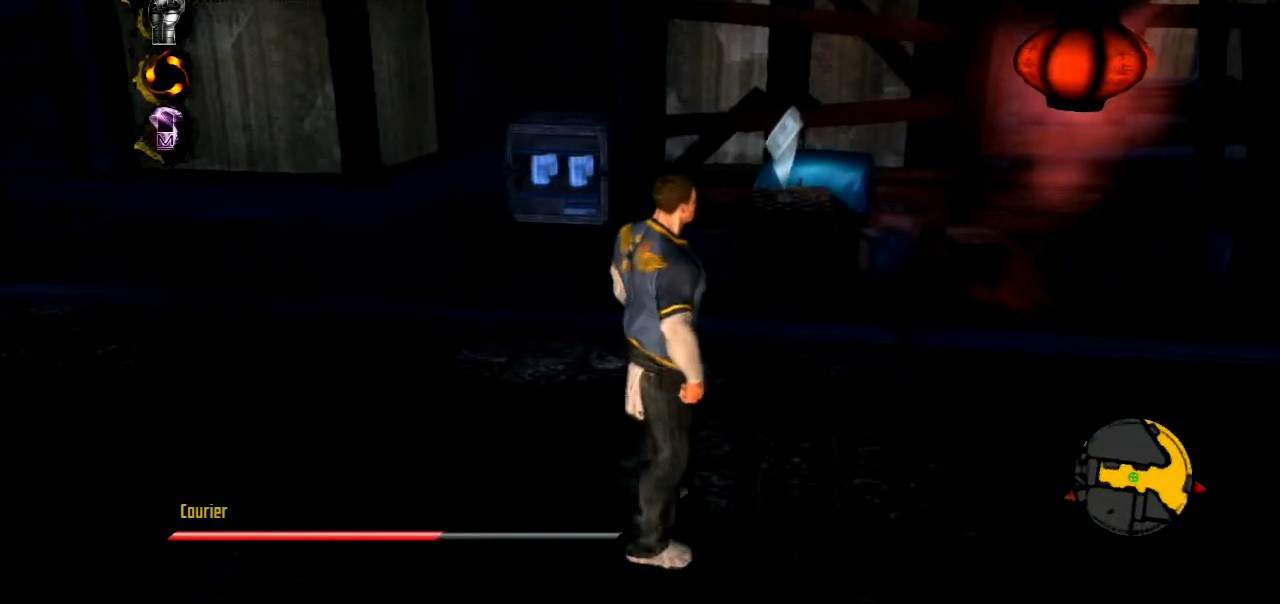
In X-Men: Destiny, Dossiers are the biographies of all the characters and factions. You can easily spot them since they are white and glow. Dossiers are small glowing triangular icons that help you unlock the profiles of different characters in the game. Once you collect a Dossier, you will earn two achievements/trophies.
After the first Dossier, you unlock Profiler achievement, and the second Archivist is achieved after collecting 15 more Dossiers. Profiler is worth 10 Gamerscore/Bronze Trophy, while Archivist is worth 30 Gamerscore/Silver Trophy.
You will find them with a brief description of their locations in our guide.
Dossier Location #1 – Quicksilver
Location: After finding Propaganda Poster #1 and meeting Quicksilver. Look for a green health box in the corner near the building columns by the fire. You will find the dossier next to it.
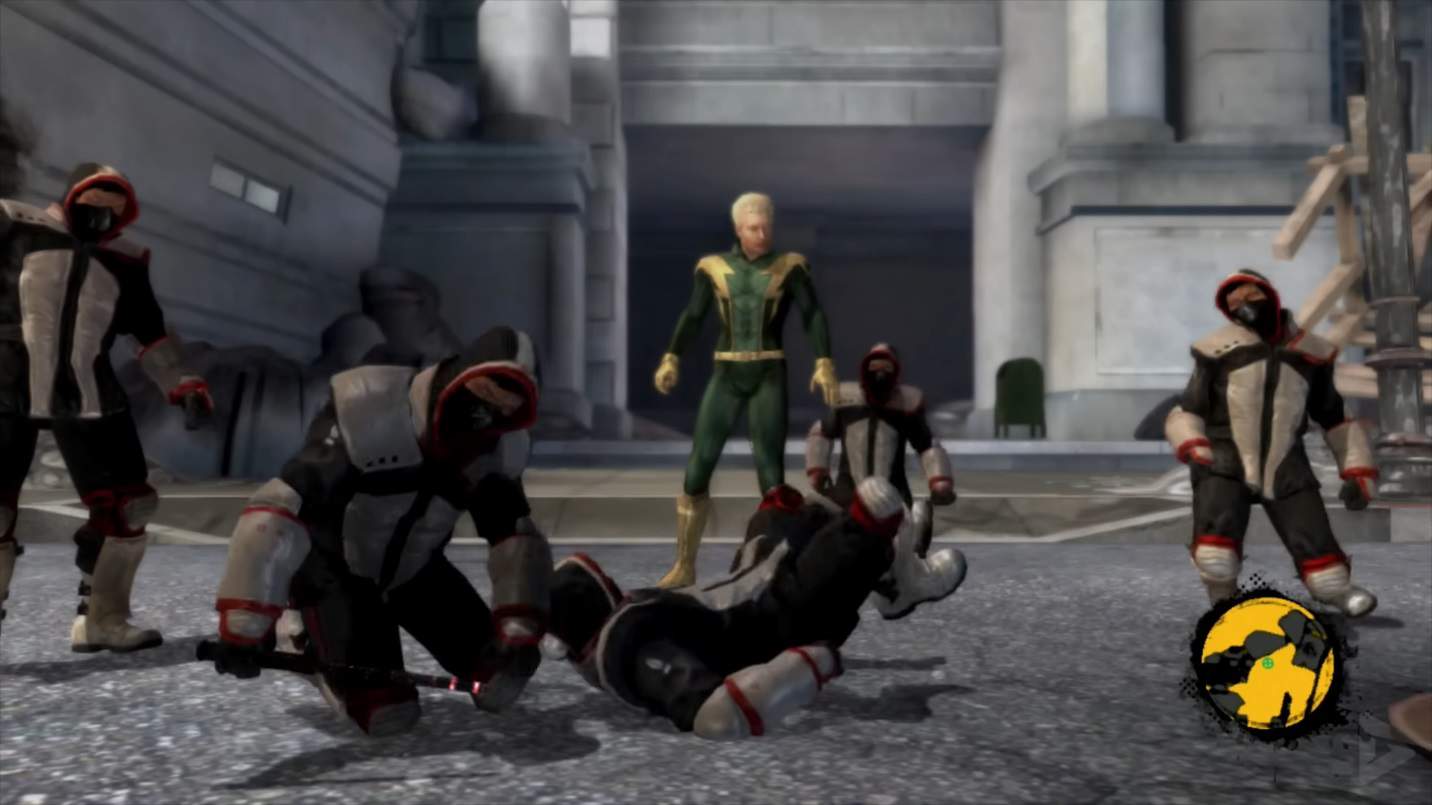
Dossier Location #2 – Emma Frost
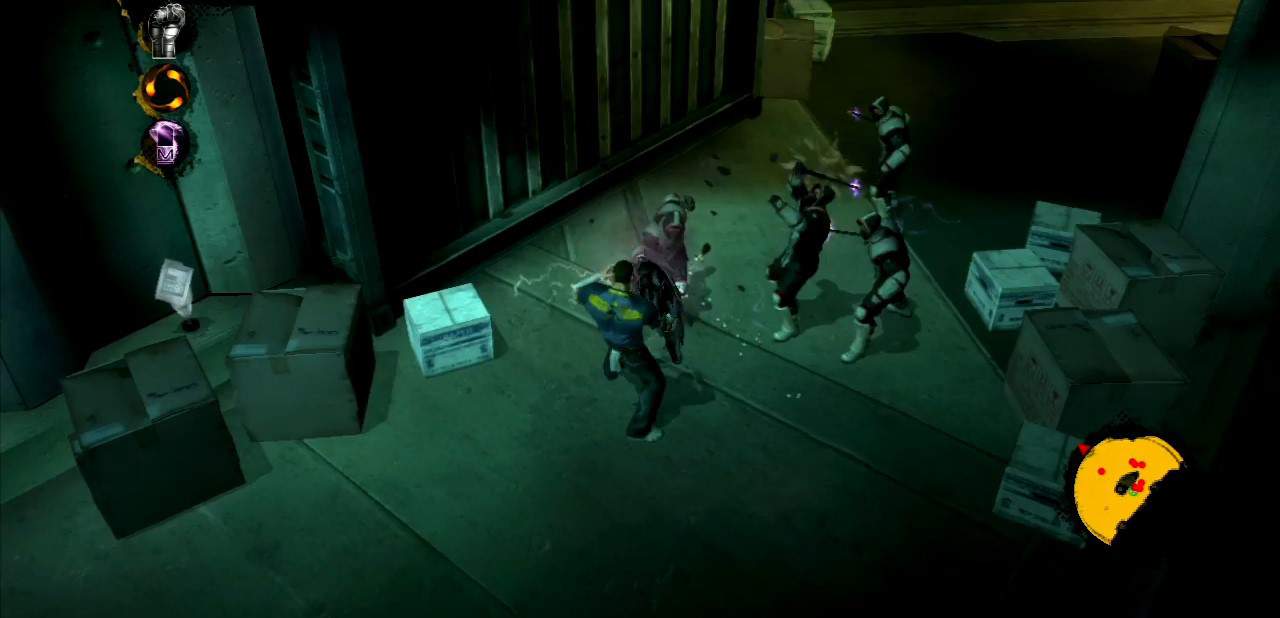
Location: After meeting Emma Frost, follow her to the larger area ahead. Here, you will encounter a group of enemies, and the Dossier will be in the far right corner of the room. Grab it quickly and take down the enemies.
Dossier Location #3 – Hodge Factions
Location: After your encounter with Emma Frost, exit the jail cells. At the exit of the sewers, you will find a dossier on the left edge of the cliff.
Dossier Location #4 – Pyro
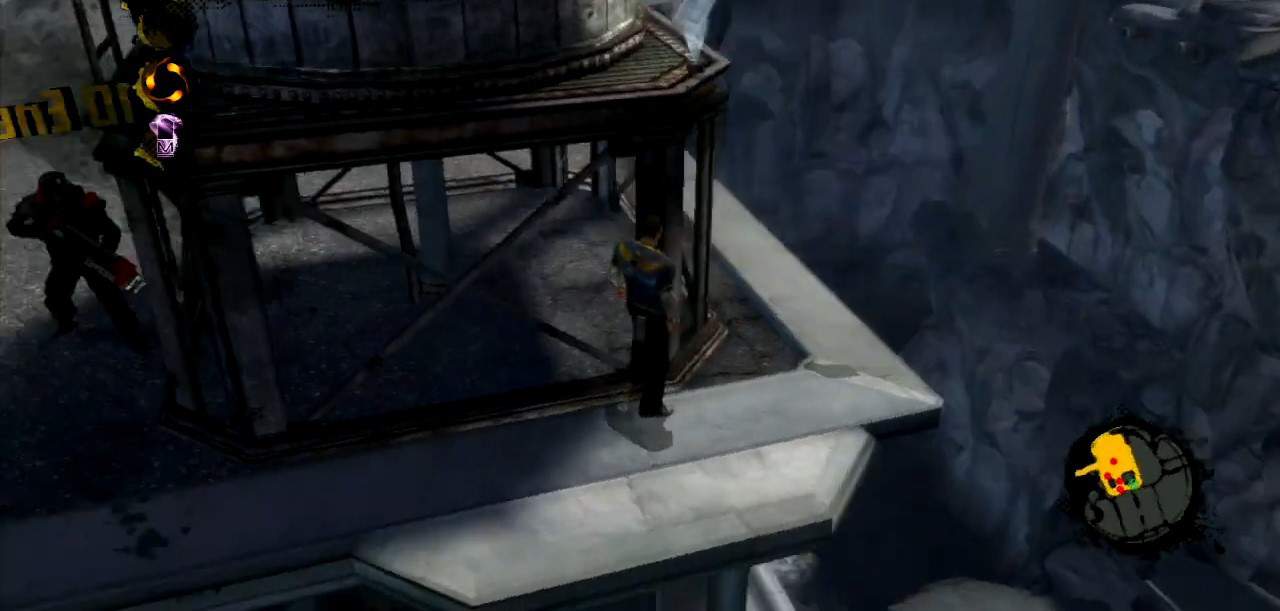
Location: After crossing the broken crane walkway, you will find this dossier on the ledge of the water tower in the right corner of the building.
Dossier Location #5 – NightCrawler
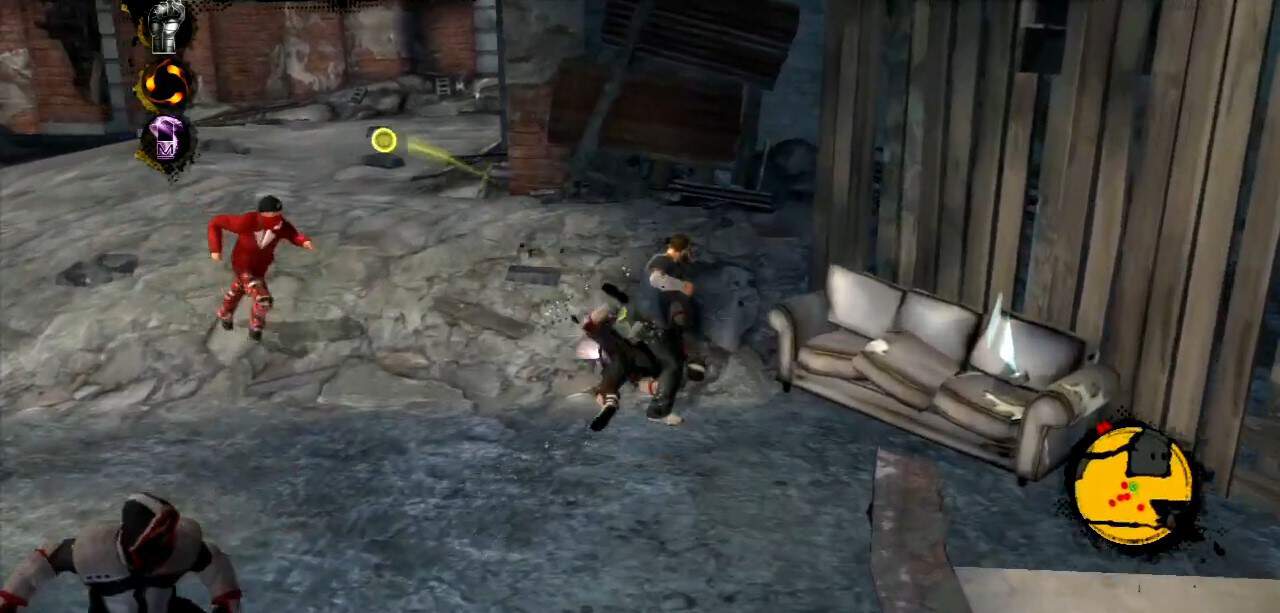
Location: After collecting Propaganda Poster #6 and taking down enemies, you will find the dossier on the top of the couch in the tall structure area.
Dossier Location #6 – Cyclops
Location: In the final area, Cyclops, Emma Frost, and Iceman (or Quicksilver, Pyro, and Juggernaut) will help you take down 50 enemies. The last dossier is on top of the dumpster in the left building.
Dossier Location #7 – Mystique
Location: After finding Propaganda Poster #9, the dossier is on top of the ticket counter in the train station lobby.
Dossier Location #8 – Toad
Location: The next dossier is placed on top of the checker table in the market near Propaganda #13.
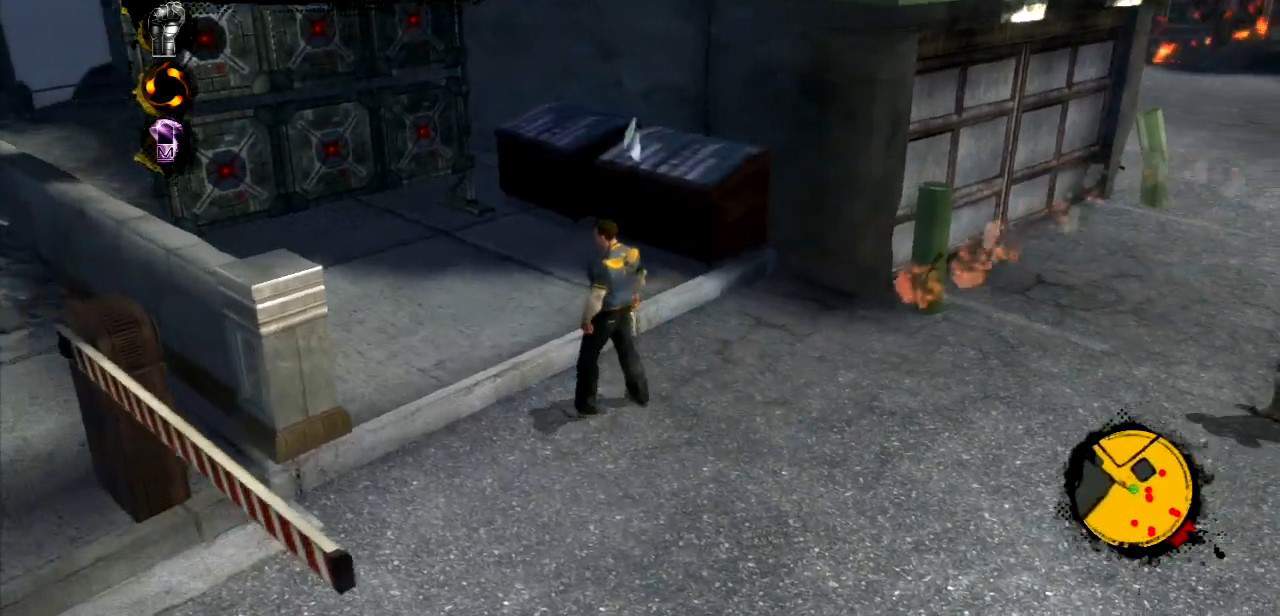
Dossier Location #9 – Externals Faction
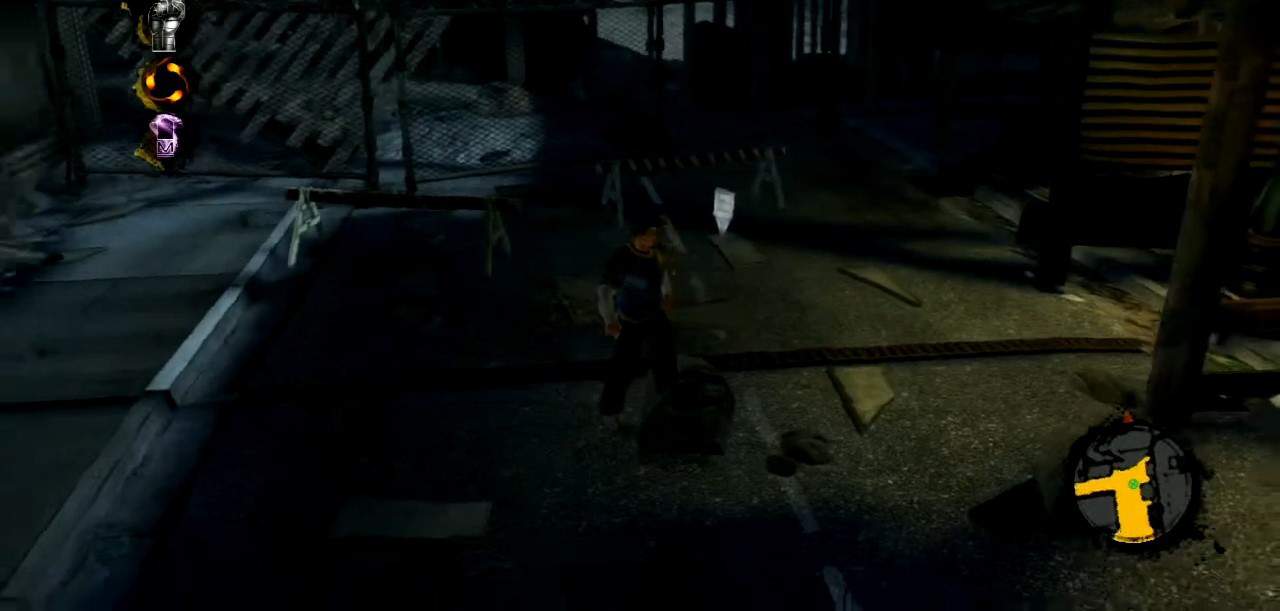
Location: After finding Propaganda #14 in the alleyway, you will find a dossier in the area right after the market. It will be located on the street next to the construction blockade near the fence.
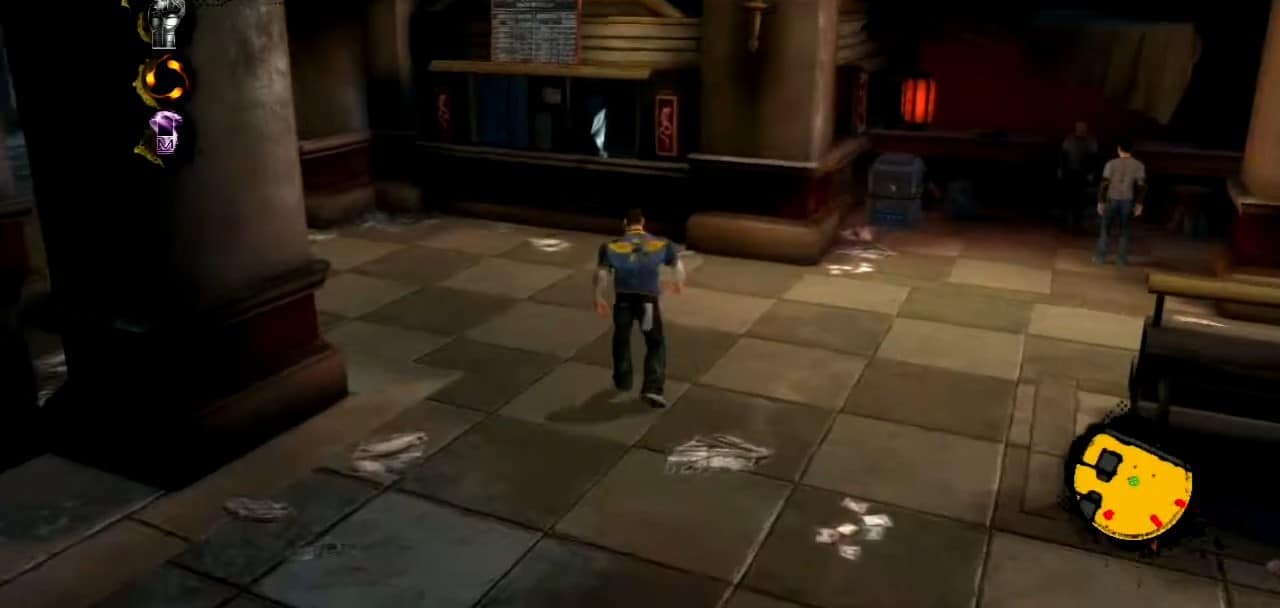
Dossier Location #10 – Gambit
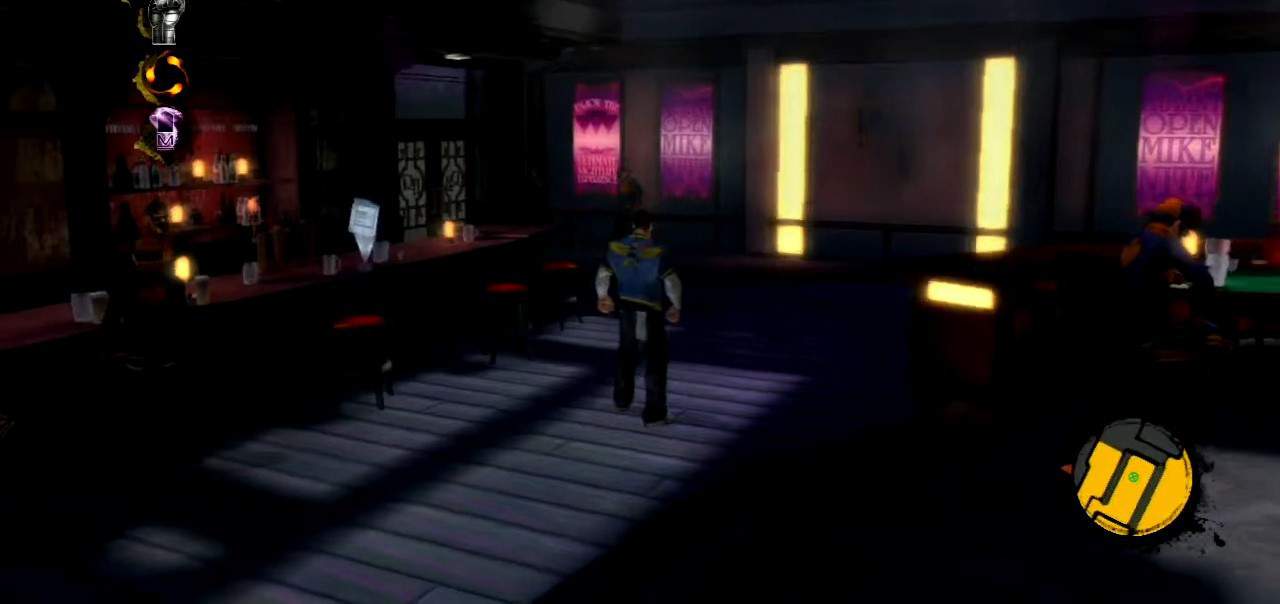
Location: Enter the nightclub after Gambit’s cutscene. On the bar counter, you will find a dossier placed inside ‘The Rogue Hand’.
Dossier Location #11 – Iceman
Location: You will find a dossier in the warehouse building near the X marker. To find it, you must get to the rooftop. After finding Propaganda Poster #17, make a right, then go left to the wooden stairs and climb to the rooftop. You will find the dossier on the ground next to 2 crates of barrels.
Dossier Location #12 – U-Men Faction
Location: After seeing Quicksilver, open the door and fight the enemies. Enter the third room next to a support column and find the dossier next to a cargo container on the right side.
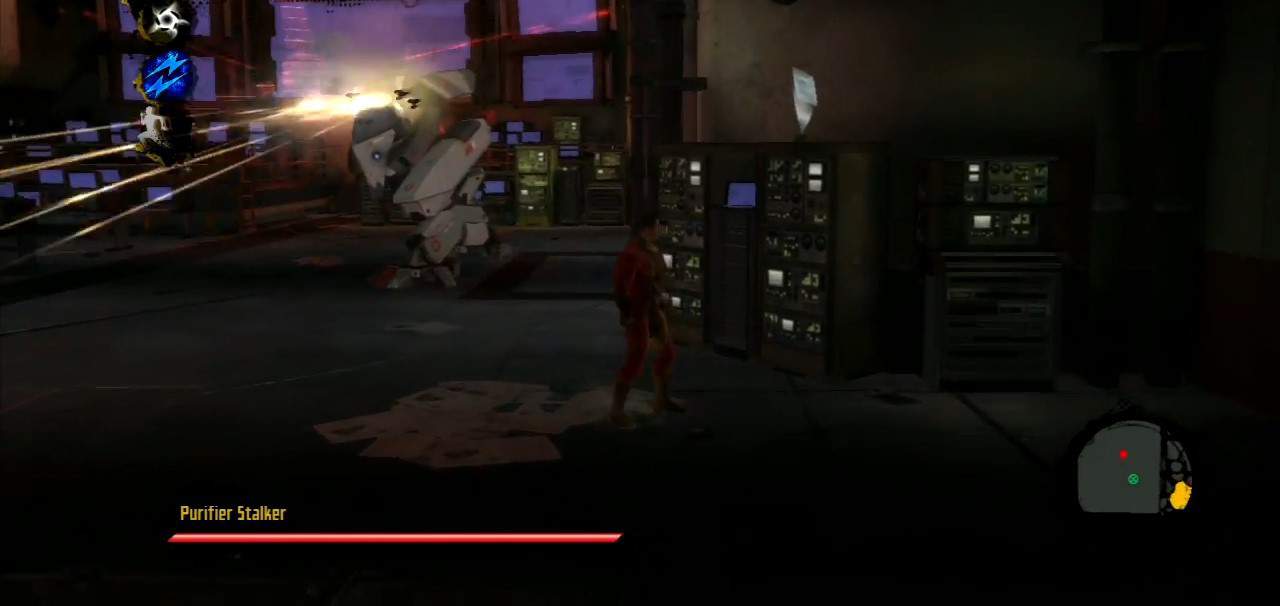
Dossier Location #13 – Surge
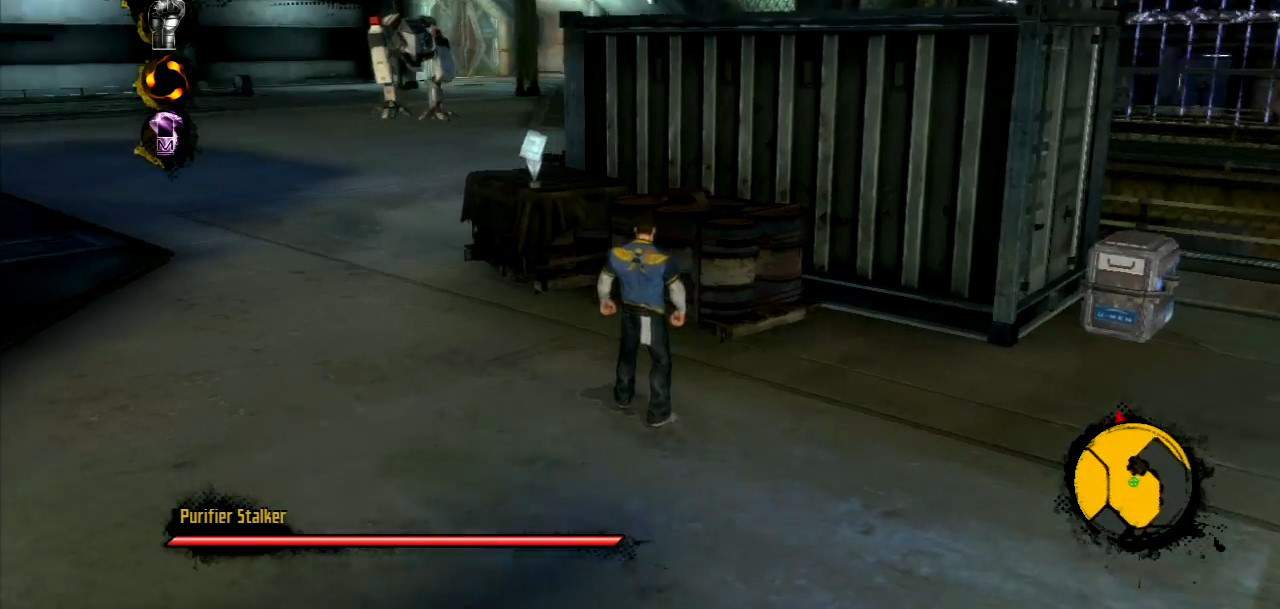
Location: During your fight with the Purifier Stalker, you will find a dossier on top of a barrel crate next to a cargo container.
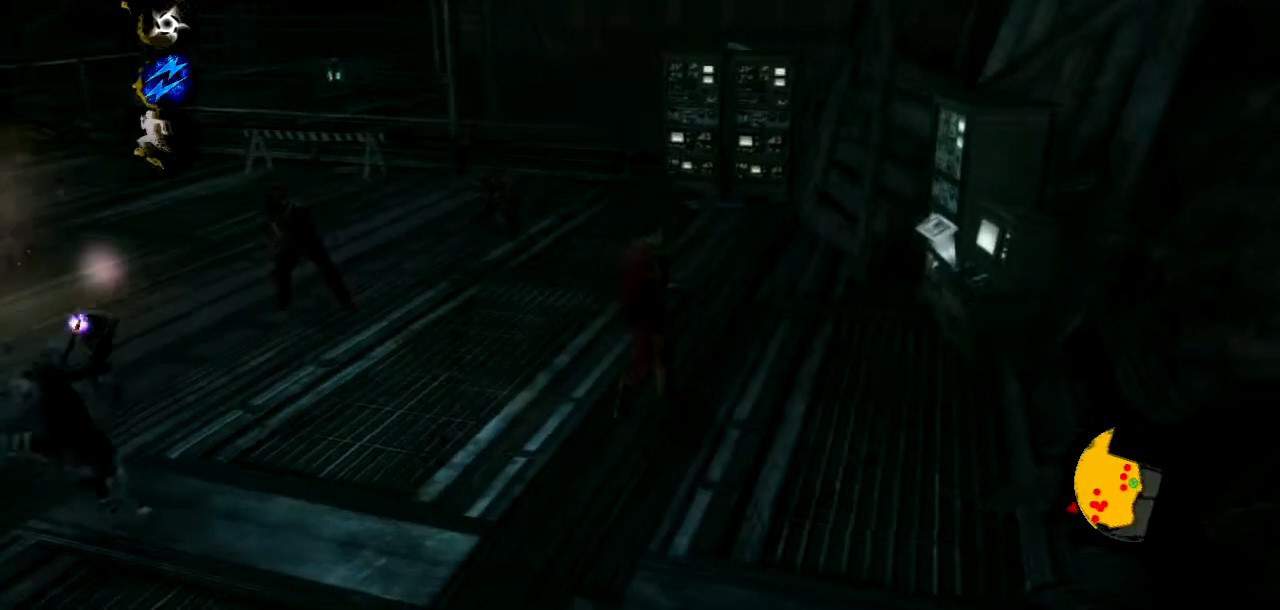
Dossier Location #14 –Colossus
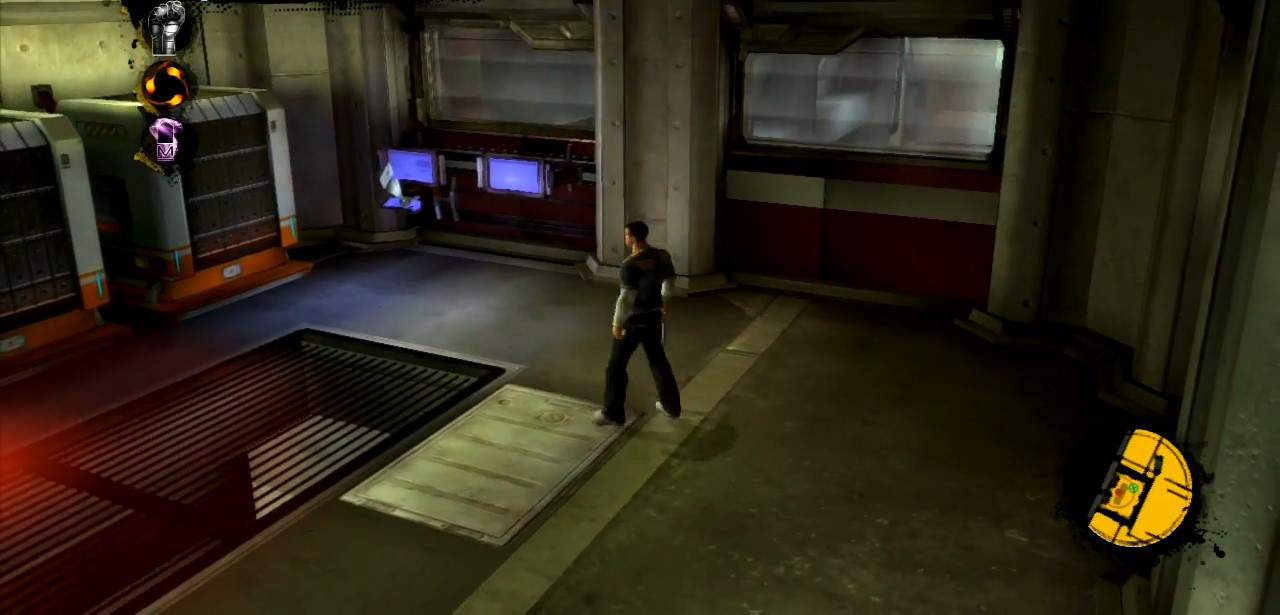
Location: The dossier is in the control room’s far right corner. There is also a Propaganda Poster and an X-gene.
Dossier Location #15 – Luis Reyes
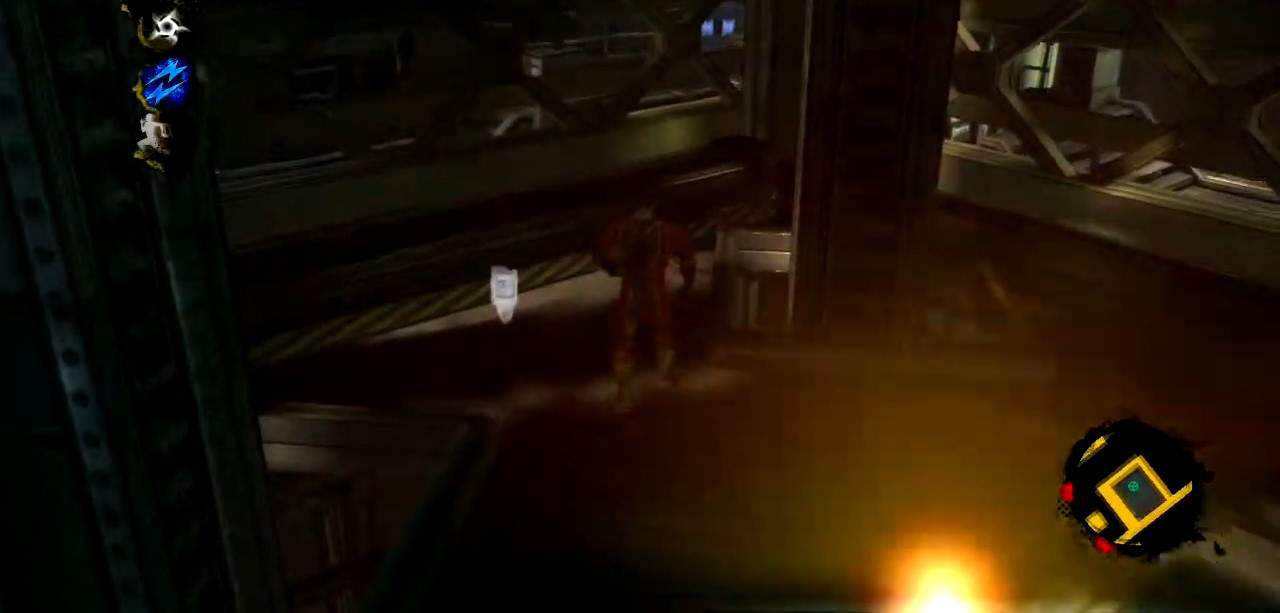
Location: When Wolverine leaves you fighting against some enemies. Get to the platform and make a right. The dossier is in the middle of the first Sentinel manufacturing platform near a blinking orange light.
Dossier Location #16 – Wolverine
Location: Right after finding Dossier #15, you will find the next one on top of the computer terminal beneath the area of the Sentinel manufacturing platform in the right corner of the room near the X marker.
Dossier Location #17 – Caliban
Location: Right after Purifier Stalker’s cutscene, you will find the 17th of the dossiers at the vent’s entrance on top of the computer terminal on the right side of the door in X-Men Destiny.
Dossier Location #18 – Northstar
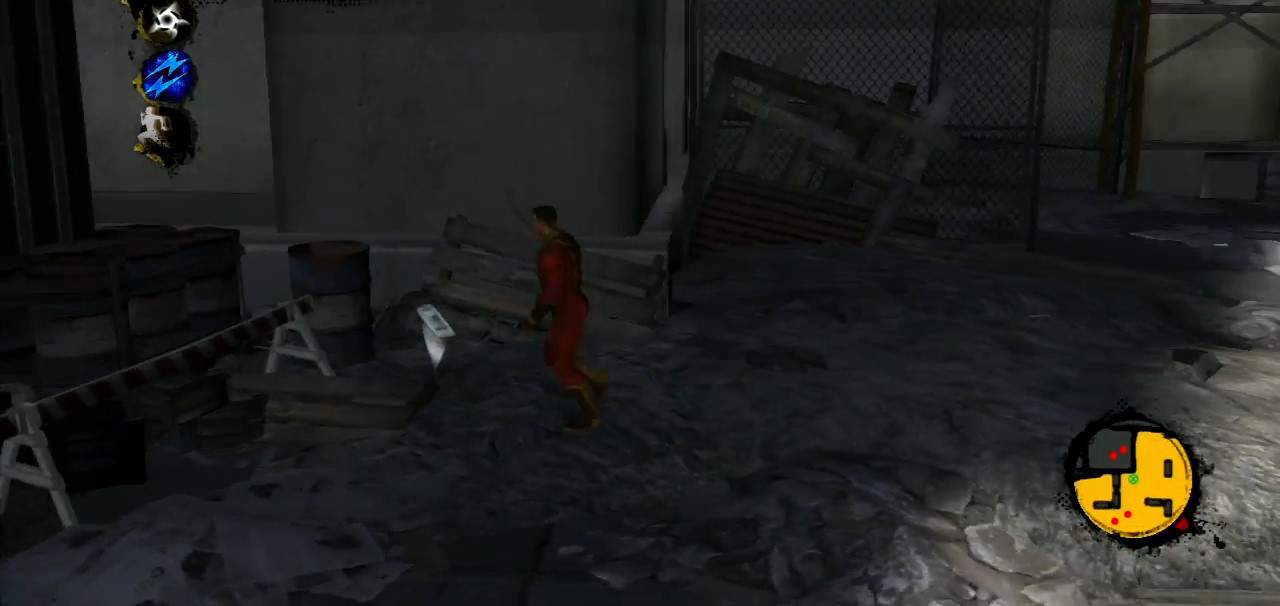
Location: After talking to Caliban and defeating the enemies, move outside the cargo container yard. The dossier is in front of barrels and a construction blockade right next to the fence.
Dossier Location #19 – Juggernaut

Location: After accepting Juggernaut’s challenge, you will find this dossier down the street on the ledge of the building left of the doorway.
Dossier Location #20 – Pixie
Location: After jumping over the cranes, you will break the floor and fall down. Once down, look to your right on the wall.
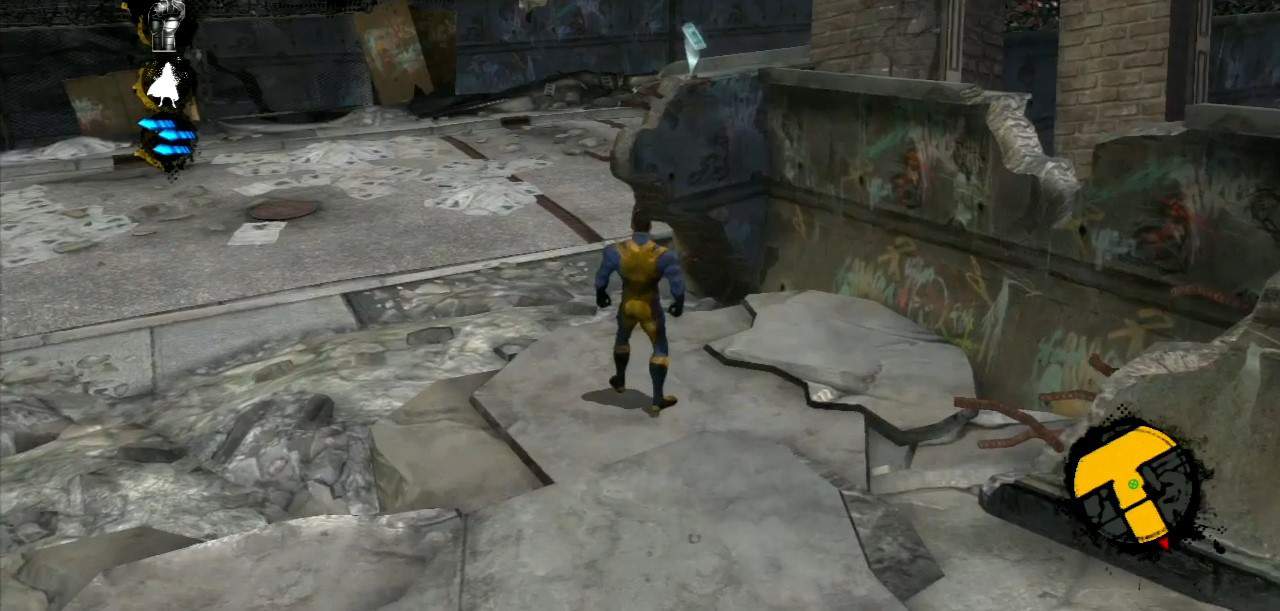
Dossier Location #21 – MRD Faction
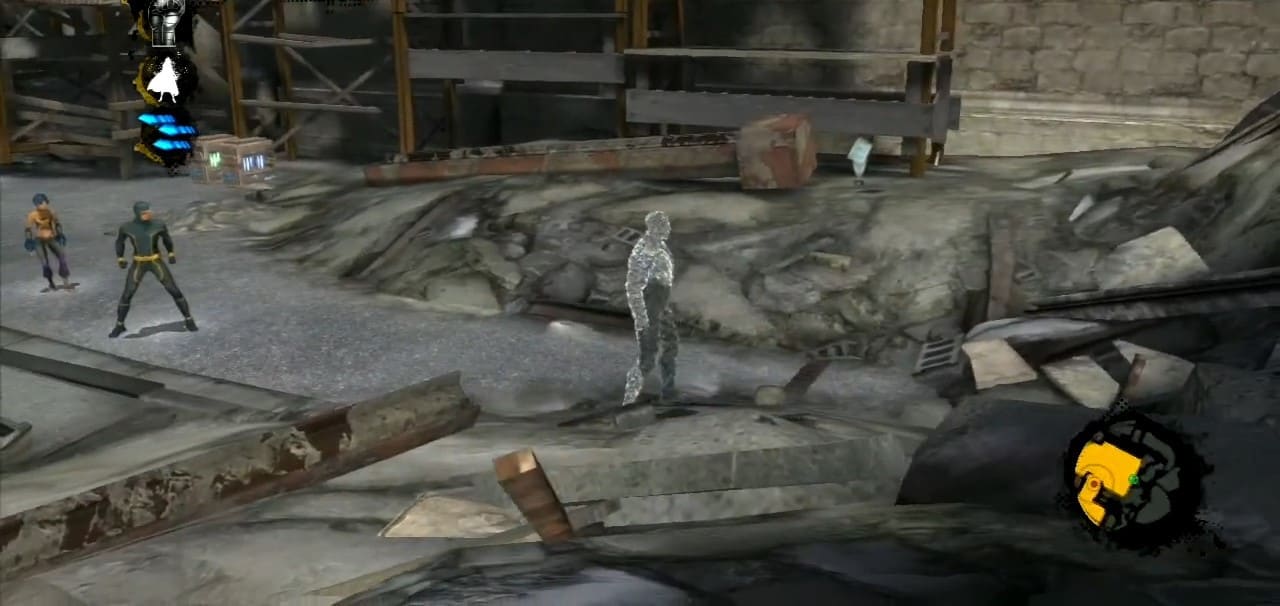
Location: At the start of the mission, on your right in the rubble next to the scaffolding.
Dossier Location #22 – Magneto
Location: After defeating 3 mind-controlling speakers with Toad, take the stairs up. You will find it in front of you next to Propaganda Piece #31 near the bricked building.
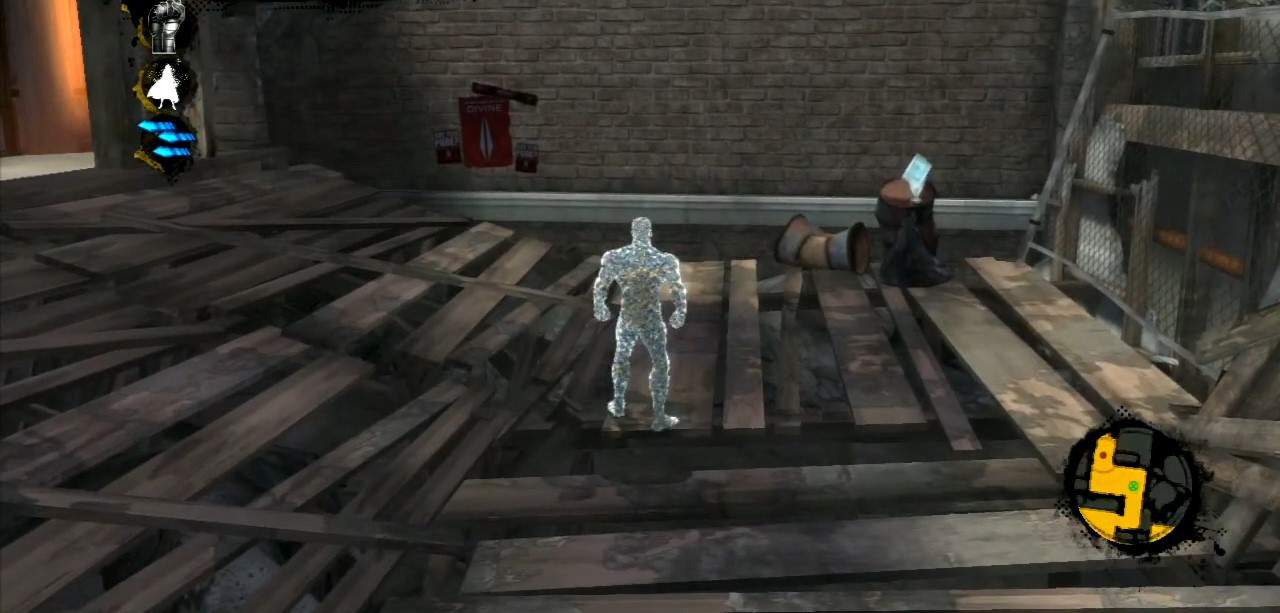
Dossier Location #23 – Forge
Location: After finding Propaganda Pieces #33 and 34, you will find the dossier on top of the barrel inside the garage on the left side of the street. You will find Propaganda Poster#35 here.
Dossier Location #24 – Bastion
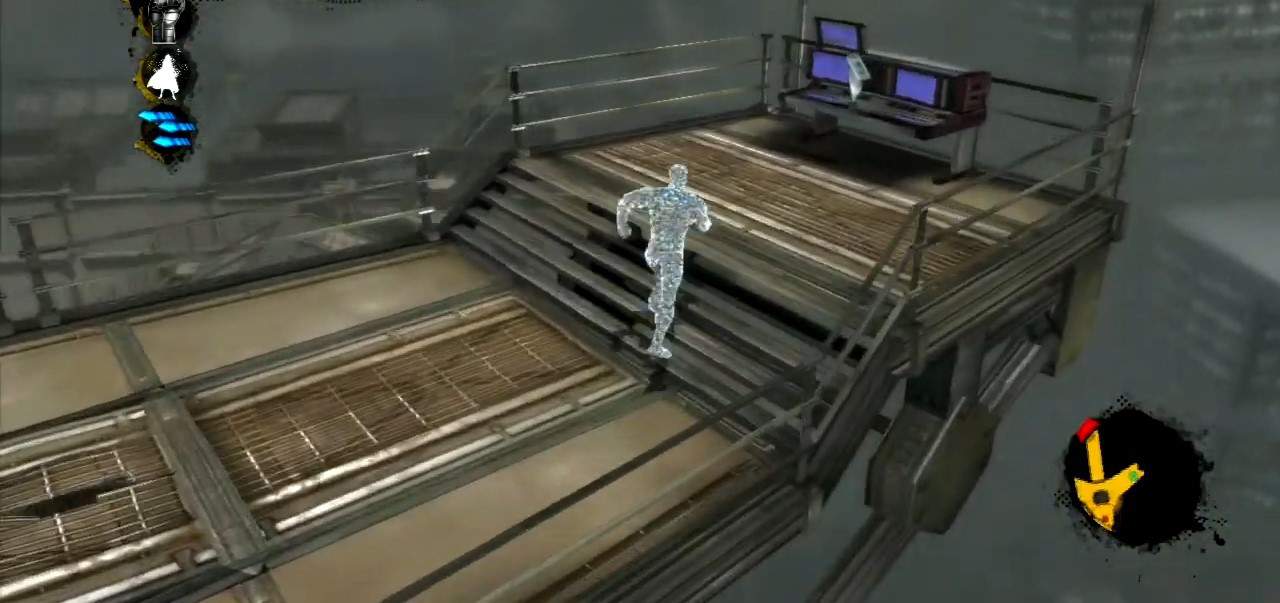
Location: At the end of the mission, the dossier is on top of the broadcast tower, on top of the computer terminal. With this one, you will have collected all the dossiers in X-Men: Destiny.