Rune Switches are a type of puzzle in Tiny Tina’s Wonderland. These puzzles help in providing you with extra dexterity when solved in order. In this guide, we’ve provided all Rune Switch locations in Tiny Tina’s Wonderland for the player’s convenience.
How to Find All Rune Switch Locations in Tiny Tina’s Wonderlands
All Rune Switches are puzzles that need to be solved in a specific order. These puzzles are found in different parts of the map, scattered around different cities.
The Rune Switch puzzles are difficult because they are timed puzzles, meaning you need to activate them in a given order and in the given time. Otherwise, you’ll have to start them all over again.
Once the switch has been activated, it will vanish and reappear in a different location. The first switch will produce green light while the rest will have red. Follow the trail left by the green switch to know the exact order in which to flip them.
The best thing about solving these puzzles is that they’ll provide you with additional 10% Dexterity when completed with the given requirements.
There are four locations with Rune Switches found in Tiny Tina’s Wonderlands. Each of these locations has 3 further switches that you need to flip in an order to complete the puzzle.
- Queen’s Gate Rune Switch
- Brighthoof Rune Switch
- Weepwild Dankness Rune
- Wargtooth Shallows Rune
Rune Switch#1 – Queen’s Gate
Visit Kindness Landing to find this Rune Switch. The location is quite easy to reach. Simply make your way through the main entrance of Buttsville. Then, move towards the gate to reach the Kindness Landing area.
On the left, you’ll find a house. Jump on its roof, then make your way to the roof of the small stable. To find the Rune Switch, jump onto the house’s balcony with a watermill on it.
Once you’re on the building, the Rune Switch will vanish. So now it’s time to activate them in the given order to start the puzzle.
The Green beam emitting from the Switches will lead you from one to the other. The first Rune is found to the left atop the large 2-story house. You can reach the switch from the house’s roof with splashed yellow paint.
For the Second Rune Switch, head to the Buttsville gate. You must jump on the roof and climb your way to the switch to find it.
Now, for the last switch, head into the inner stone gate. This will help you reach Brighthoof. The switch is found at the center of the town, on a broken stone archway.

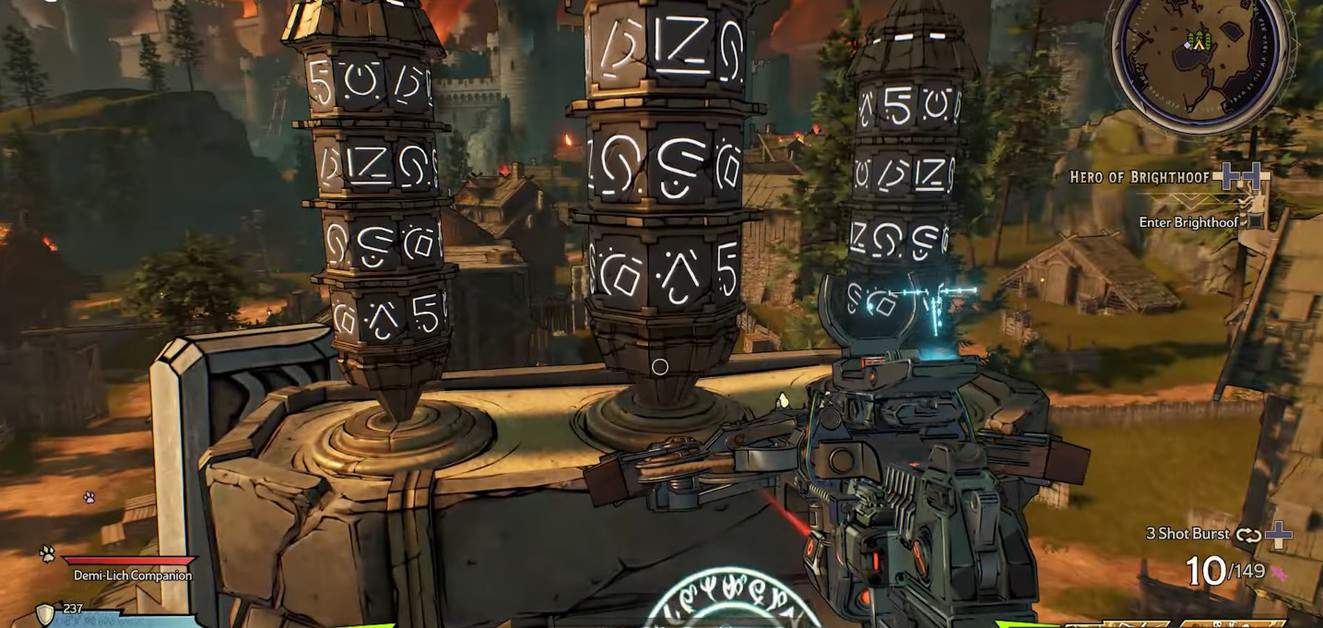
Rune Switch#2 – Brighthoof Rune
Complete Hero of Brighthoof (Main Quest) and begin your search for the Rune Switch. For the switch, you must head from Hawker’s Walk to Izzy’s Fizzies.
Head inside and reach the 3rd floor, where you’ll find a staircase going up to the rooftop to find the Rune Switch on the platform.
Head south to find the first switch. Use the rope bridge to get there. Furthermore, use the platform next to you to reach the rooftop ahead. Then, head down and find the second Rune Switch nearby.
Cross the rope bridge next and move parallel to the rooftop on the right to jump onto the rooftop and activate the third and last Rune Switch in this location.

Rune Switch#3 – Weepwild Dankness
Complete Little Boys Blue (Side-Quest) and begin your search for the Rune Switch. For this switch, you must visit Murphshire. Use the ladder behind the encampment leading to the Rune Switch on the left.
The first switch is found on your left near the platform. Jump across the platform to reach the switch.
From the platform, jump onto the mushroom (red/ blue) that raises you to the second Rune Switch.
As for the last one, use the mushroom again to reach the platform and head right. Jump down to the ledge and find the Rune Switch on the platform to the right.

Rune Switch#4 – Wargtooth Shallows
Visit Plunder Port to find the Rune Switch to activate. Activate it to trigger a warning for the rest of the switches that will scatter around the main Plunder Port area.
To reach the Plunder Port, step on the purple platform as it will lift you to the area but watch out for the pirates there.
The first Rune Switch will be found on the ledge of the shipwreck. Reaching it is easy. Use the slope that goes straight to the switch.
Jump down from the main Plunder Port area to activate the Rune Switch for the second Rune. As for the last, it’s found on the left side above the wooden beam.

Once you’ve activated all Rune Switches in the specified order, you’ll get rewarded with 10% Dexterity.