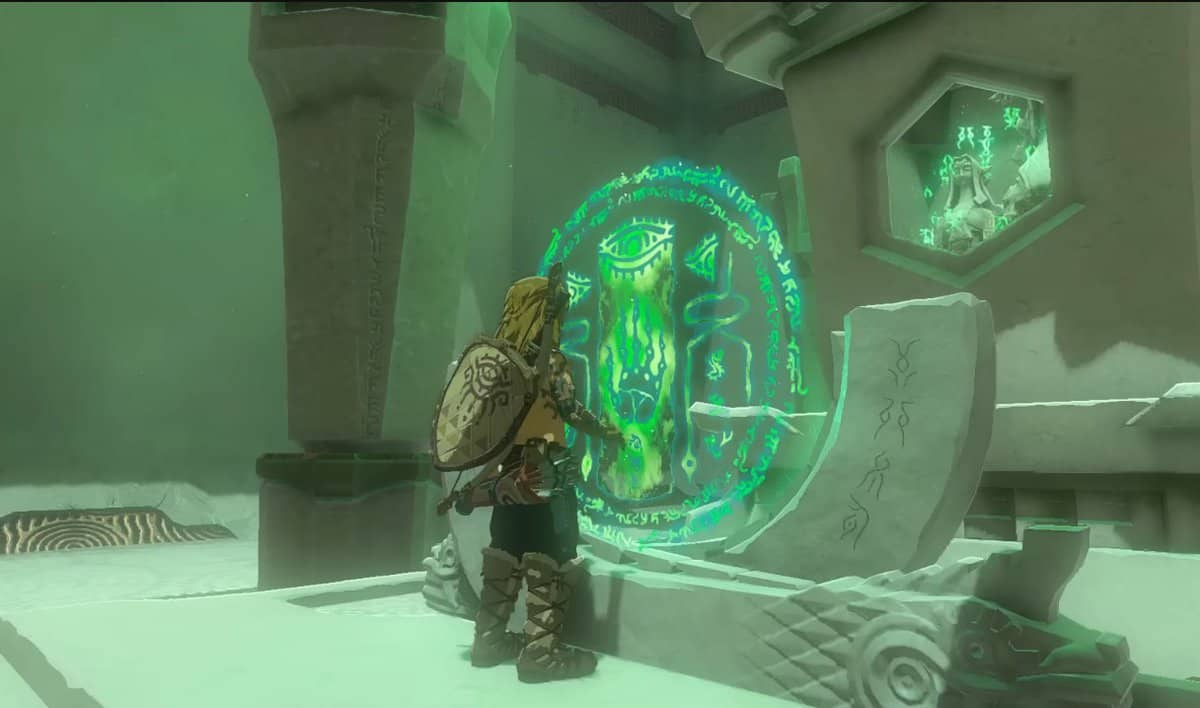
Sinakawak Shrine in Zelda: Tears of the Kingdom is about putting your high school physics knowledge to practical use. While this shrine is one of the easiest to find, completing its puzzle is a different story.
To solve the Sinakawak Shrine puzzle in Zelda: Tears of the Kingdom, you must craft makeshift hot air balloons to travel to higher areas. In this guide, we will teach you step-by-step how to solve this puzzle and obtain the only treasure chest in the process.
Sinakawak Shrine Location in Zelda: TotK
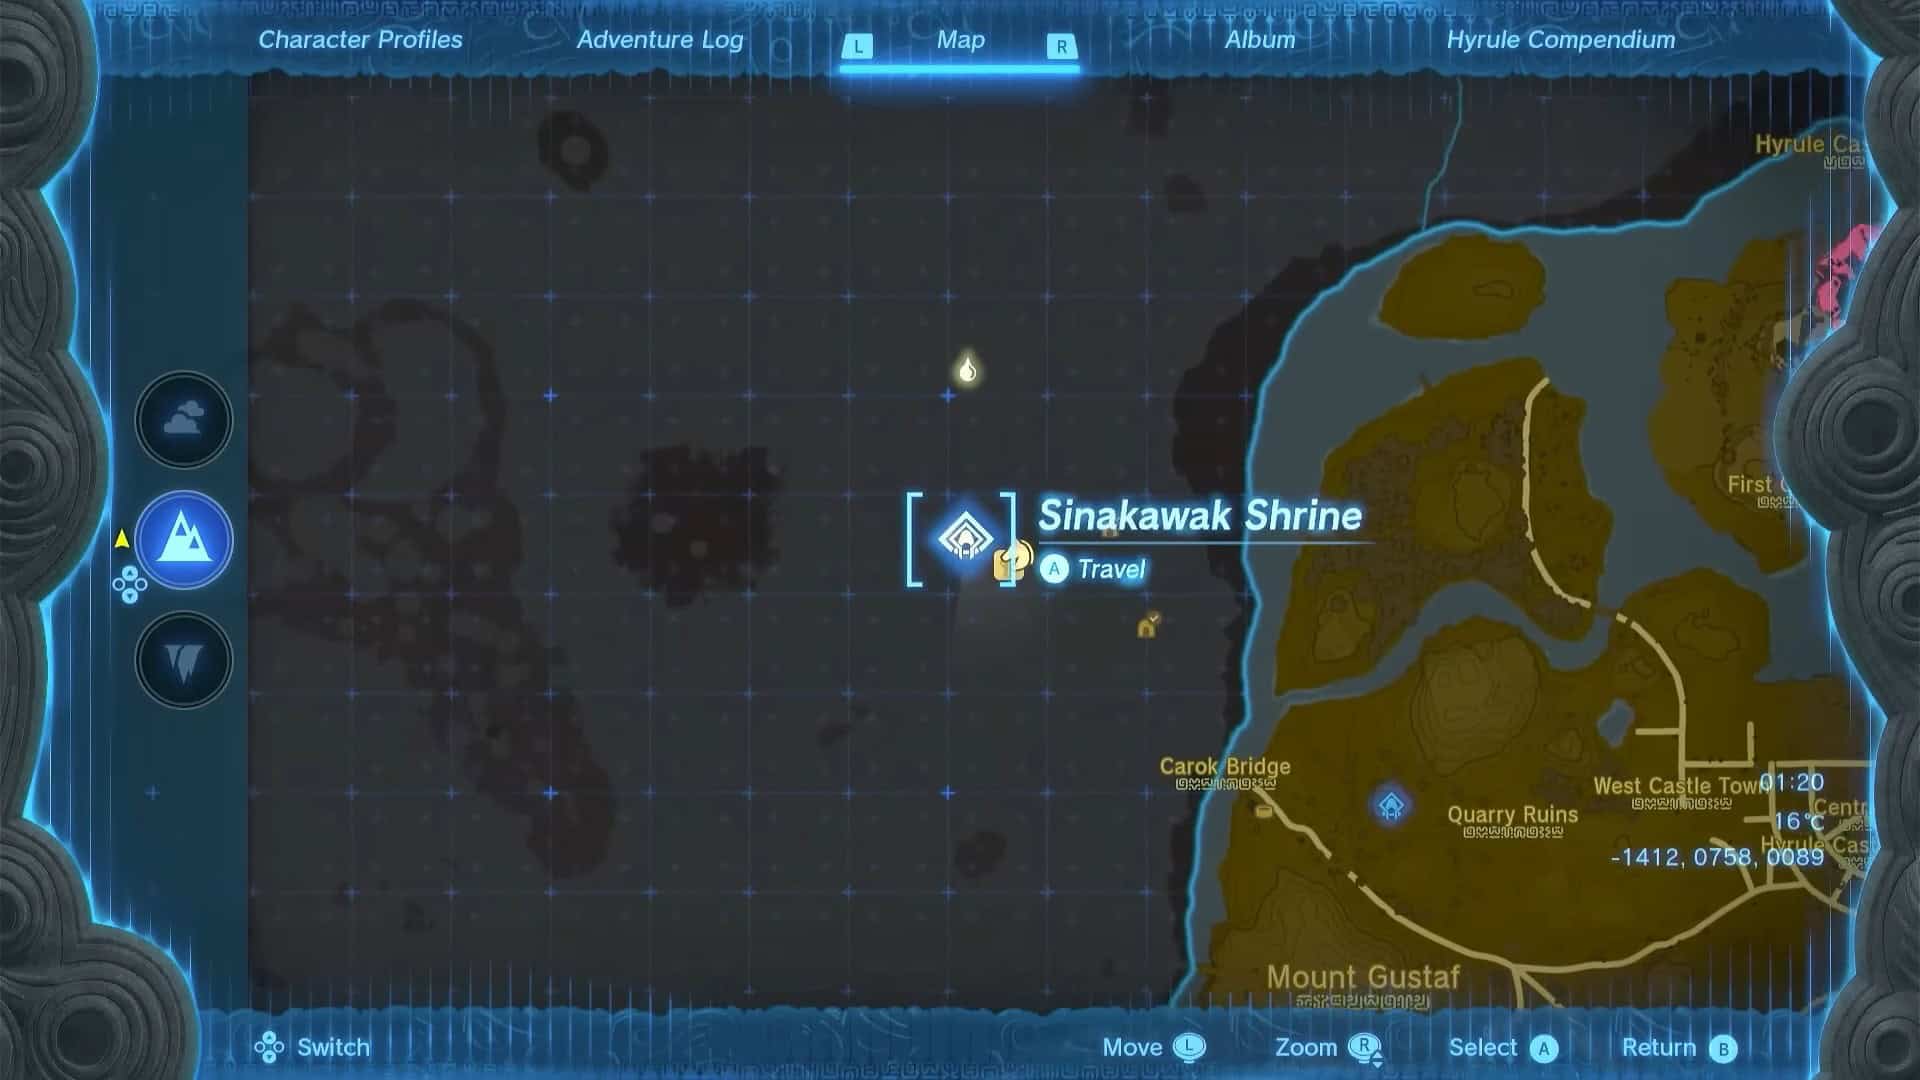
Sinakawak shrine in Zelda: Tears of the Kingdom is located Northwest of Central Hyrule, near New Serenne Stable.
Its exact coordinates are (-1412, 0758, 0089).
Sinakawak Shrine Walkthrough
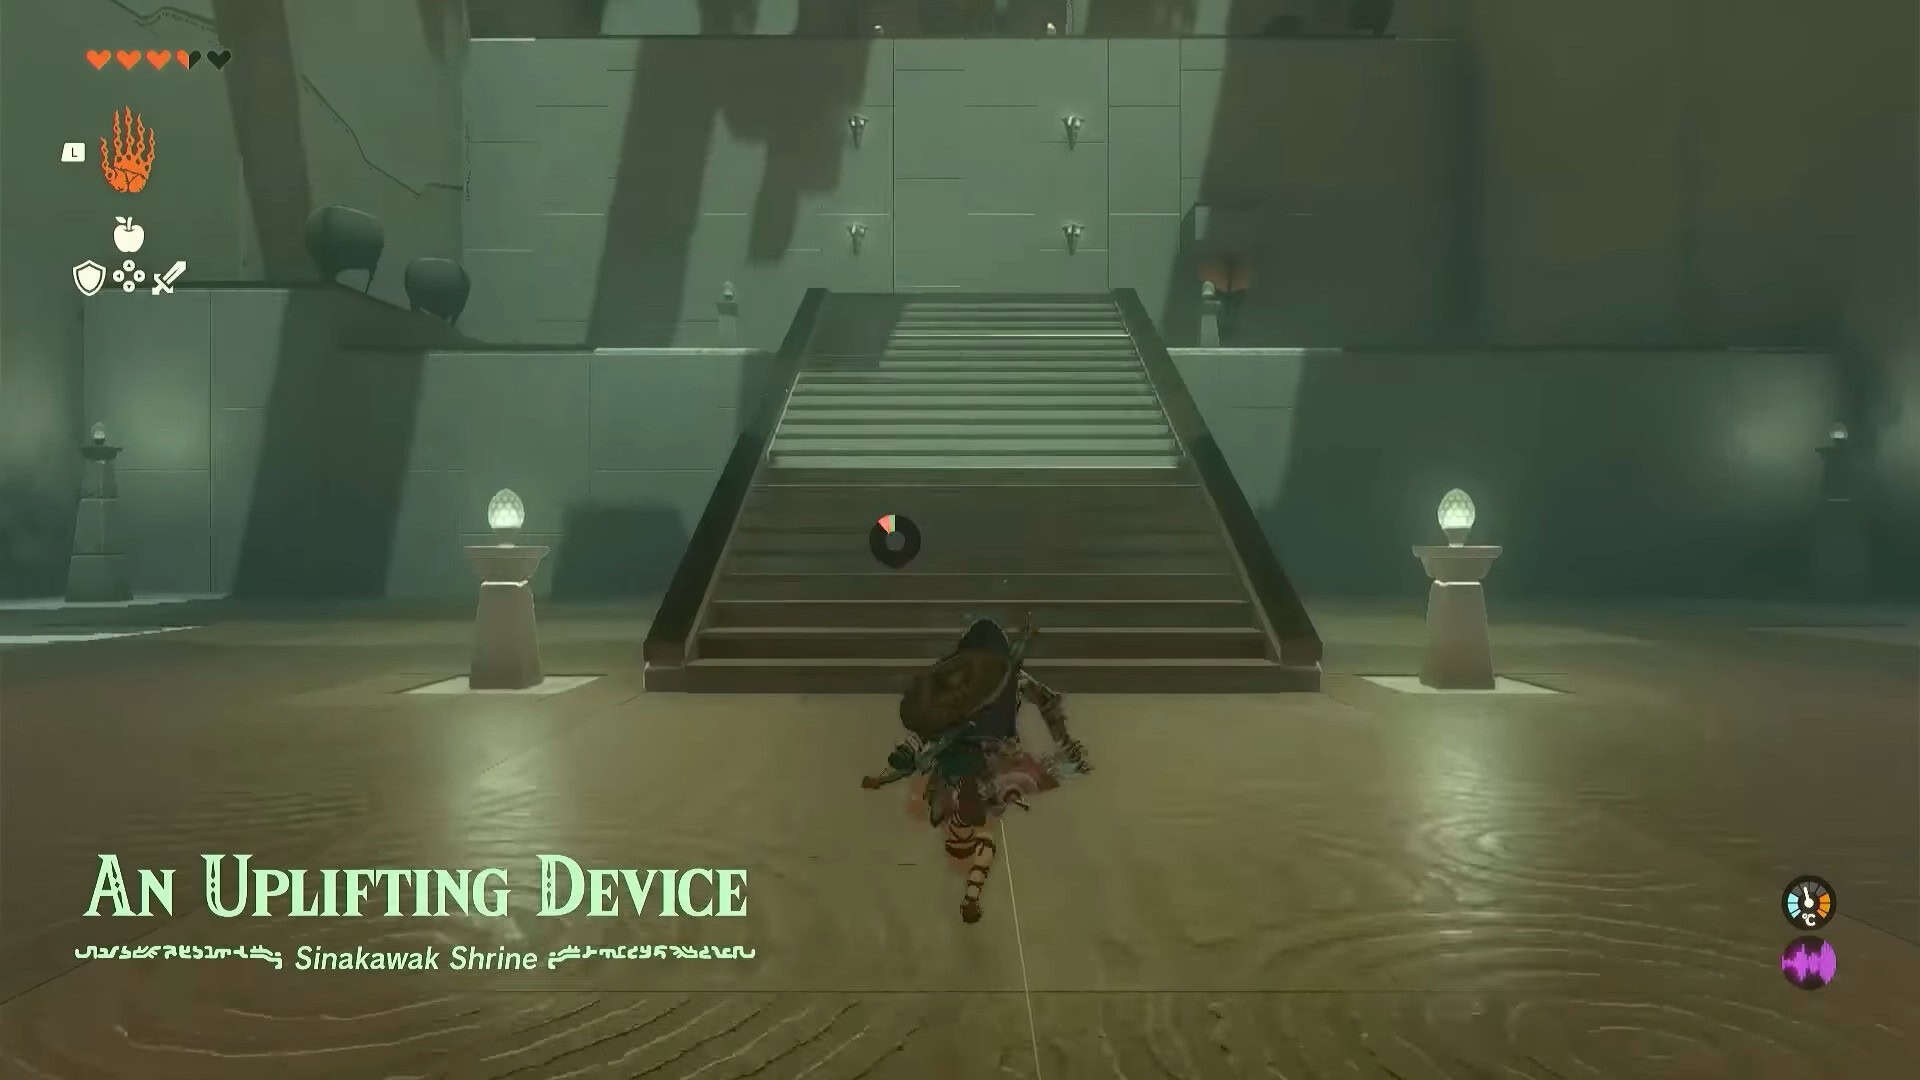
Sinakawak Shrine offers the players An Uplifting Device trial. This trial aims to solve three puzzles by crafting a makeshift hot air balloon. While this seems easy on paper, it is one of the most difficult challenges in Zelda: Tears of the Kingdom.
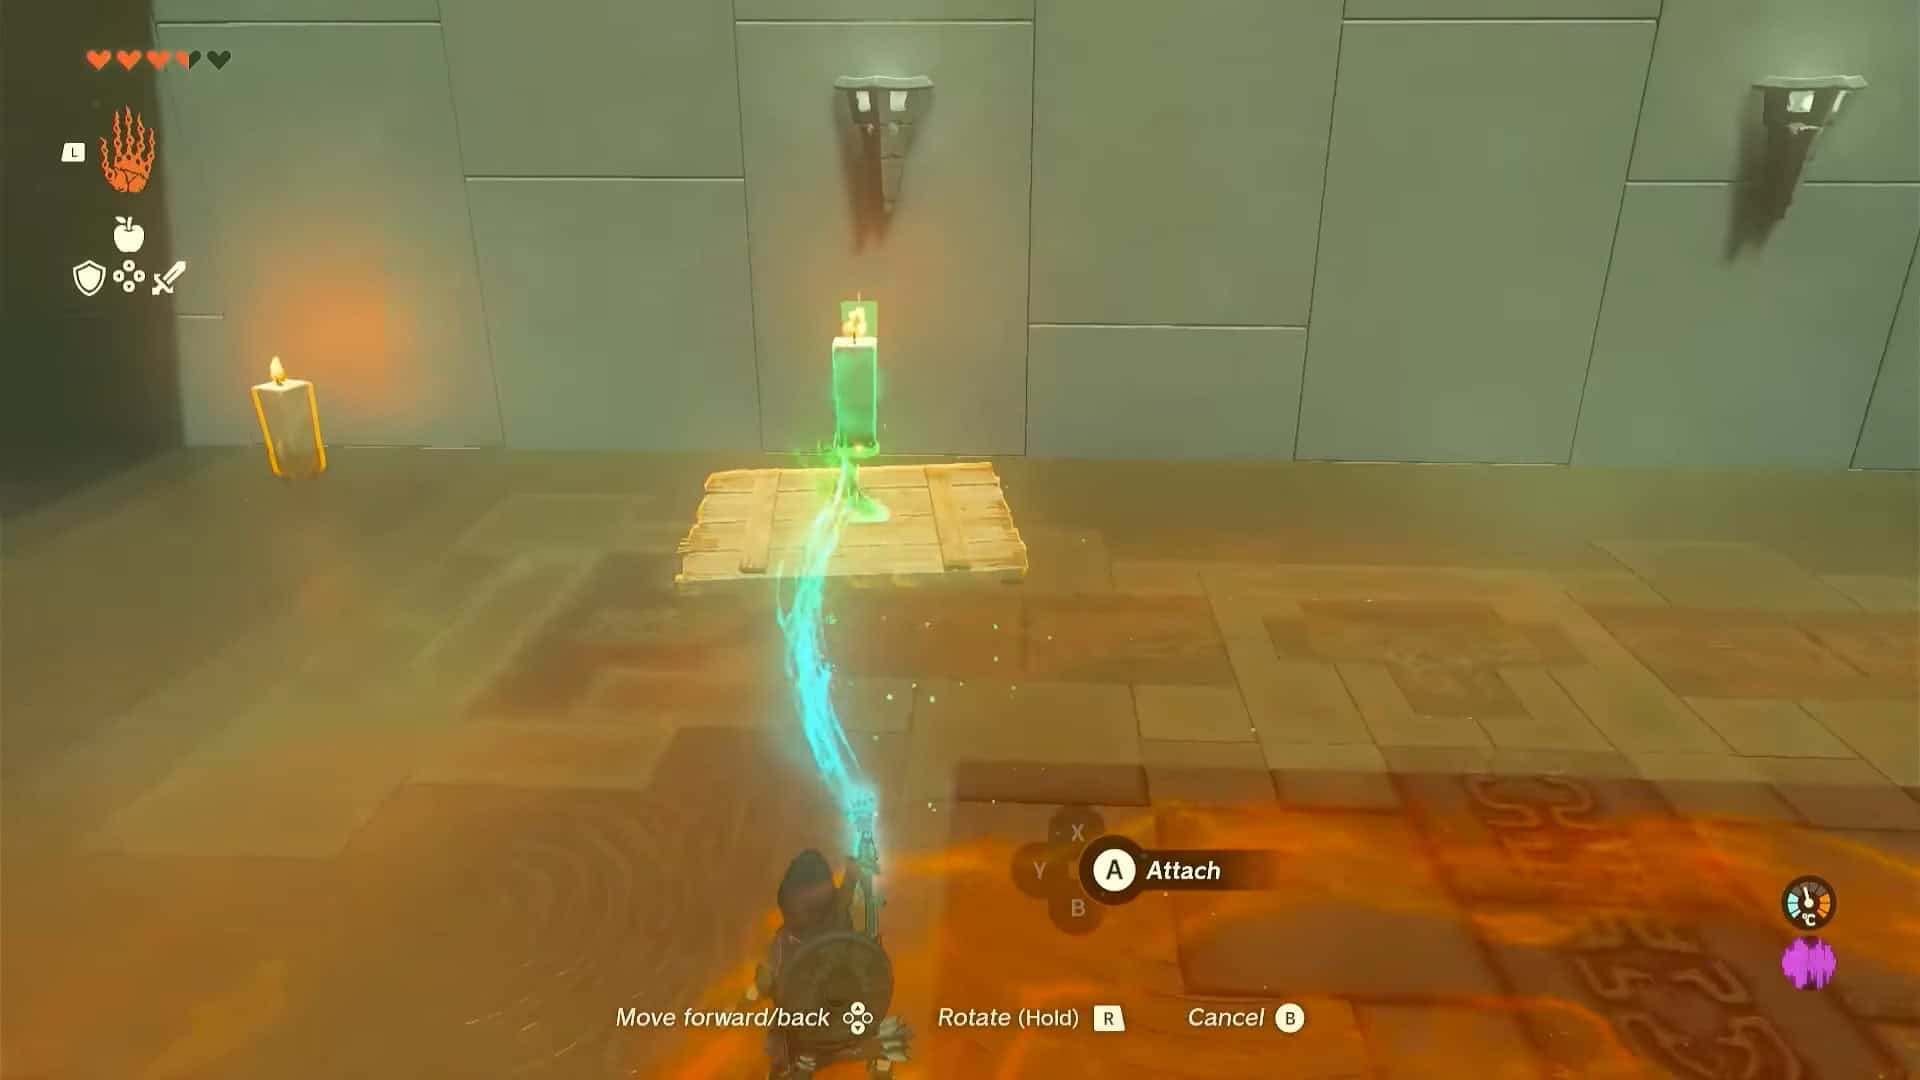
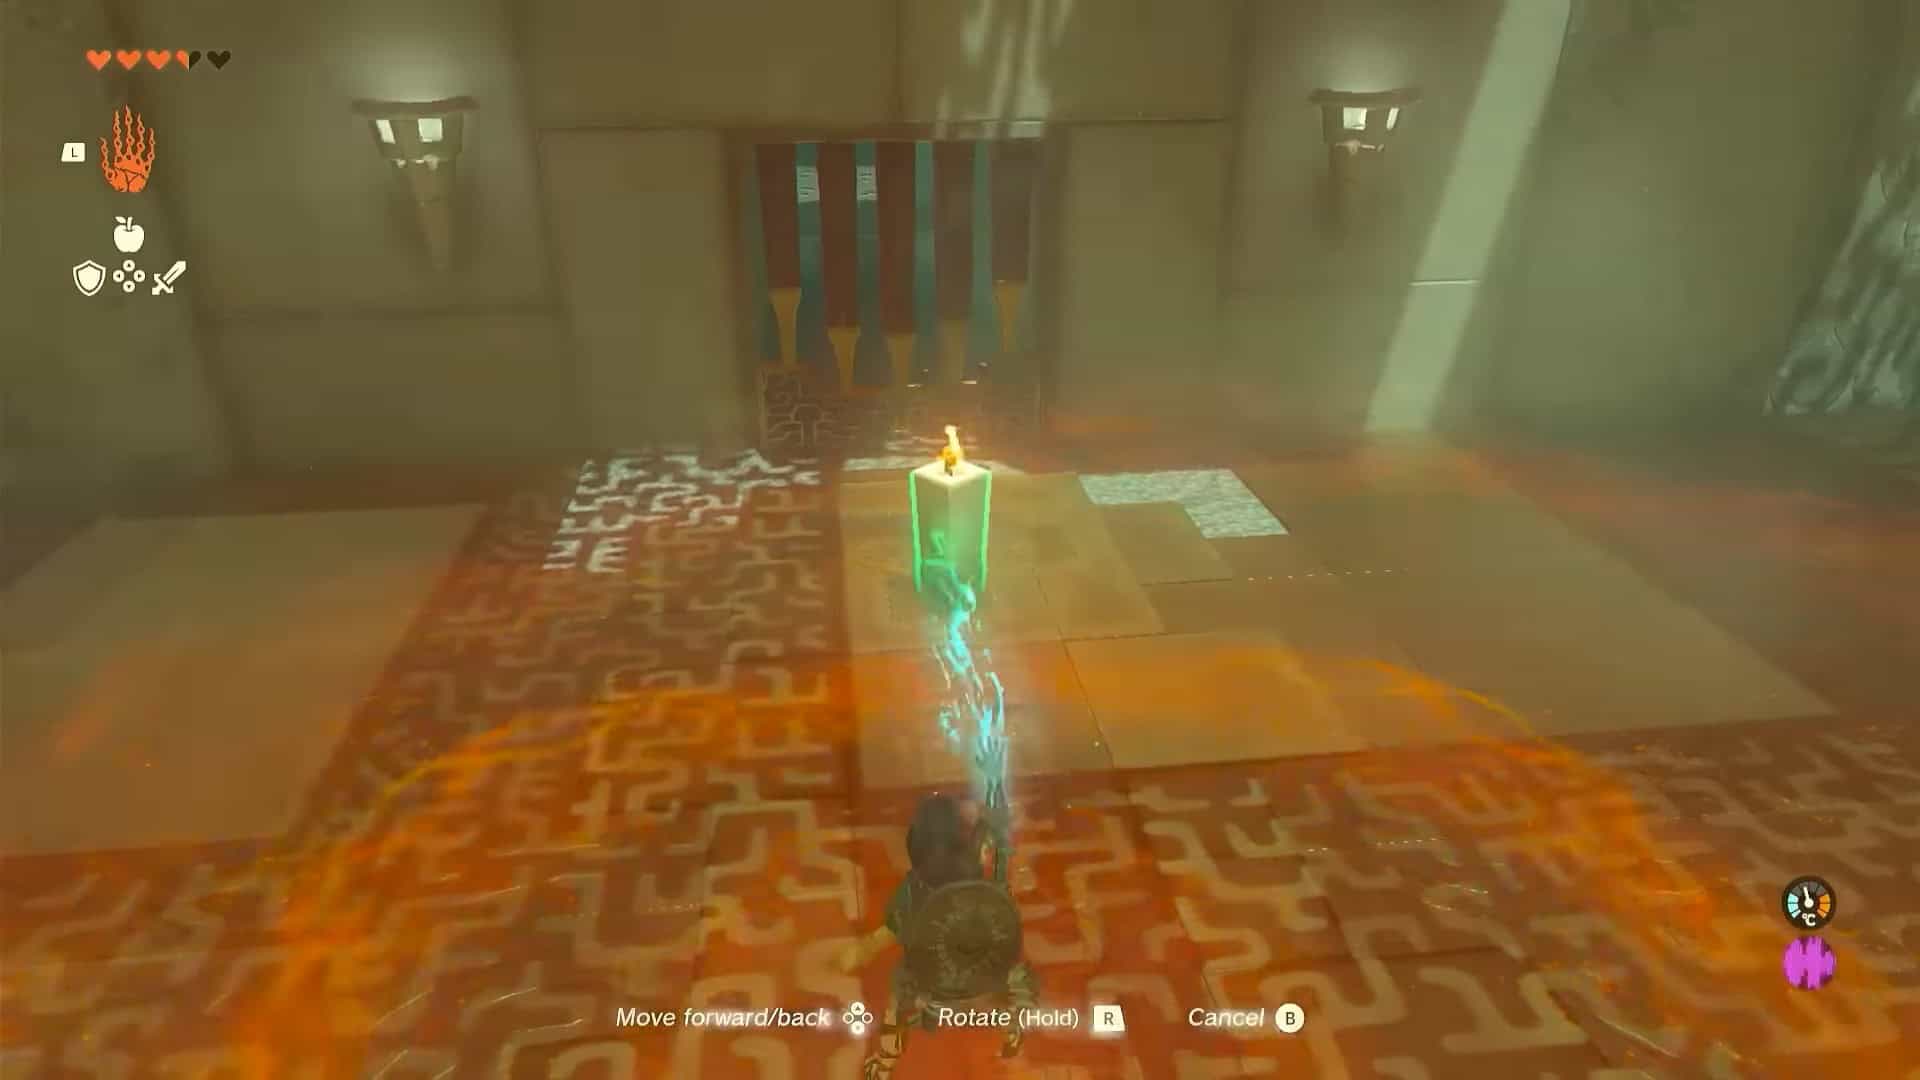
1. Climb the stairs and pick up a wooden plank. Attach one candle at its center.
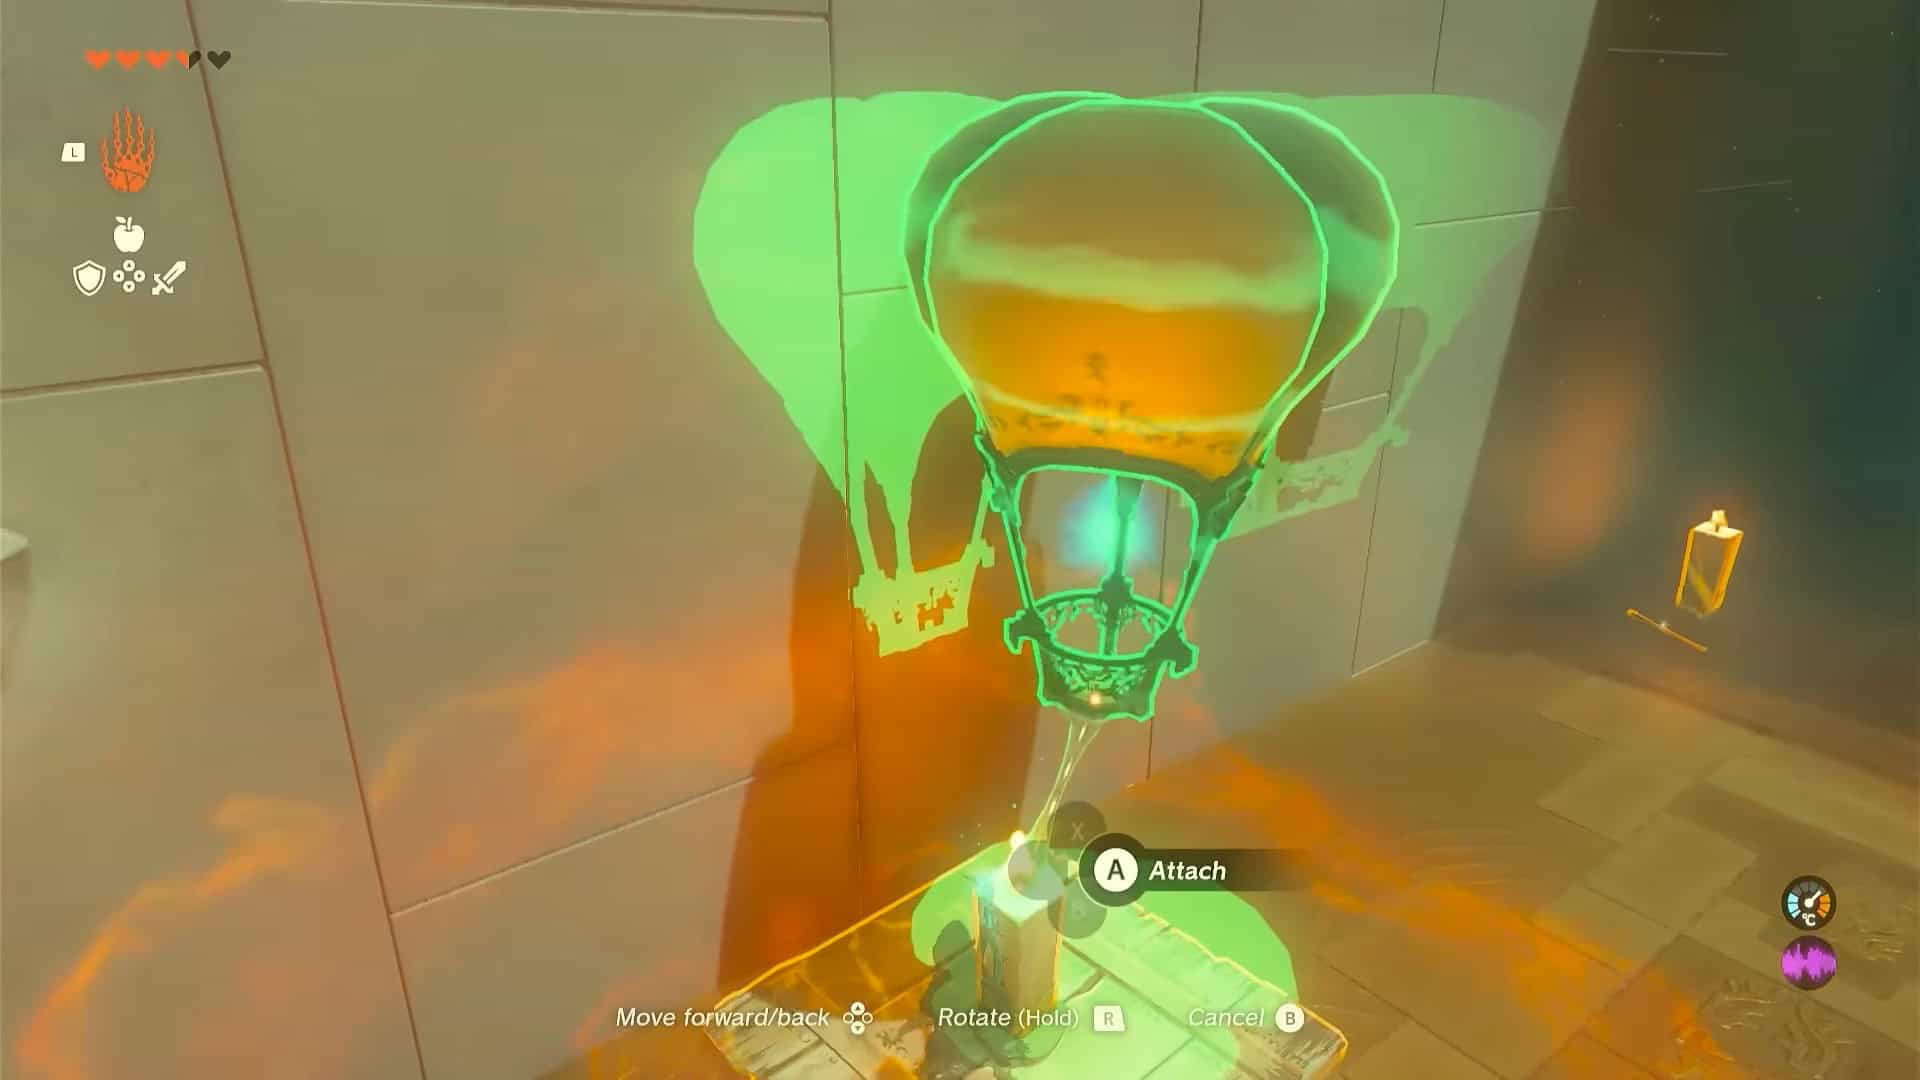
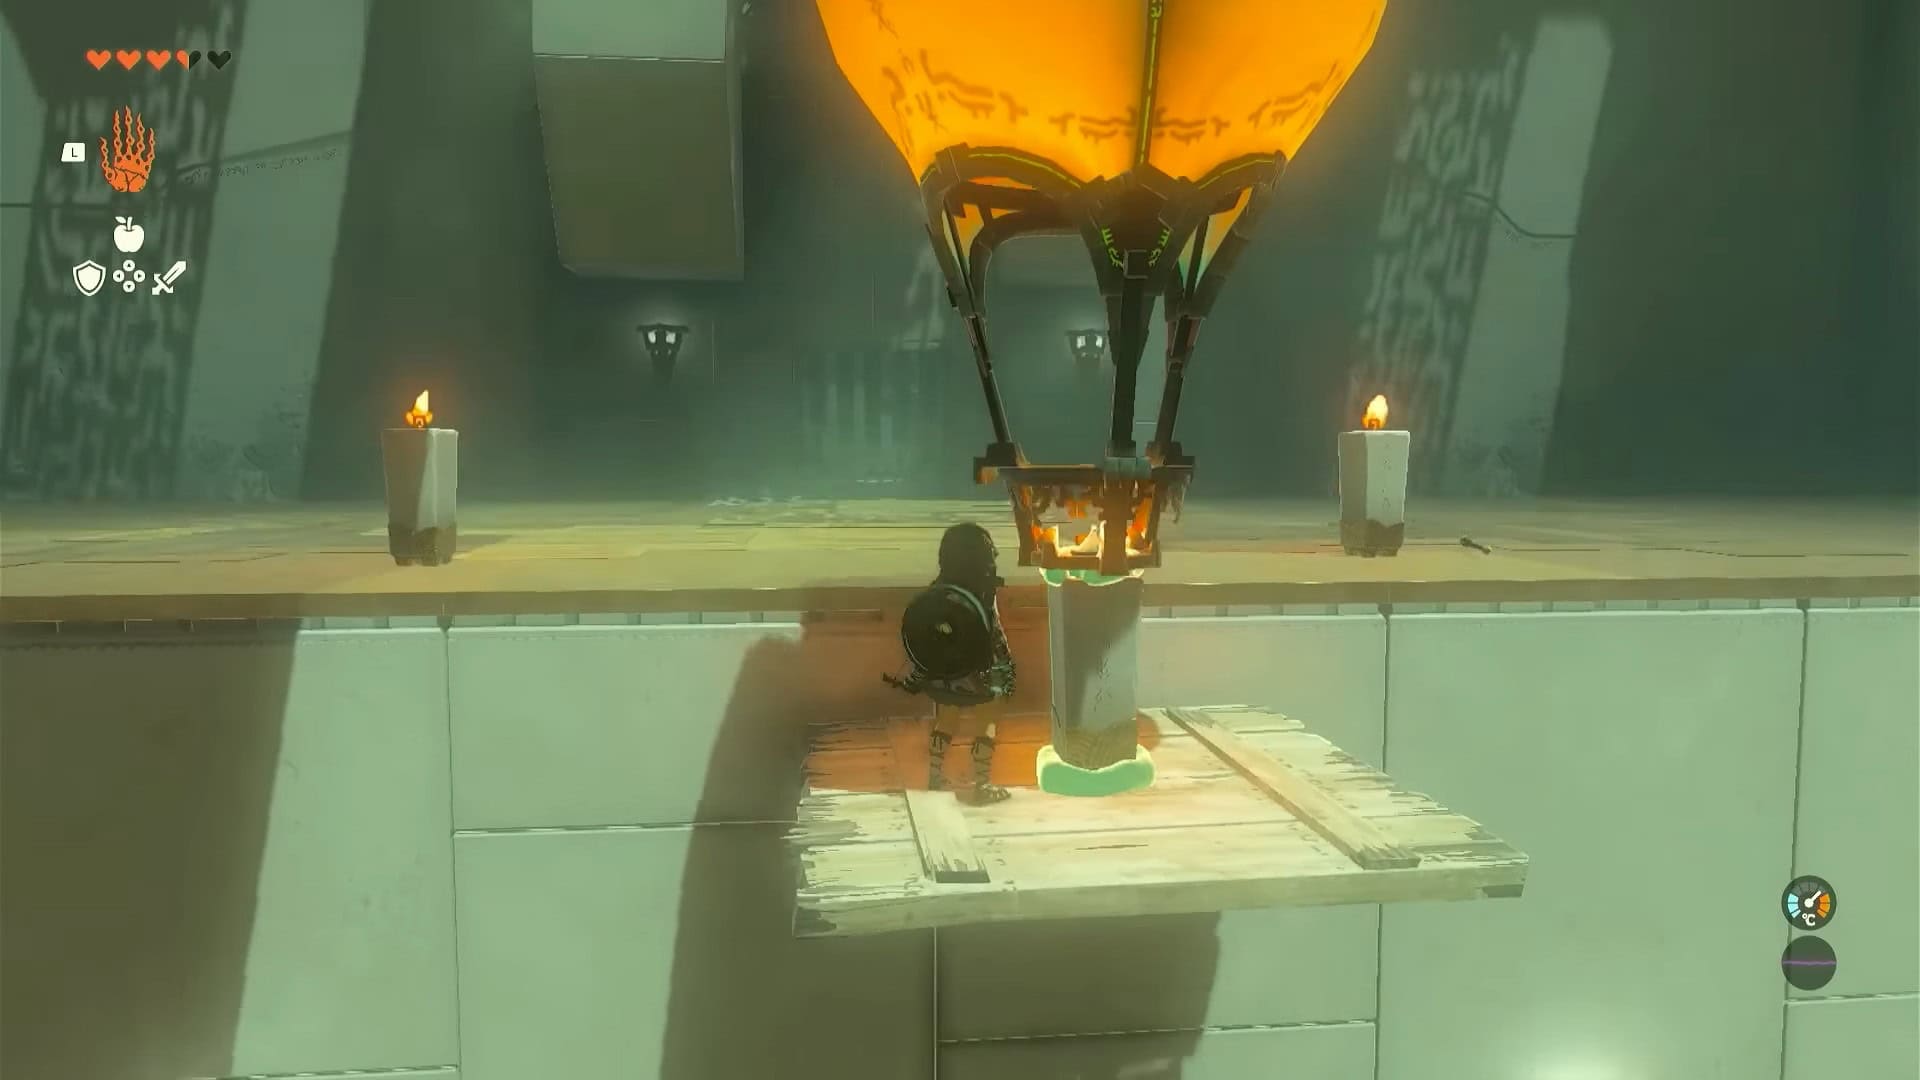
2. Pick up a balloon and ensure you stand on the plank before attaching it to the candle. As soon as you attach the balloon, it will start flying due to the hot air of the candle.

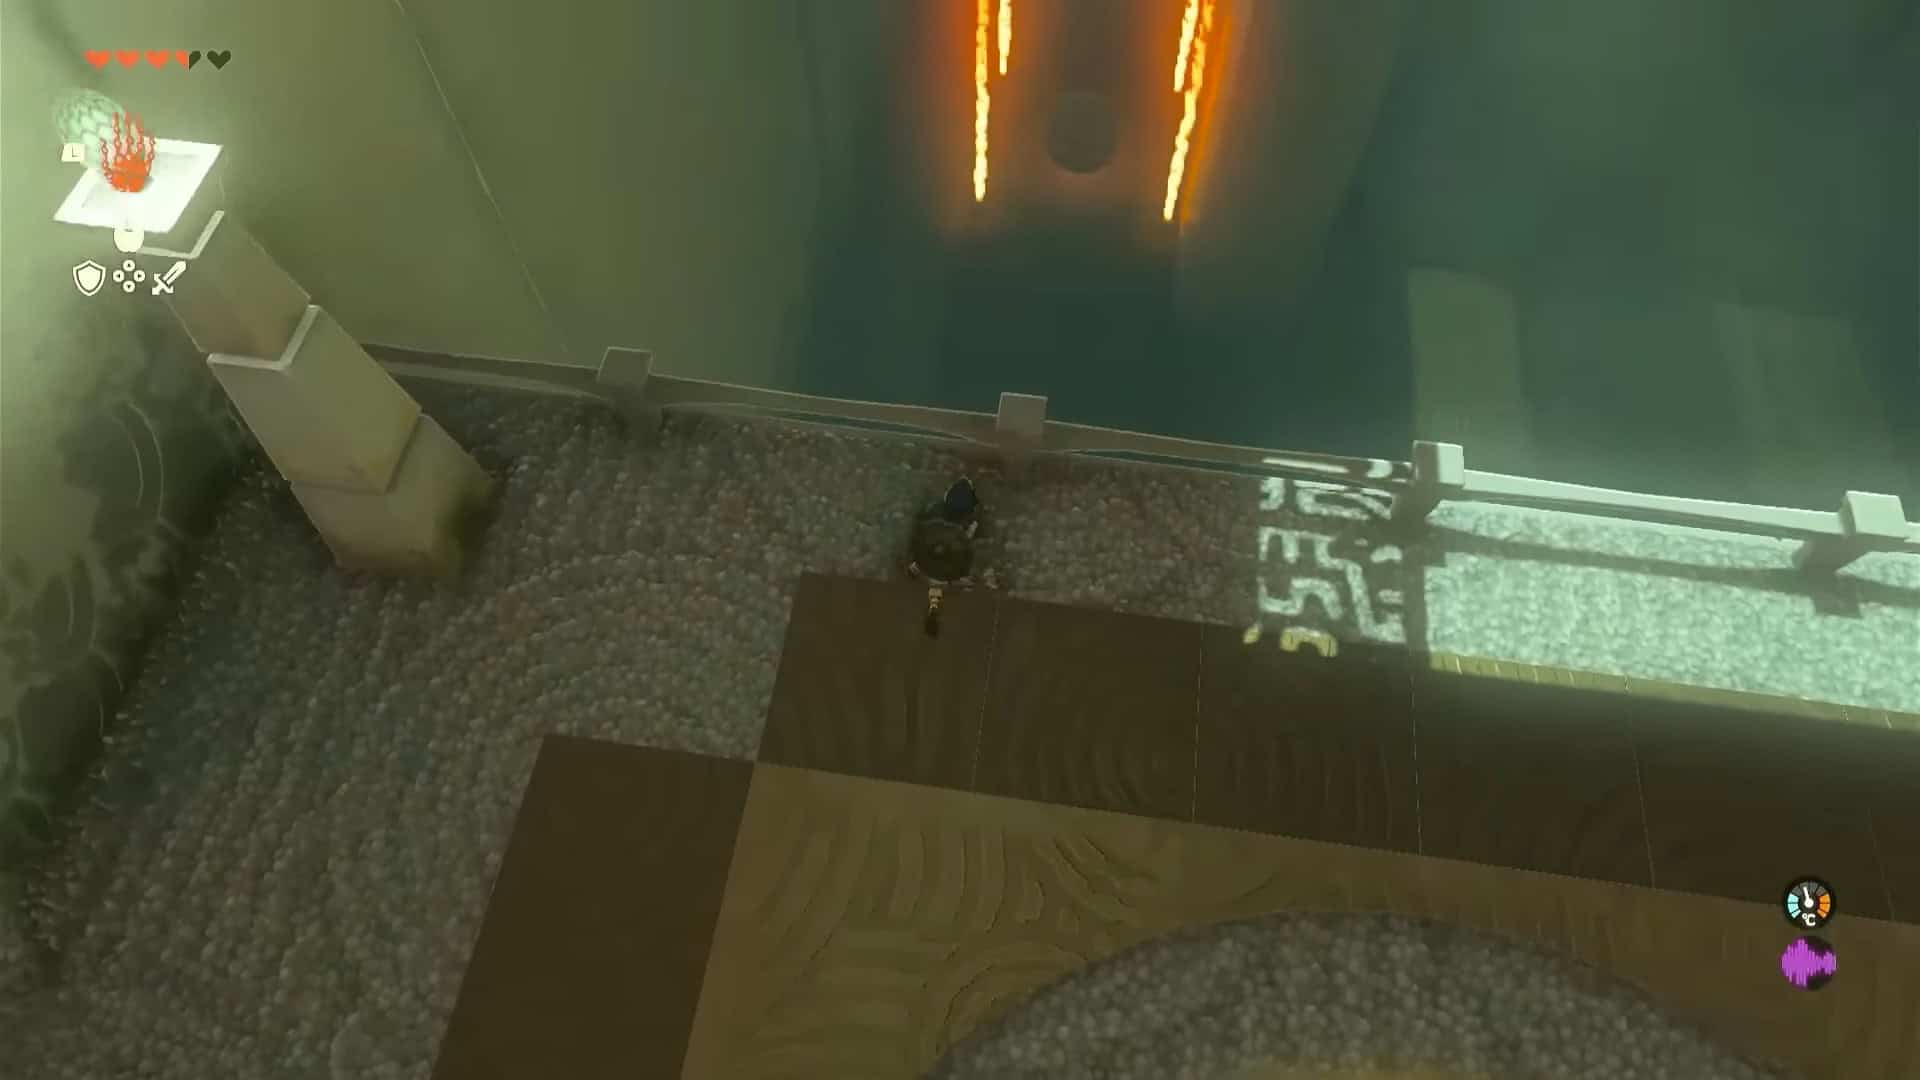
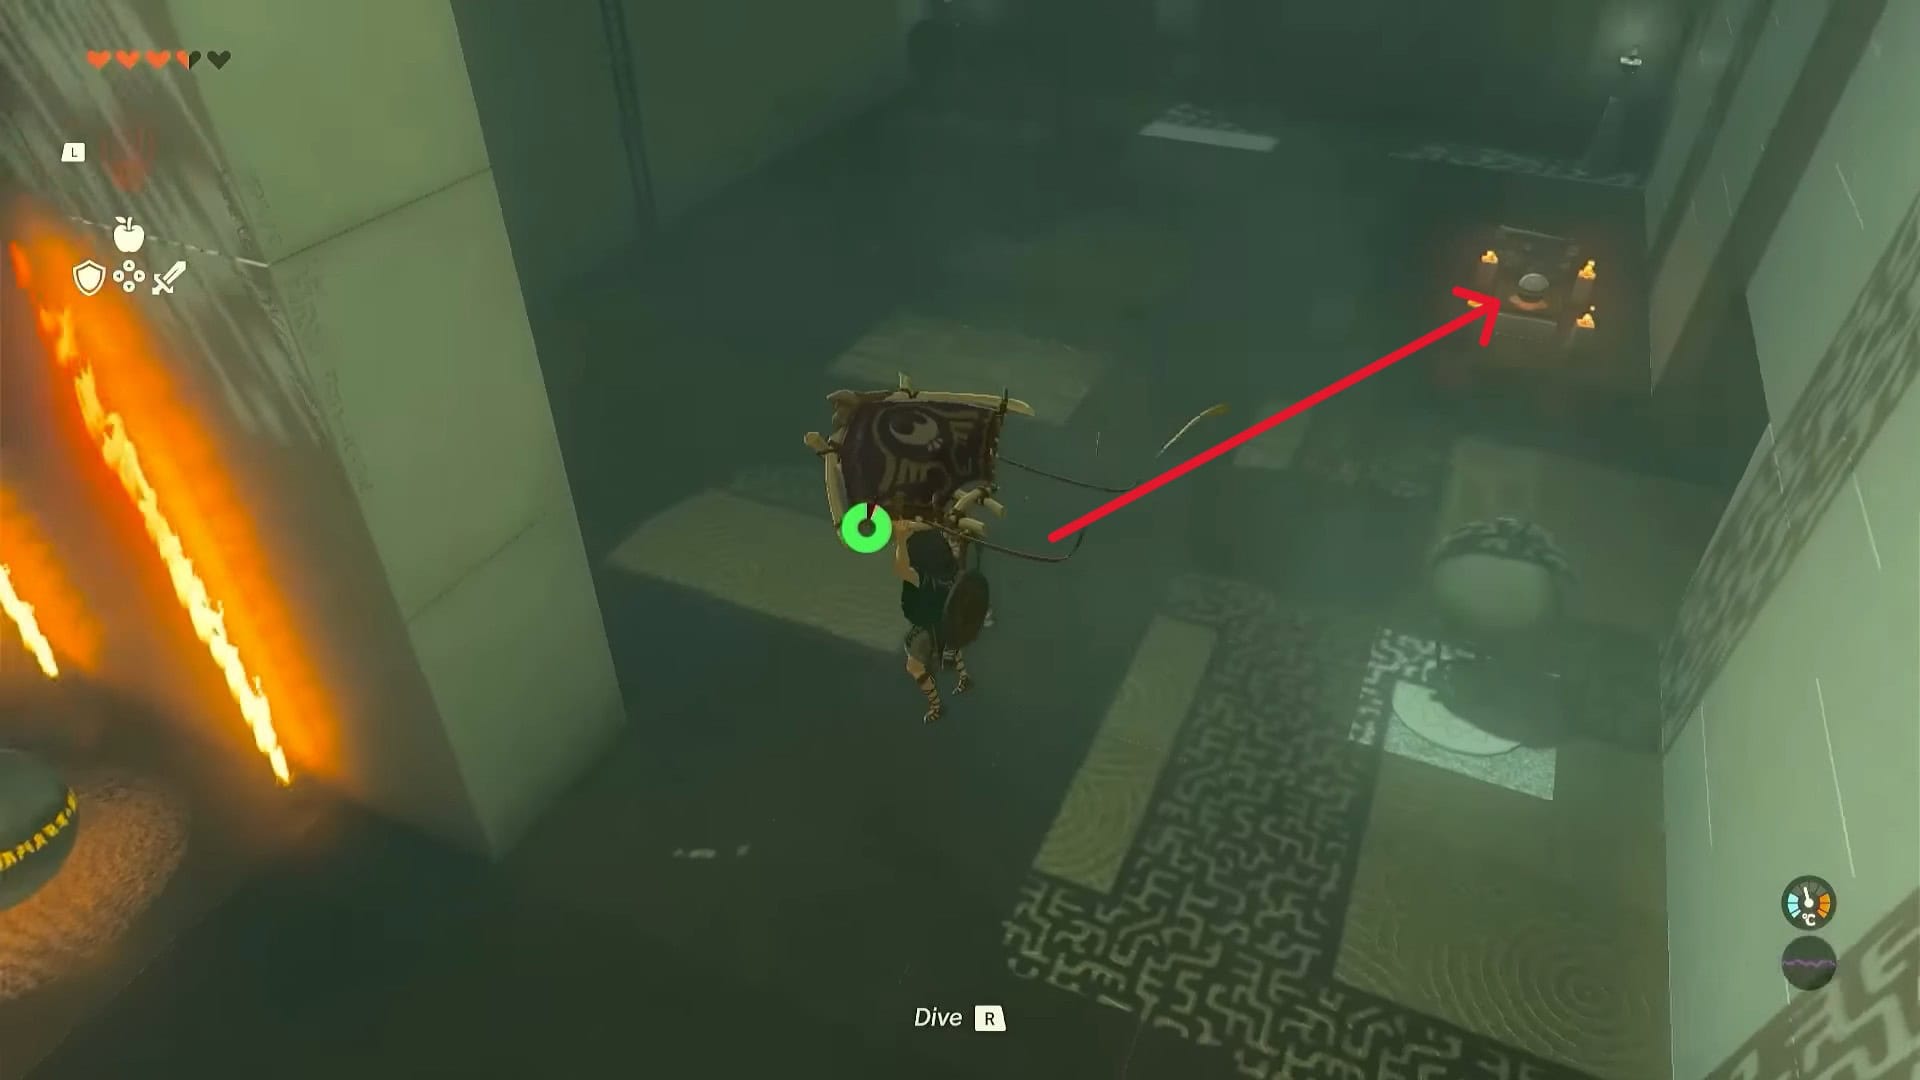
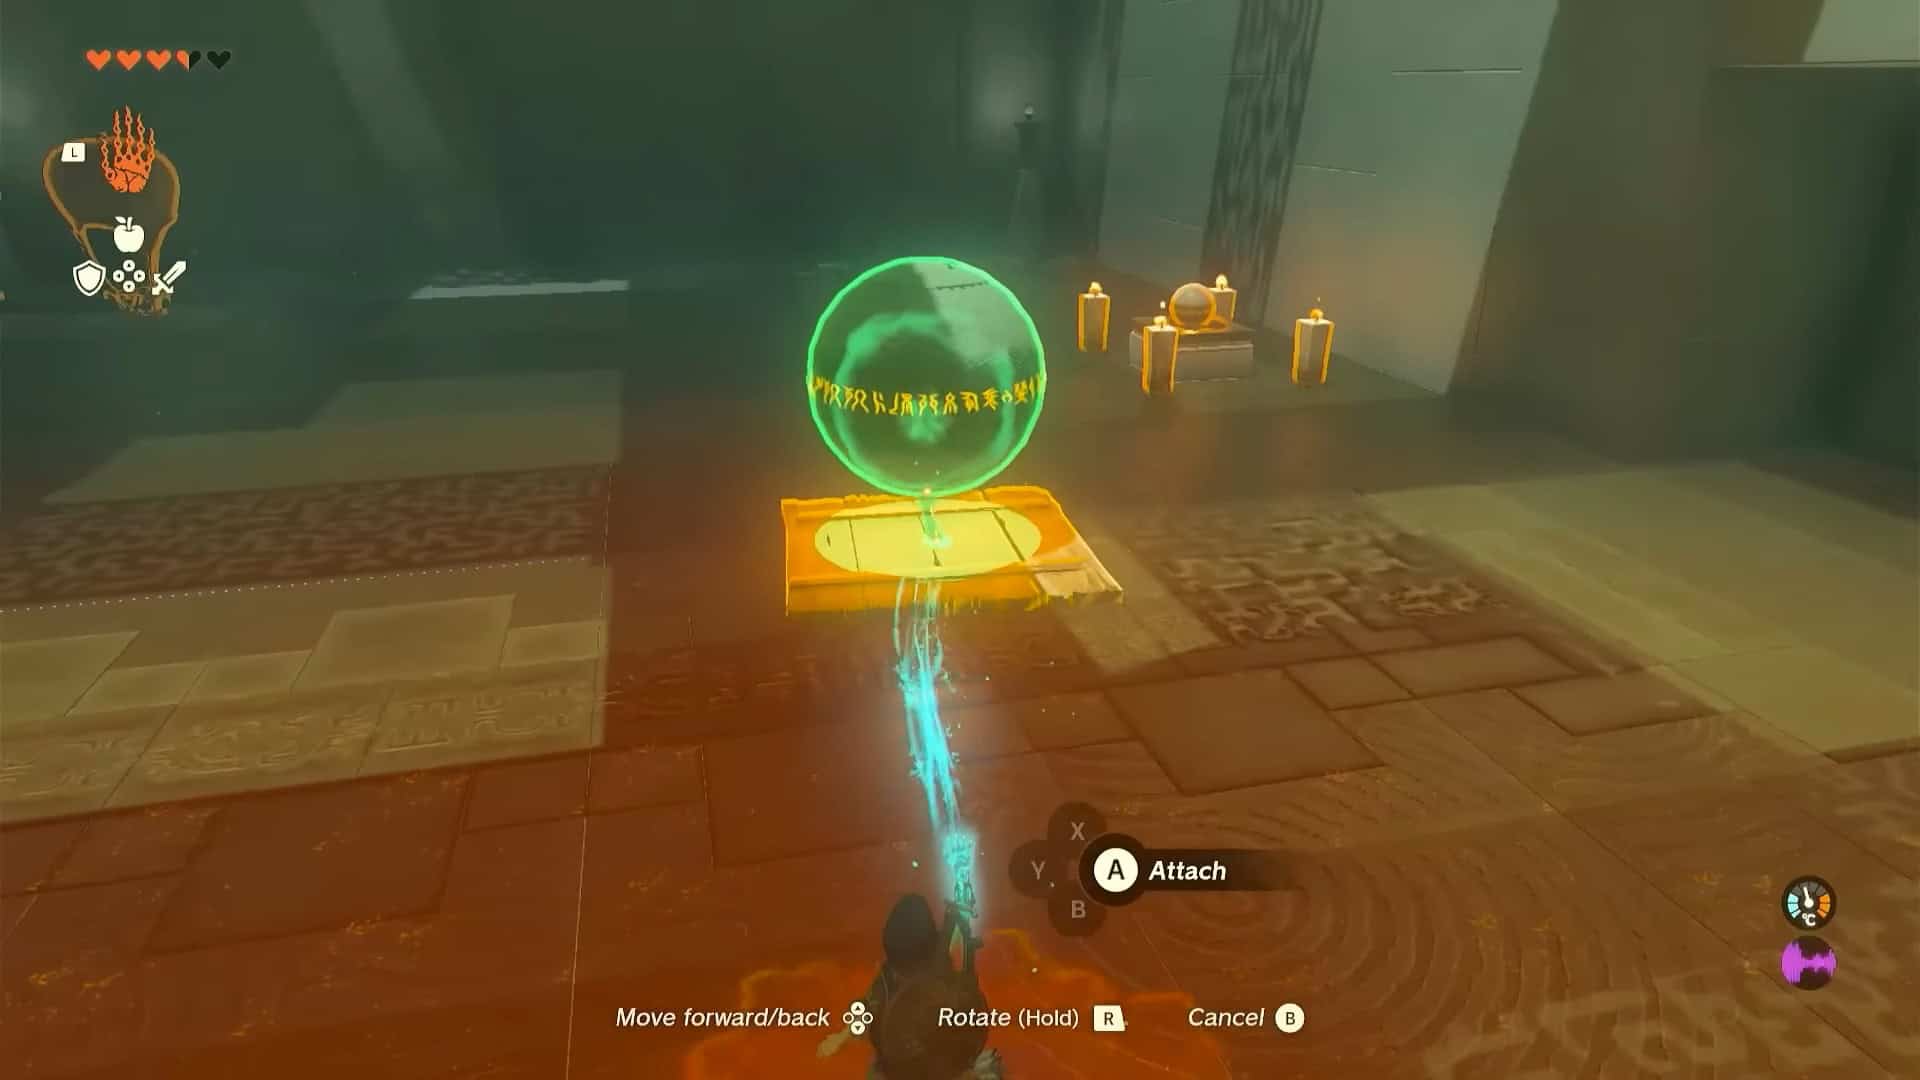
3. A switch above the main door is in the next area. You can either hit with a bomb arrow or create another makeshift hot air balloon. The path to the next area opens as this balloon hits the switch.
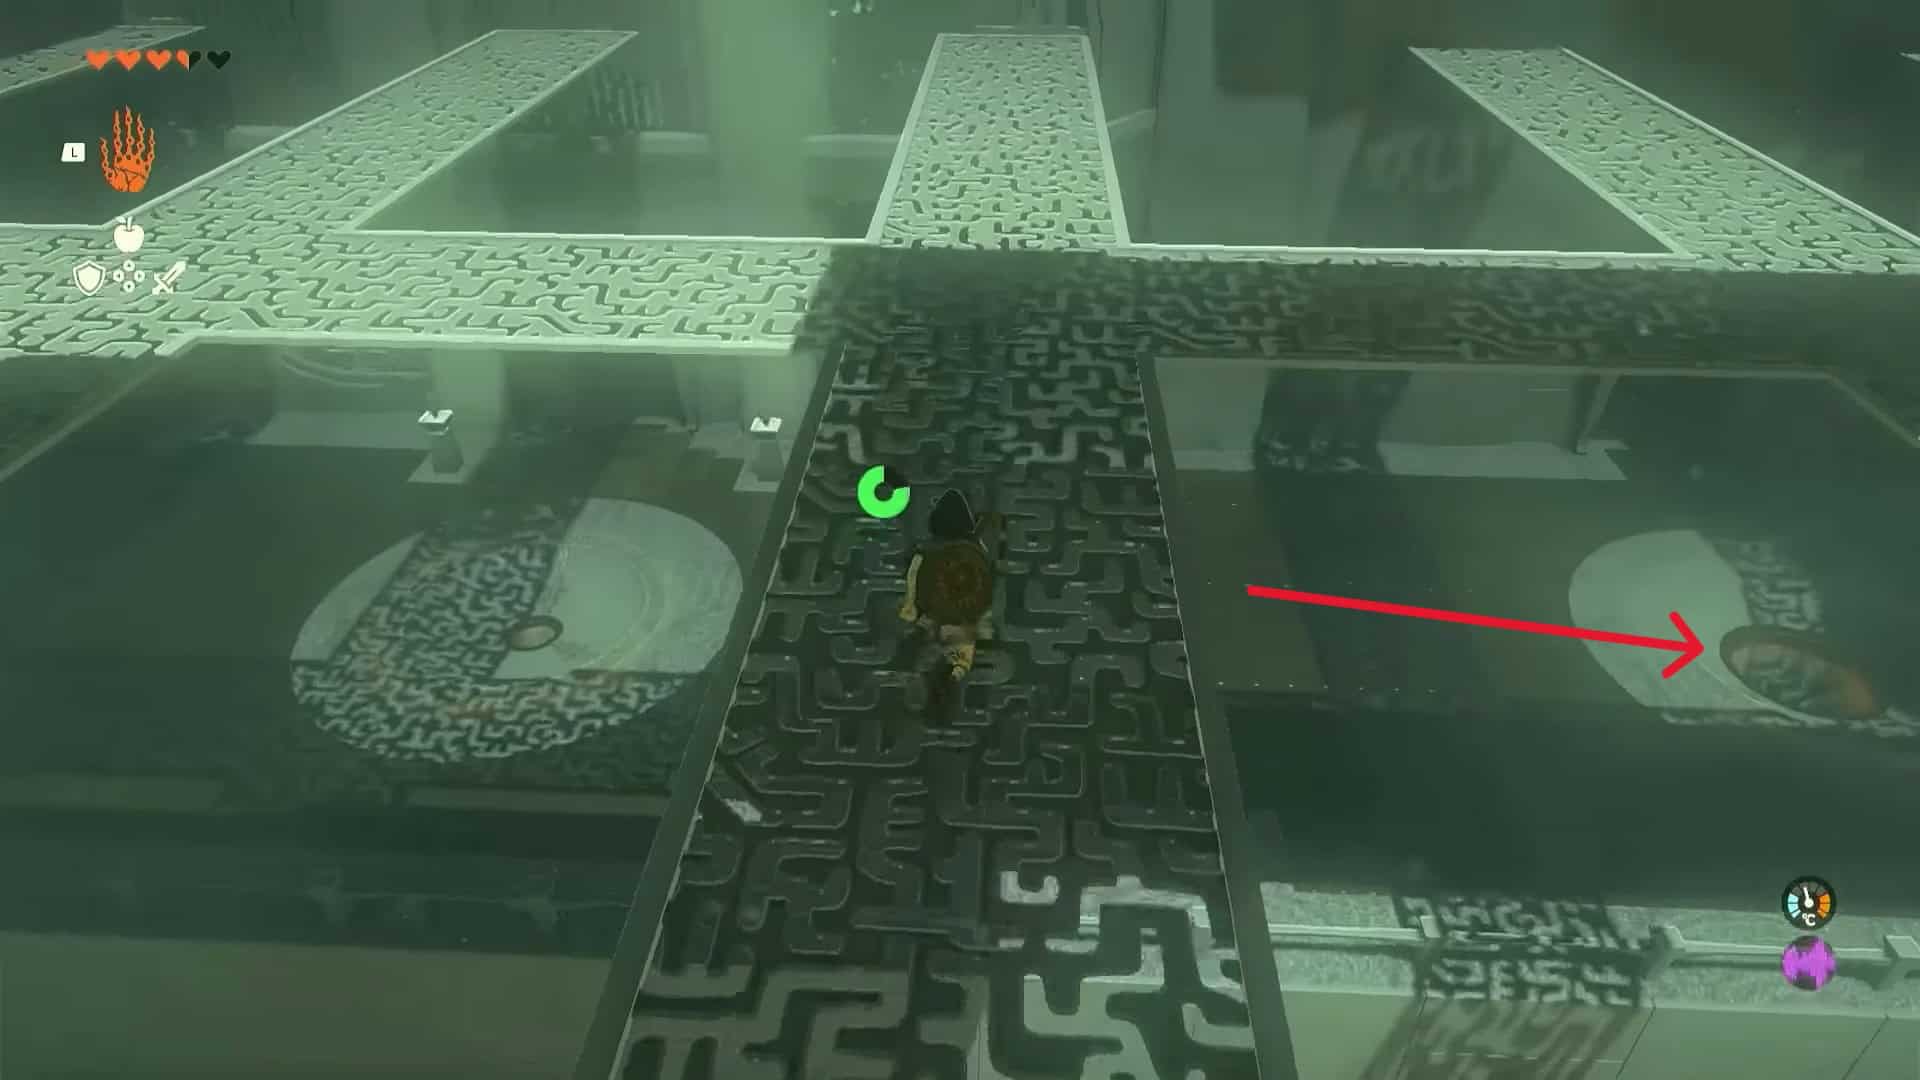
4. At this point, only one puzzle is left, and it is also the most difficult one. You need to bring two spheres from the lower ground to the one you are on right now.
5. Go right of the altar’s entrance and drop down where four dragon heads surround a large sphere. Don’t pick it up yet.
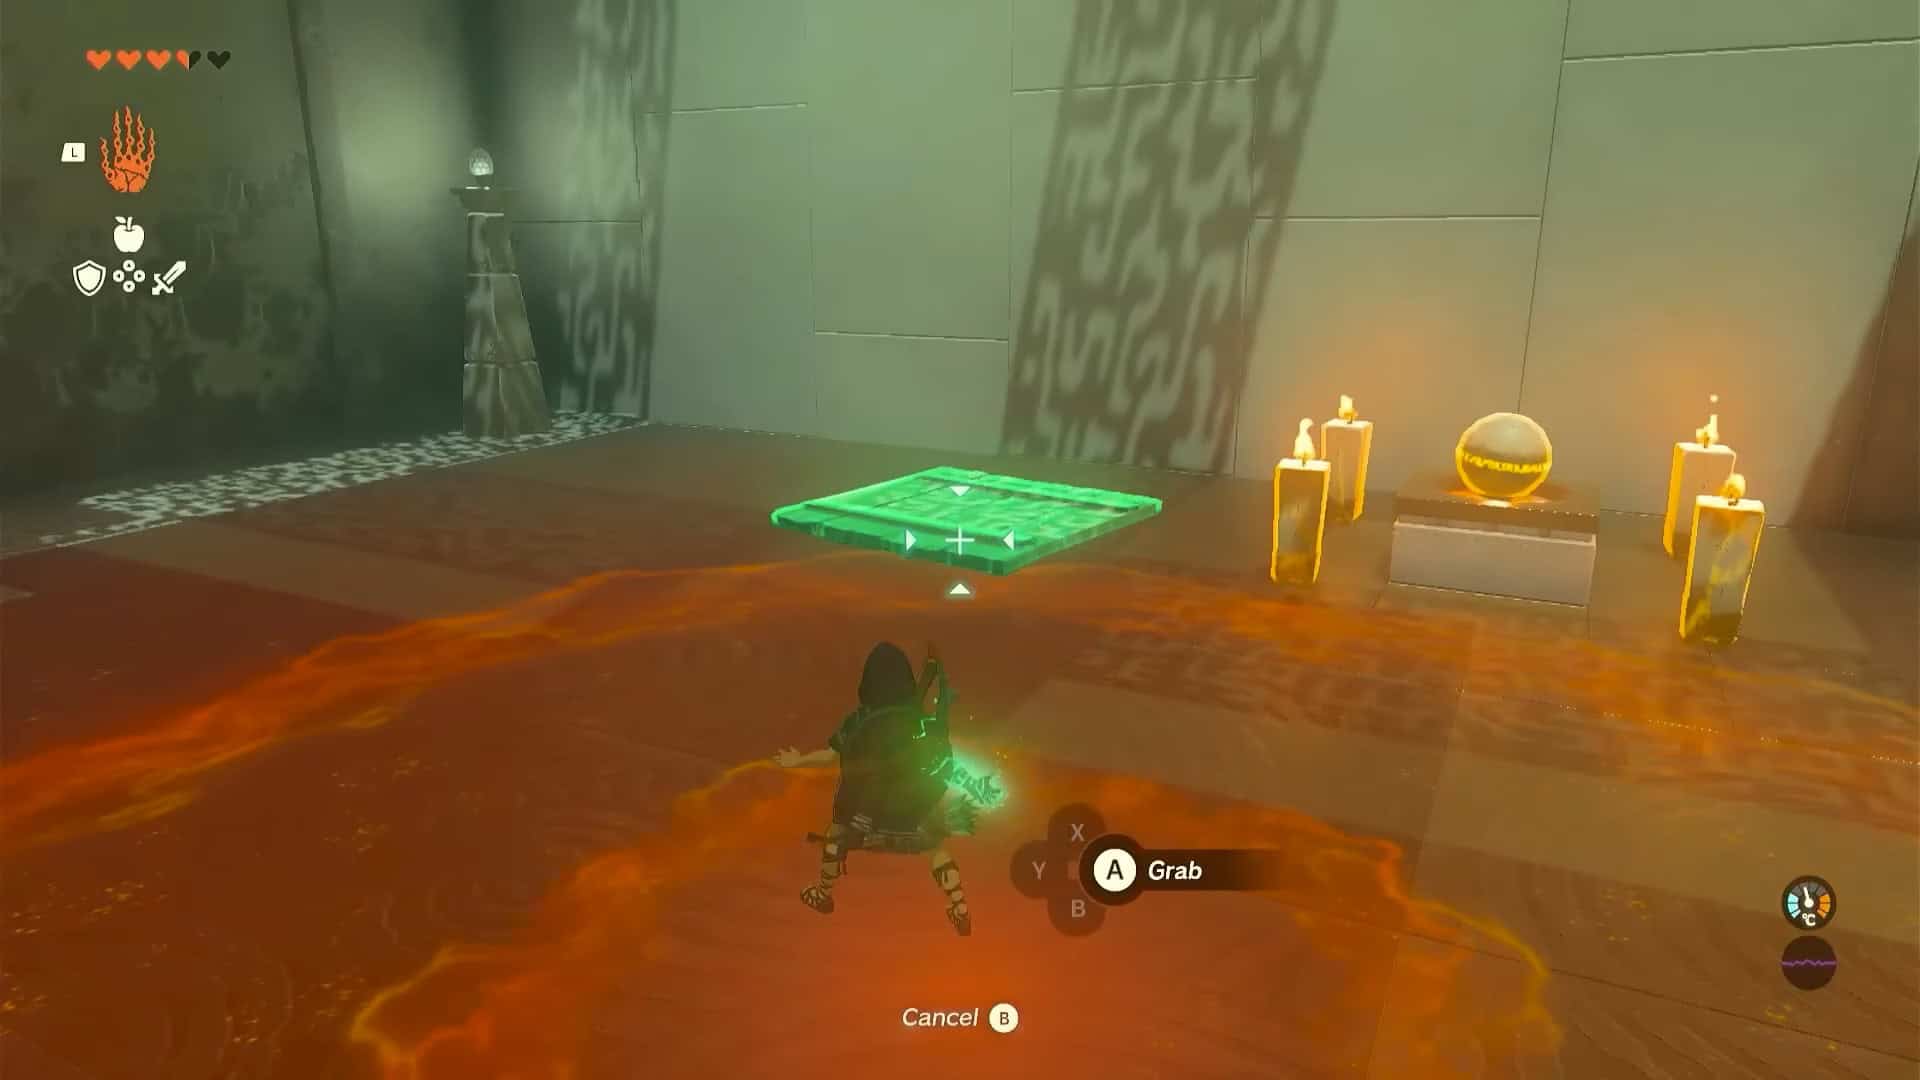
6. Find a plank and lay it down horizontally. Attach the larger sphere in its middle.

7. Now, pick up the small sphere and attach it to the large sphere. Make sure that they are in the middle to balance the plank.

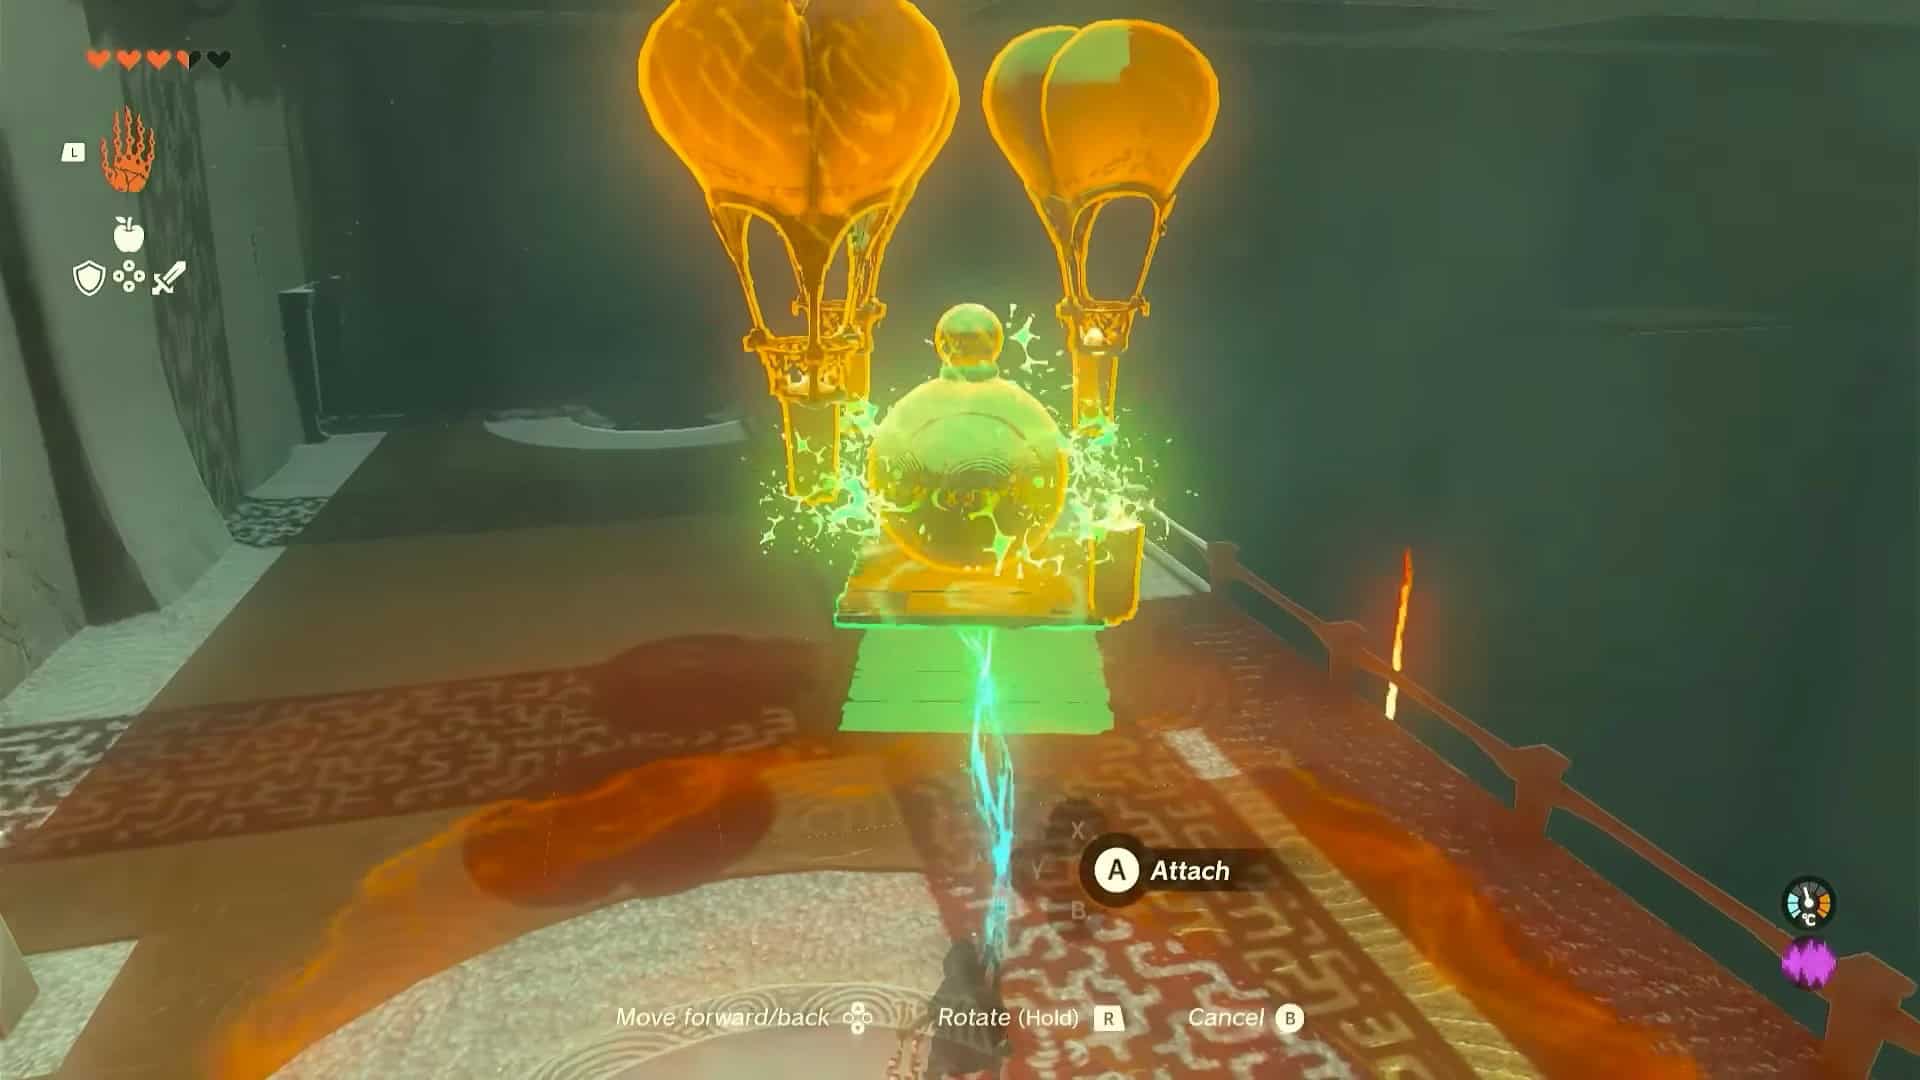
8. Attach four candles to the corners of the plank. Refer to the picture for perfect alignment.
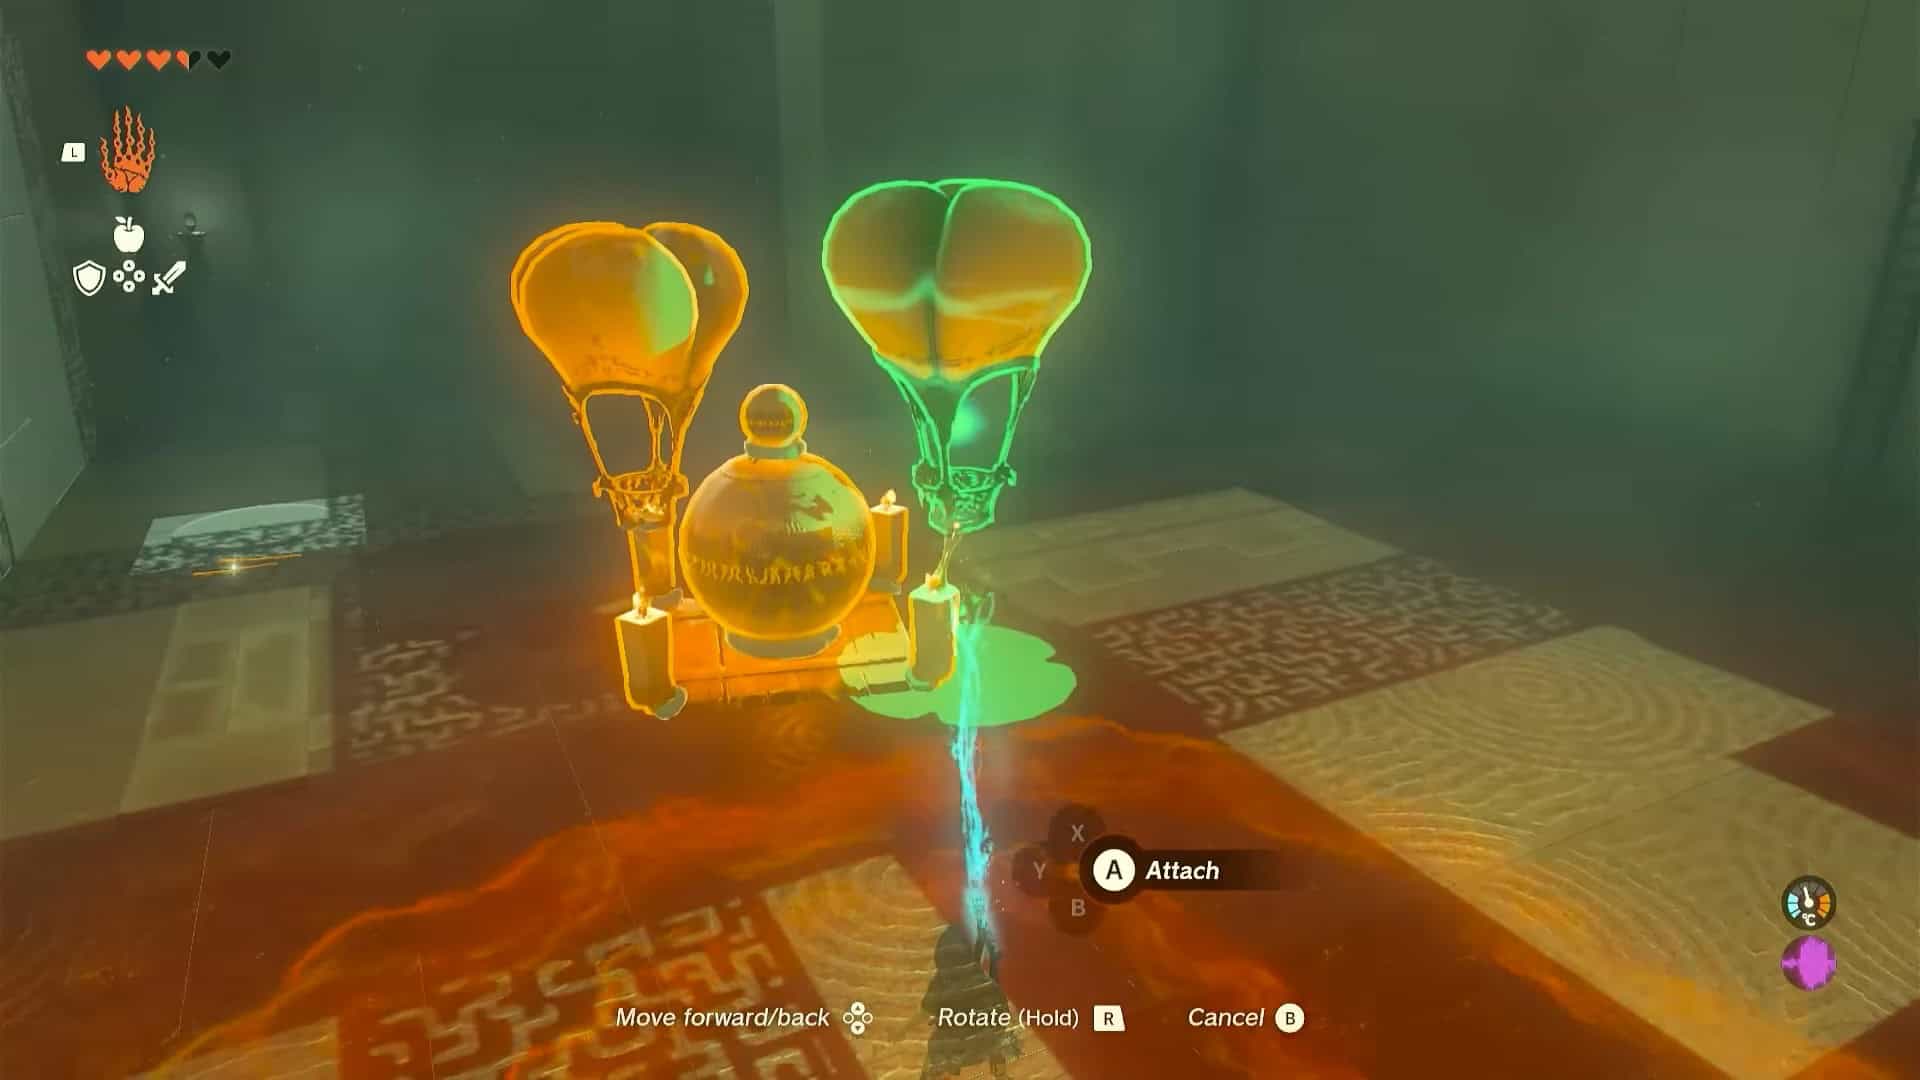
9. Now, start attaching balloons over candles. Only three balloons are in this area, so you must be careful with the arrangement.
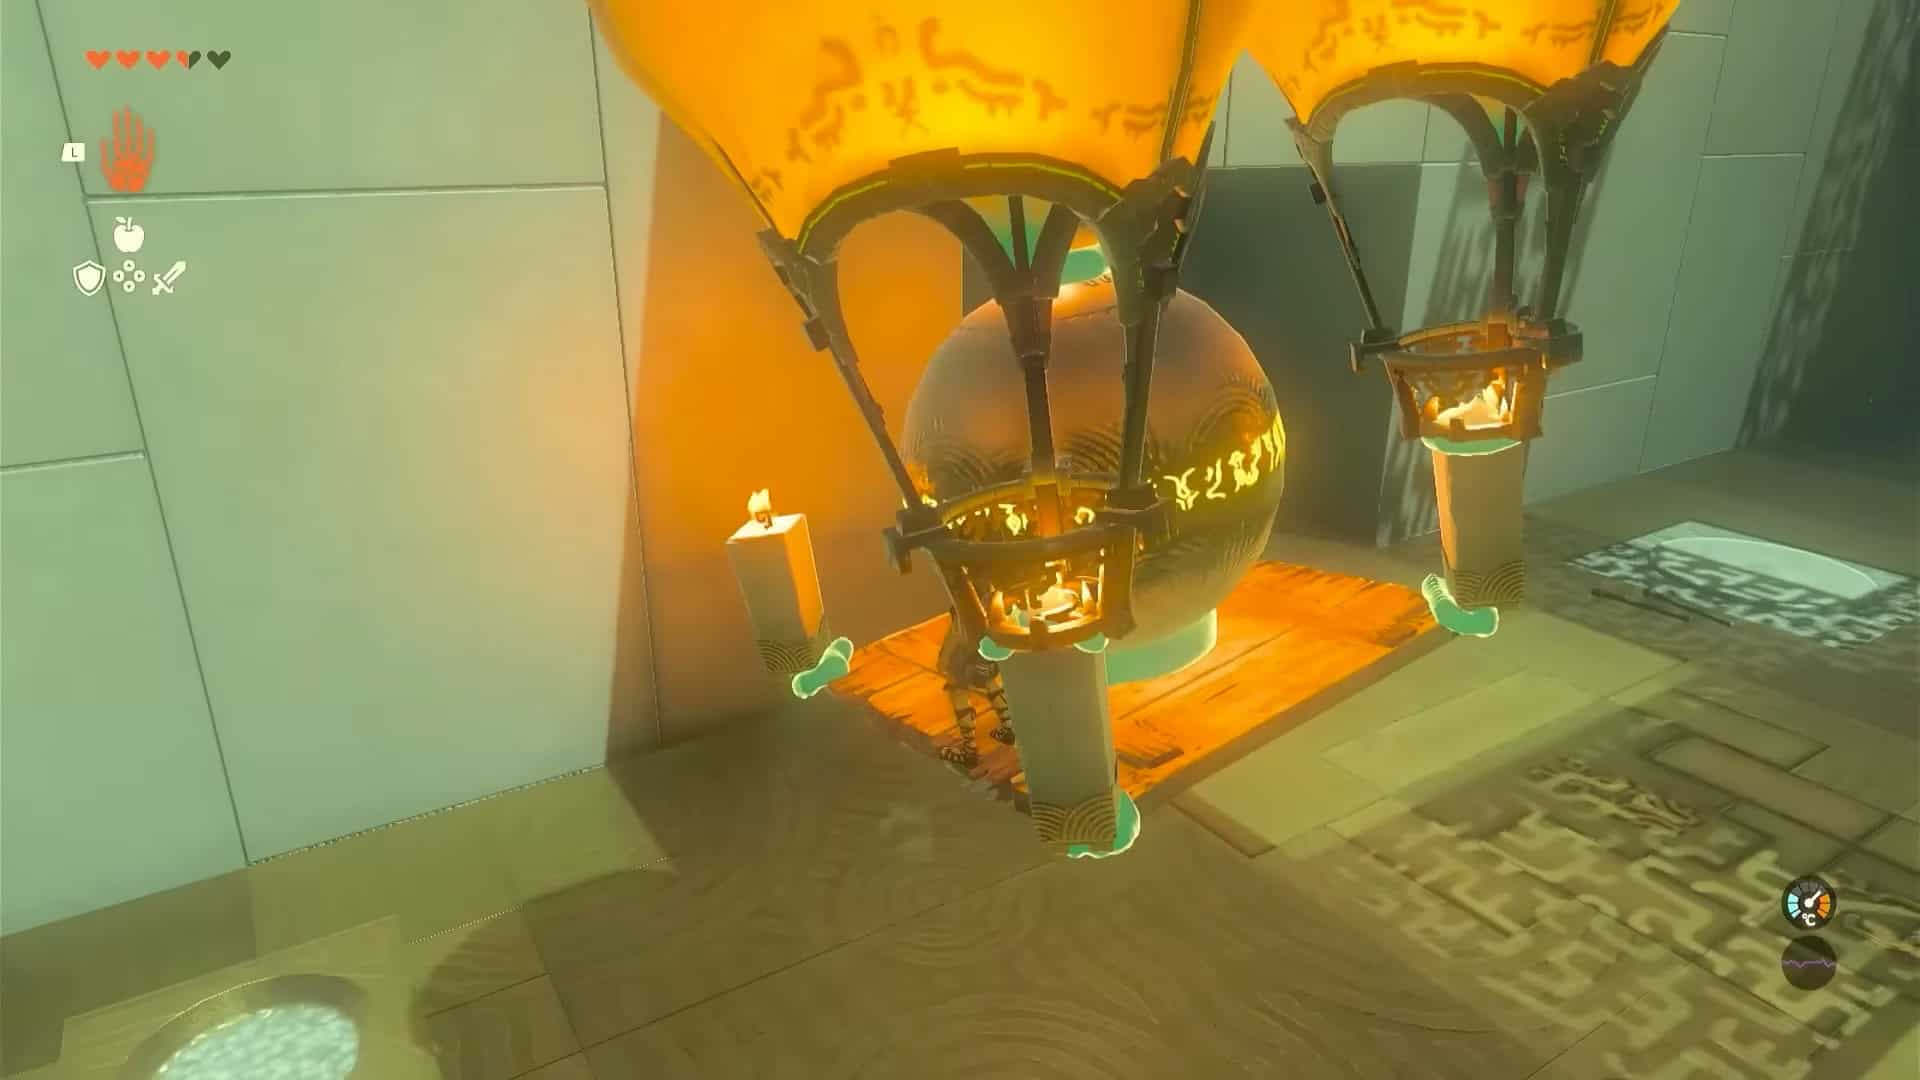
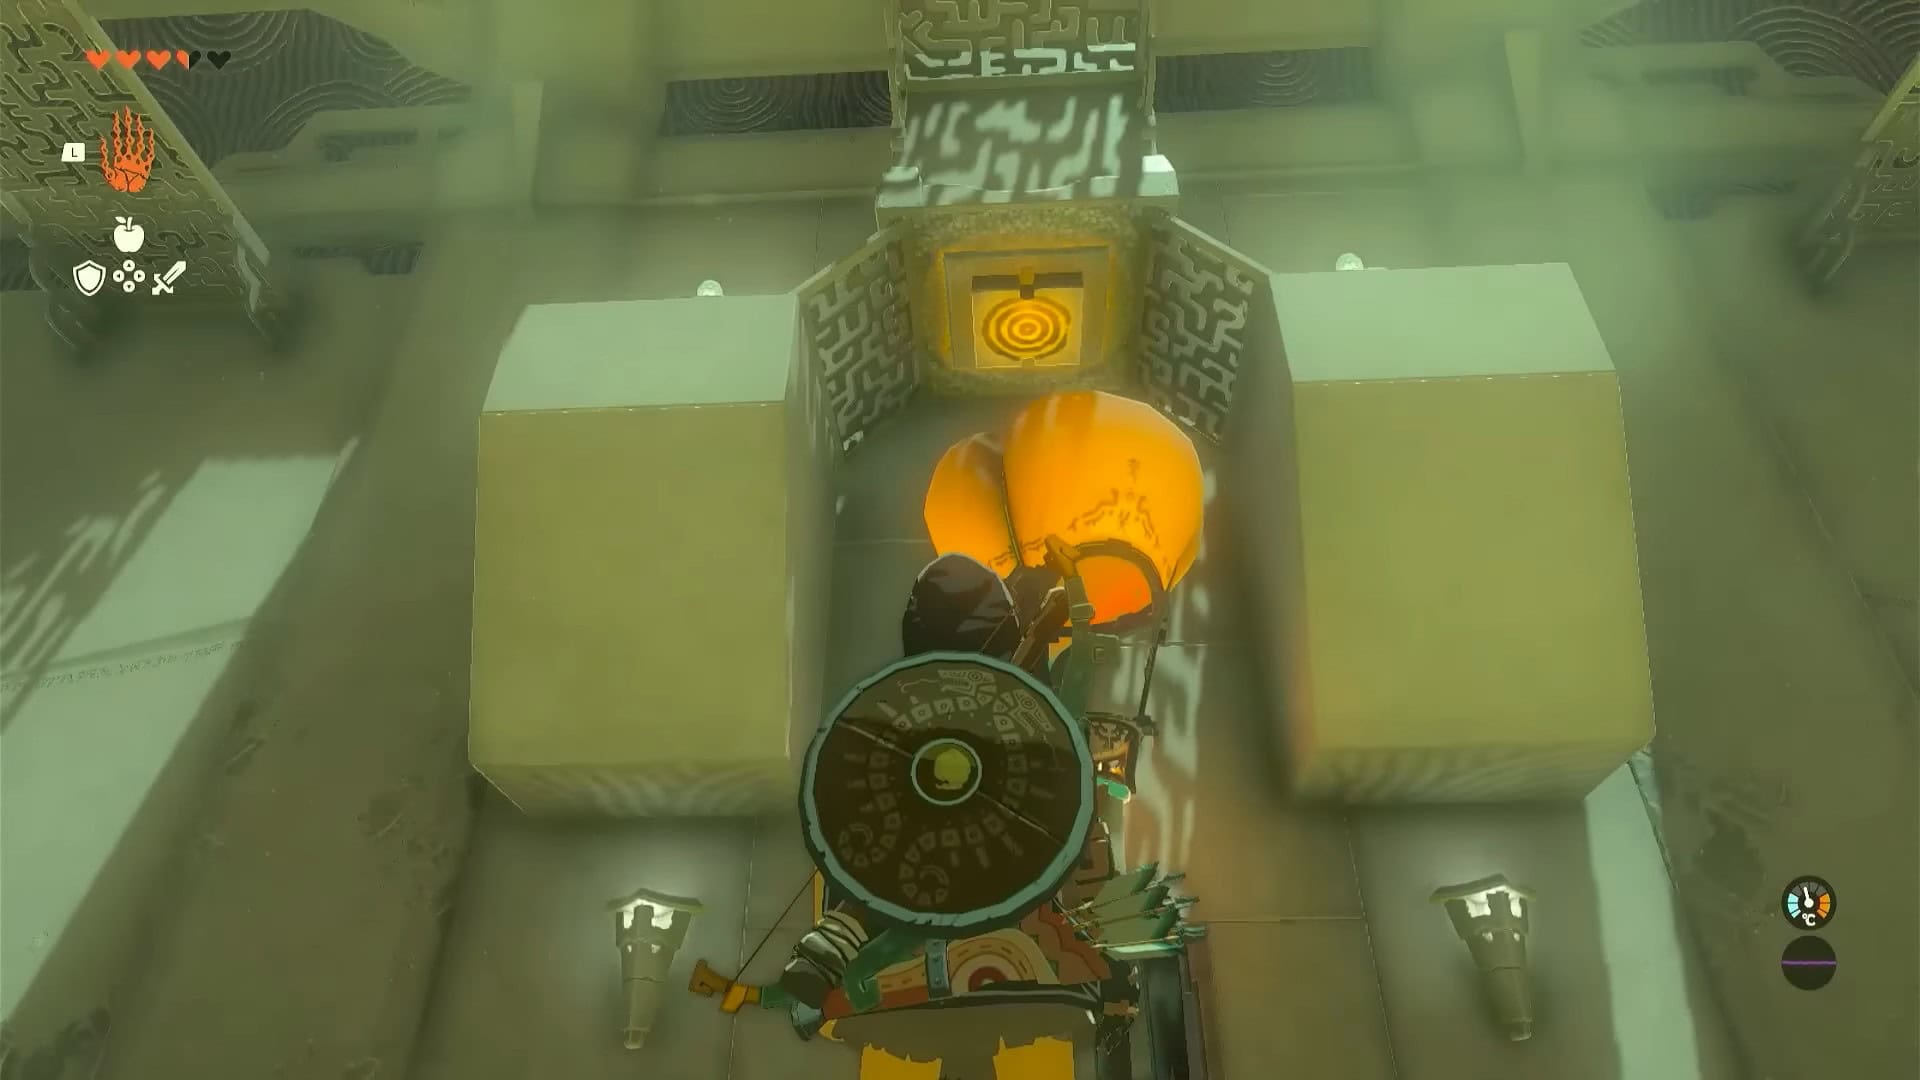
10. As soon as you reach the upper floor with the hot air balloon, get off and catch it with Ultrahand. This is extremely important, or all the effort will be in vain.
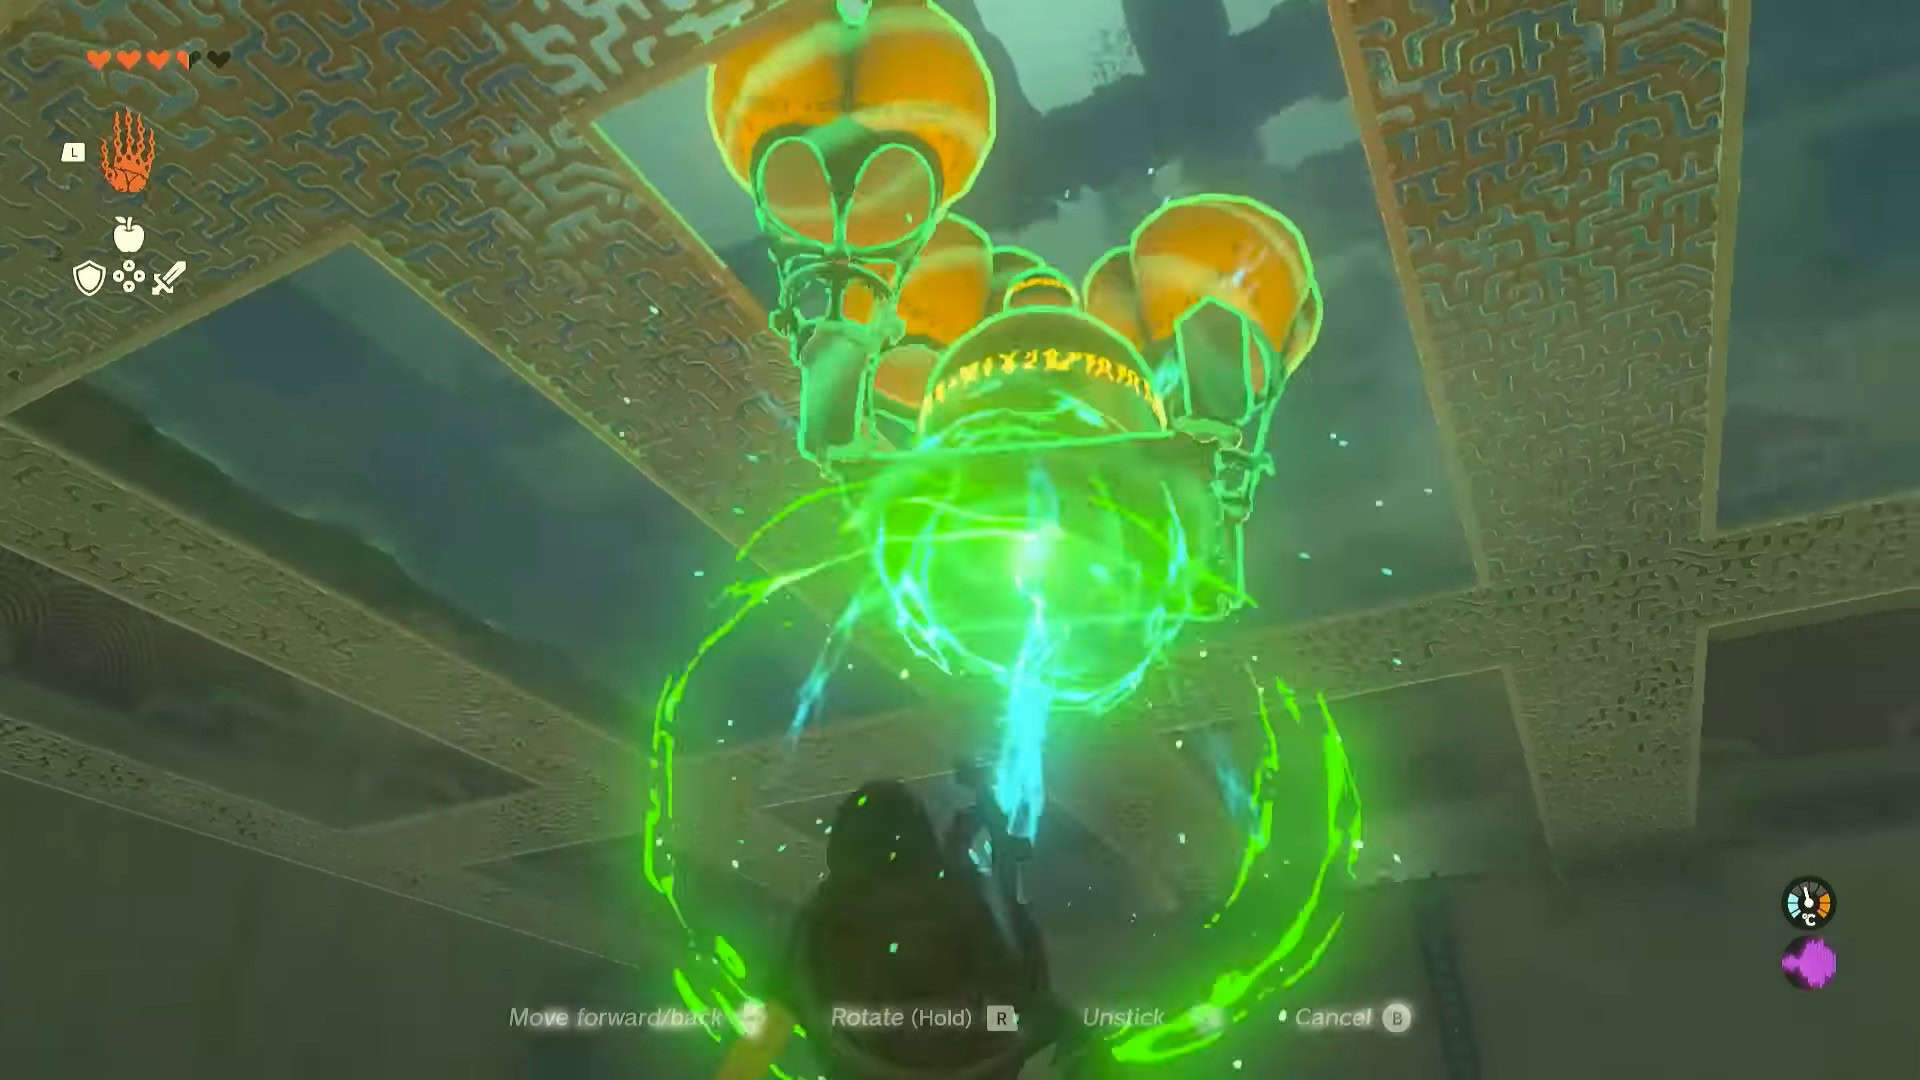
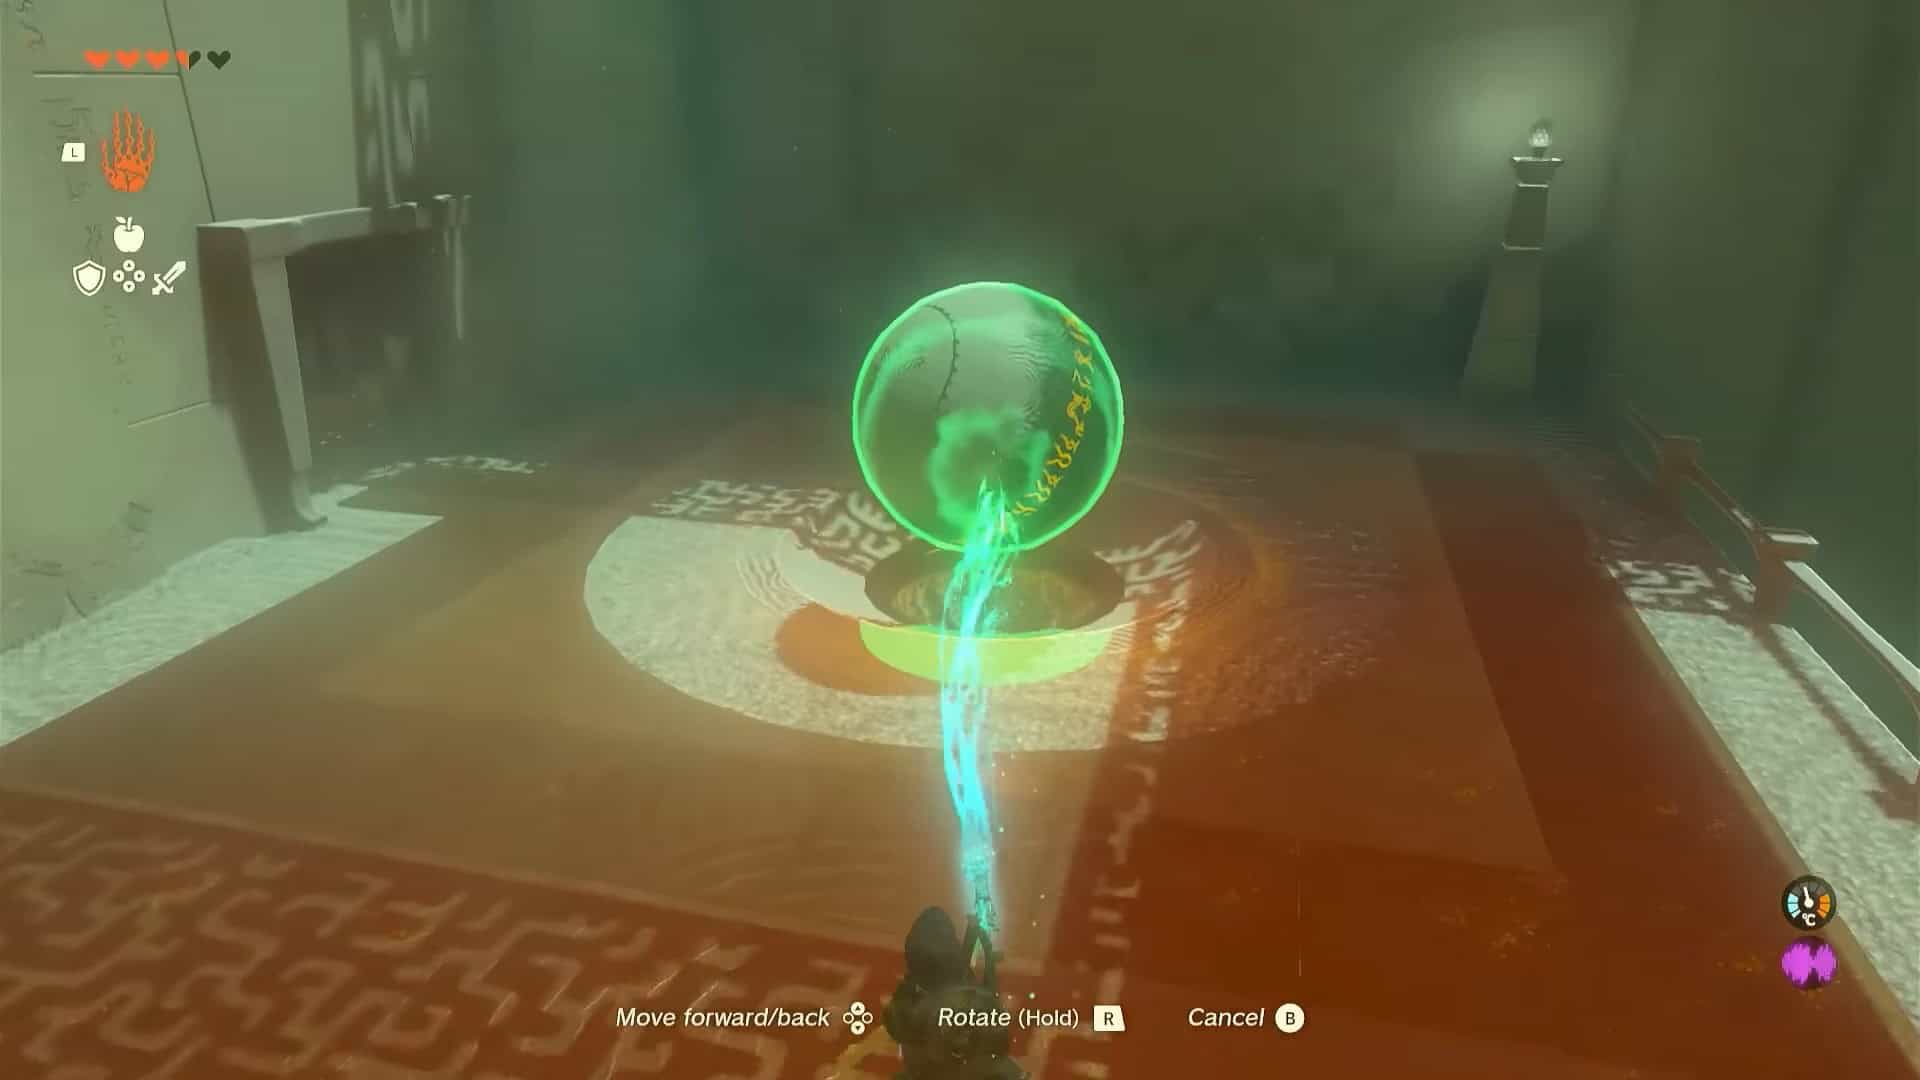
11. Dismantle the structure (wiggle the right analog stick) and remove both spheres. Place the large sphere in the receptacle to the right.
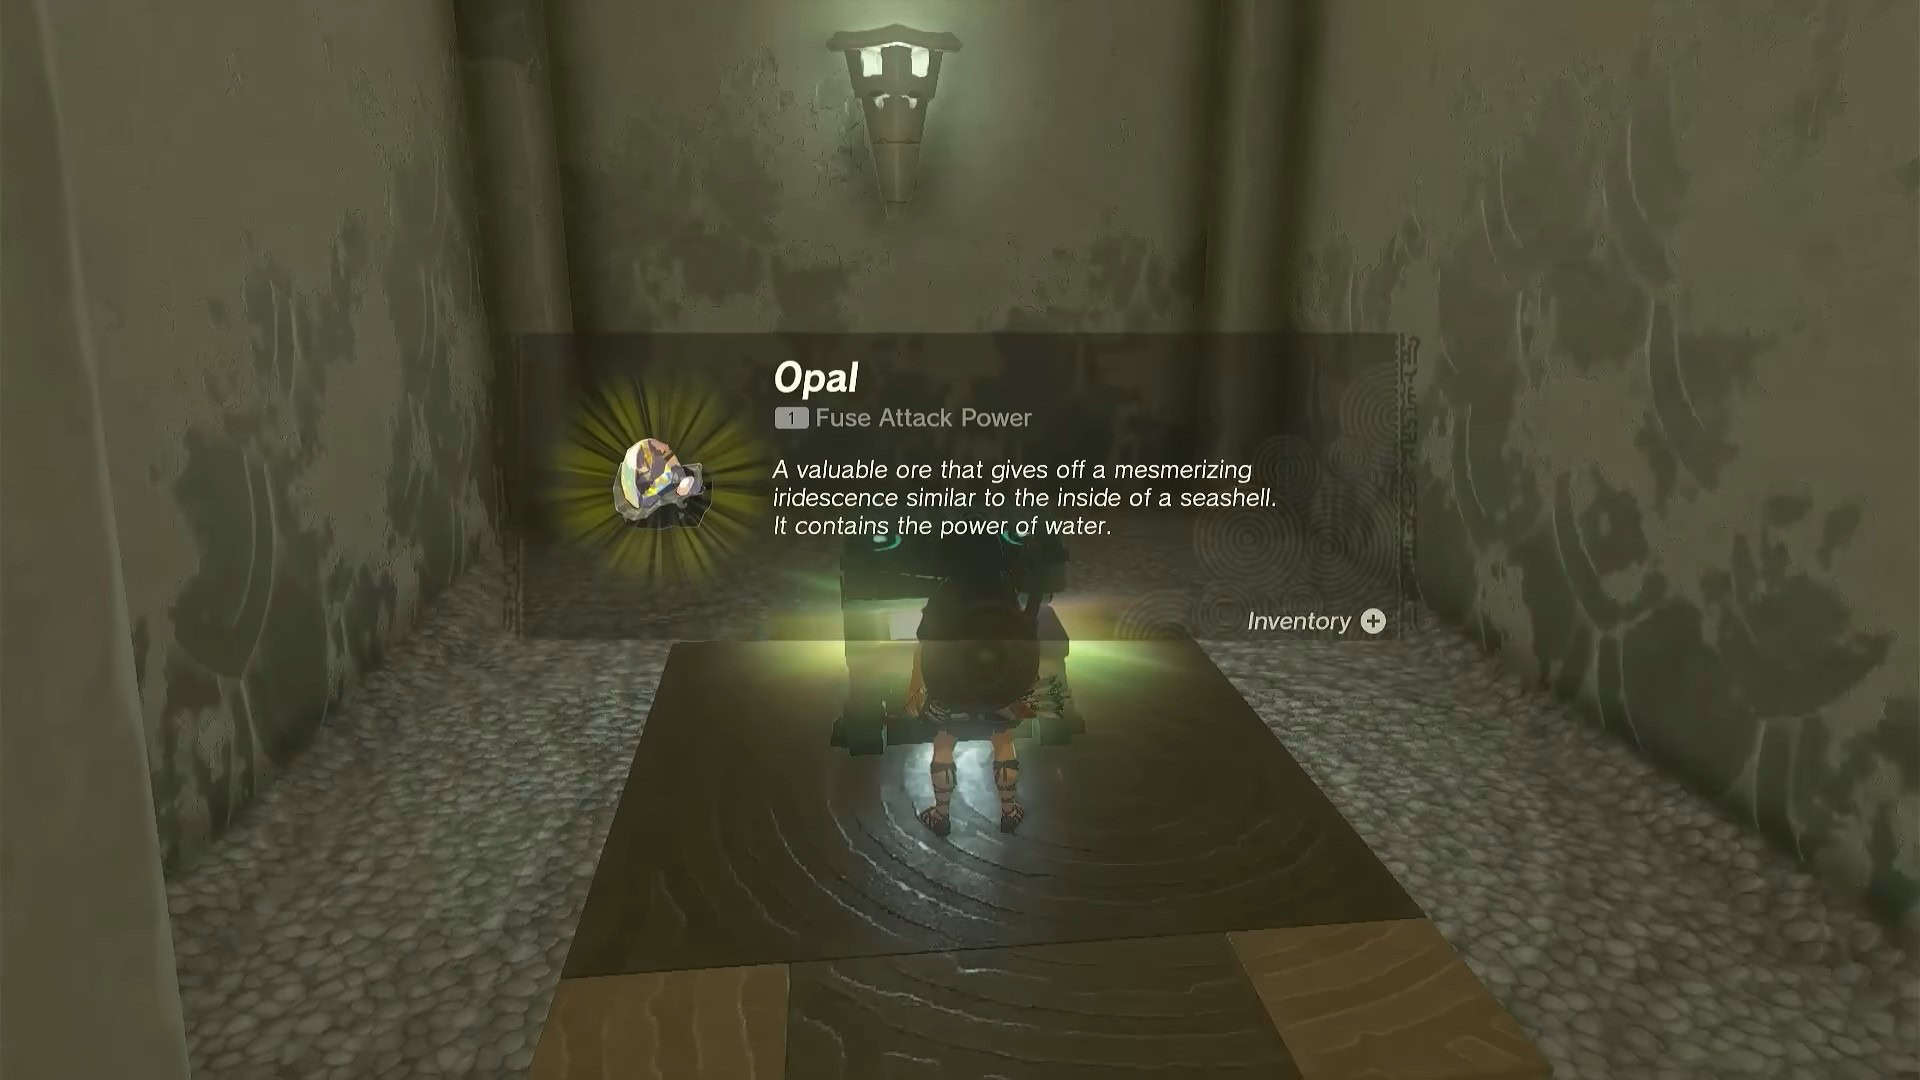
12. This will open a path to the locked treasure chest. Open it to obtain an Opal.
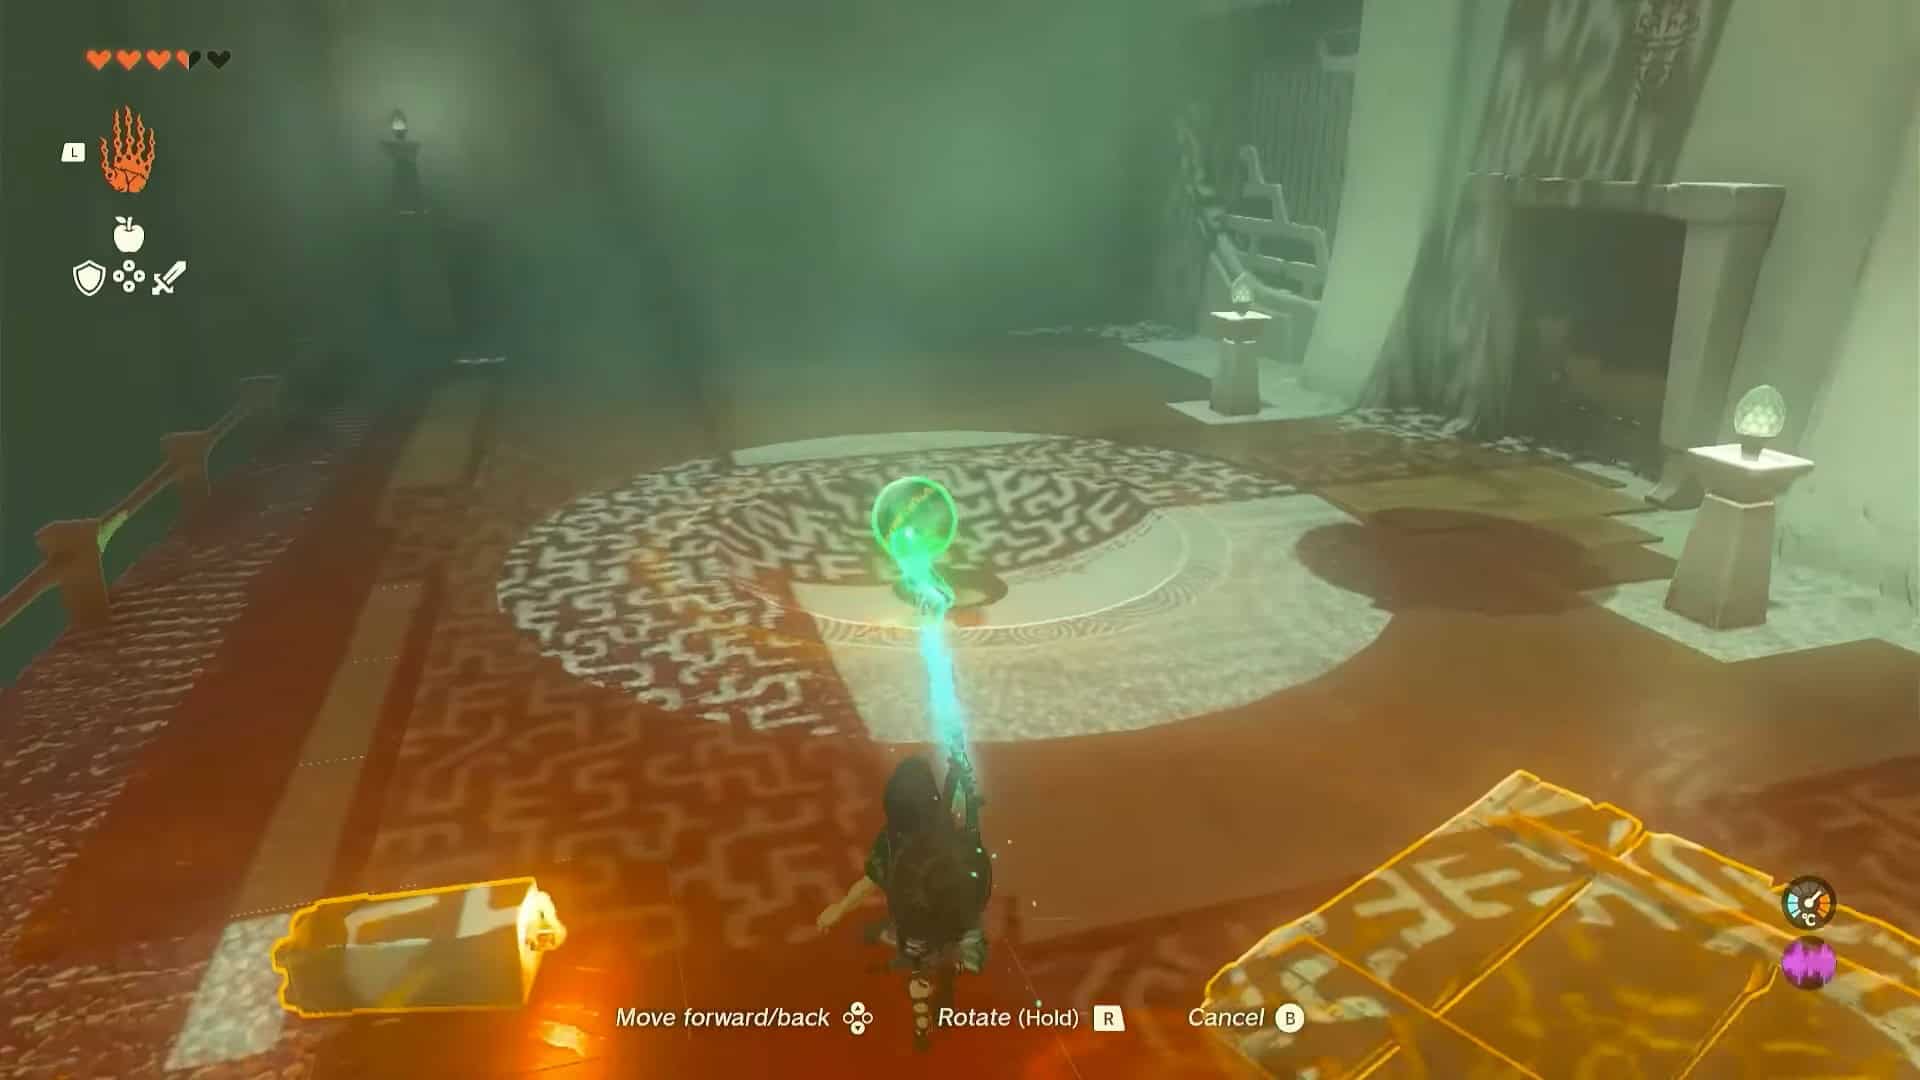
13. Place the small sphere in the receptacle in the center. This will open the altar room’s door. Enter and interact with Rauru and Sonia’s statues to complete the puzzle and earn the Light of Blessing.