Mayachin Shrine in Zelda: Tears of the Kingdom will have you solve yet another puzzle and collect the rewards, including a Light of Blessing. The puzzle will have you recreate a game of baseball in which you need to strike a home run.
Therefore, it is important to know how to solve this puzzle and how to get to the Mayachin Shrine. To that end, we will provide you with the location and solution to the Mayachin Shrine puzzle in Zelda: Tears of the Kingdom.
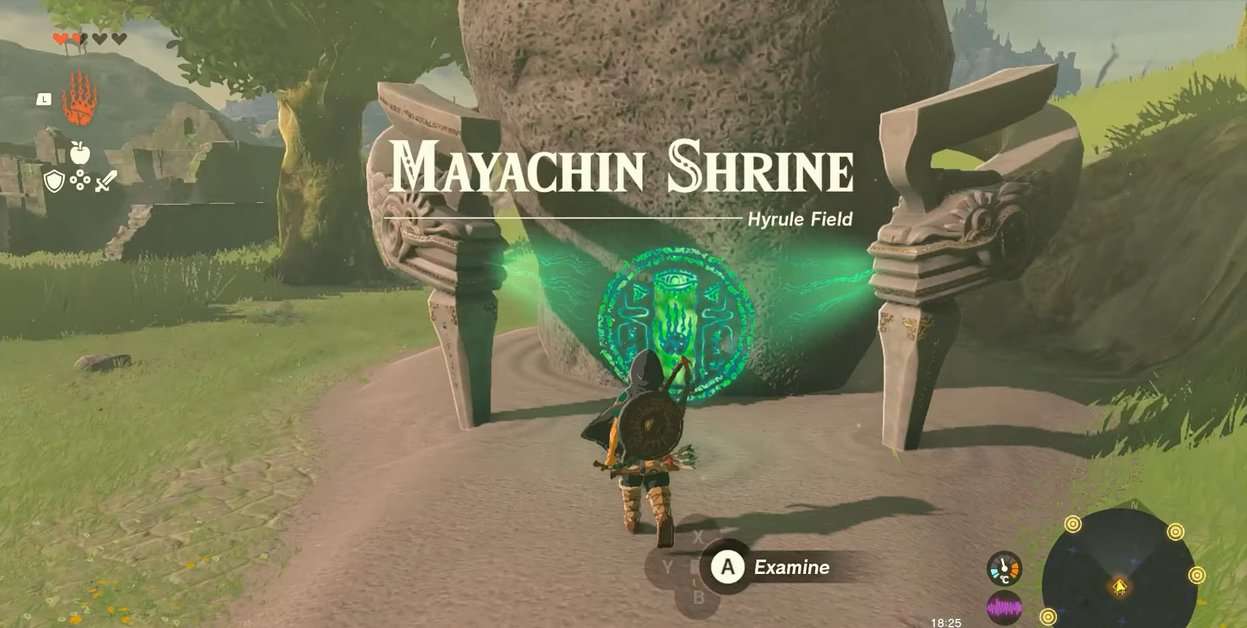
Mayachin Shrine Location in Zelda: TotK

Mayachin Shrine is present in Hyrule Field, Southwest of Lookout Landing. It is right next to Hyrule Field Skyview Tower, and its exact coordinates are (-0706, -0873, 0031).
Mayachin Shrine Walkthrough

The trial of Mayachin Shrine is called A Fixed Device and is about creating a makeshift bat to hit the ball on the target.

1. Go straight from the entrance and use the rotating platform to jump across.
2. In the next area, there are two switches. One is on the ground, and one is standing vertically. Ignore both for now and drop down to locate two zonai nails inserted in the ground.


3. Pick one of the nails and insert it in the rotating device near them.


4. Now, pick two white sticks in the area and attach them both horizontally to the nail to create a long bat.

5. Climb back up and step on the ground switch. This will unlock the first target ring to the left.

6. You can hit the vertical switch with a weapon to rotate the device with nail and rod attachment.

7. Perfect your timing and swing the bat when the ball is near it. This will make the ball fly to the left and strike the orange target ring. The door to the altar room will open.

8. Before proceeding, pick up the second target nail and use it to clip the board on the right. This will allow you to see the second target ring clearly.


9. Once again, time the strike so that the ball flies to the right. Once it hits the target ring, a door to the right will open.

10. Go inside the room and open the treasure chest to obtain an Energizing Elixir.
11. Enter the altar room on the opposite side and interact with Rauru and Sonia’s statues to obtain a Light of Blessing. This will complete the Mayachin Shrine in Zelda: Tears of the Kingdom.