The Old Neighborhood is the second main mission in Starfield and picks right where the previous mission ends. You, a prospective member of the United Colonies, are tasked to find another mysterious metal object (Artifact) by Sarah Morgan. This mission takes you to many different planets and has you defeating a host of enemies.
In this guide, we’ll be going over how you can complete The Old Neighborhood mission in Starfield, including what places you need to visit and what choices you need to make. We’ll also be going over what rewards you receive for completing this mission.
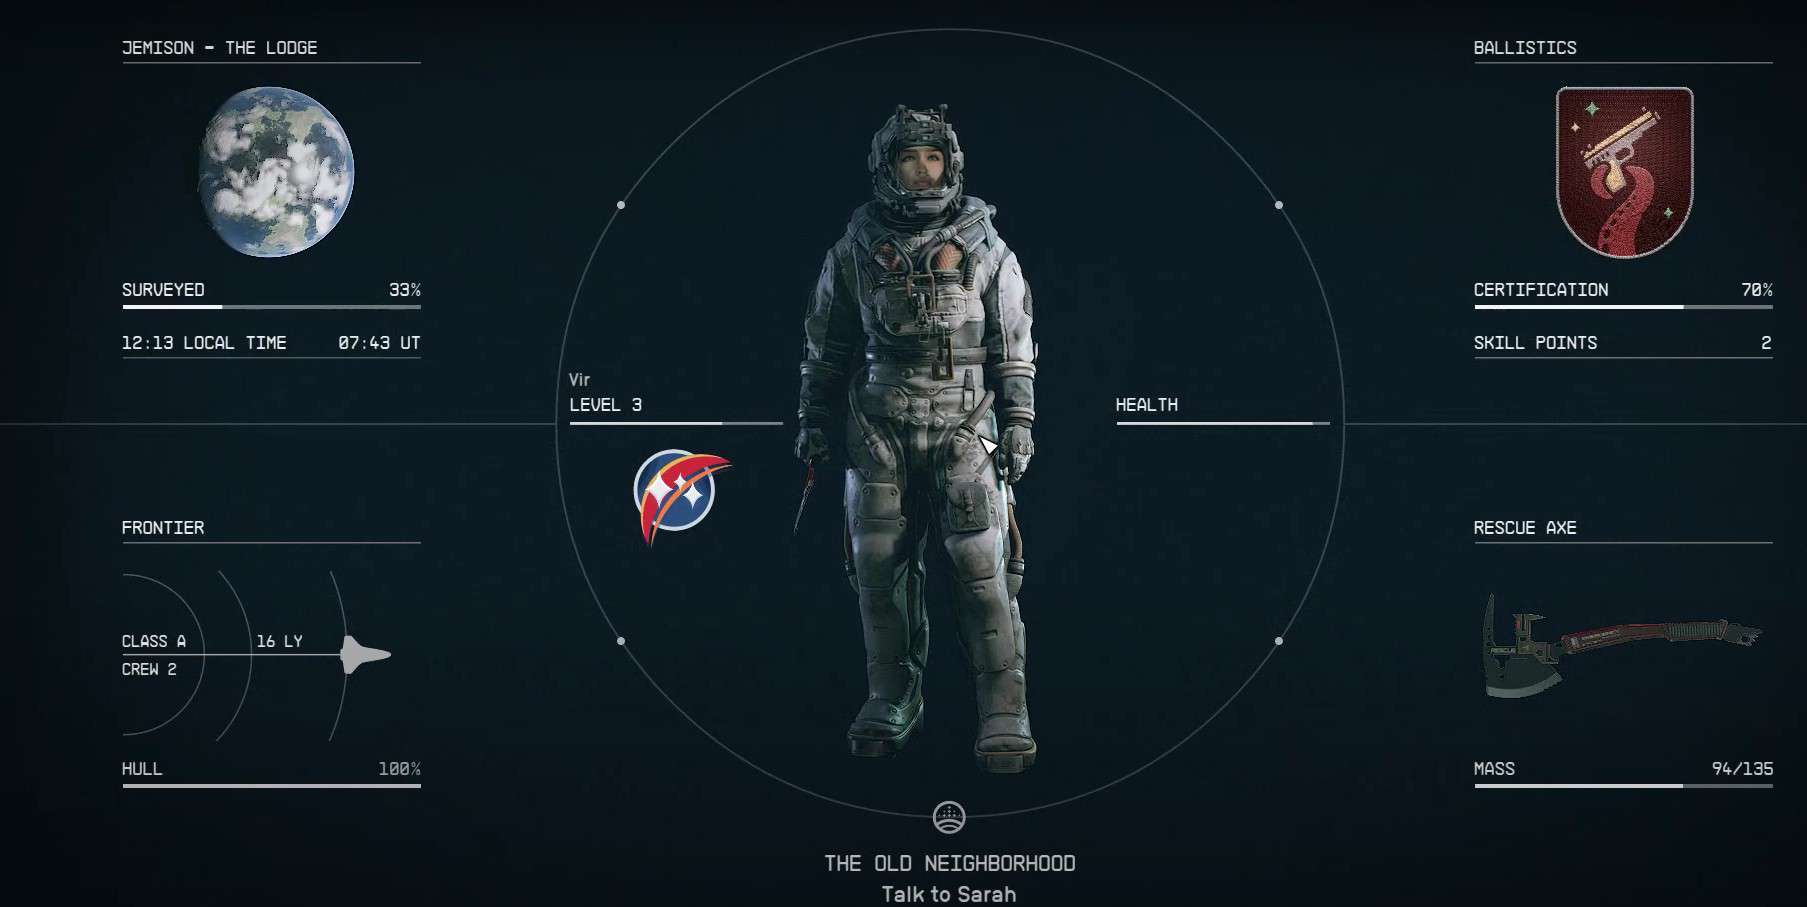
Talk to Sarah
To begin ‘The Old Neighborhood’ quest, you need to talk to Sarah, who will tell you about a lead she has for another Artifact. She’ll further say that she has a contact in the UC Vanguard. You will accompany her as she tries to find this Artifact.
Once the conversation ends, you’ll need to locate Sarah’s contact. The quest objective will be updated to lead you to him. Sarah will accompany you, and you must head to the MAST building in New Atlantis.
Head to the UC Vanguard training center once you’re at the MAST building. Here, you’ll be able to locate Sarah’s Contact, who happens to be Commander John Tuala. You then need to initiate a conversation with him and ask about the potential lead.
Commander John Tuala will give you information about an NPC named Moara, who has information on Constellation. For that, you must make your way to Mars in the Sol System.
Ask about Moara in Cydonia
To progress the quest, travel to the Sol System and travel to Mars. Scan the planet, locate the Cydonia area, and land your ship there. From here, you need to make your way to the Mining Colony of Cydonia, the southeastern part of the planet.
Go to the basement of the mining center and locate Jack, a bartender. He’ll be present behind a counter. Here, you need to either persuade him to give you Moara’s location, or you can bribe him. He’ll require a whopping 2500 credits for his services if you have credits to spare. If you’re short on cash, you can ask Sarah to join the conversation, who’ll bring the price down to 1000 credits.
If negotiating does not work, you can persuade him to give you the location for free. Use whichever method works best for you or what skills you’re better at. Either way, Jack will tell you that Moara is on Venus and is in trouble.
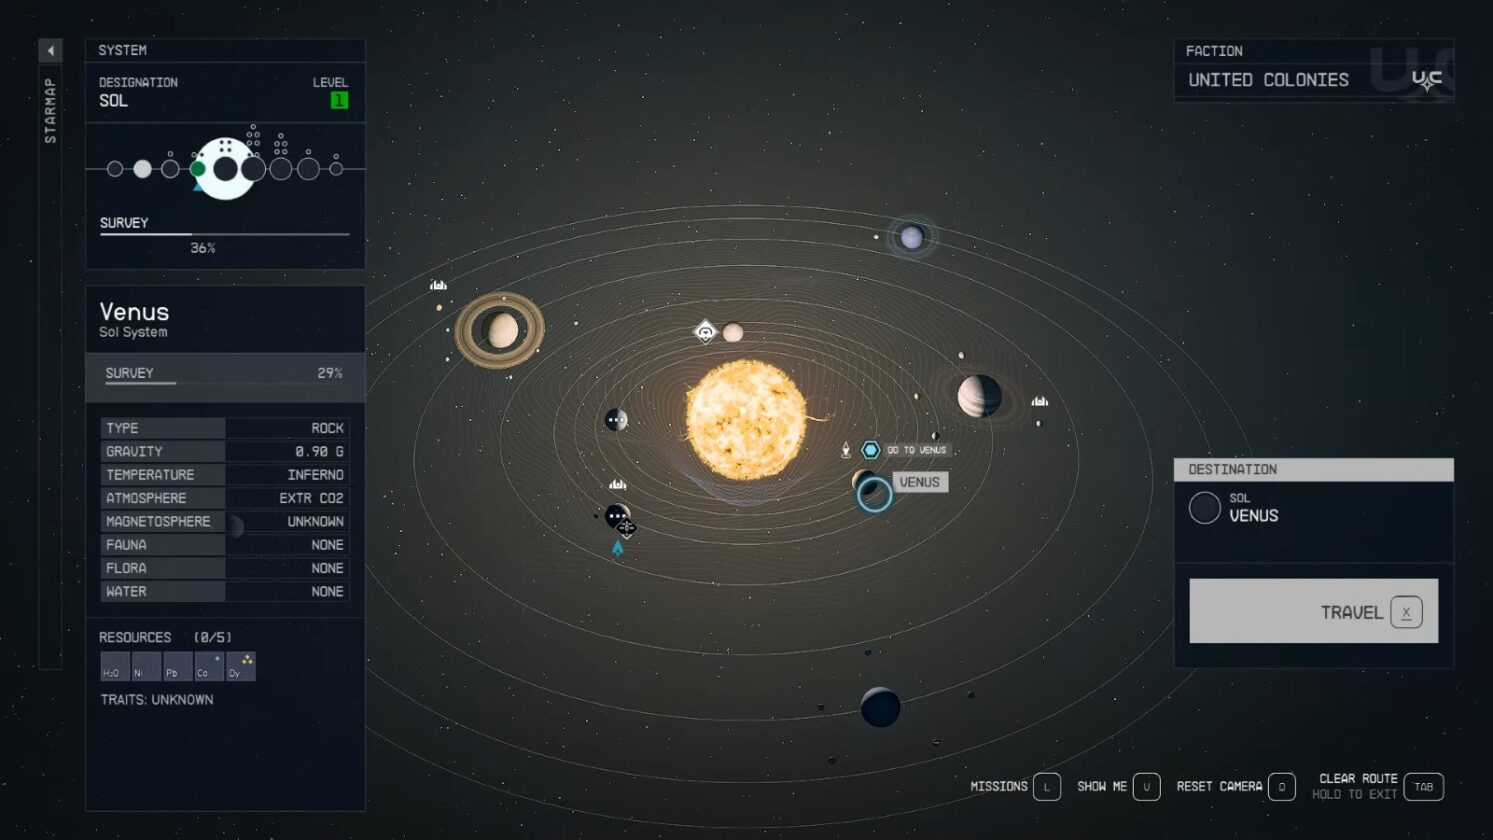
Examine the Satellite near Venus
Venus is also located in the Sol System. Head back to the landing pad and make your way there. It’s located towards the bottom of the system, towards the right of the sun. Open your star map to gain a better understanding of its location.
As you approach Venus, Sarah will point out the Va’Ruun Zealot ships present near the planet. She’ll then give you two options to navigate the situation. You can either take the zealots head-on, or you can sneak past them. Either way, you need to head toward the satellite in the area with potential information on Moara.
Zealots have a special ability to detect the heat signature of the spaceships. To avoid getting caught, you must turn off certain ship systems, including weapons and shields. This way, you will be able to get close to the satellite without getting unwanted attention from them.
Once you’re within 500 meters of the satellite, you can start a scan. Doing so will intercept the last message it received, which happens to be from Moara. The message reveals that his last location was the Nova Galactic Staryard and that he’s not present on Venus.
Go to Nova Galactic Staryard

The Nova Galactic Staryard is also conveniently located in the Sol system. Open your star map and locate the moon Luna. The Staryard is located right next to it. Once you’re within 500 meters of it, you’ll get the option to dock in.
As you approach the Staryard, Sarah will initiate a conversation with you where you have the opportunity to ask her about what happened on Earth. You can dock in after you’ve exhausted the dialogue options with her.
Find clues about Moara

Sarah remarks that this Staryard has been abandoned for a while now. Upon docking, you’ll be tasked with finding clues on Moara’s whereabouts, but you’ll be met with dead Spacer corpses, the reason for their demise, and the Ecliptic Mercenaries, who you’ll need to kill.
When you’re inside the Staryard, you simply need to follow the quest marker and follow it wherever it takes you. You will be met with enemies (Spacers and Mercenaries) at several turns that you’ll need to take out to proceed. Eventually, you’ll find yourself in the hangar of the ship.
Here, you’ll discover a note, ‘Vanguard Moara’s Slate’ that’ll give you Moara’s location. This time, you’ll be tasked with going to Neptune, where Moara has been compromised.
Go to Neptune
To get to Moara, you must go to his ship, which is in Neptune’s orbit. Open your star map and head to Neptune (also located in the Sol System). When you reach Neptune’s orbit, you discover Moara’s ship is under attack. He’ll get in contact with you and explain the entire situation.
Evade Fire and Damage Moara’s Ship
The next step is fairly straightforward, although it may initially seem confusing. Sarah instructs you to damage the ship while also avoiding fire. To complete it, you must attack the ship until its health reaches zero. The operative word here is ‘Damage’, not destroy.
Once you’ve done ample damage to Moara’s ship, it will stop shooting at you and power down. At this point, you can board the ship.
Dock with Moara’s Ship

For the next objective, fly close to Moara’s Ship and dock in. You’ll find that even after taking a lot of damage from the ship’s fire, a host of Ecliptic Mercenaries onboard survived. That said, you will need to take them out to proceed further.
Once you’ve dealt with all enemies on board, one of them will drop a key that leads you to the ship’s cockpit. Loot the key and follow the quest objective.
Talk to Moara and take the Artifact
Use the key to unlock the cockpit, where you’ll come face-to-face with Moara. Talk to him, and he’ll tell you the Artifact’s location. It can be found dangling next to his seat, where you’re conversing with him. Take the artifact and make your way to the exit. You can loot his ship if you wish, as it won’t turn him hostile.
Return to the Lodge
Now that you have the Artifact in your possession, you need to take it back to the lodge. Once you reach the Lodge in New Atlantis, place the Artifact where the quest marker tells you to. It will soon ascend to the spinning orb above the table. Once the Artifact is in place, Sarah will join the conversation. After a few exchanges of dialogue, the quest will end.
Starfield – The Old Neighborhood rewards
After completing The Old Neighborhood quest in Starfield, you will get the following rewards:
- 400 XP
- 8000 Credits
- Constellation Space Suit
- Constellation Space Helmet
- Unlock Sarah Morgan as a companion
How to fix Starfield The Old Neighborhood Bug
You may encounter a bug where you cannot progress the game after you initiate the Go to Neptune objective. This bug happens if you leave the area mid-mission and do not return to it immediately. This causes Moara’s ship to not spawn in its intended location, which can prevent you from completing the quest. There are a couple of ways you can fix this issue.
- Reload an earlier save file where you didn’t leave the mission area before completing all objectives
- Try restarting the game, as this might fix the problem
- Fast travel to another system, then come back to see if the ship has spawned
- Make sure you’re using the Frontier starter ship