Building your outpost in Starfield is the equivalent of settlements from Fallout 4. A proper outpost in a good spot can act as a hub that not only provides you shelter and a place to rest but also various resources over time. However, owing to the harsh environments and alien life on planets, defending your Starfield Outposts requires some forward thinking. That is why we are here to give solutions and some tips on how to defend your outposts in Starfield with the defense modules at your disposal.
What are defense modules?
Modules are essentially different types of structures you can build at your outposts. As the name suggests, the Starfield defense modules are aimed at defending your outpost and its crew members against invading pirates, bandits, or alien life. In case you aren’t nearby, the outpost defenses are the only way your outpost will remain standing if attacked.
At the most basic level, you can build three different types of defense modules in Starfield which require many different resources for construction and are used to do a specified type of damage. These modules are as follows:
- Tick Turret Mk I
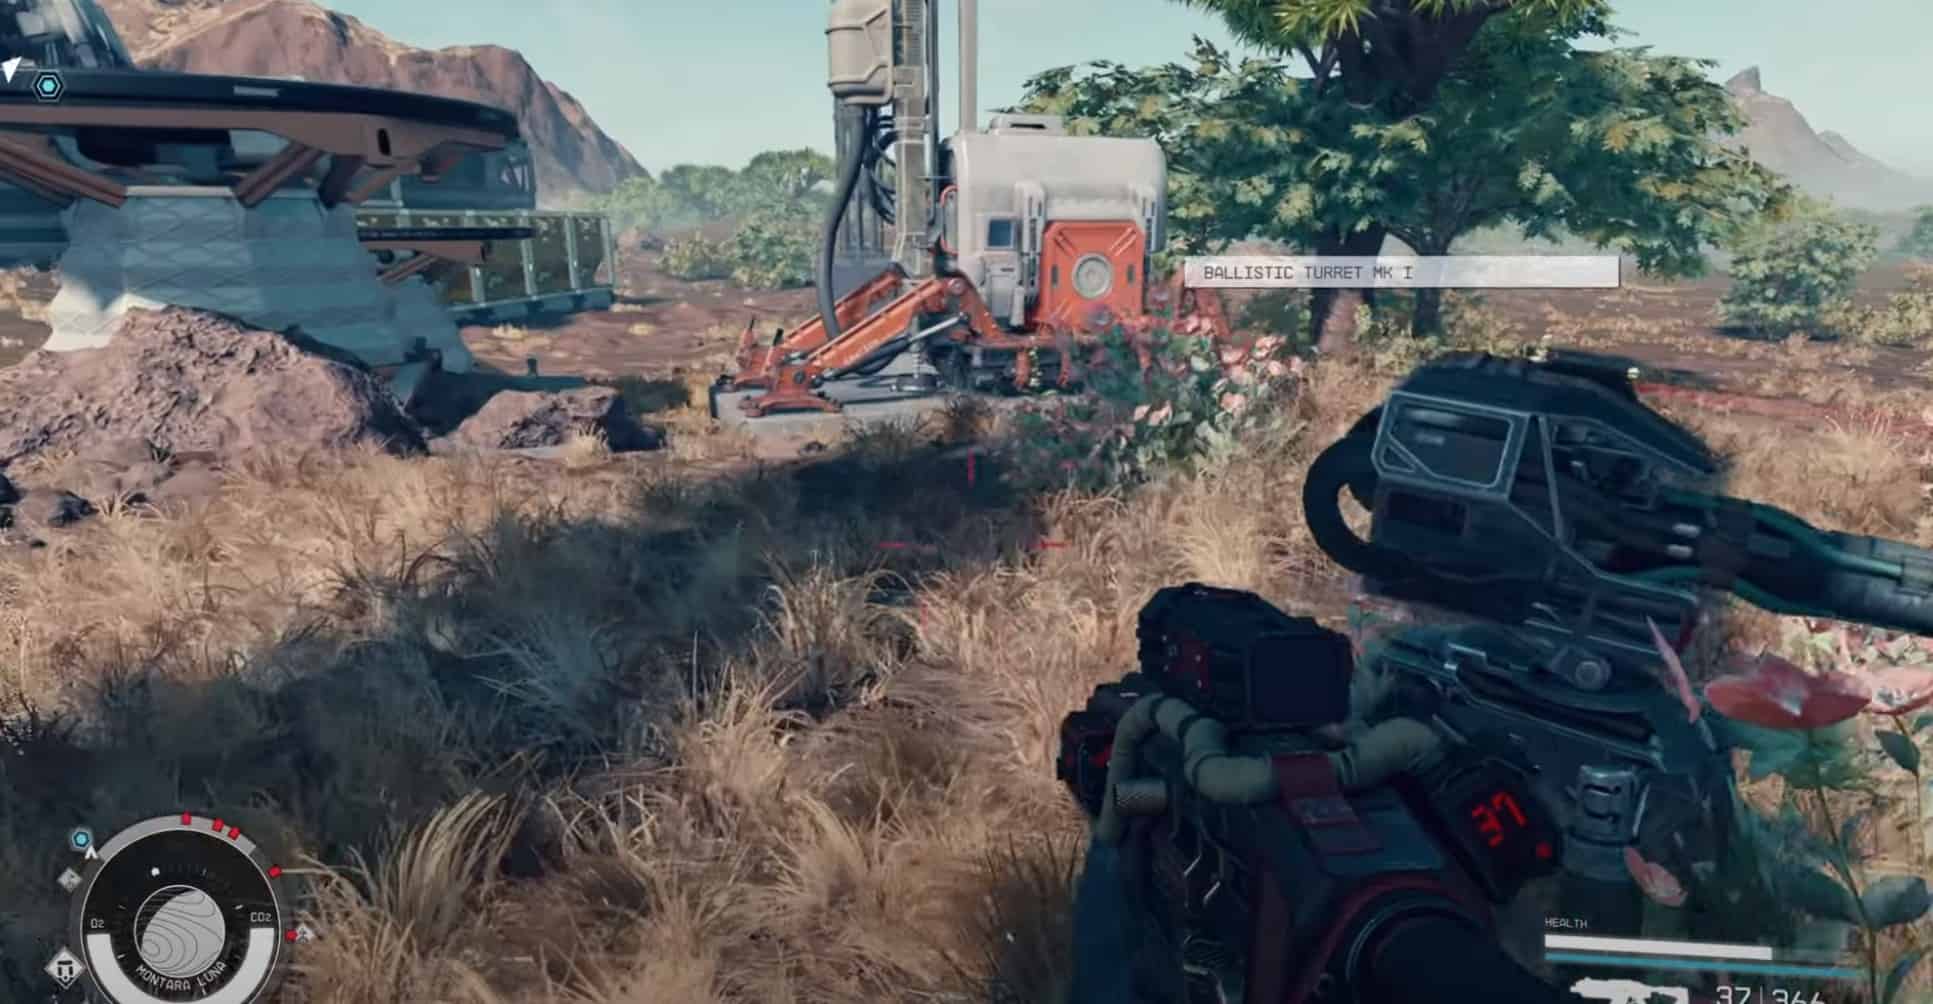
- Ballistic Turret Mk I
- Laser Turret Mk I
How to defend Starfield outposts
The defense modules are programmed to consume power for smooth and continued operation so to use them, your outpost should have enough power sources for your defenses as well as other operations. Depending on what type of planet your outpost is on, you might need to select the proper Outpost power source.
Luckily, all defense modules consume the same amount of power so that is one aspect you don’t have to worry about.
Make sure you place your defense modules at a decent distance from each other. The defense modules should also be able to cover every inch of your outpost perimeter. If an enemy attack from a different side, that side shouldn’t be left undefended. Check the effective range of each outpost defense module and then place them accordingly.
Selecting the right type of turrets
Selecting the best defense module for your Starfield outpost is also extremely important. While there are 3 defense options, two of them only deal EM damage. Which means they are extremely weak against enemy health. EM damage is non-lethal and only affects enemy shields so unless the attacking enemies have a lot of shields, these defenses would be useless.
Tick Turret MK I and Laser Turret MK I both deal Electromagnetic (EM) damage. Ideally, I would recommend only using Ballistic Turrets for your outpost defenses. Ballistic Turret might not be extremely useful against shielded enemies but it still deals decent damage.
Once an enemy’s shield is gone, Ballistic Turret will make quick work of their health. On the other hand, both Tick Turret and Laser Turret will struggle to kill enemies.
Prioritize putting more Ballistic Turrets over EM turrets to dispatch most enemies and protect your outpost.
Improve Outpost Defense Module damage
While you can only build 3 types of defense modules, you can increase their effectiveness through your skill tree. The damage and range of Defense Modules can be increased by leveling up and upgrading your Outpost Engineering skill. As you level up the skill, the power of your turrets increases which can help effectively disintegrate your foes.