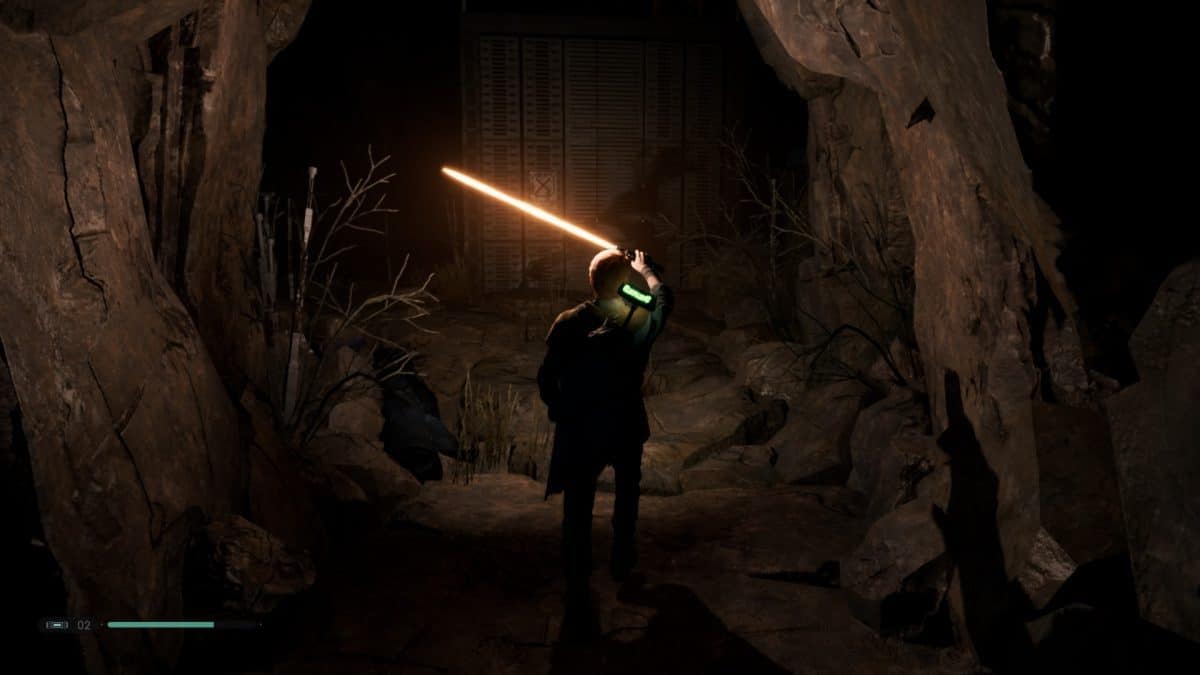
In Jedi Fallen Order, there’s a whole treasure trove of collectibles waiting to be unearthed; across the vast galaxies, players can spend hours upon hours searching for all these trinkets, some of which are BD-1’s Encrypted Files. These encrypted logs – 19 in total – provide players with interesting information and lore, on top of which you earn the Data Disk Trophy. For all those wondering where they can find these Logs, this guide has all the Star Wars Jedi Fallen Order Encrypted Logs Locations.
Star Wars Jedi Fallen Order Encrypted Logs Locations
Out of the 19 Encrypted Logs, 7 are tied to the main story, therefore they’ll be unlocked automatically as you progress through the game. The remaining 12, however, need to be sought out and manually scanned.
If you wish to keep track of the logs you’ve found thus far, go to the Databank and lookup Cordova’s Journey. Without further ado, the following list will provide you with the locations for all 12 Encrypted Logs:
Bogano
- Go to the Abandoned Workshop. Go to the area where two giant fans are spinning and whirring rapidly. Use the Force to slow one down and enter the sanctuary. In the center of this area there is an Ancient Sphere. Go to a high area and have BD-1 scan the sphere to unlock this encrypted file.
- Continue exploring the Abandoned Workshop. In the center of the Workshop, head to the east and find a single pipe that’s curving towards one of the escarpments. Go into the opening the pipe is leading towards and head towards the fan; use the force to stop it and move forward. You’ll reach a small, enclosed room, have BD-1 scan the items therein.
- From where you found the previous Log, leave the enclosed room and head left; go through the small gap in the door and into the next room. On the left side of the room, there are cracks and indentations on the wall that you can use to climb higher. Continue to climb until you reach a platform, on said platform you’ll find wreckage that’s covered up with a trap; scan it.
- In the Great Divide, go to the very edge where the area meets with the Abandoned Workshop; specifically, look for a room filled with water. The room, which is like a spire, will lead you to where you want to go; climb higher and higher until you reach a new room – the encrypted log you’re looking for is left to the door you enter from.
Zeffo
- Head to the Abandoned Village. Near the village, there will be a small cave entrance that leads to the Turbine Facility. Continue moving forward on the path and you will eventually find an object near the edge; BD-1 will signal you when you’re there.
- Within the Tomb of Eilram, make your way to the center of the Tomb, where wind is blowing out from the sides. Climb the wall on the right, you’ll see an object that resembles a wind chime – that is what you’re looking for.
- In the Tomb of Miktrull, look for a place where there are large magnets. Press the nearby button to activate it – and then deactivate it so BD-1 has an opportunity to scan the objects.
- From where you obtained the previous Log in the Tomb of Miktrull, continue up the stairs and climb the wall in front. There is an opening at the top; go through it and remain on the right side. Keep running forward and at the end of the path, on the right, there will be an opening where the next encrypted log is.
Kashyyyk
- Near the Origin Tree, near the rows of pillars, head straight forward until you spot the giant Shyyyko Bird; the Log is underneath the bird.
- In Gnarled Heights, go to the large, center platform. Move forward and you’ll spot a set of smaller platforms that you can use to climb higher. On the final platform, you’ll find the Log that you’re looking for.
Dathomir
- Within the Nightmare Ruins, go to where the large Threshold is situated. The Log can be found just before going through the threshold, on the right side.
- In the Nightmare Ruins, from where you uncovered the previous Log, run forward and cross the threshold. Keep going forward until you spot a crevice in the wall; squeeze through the narrow gap and keep heading straight forward. Stay on the right side and you’ll see something that resembles several bodies clawing for something. Scan it to get the final optional Encrypted Log.
As stated earlier, all the remaining Logs will be automatically yours as you progress through the main campaign
